How to Paint Starry Night in Easy Steps
I wrecked my first canvas trying to copy the swirls.
I didn’t understand underpainting, and my colors went muddy.
After redoing the background three times, I found a straightforward order that actually works.
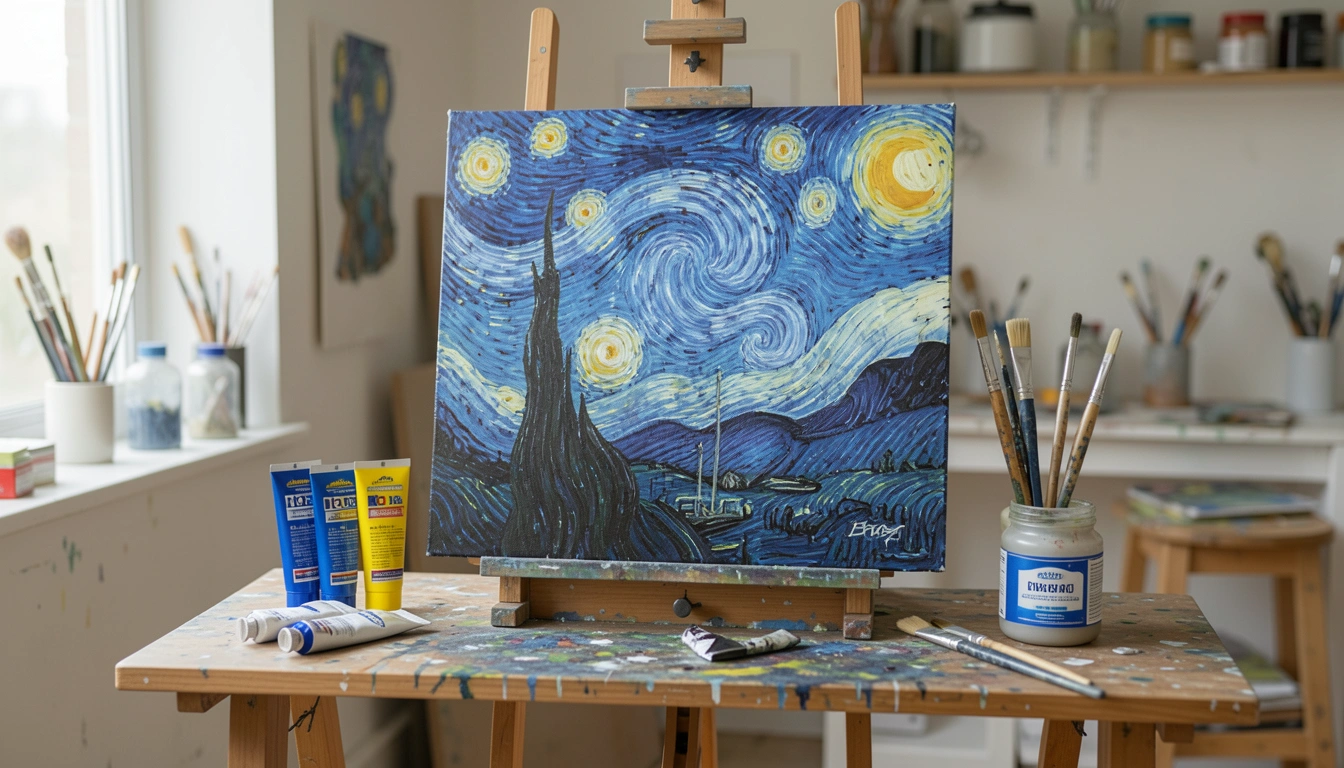
This is a full walkthrough from blank canvas to finished painting.
How to Paint Starry Night in Easy Steps
Here's what you'll be able to do: paint a Van Gogh–inspired starry sky with swirls, glowing stars, and a simple village. It's doable without fancy gear. Here's how I do it, broken into 7 simple steps.
What You'll Need
- Primed cotton or linen canvas (any size you like)
- Acrylics or oil paints: ultramarine blue, phthalo blue, cerulean, titanium white, cadmium yellow (or a warm yellow), yellow ochre, burnt umber, alizarin/crimson
- 1–2 flat synthetic brushes (1" and 1/2")
- 2–3 round brushes (sizes 4 and 8)
- Small fan or mop brush for soft blending
- Palette or mixing tray
- Palette knife
- Jar for solvent or water (depending on medium)
- Rags and scrap paper for tests
- Pencil or charcoal for light sketching
- Medium (glazing medium for acrylics or linseed/stand oil for oils)
Step 1: Prepare the Canvas and Mix a Limited Palette
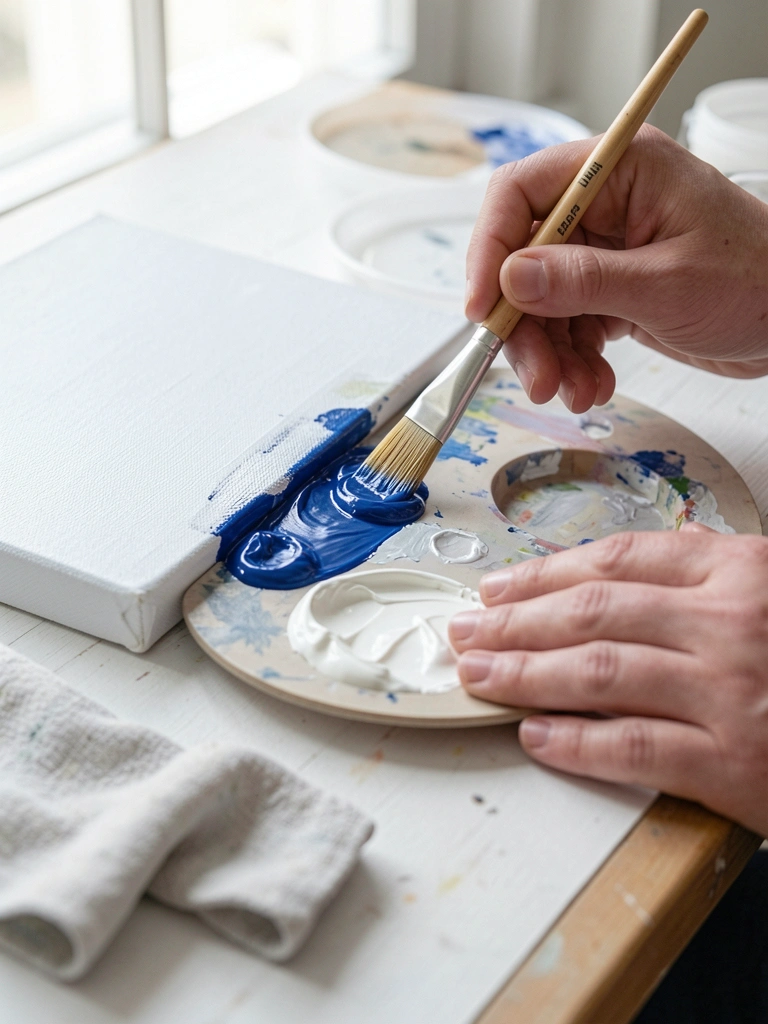
First, tape the edges and wipe the canvas with a clean rag so there’s no dust. Set out a limited palette — three blues, white, a warm yellow, and two earth tones. I mix three sky values: dark, mid, and light. That’s what I use for the whole painting.
It should look controlled and a bit thin; you’re laying a foundation, not glazing yet.
At this stage, the biggest risk is mixing too many colors and ending up with muddy tones. Keep mixes small and label them on the palette.
Tip: test a stroke on scrap paper before committing to the canvas.
Step 2: Lightly Sketch the Composition and Major Shapes
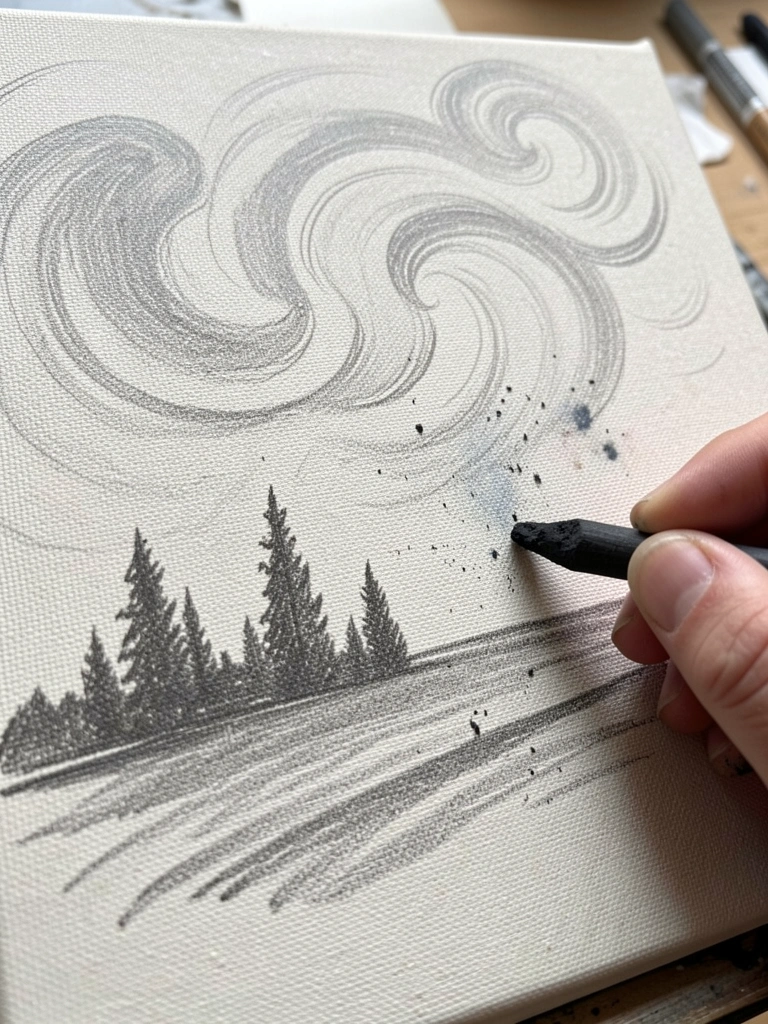
Start by sketching the horizon, village rooflines, the cypress shape, and the main sky swirls with light pencil or thinned paint. I block the movement first — not details. Place the big spiral in the sky and the moon/stars roughly.
When it’s right, the composition reads from a few feet away. Mine often looked off at this stage, and that’s normal — adjust proportions now.
What goes wrong here is heavy-handed lines that show through paint. Keep marks light and erase or soften with a dry brush if needed.
Tip: step back often; sketches that look fine up close can read wrong across the room.
Step 3: Block in the Base Colors (Underpainting)
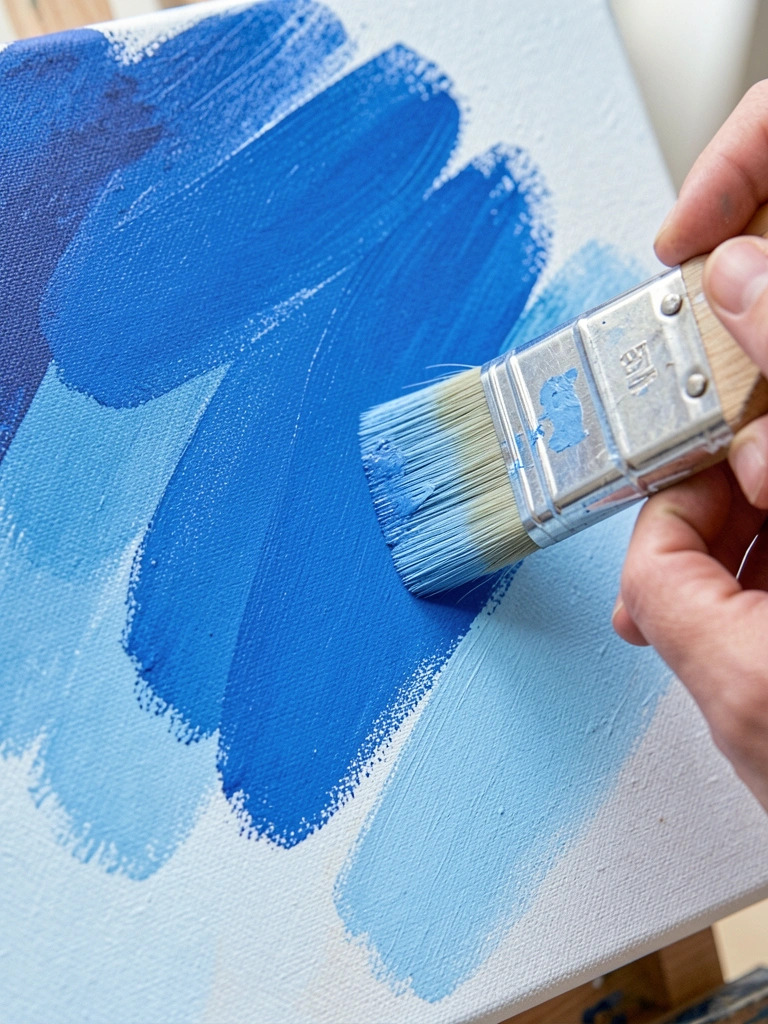
Begin by blocking in the base sky, village, and cypress with thin layers — dilute paint slightly so it glides. Lay the darkest blue in the sky’s top, mid-tones around the spirals, and the lightest near the horizon and moon. Keep brushstrokes loose.
This should look patchy and transparent; that’s fine. You’re creating value structure.
The usual mistake is overworking or making the base too opaque, which kills later glazing. Also watch for edges that dry too fast and trap later wet layers.
Tip: clean your brush between colors to avoid accidental muddying.
Step 4: Paint the Sky Swirls and Start Wet-on-Wet Blending
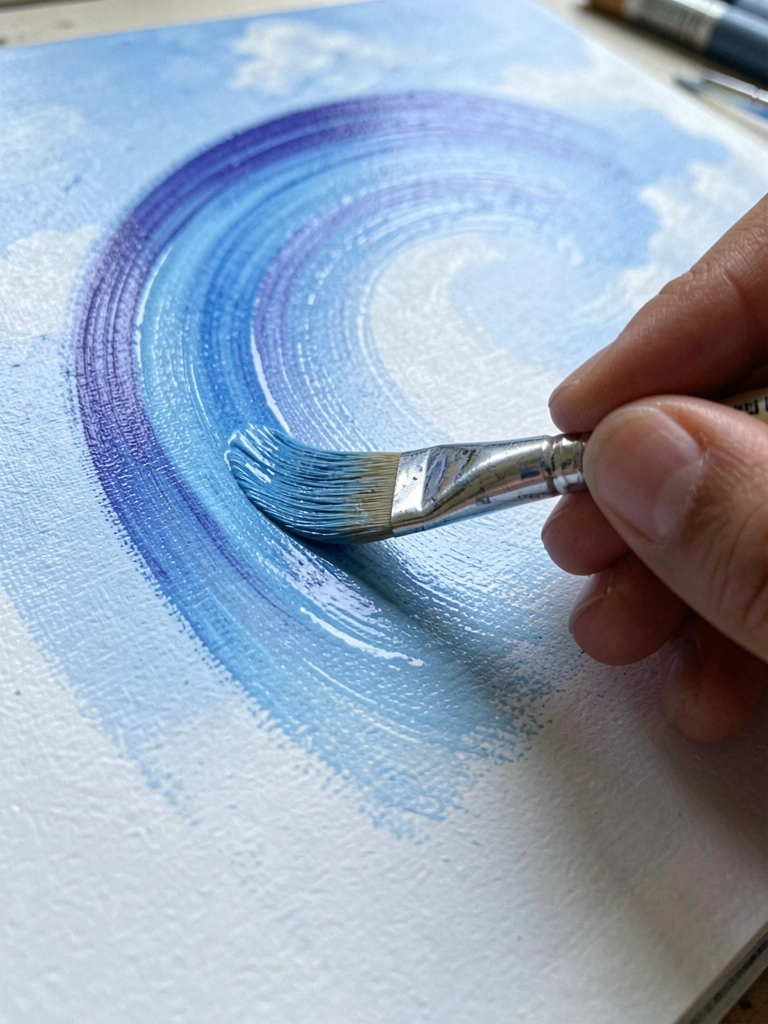
With a medium round brush, paint the main swirling shapes using slightly thicker paint. Work wet-on-wet where possible so the strokes blend softly into adjacent colors. Use the tip of the brush for the tighter curled parts and the side for broader arcs.
When it’s working you’ll see motion — layers still separate but blend at the edges. Mine looked streaky at first and that’s normal.
The biggest trap here is overblending until everything becomes one flat tone. If you overmix, lift paint with a rag or a damp brush and reintroduce a fresh stroke.
Tip: vary pressure and brush angle to get natural, textured strokes.
Step 5: Paint the Stars, Moon, and Halos with Layered Highlights

Load a small round brush with warm yellow for the star centers, then add a tiny dot of titanium white on top for a crisp core. Soften outward with a clean, slightly damp brush to create the halo. Do this in two or three passes, letting each halo sit a bit.
It should read bright against the sky. Mine looked flat until I added the white center and a thin surrounding glaze.
Common error: making halos too big or too flat. Keep halos soft and slightly transparent.
Tip: a tiny touch of glazing medium warms halos without losing brightness.
Step 6: Paint the Cypress and Village Details with Texture
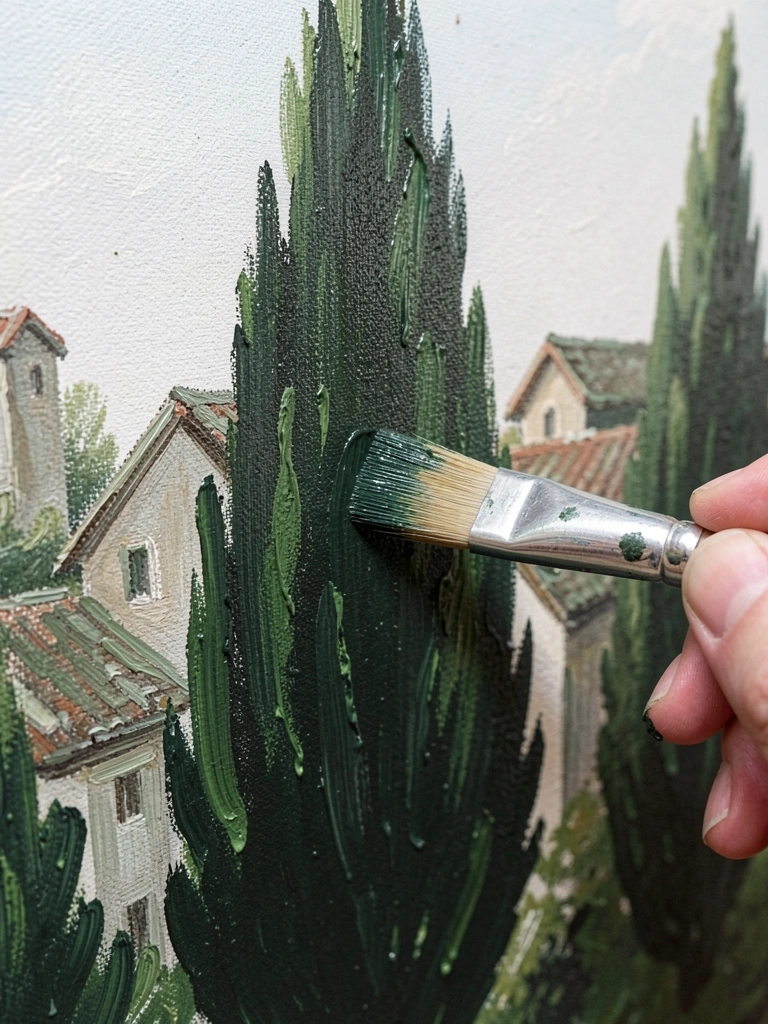
Block the cypress and village in with a dark mix (ultramarine + burnt umber + a touch of phthalo). Use vertical, slightly jittery strokes for the cypress to suggest foliage texture. For the village, keep shapes simple — roofs, windows, chimney lines.
When correct, the foreground anchors the sky without stealing attention. My cypress once looked like a blob; breaking it into layered strokes fixed that.
Mistake here is over-detailing the village — it should be simple. Also, paint that’s too thick can lose subtle texture.
Tip: use dry brushing or scumbling to lift texture and suggest leaves without painting every one.
Step 7: Final Glazes, Edge Work, and Finishing Touches
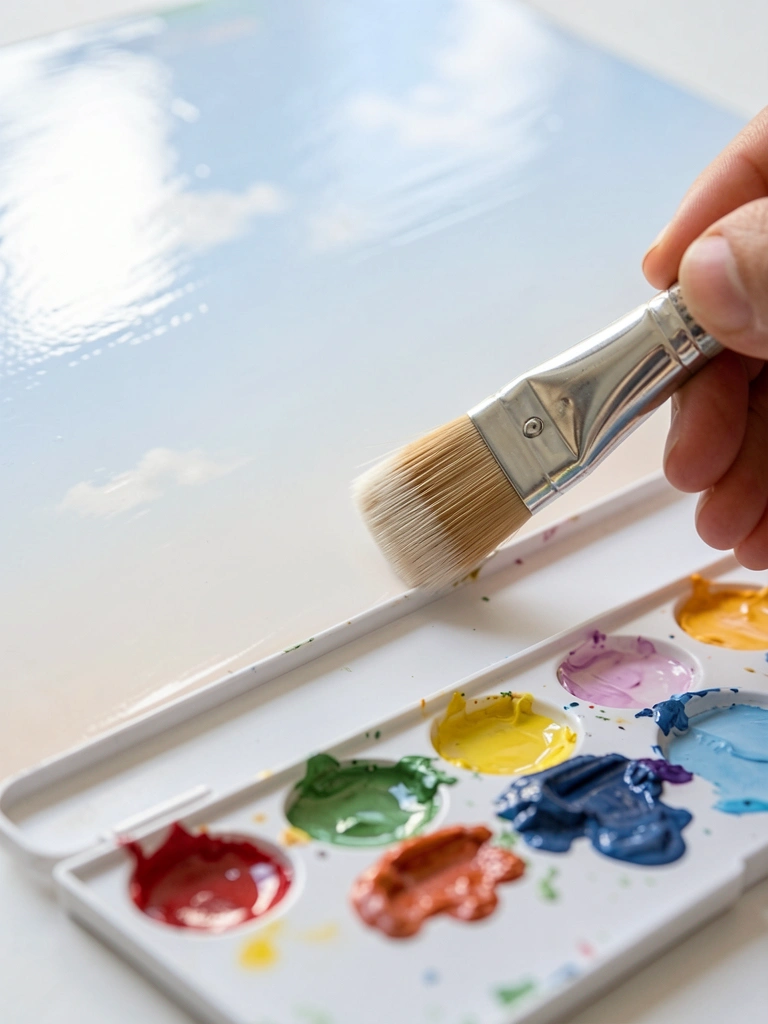
Step back and decide where to unify values. Mix a very thin glaze (transparent blue or warm umber) and wash over areas to tie colors together. Add crisp edge highlights where the light hits swirls and a last bright dot on top of several stars.
It should feel balanced but not overworked. My finishing pass used too heavy a glaze once and dulled the highlights — avoid that.
The usual pitfall is fiddling until the painting loses energy. Stop when the composition reads and highlights still pop.
Tip: sign only after the paint is mostly dry. Let it cure properly before varnishing.
Common Mistakes to Avoid
- Mixing too many colors at once — stick to a limited palette to avoid muddy mixes.
- Overworking the wet-on-wet sky — stop blending before it all flattens.
- Heavy sketch lines left visible — keep initial marks light or soften them.
- Painting details in the village too precisely — simpler shapes read better.
- Using thick, raw white on stars without a surrounding halo — add a tiny white center and a soft glaze for glow.
Final Thoughts
This method is about order: block, build, then refine. Your first try will look rough compared with the example, and that’s okay.
I still have canvases that needed fixing, but following these steps got me to a result I liked each time.
Keep it loose. Trust the layers. You’ll finish with something you can be proud of.