14 Cute Coffee Mug Painting Ideas for Every Occasion
I used to panic when a tutorial looked easy and my mug looked muddy instead. I’ve mixed too many colors and wasted plenty of blanks.
Slow changes taught me what actually works on curved surfaces. These ideas are things I still reach for.
They’re practical, forgiving, and set up so you can try one in an evening.
14 Cute Coffee Mug Painting Ideas for Every Occasion
These 14 techniques are hands-on, simple to follow, and practical for real mugs. I include quick setup tips so you can try each idea tonight.
1. Loading the Brush Fully to Avoid Streaky, Patchy Coverage
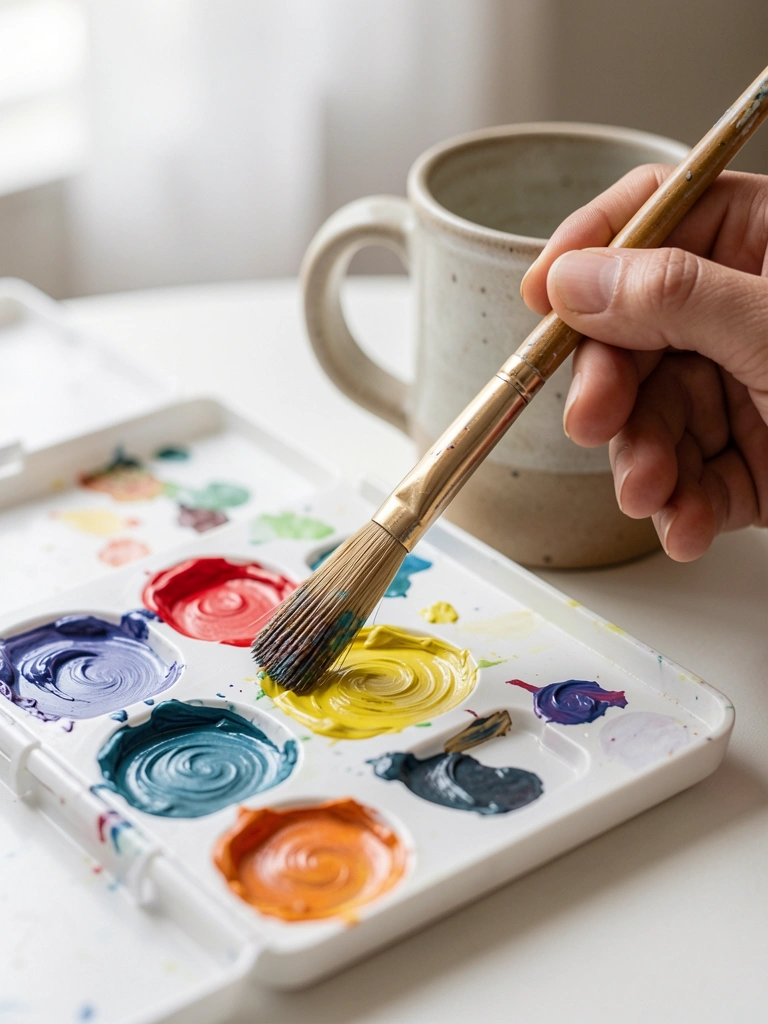
I learned the hard way that light, dry strokes leave patchy bands on a curved mug. Loading the brush fully with a smooth mix gives one clean pass. I now paint short, confident strokes and then smooth them with a loaded, softer brush.
That single change reduced streaks and saved me repainting backgrounds. Don’t overwork the surface—stop when it’s even.
What to watch for: drips at the rim and pooling at the base. Wipe excess paint and let each band tack up before the next pass.
What You'll Need for This
- Medium round brush
- Acrylic or ceramic paint thinned to flow
- Palette
- Paper towel
2. Loose Floral Cluster with Dabbing and a Liner Finish
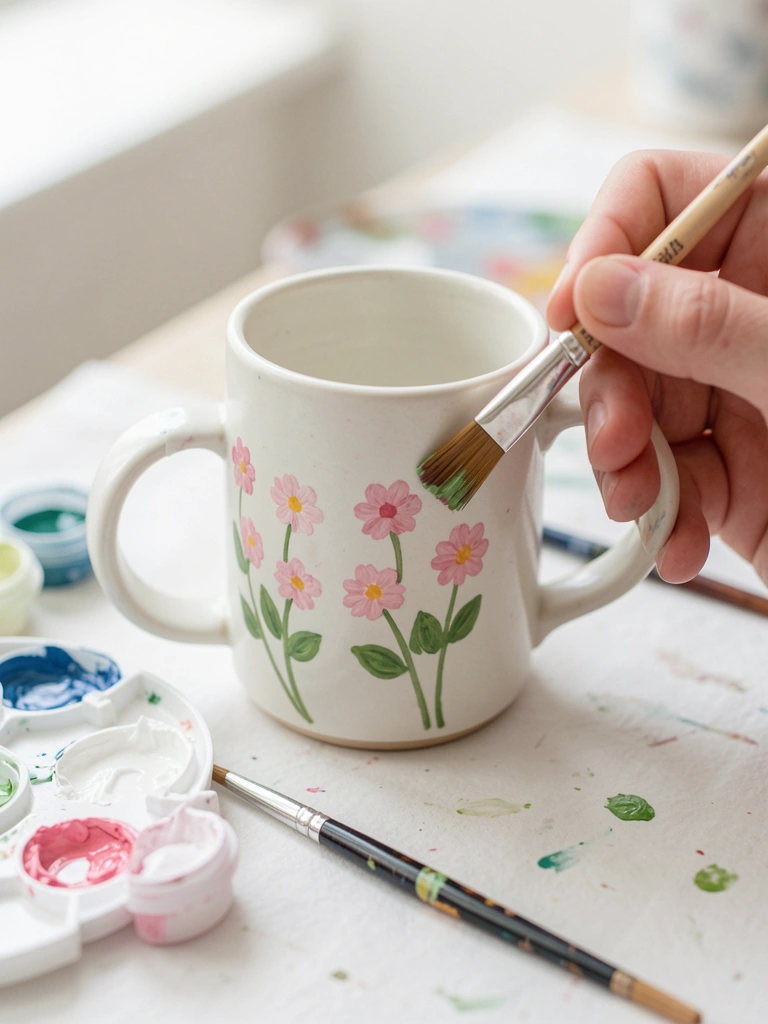
I used to try perfect petals and then overwork them. Now I dab with the side of a flat brush for rough petals, then add tiny centers with a round tip. The flowers read as floral without fuss.
After the dabbing, I use a liner for stems and tiny dots. The looseness feels forgiving and still reads cute at coffee distance.
Tip: practice dab size on paper first. If a petal looks wrong, let it dry and add another layer rather than dragging wet paint.
What You'll Need for This
- Small flat brush
- Liner/round 0–2 brush
- Acrylic or ceramic paint in three colors
- Palette
3. Repeating Dot Pattern Using the Back of a Brush
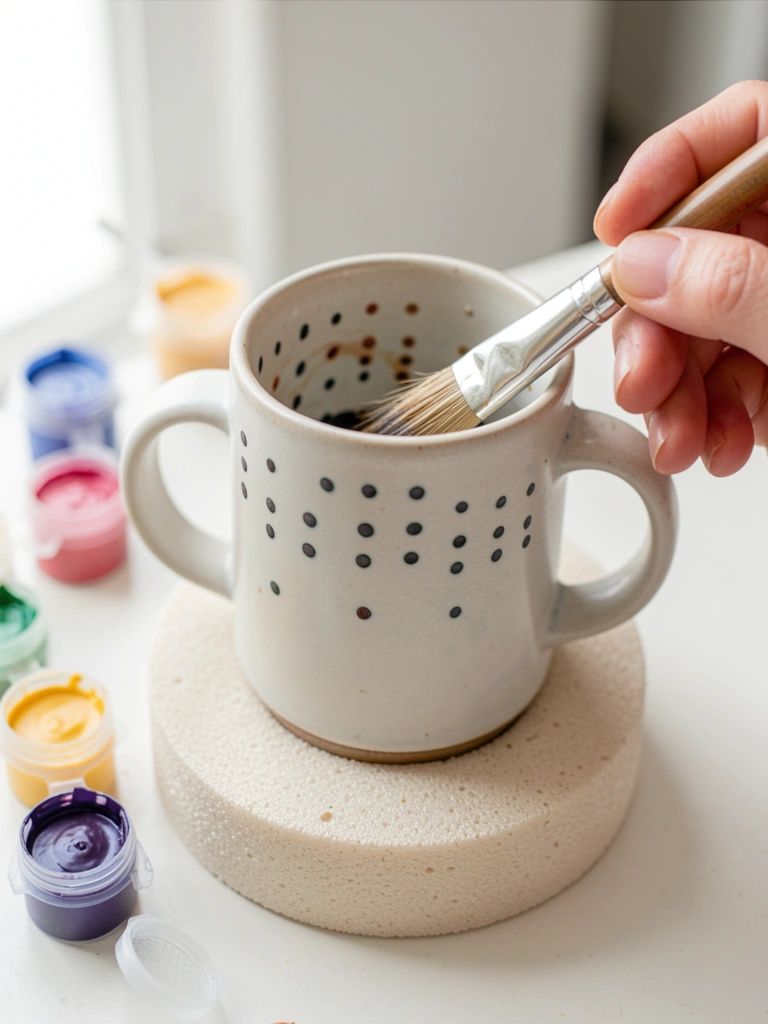
I started dotting with the brush tip and ended up with rings and blobs. Using the handle or a dotting tool makes sizes consistent. I rotate the mug slowly and aim for rhythm instead of perfect spacing.
This pattern is forgiving. Tiny spacing variations add charm. I found marking faint pencil ticks helps if you want precision.
Mistake I made: starting with too much paint on the tool; each dot should be a small pick-up to avoid drips and clumps.
What You'll Need for This
- Paintbrush handle or dotting tool
- Small round paint
- Pencil for light ticks (optional)
- Mug turner or foam ring
4. One-Stroke Hand Lettering for Warm Quotes
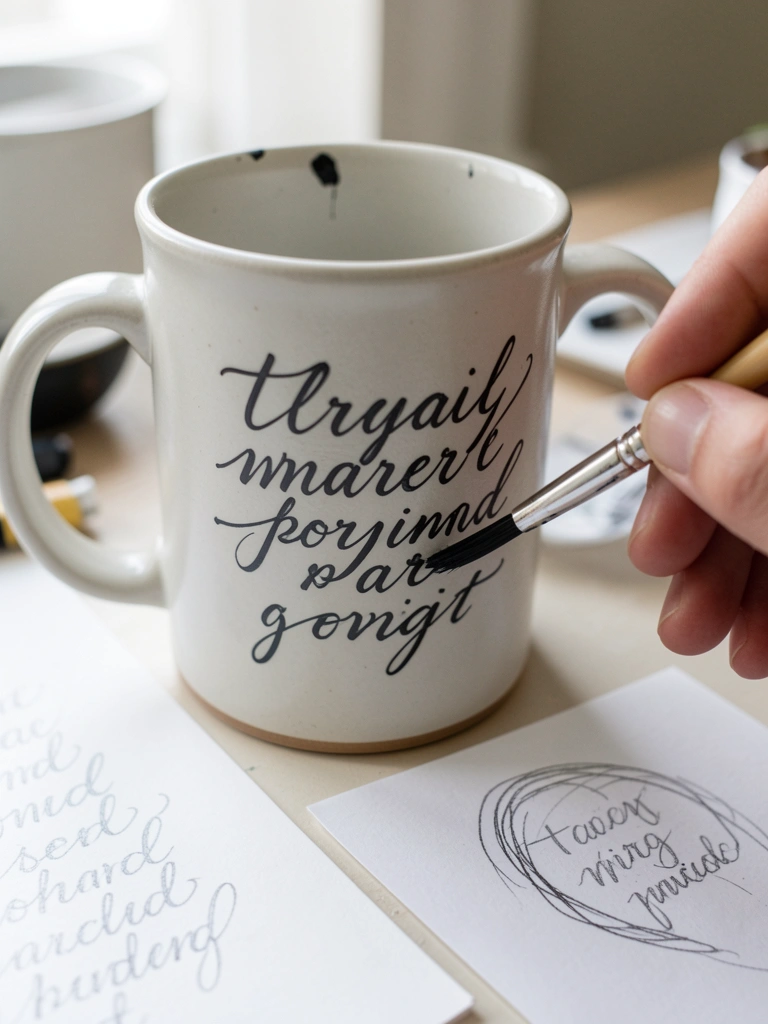
I practiced lettering on paper for a week before touching a mug. One fluid stroke looks best for script. I paint the longer strokes first and fill in weights with a touch of extra paint, keeping curves loose.
If I press too hard, the letters thicken awkwardly. Light pressure and confident motion keep the script friendly. I accepted imperfect letters; they feel handmade.
Before you start, sketch the phrase lightly in pencil. Wipe mistakes while wet; once cured you can clean up edges with a tiny liner.
What You'll Need for This
- Liner brush (size 0–2)
- Acrylic/ceramic paint
- Pencil for sketching
- Small cup of water and paper towel
5. Soft Steam Lines with Dry Brushing for Subtle Texture
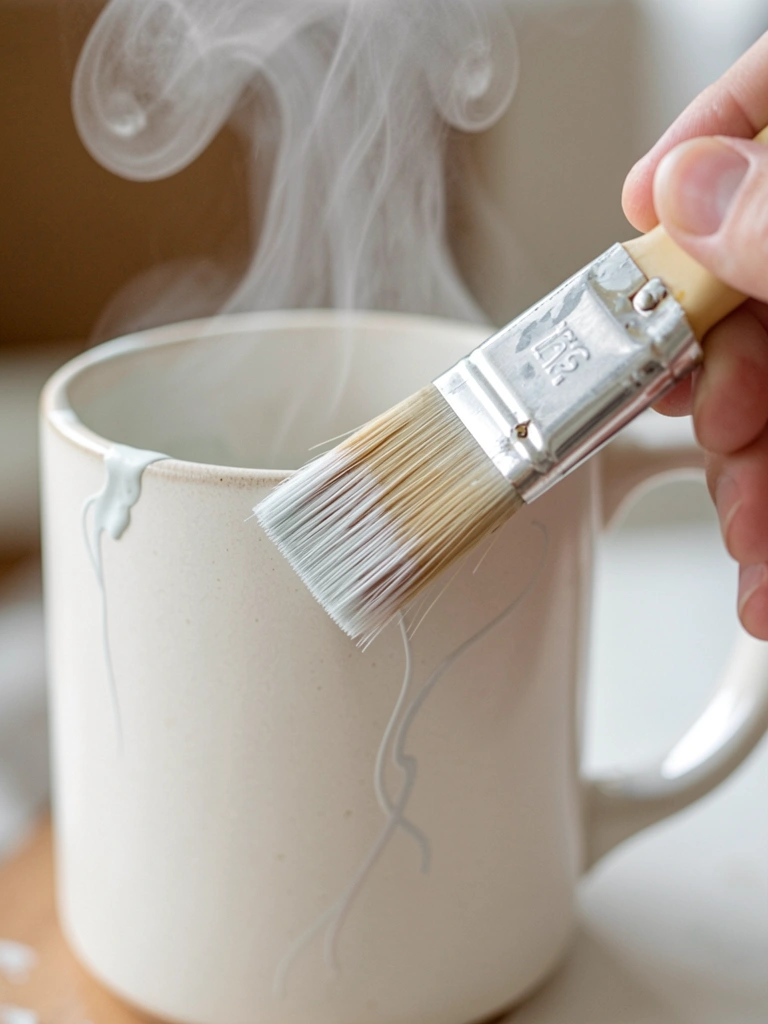
I wanted steam that looked soft, not pasted-on. Dry brushing pulls a faint veil of paint and reads like steam. Load the brush, wipe most off, then sweep gently in a curved motion.
It’s delicate—less is more. I often made the first line too dark; blending it out with a clean, almost-dry brush saved it.
Practice the sweep on paper. Clean the brush between passes so the lines stay airy and don’t become streaky.
What You'll Need for This
- Dry flat or fan brush
- Thinned paint in muted white or gray
- Paper towel
- Practice paper
6. Watercolor-Style Wash on Ceramic (Controlled Bleed)
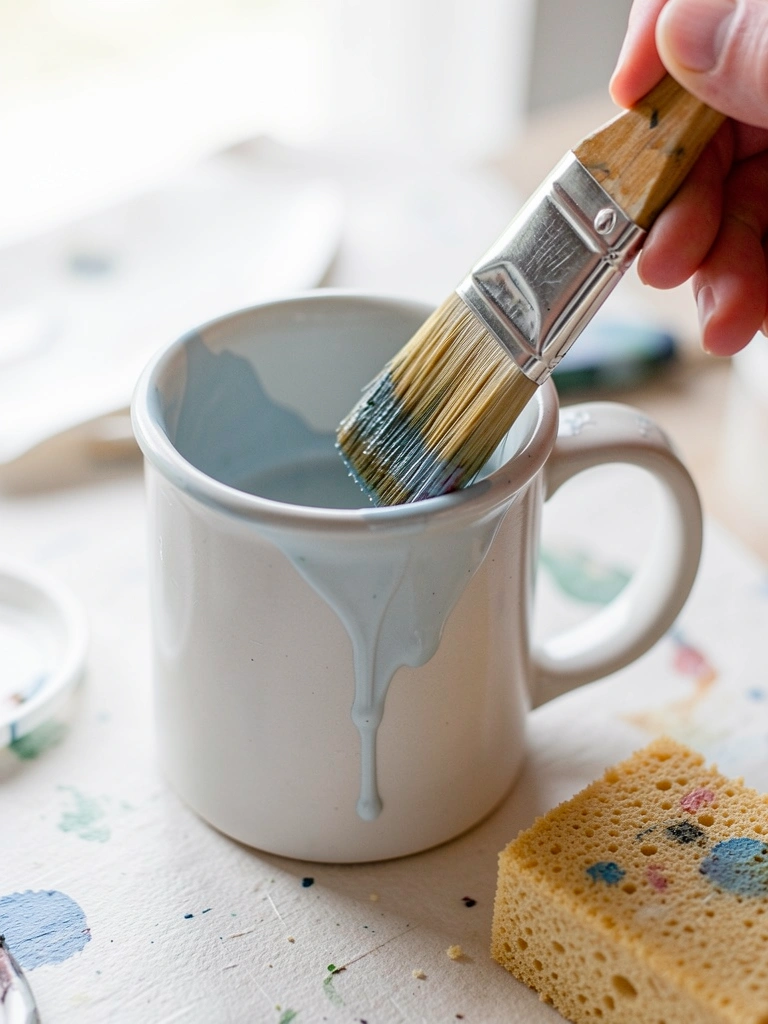
I thought thin equals easy. On glossy ceramic, it beads or runs. I learned to scumble a light wash, then quickly blot with a damp sponge to soften edges. That gives a watercolor look without full wet-on-wet chaos.
Sometimes the wash runs into the handle area. I keep the mug level and work in short sections. If it runs, I blot and let it dry before correcting.
Use very watery paint and test on a scrap. The softer edges read delicate and cozy once you control the flow.
What You'll Need for This
- Large soft brush
- Watered-down acrylic or gouache
- Damp sponge or paper towel
- Scrap ceramic for testing
7. Crisp Bands with Painter’s Tape and Edge Sealing
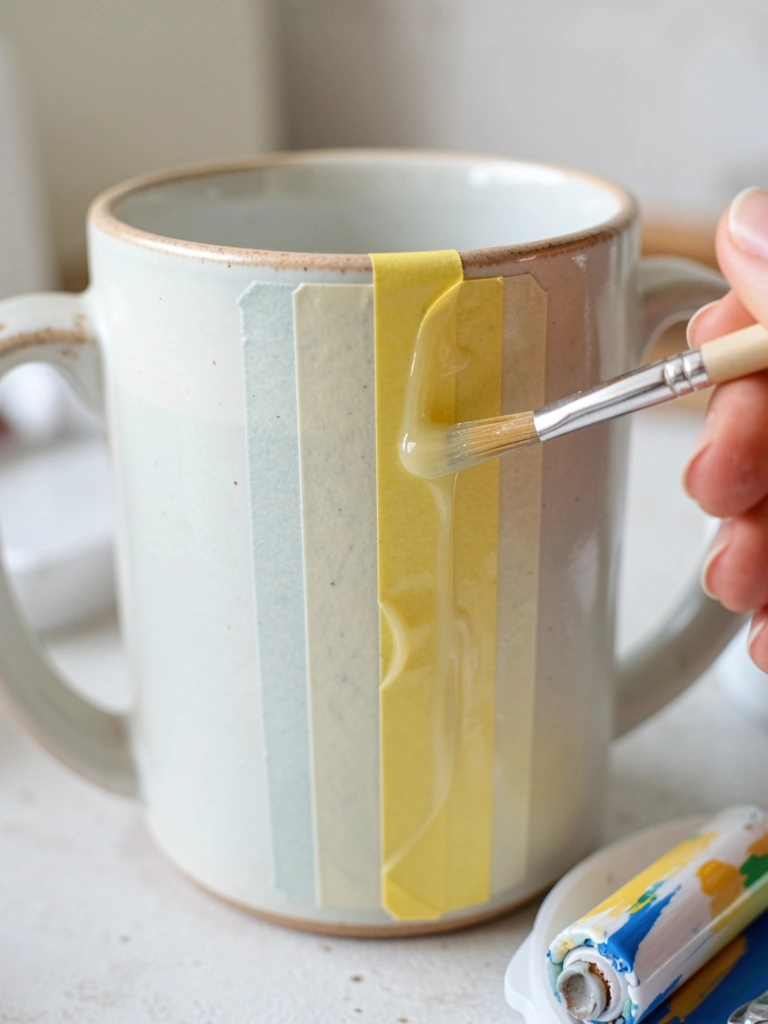
My first taped mug bled under the tape. I now seal tape edges with a clear medium (or the base color) before painting the contrasting band. That blocks paint bleed and keeps lines crisp.
I paint the band in one smooth pass and remove the tape while paint is tacky. Waiting too long lifts paint.
Tip: use low-tack tape and press edges firmly. This technique makes graphic mugs that still feel handmade.
What You'll Need for This
- Low-tack painter’s tape
- Small brush for sealing
- Acrylic or ceramic paint
- Palette knife or smooth roller (optional)
8. Tiny Palette Knife Texture Accent (I Ruined One but Learned Fast)
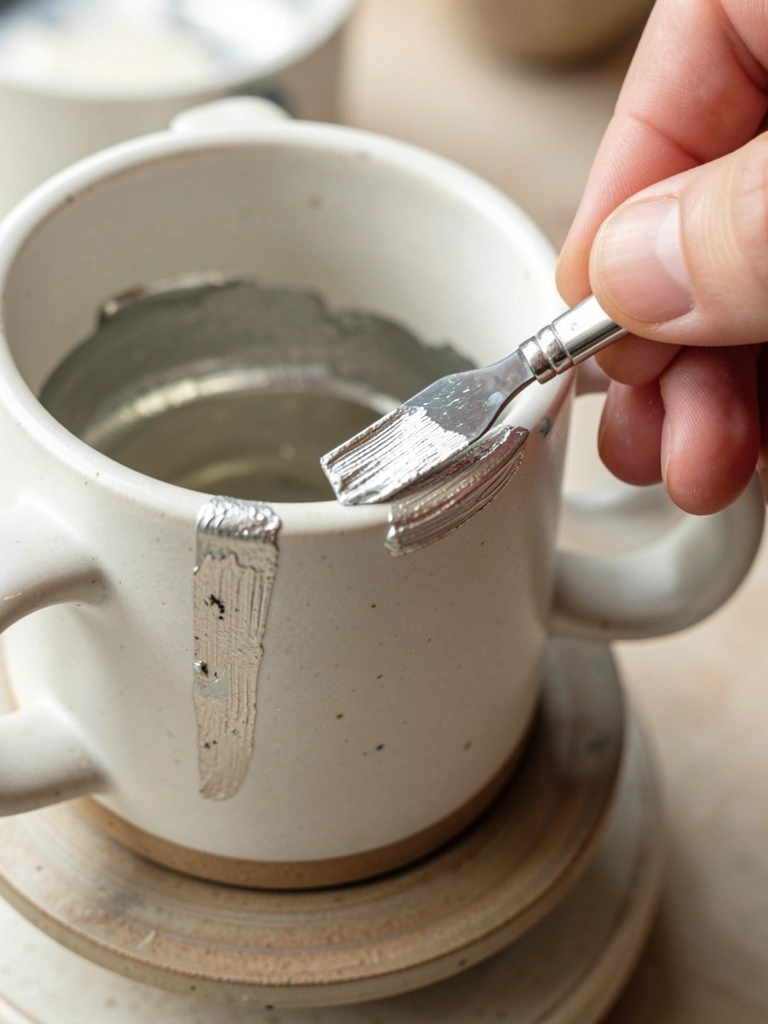
I once gouged a mug by pressing too hard with a knife. Now I use a small palette knife to drag small textured accents—short strokes, light pressure. The texture reads modern and tactile around a handle or rim.
Work in thin layers. Thick knife marks can crack if the paint isn’t flexible. I loved the accidental scrape once I learned to control pressure.
Keep the strokes short and deliberate. A little metallic dragged over matte paint looks like an intentional highlight.
What You'll Need for This
- Small palette knife or painting knife
- Thick acrylic or modeling paste for texture
- Metallic or contrasting paint
- Mug turner
9. Rim Skyline Silhouette with a Thin Liner
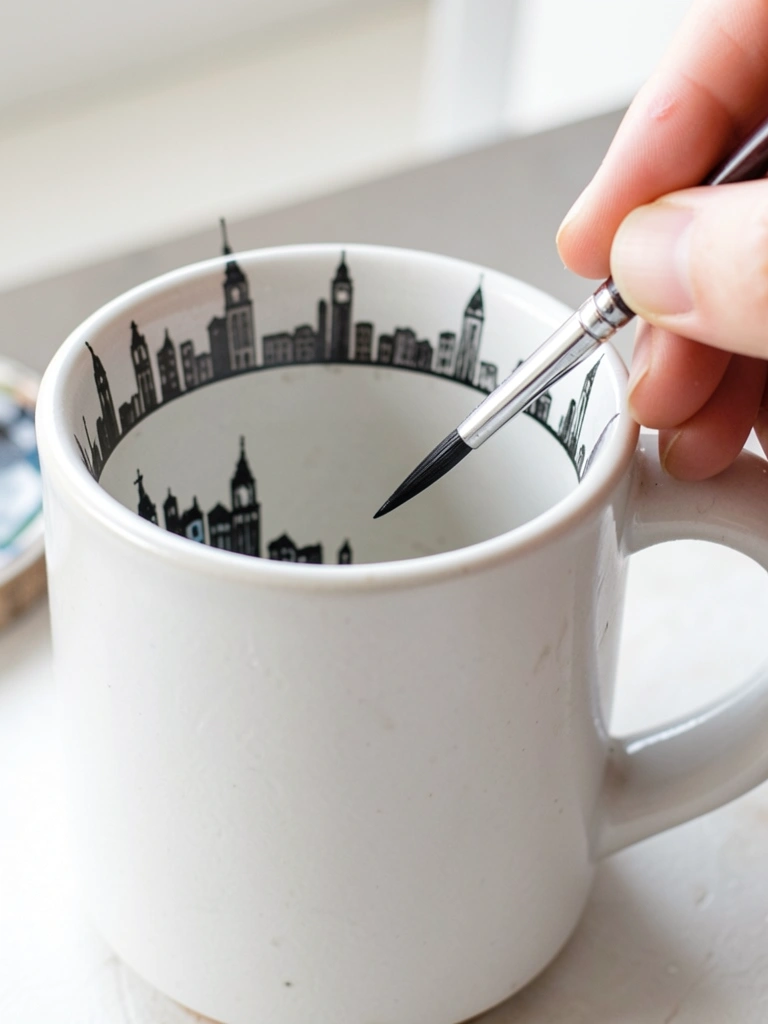
I sketched tiny buildings first. Painting a continuous skyline around the rim with a liner feels meditative. Start with the highest point and move around the mug, keeping the base line lightly anchored.
If you lose your place, a faint pencil guideline helps. Small windows and chimneys are made by tiny dot and dash strokes rather than complex shapes.
The silhouette works well in one color for contrast. Keep your wrist steady and rotate the mug, not your brush, for cleaner lines.
What You'll Need for This
- Liner brush (size 0–1)
- Black or dark paint
- Pencil for sketching
- Mug turner or foam ring
10. Thin Metallic Wash Layered Over Matte Base
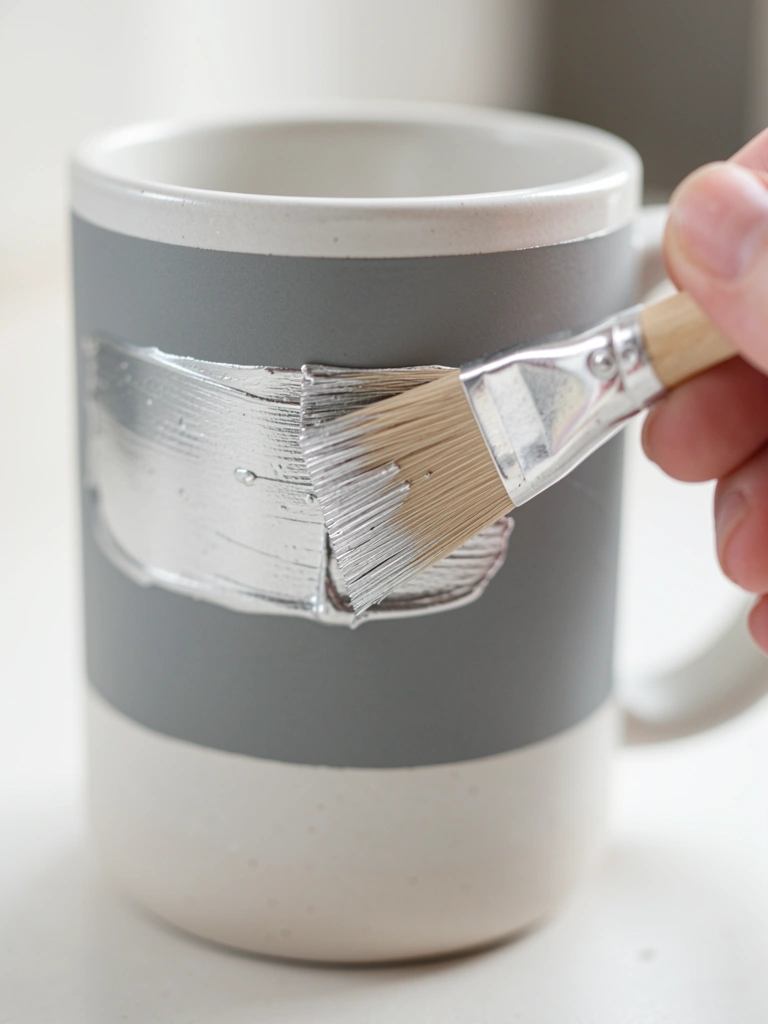
I used to glob metallic paint, and it pooled. I now thin metallics slightly and glaze them over a matte base for subtle shimmer. A thin wash catches light without chunky flakes.
Layering matters: let the base tack up, then brush on the thin metallic in long strokes. If the metallic drags, add a tiny flow medium.
This gives a classy hint without full coverage. Use sparingly; one band or highlight is often enough.
What You'll Need for This
- Soft brush
- Metallic paint and flow medium
- Matte base paint
- Palette
11. Cozy Sweater Knit Pattern with Stipple Texturing
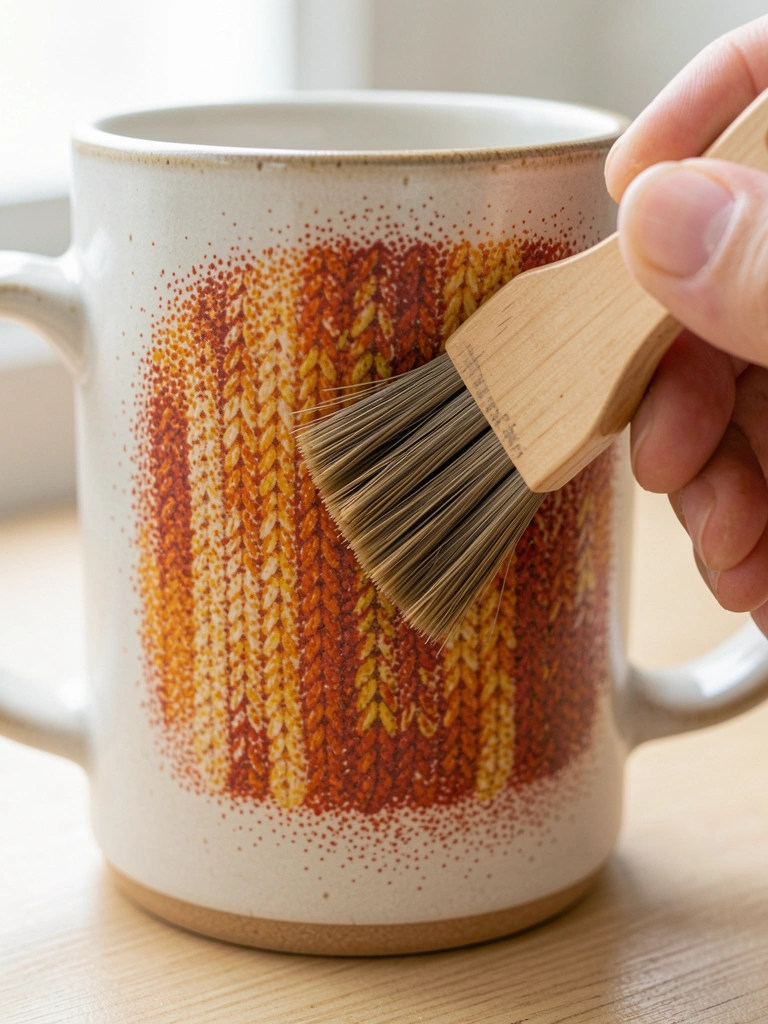
I wanted a sweater feel without carving. Stippling with a stiff round brush builds tiny, repeatable marks that read like knit. I layer two or three muted colors for depth.
I avoid perfect repetition; small irregularities sell the handmade look. When I tried rigid grids it read fake. Now I follow the curve of the mug to keep the illusion of wrap-around fabric.
Keep marks small and build slowly. Too much paint on the brush makes blobs instead of texture.
What You'll Need for This
- Stiff round or filbert brush
- Three muted colors
- Palette
- Paper towel for wiping
12. Wet-on-Wet Ombre Band (Be Careful of Muddy Colors)
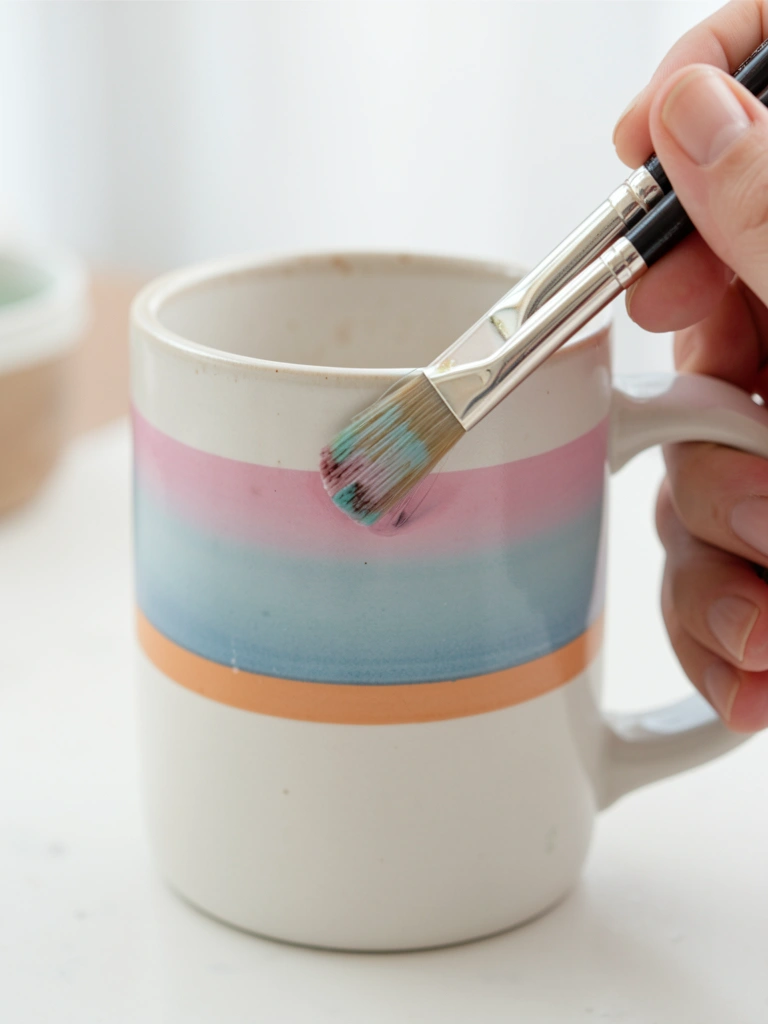
I tried a full wet blend on a cheap paint mix and got muddy greens. The fix: plan your colors—two adjacent hues on the color wheel blend cleanly. Load two brushes and meet in the middle, pulling one color into the other while both are wet.
Work fast and in short sections. If you overwork the center it flattens and muddles. When it’s nearly blended, lift the excess with a clean brush to keep the transition soft.
Practice the timing on a test cup before committing to your favorite mug.
What You'll Need for This
- Two soft brushes
- Two compatible acrylic colors (adjacent on wheel)
- Water and palette
- Test ceramic or paper
13. Single-Line Minimal Face Drawing for a Modern Look
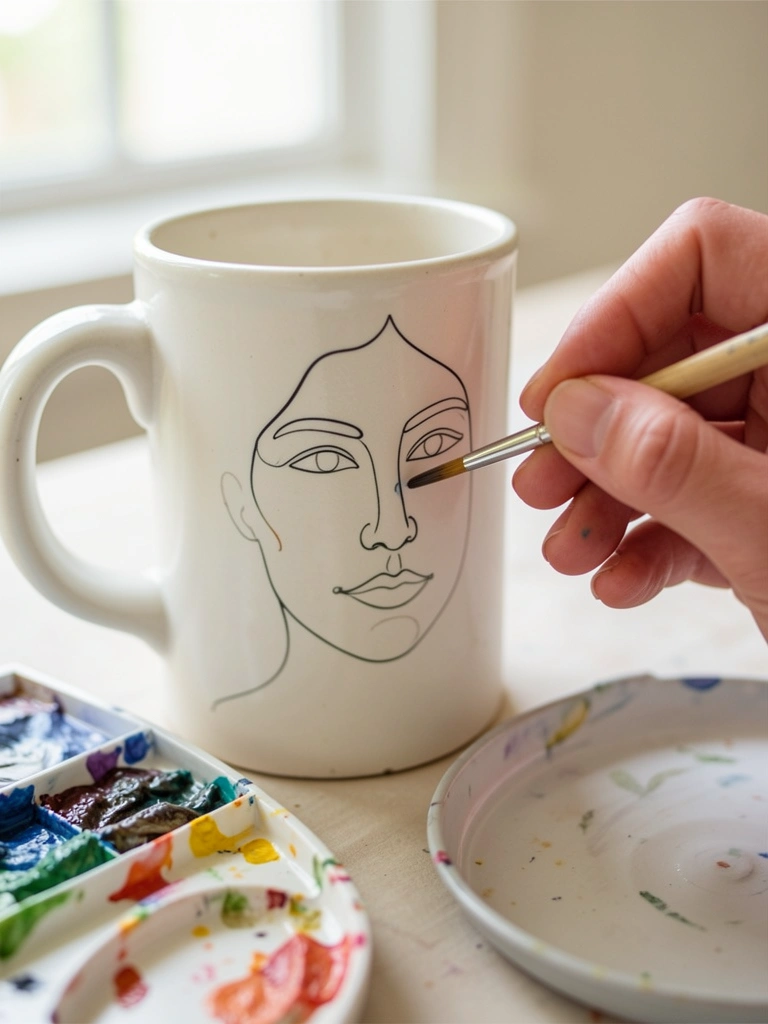
I sketched a continuous face many times before a steady hand said yes. The trick is planning the route on paper. I map the start and end points lightly on the mug and then commit to one smooth stroke.
Small hesitations make the line waver. I taught myself to breathe and move my arm, not just the wrist. Imperfect bumps read like character.
If you mess up, wait until dry and paint a second thin line over it for confidence. The simplicity is forgiving.
What You'll Need for This
- Thin liner brush
- Single color paint
- Pencil for light guide
- Practice paper
14. Stamp and Sponge Background for Playful Texture
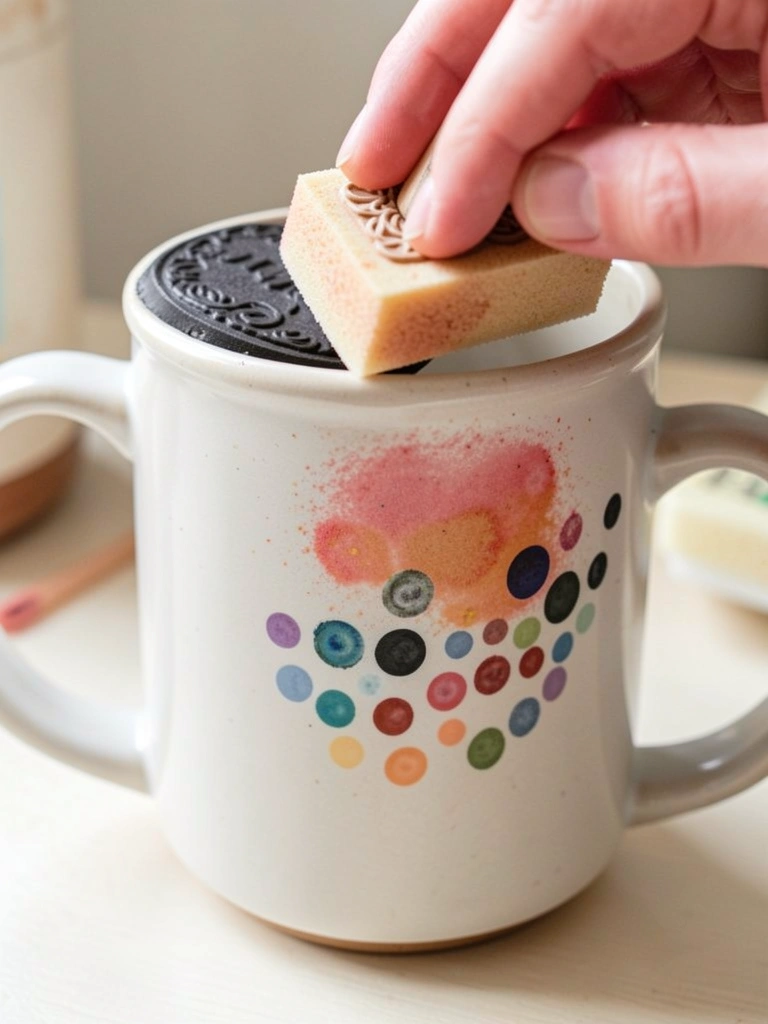
I used rubber stamps and kitchen sponges when I wanted quick, repeatable patterns. Stamp a simple motif, then sponge a soft background to tie everything together. It’s fast and cheerful.
Be careful with pressure; stamps transfer unevenly if you press too hard. I learned to lift and re-press rather than drag. Sponging adds texture and hides small stamp inconsistencies.
This is great for beginners who want a patterned mug without steady linework.
What You'll Need for This
- Small rubber stamps or foam stamps
- Sponge
- Paint suitable for stamping (slightly thicker)
- Palette
Final Thoughts
You don’t need flawless skills to make a mug you enjoy. I ruined a few to learn these small, practical fixes.
Pick one idea and try it. The goal is a cup you like using, not a perfect object.