12 Artistic Pouch Painting Ideas You’ll Love
I ruined a perfectly fine pouch the first time I tried an all-over wash. It bled, streaked, and I panicked.
After redoing backgrounds three times, I learned what simple control looks like on fabric. These ideas are the ones I actually use now.
Short, practical, and meant to get you painting the pouch instead of staring at it.
12 Artistic Pouch Painting Ideas You'll Love
These 12 techniques are compact, practical, and tested on real pouches. Each one is something I’ve painted, ruined once, and then fixed—so you get what works.
1. Soft Ombre Wash for Fabric Pouches
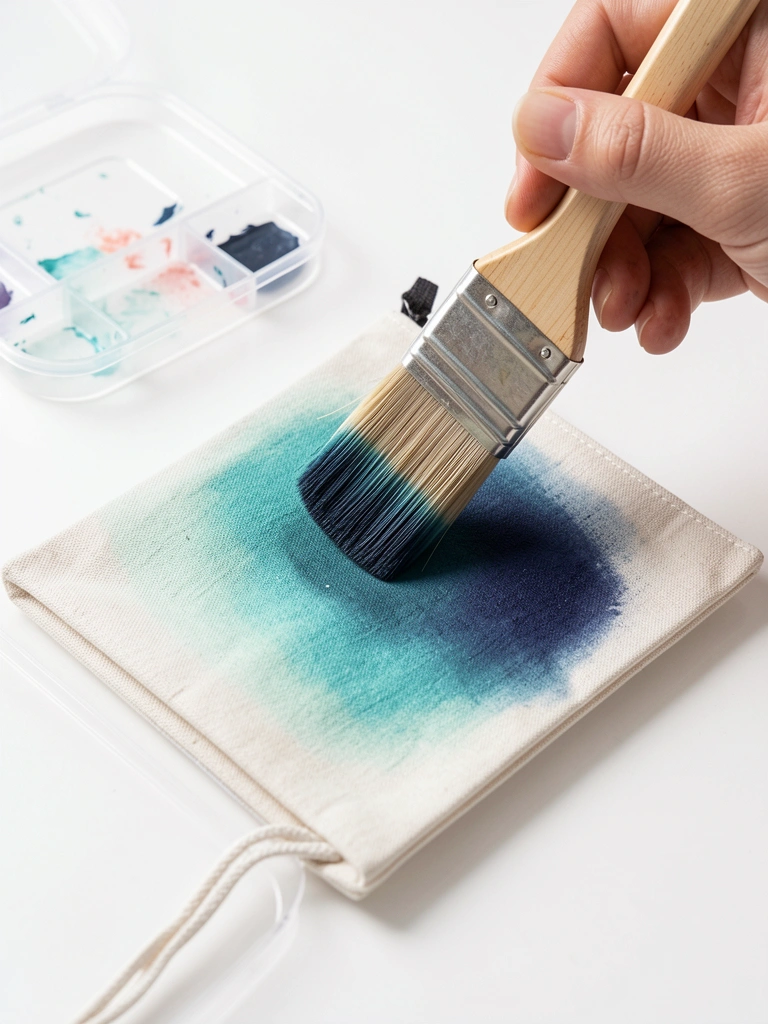
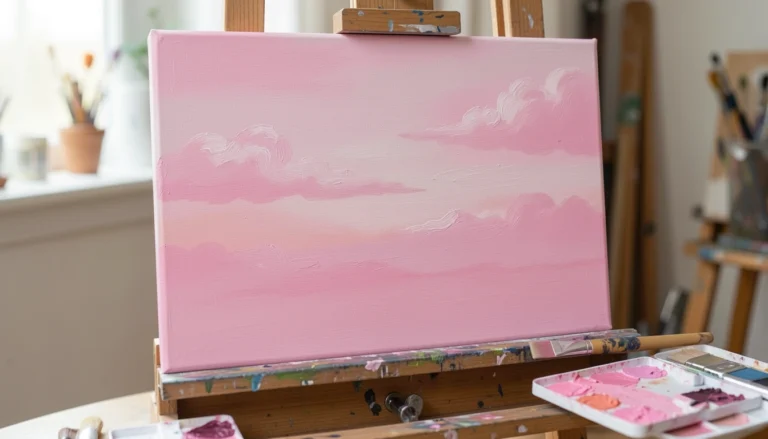
I started doing ombres when I needed quick backgrounds that looked thoughtful. A thinned acrylic or textile dye gives a soft sweep that reads well on small pouches.
I learned to work horizontally and keep a damp brush to avoid hard banding. Early attempts had streaks where the paint dried too fast.
Test the gradient on scrap fabric first. Pull the brush in long, confident strokes and rinse between shifts. Heat-set if the medium requires it.
What You'll Need for This
- Cotton or canvas pouch
- Thinned acrylic or textile dye
- Wide flat brush
- Water jar and palette
- Heat source (iron or heat gun) if required
2. Stenciled Motifs for Clean, Repeatable Patterns
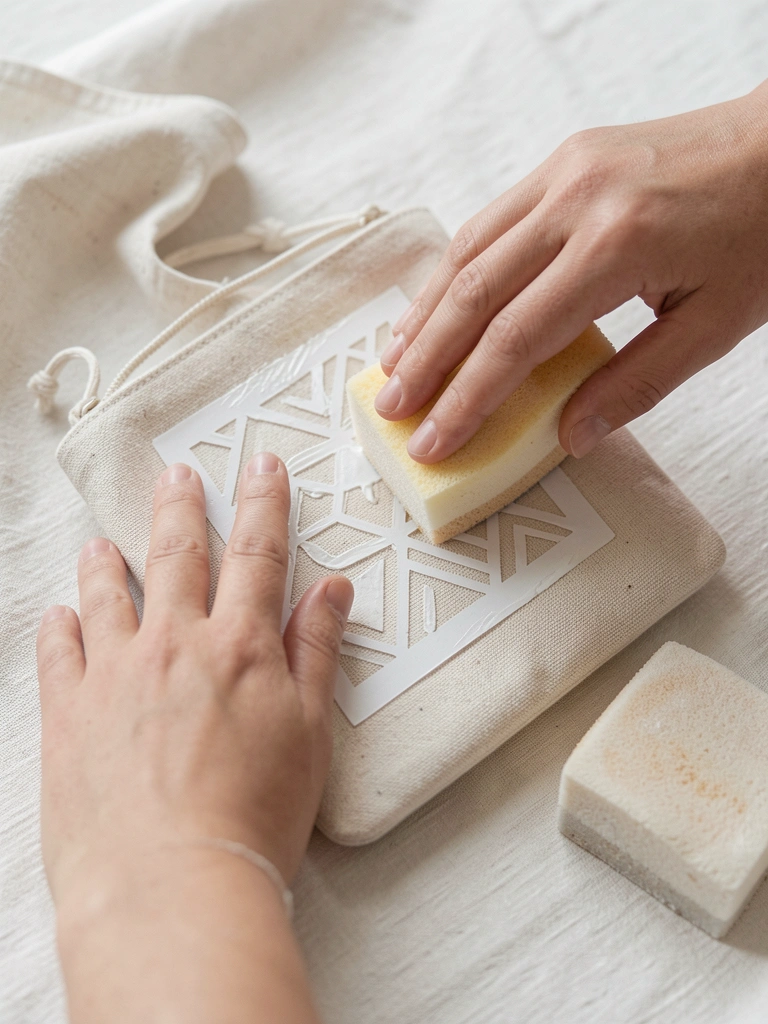
I use stencils when I want consistent icons across multiple pouches. Freezer paper or adhesive stencils keep edges crisp and save time.
My early stencils bled because I overloaded the sponge. I learned to pounce lightly and build up layers instead of flooding the edges.
Make sure the pouch is flat and taped down. Hold the stencil firmly and use a stippling motion. Remove stencil carefully once paint is semi-dry.
What You'll Need for This
- Fabric pouch
- Reusable stencil or freezer paper cutout
- Small sponge or stipple brush
- Low-heat iron or heat-set method (if needed)
- Painter’s tape
3. Fine Line Illustrations with Acrylic Ink
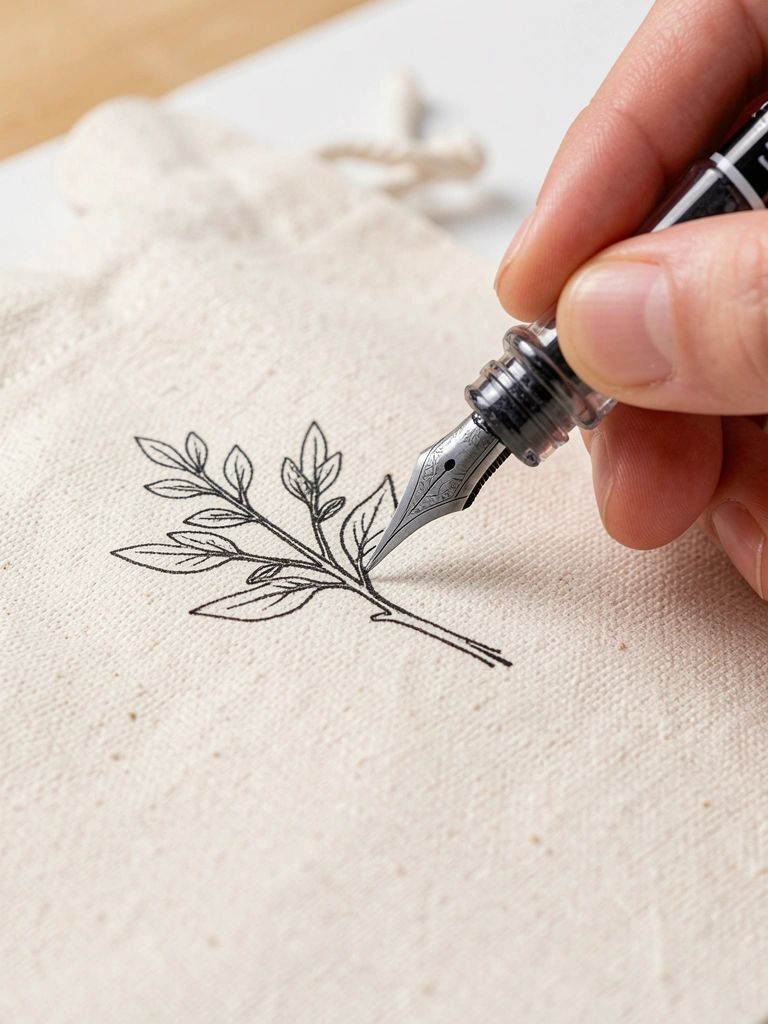
I switched to acrylic ink when my Posca pens dried out mid-project. Ink lets me draw precise lines and small details on textured fabric.
My first ink lines wobbled; I learned to anchor my wrist and make short confident strokes. Tiny practice panels helped me steady my hand.
Sketch lightly in pencil first. Use a small brush or nib for varying line weight. Let ink dry fully before adding highlights.
What You'll Need for This
- Canvas or cotton pouch
- Acrylic ink or paint marker with fine nib
- Pencil for light sketching
- Small rinse cup and cloth
4. Loose Botanical Washes with Gouache or Thinned Acrylic
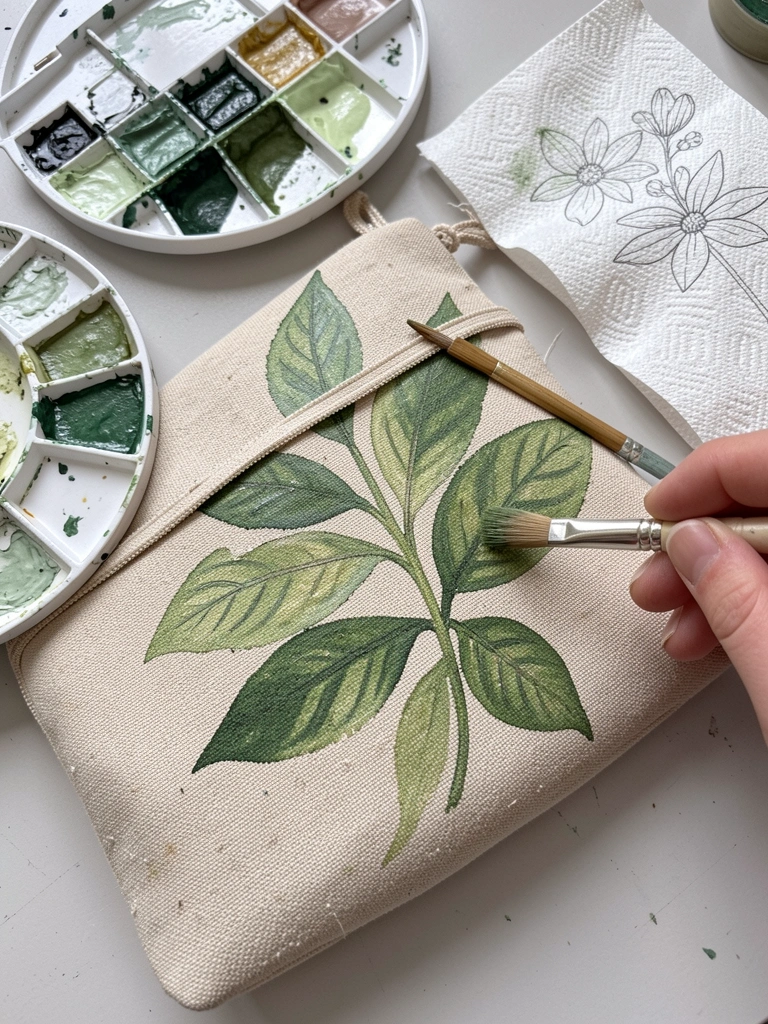
I love botanical pouches because they read well at small scale. Using gouache or thinned acrylic gave me soft edges and layered shapes quickly.
I once overworked a leaf and ended up with mud. I learned to let each layer dry and use fewer strokes for shapes.
Start with light leaf shapes, then add darker veins sparingly. Keep your brush slightly dry for textured edges. Finish with a tiny highlight to lift the form.
What You'll Need for This
- Cotton or canvas pouch
- Gouache or thinned acrylics
- Round brushes (size 4–8)
- Paper towel and mixing palette
5. Metallic Accents with Dry Brushing
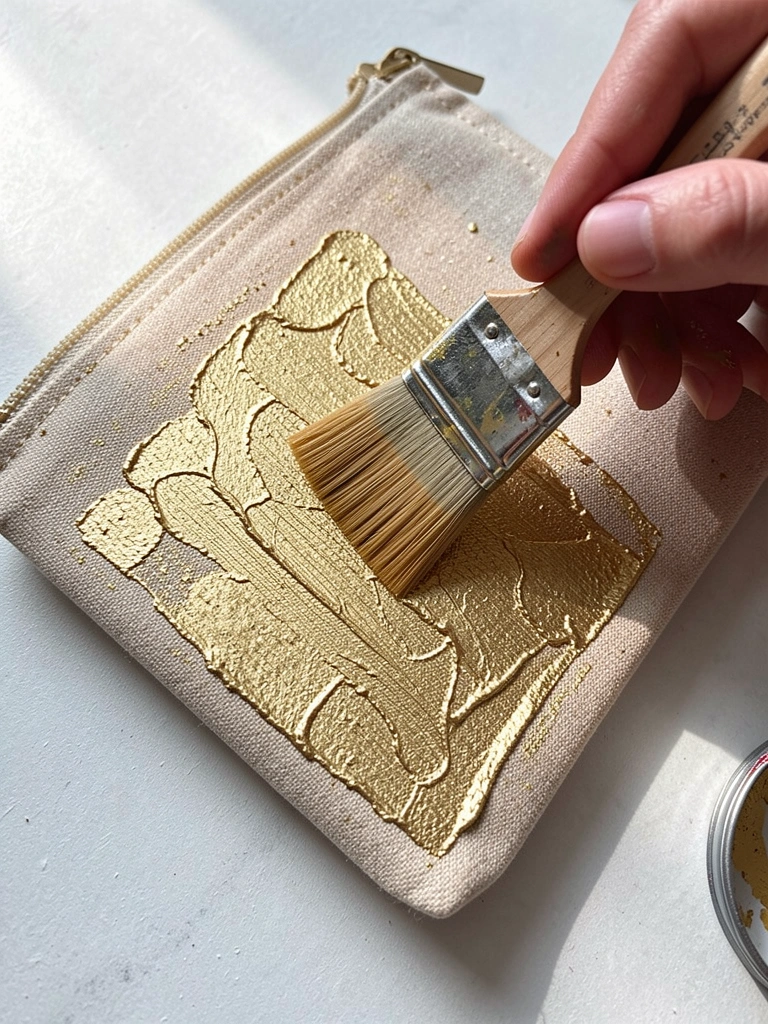
I add metallic touches to make a design pop without overwhelming the pouch. Dry brushing puts just a whisper of shine on raised areas.
I used too much metallic on one pouch and it looked heavy. Dry the brush well and drag lightly. Subtlety is the point.
Load a tiny amount on the tip, wipe most off, then sweep across texture. Let it catch on edges and threads for a lived-in shimmer.
What You'll Need for This
- Canvas or textured pouch
- Metallic acrylic paint
- Stiff fan or flat brush
- Paper towel for wiping
6. Textured Palette Knife Abstracts on Canvas Pouches
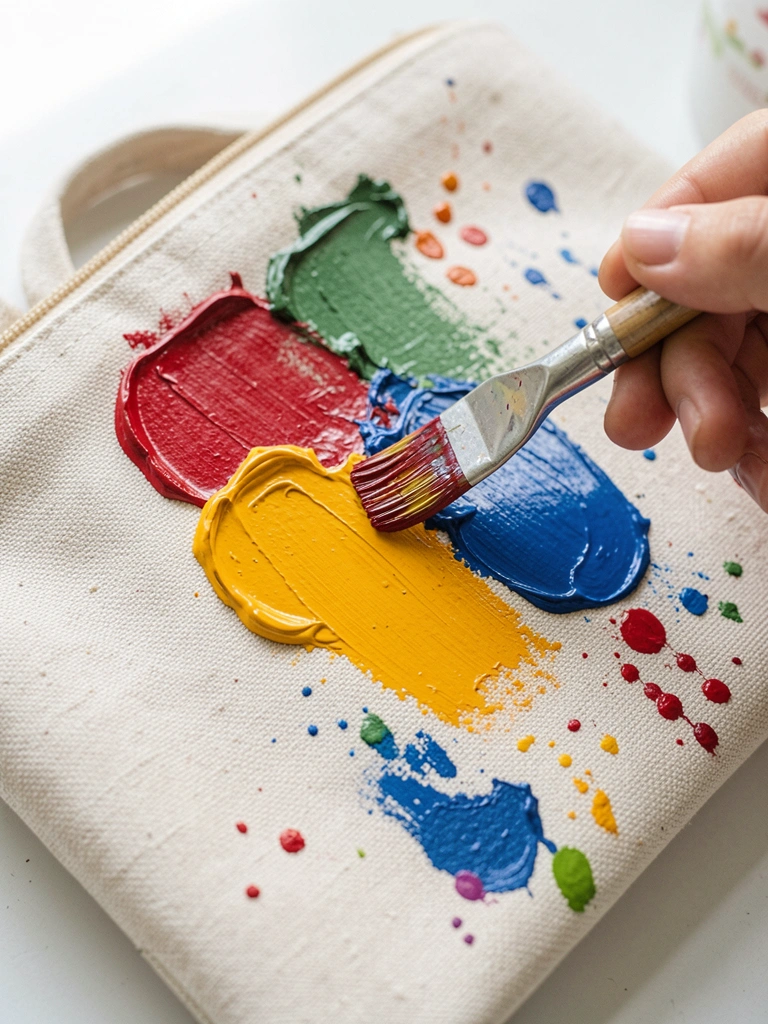
I tried palette knives on a pouch and loved the grit it added. Thick paint and scraping create small sculptural marks that read well up close.
My first attempt tore the lining because I used too much pressure. Keep strokes shallow and let texture build in thin layers.
Use a stiff-backed canvas pouch. Apply paint in layers, scraping and lifting. Let pieces dry between passes to avoid smearing.
What You'll Need for This
- Sturdy canvas pouch
- Heavy-body acrylics
- Small palette knife
- Protective surface and apron
7. Repeat Block Printing for Bold, Graphic Pouches
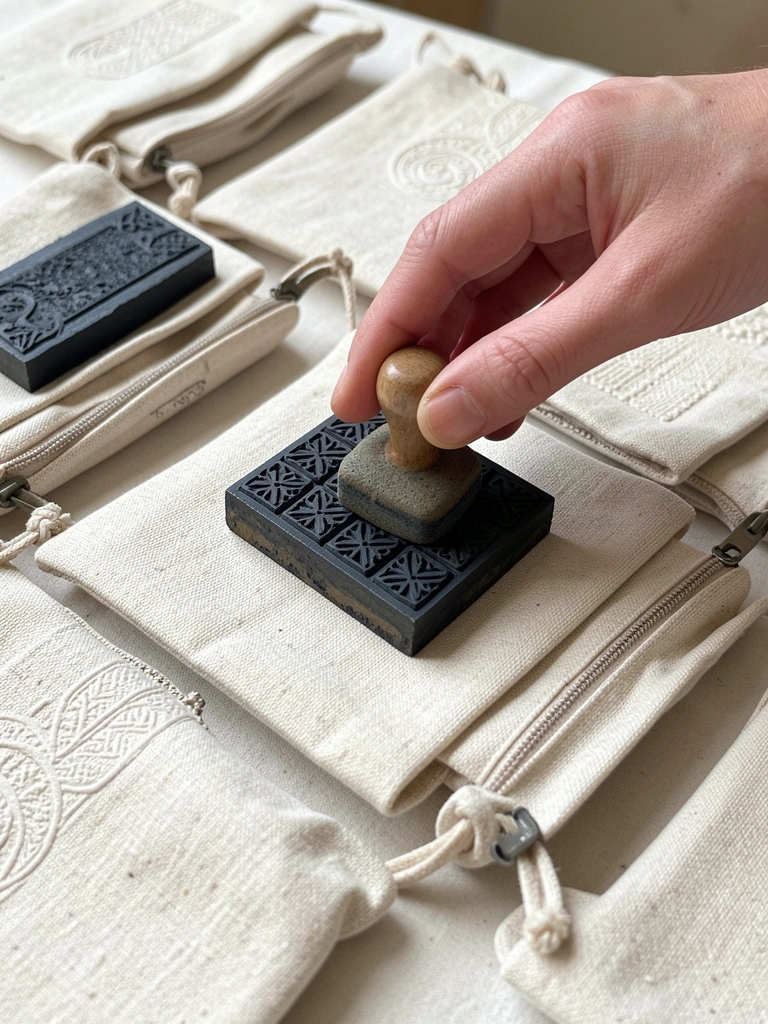
I carved a simple stamp to make a set of matching pouches. Block printing is forgiving and fast for repeats.
At first my impressions were uneven. I learned to ink evenly and press from the center out. A practice strip prevents surprises.
Use a foam or linoleum stamp and fabric ink. Lay the pouch on a firm board and press evenly. Rotate the stamp to create rhythm.
What You'll Need for This
- Fabric pouch
- Foam or linoleum stamp
- Fabric ink or pigment pad
- Hard backing board
8. Bleach-Resist Patterns on Dark Cotton
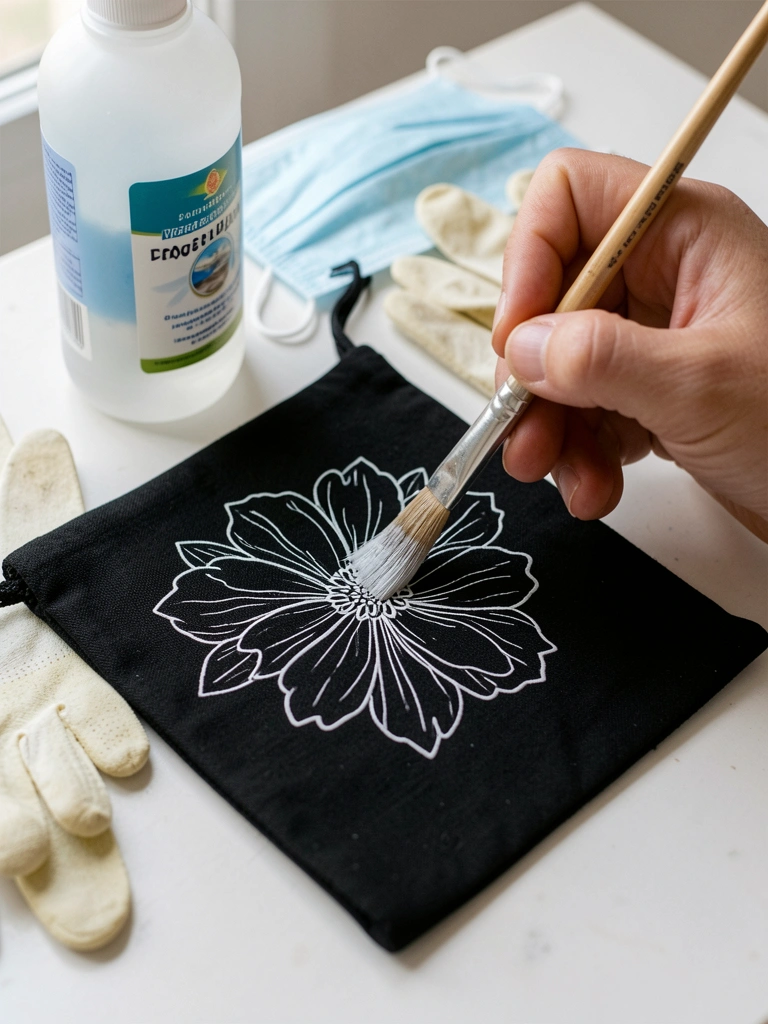
Bleach-resist gives dramatic contrast on dark pouches. I controlled lines with a small brush and diluted bleach for softer fades.
I once left bleach too long and weakened the fabric. Always test and blot quickly. Work outside or with ventilation and gloves.
Apply bleach sparingly, then neutralize with water and a touch of vinegar. Rinse and dry before sealing or painting over the area.
What You'll Need for This
- Dark cotton pouch
- Household bleach and water
- Small brush, gloves, ventilation
- Water for rinsing and neutralizing
9. Mini Landscape Scenes with Layered Depth
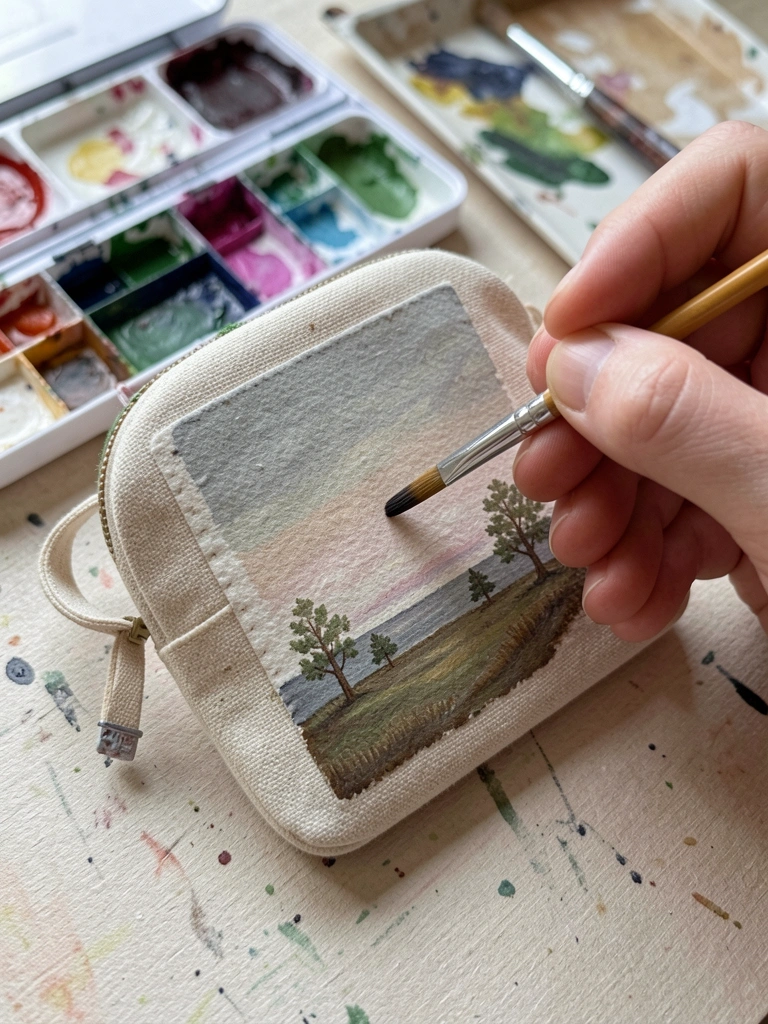
I pack a whole scene into a pouch by thinking in planes: background, middle ground, foreground. Layering gives depth even at small scale.
My early color mixes turned muddy when I overlaid opaque tones. I now plan value first and keep layers thin.
Start with a light sky wash, then add darker shapes. Keep edges varied and include a tiny focal point. Let layers dry to keep colors clean.
What You'll Need for This
- Canvas or cotton pouch
- Thinned acrylics or gouache
- Round brushes (sizes 2–6)
- Palette and water jar
10. Monochrome Value Studies to Strengthen Contrast
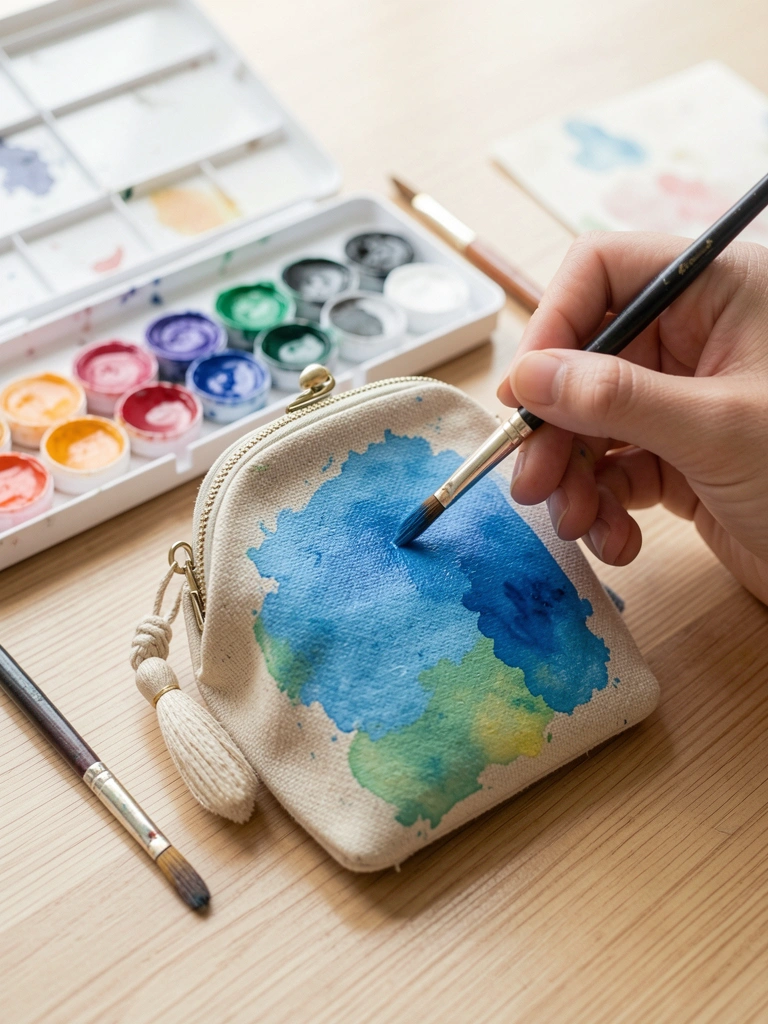
I practice monochrome pouches when I want to focus on value, not color choices. One pigment lets me see where contrast wins or fails.
I used to pick colors that matched but lacked contrast; everything looked flat. Monochrome taught me where the darks and lights must sit.
Mix a value range on your palette. Paint the darkest shapes first, midtones next, and scrape a small highlight with a damp brush at the end.
What You'll Need for This
- Cotton or canvas pouch
- One pigment (acrylic or gouache)
- Small brushes and palette
- Water jar and cloth
11. Hand-Lettered Quotes with Paint Markers
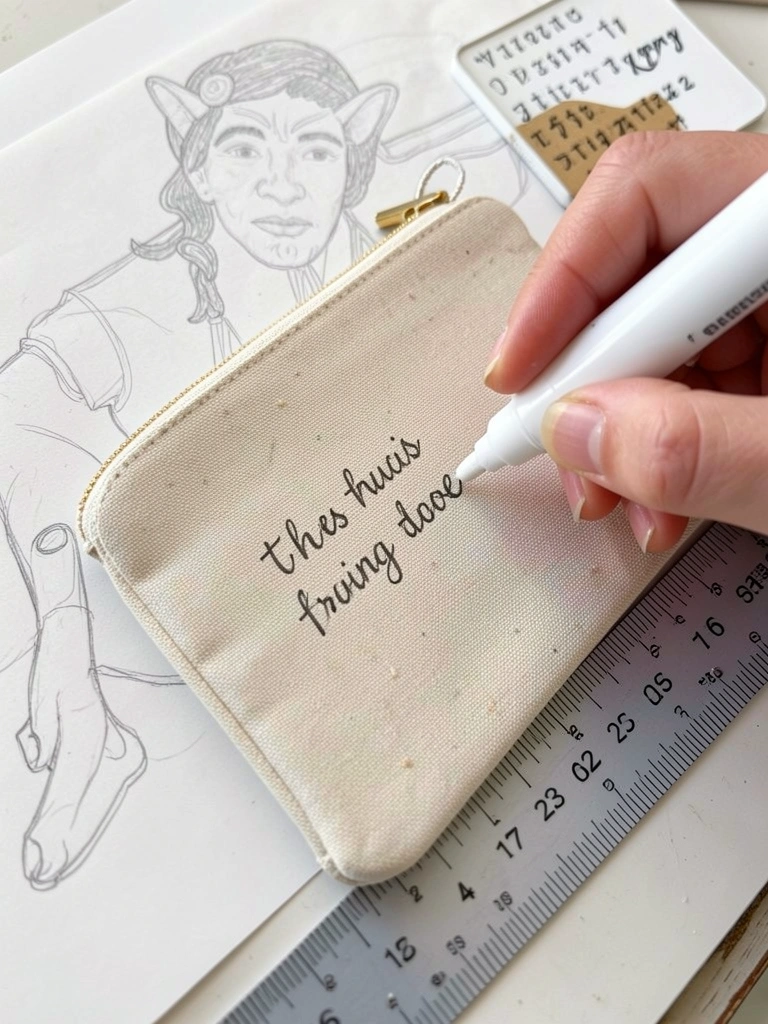
I add short phrases to pouches using paint markers when I want clean, readable text. Lettering makes a pouch personal and small-scale friendly.
My early letters looked shaky until I learned to sketch and measure spacing. I now pencil layout first and build letters slowly.
Use a light pencil guide, then trace with a steady paint marker. Let letters dry, then add tiny shadows or dots for polish.
What You'll Need for This
- Canvas or cotton pouch
- Paint markers (fine and medium tips)
- Pencil and eraser
- Ruler or guide strip
12. Painted Appliqué Panels Sewn onto Pouches
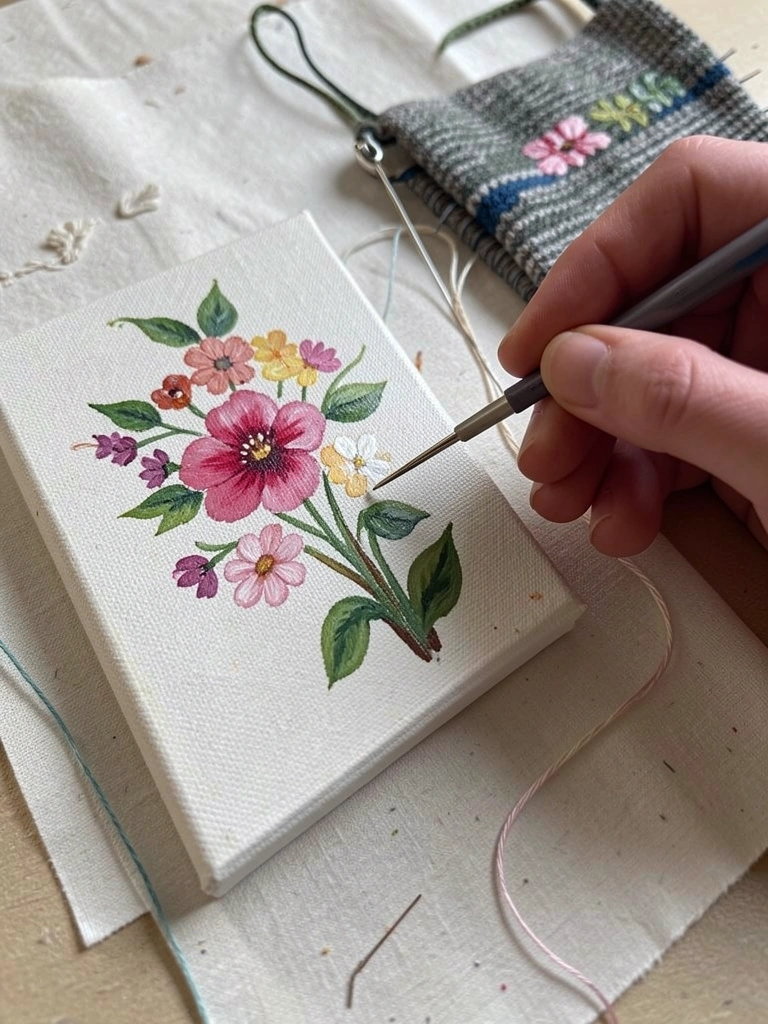
I paint small panels on canvas, then sew them onto simpler pouches. It keeps details intact and avoids painting around zippers or seams.
I once painted directly over a zipper and it puckered. Panels let me work flat and avoid that mess.
Trim and back your painted panel, then hand-stitch or machine-sew it onto the pouch. It’s a good way to preserve fine brushwork on soft materials.
What You'll Need for This
- Small canvas or heavyweight fabric panel
- Acrylics or gouache
- Needle and thread or sewing machine
- Scissors and backing fabric
Final Thoughts
Painting pouches is forgiving and fun. I learned to keep things small, test first, and accept a few ruined pieces along the way.
You don’t need perfect tools. Start with one idea, practice it on scraps, and build from there. I promise the next pouch will be better.