16 Gorgeous Flower Vase Painting Ideas for DIY Decor
I ruined several canvases learning to paint vases and flowers.
My mixes went muddy, edges turned stiff, and I wasted a lot of paint.
I redid backgrounds three times, swapped brushes, and slowly figured out what actually works.
I'll share 16 practical ideas I used so the next painting feels doable.
16 Gorgeous Flower Vase Painting Ideas for DIY Decor
These 16 techniques are practical, hands-on, and tested. I'll show what actually helped me and what to watch for when painting vases and flowers.
1. Blocking in the Vase Silhouette First for Clean Composition
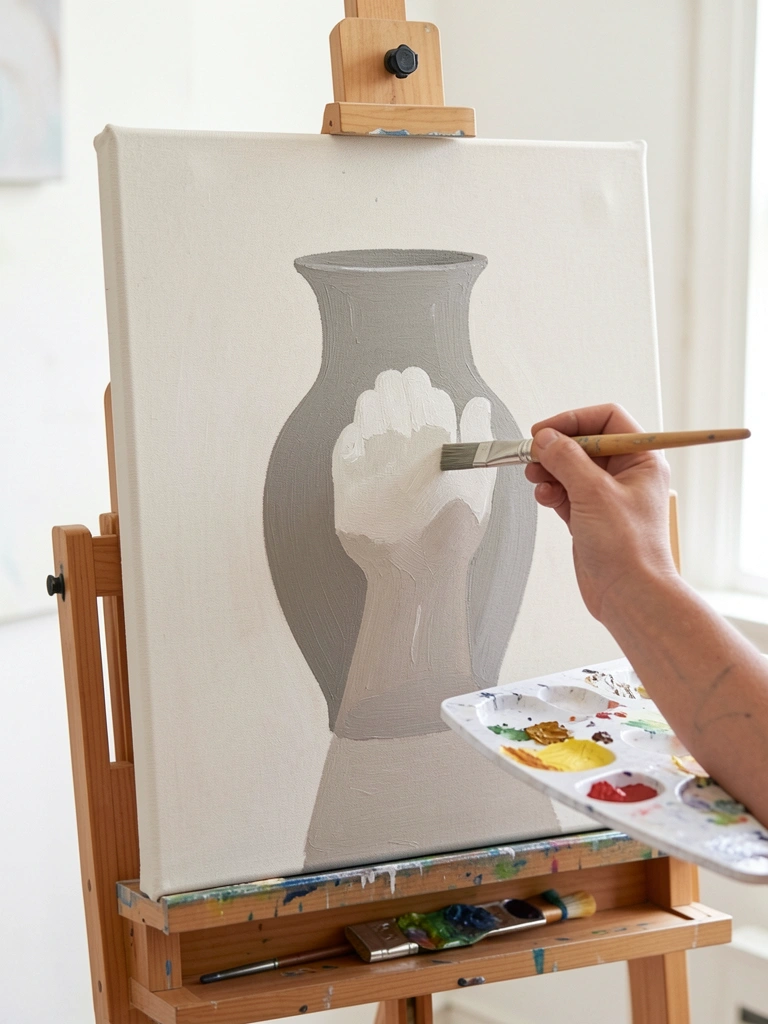
I start by blocking the vase silhouette in a single flat tone. It forces a clear shape and keeps the background from swallowing the vase later. My first vases used sketch lines and I kept changing them — that ruined more than one painting.
Seeing the silhouette early helps me balance flowers around negative space. I tweak the vase size quickly before adding petals. This simple step saved me time and stopped me from overworking edges.
What You'll Need for This
- Canvas or heavy paper
- Flat synthetic brush
- Mid-tone acrylic or gouache
- Palette and palette knife
2. Wet-on-Wet Floral Washes for Soft Petal Shapes
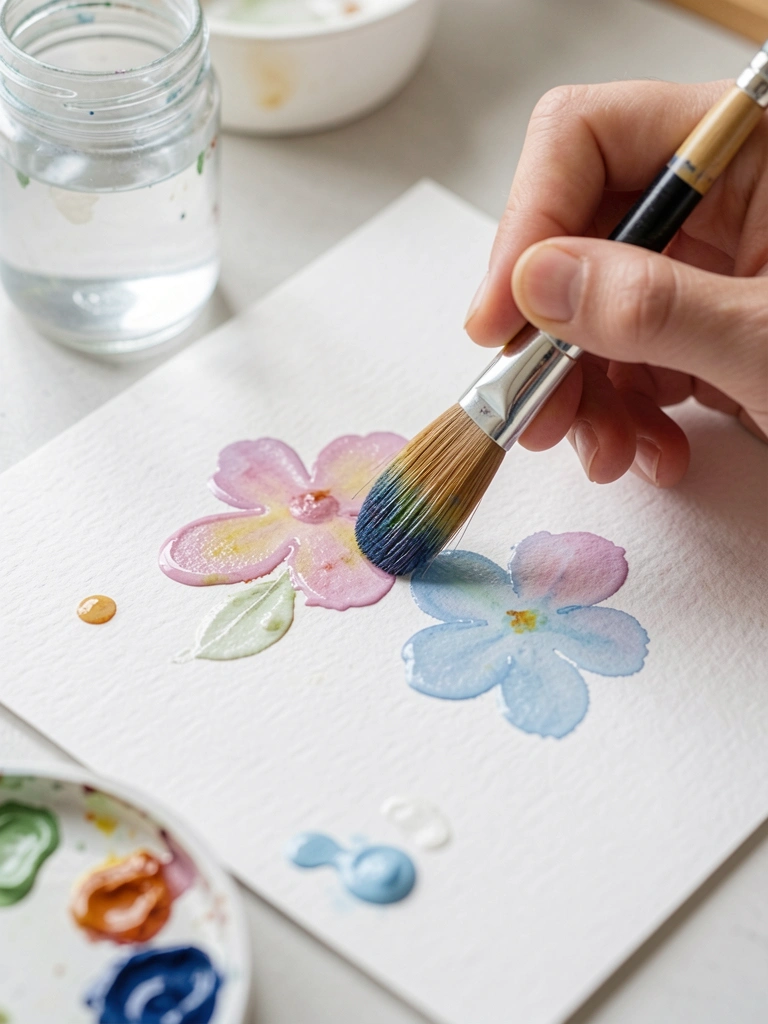
I use watered-down acrylics or gouache to lay in soft petal shapes while the surface is damp. My first attempts turned into muddy blobs when I overbrushed. I learned to trust the wash and stop while shapes felt soft.
This wet-on-wet approach gives a gentle base I can layer over later. I wait until the first wash is tacky before adding details. That restraint cut down on frantic blending and retained fresh color.
What You'll Need for This
- Heavy cold-press paper or primed panel
- Round mop or large round brush
- Acrylics or gouache thinned with water
- Spray bottle (optional)
3. Warm Underpainting for Depth in Vase Reflections
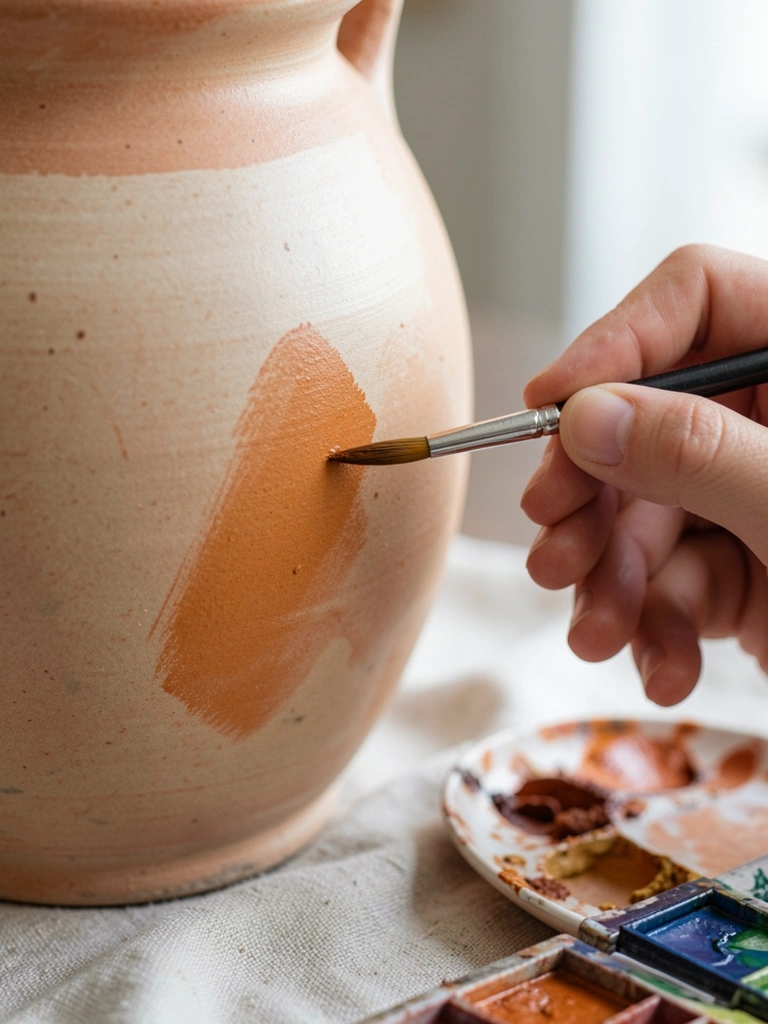
I began using a warm underpainting to map reflections and shadows inside the vase. At first I thought underpainting was extra work, but it gave the final paint something to sit on and stopped colors from feeling flat. The warm tone peeking through makes glass and ceramic feel dimensional.
I keep the layer thin and let it dry before glazing. That way later colors read richer without getting muddy. The trick is restraint: thin layers, clear values.
What You'll Need for This
- Thin wash of burnt sienna or warm ochre
- Soft filbert brush
- Canvas or panel
- Rag for wiping
4. Palette Knife for Textured Petals and Vase Highlights
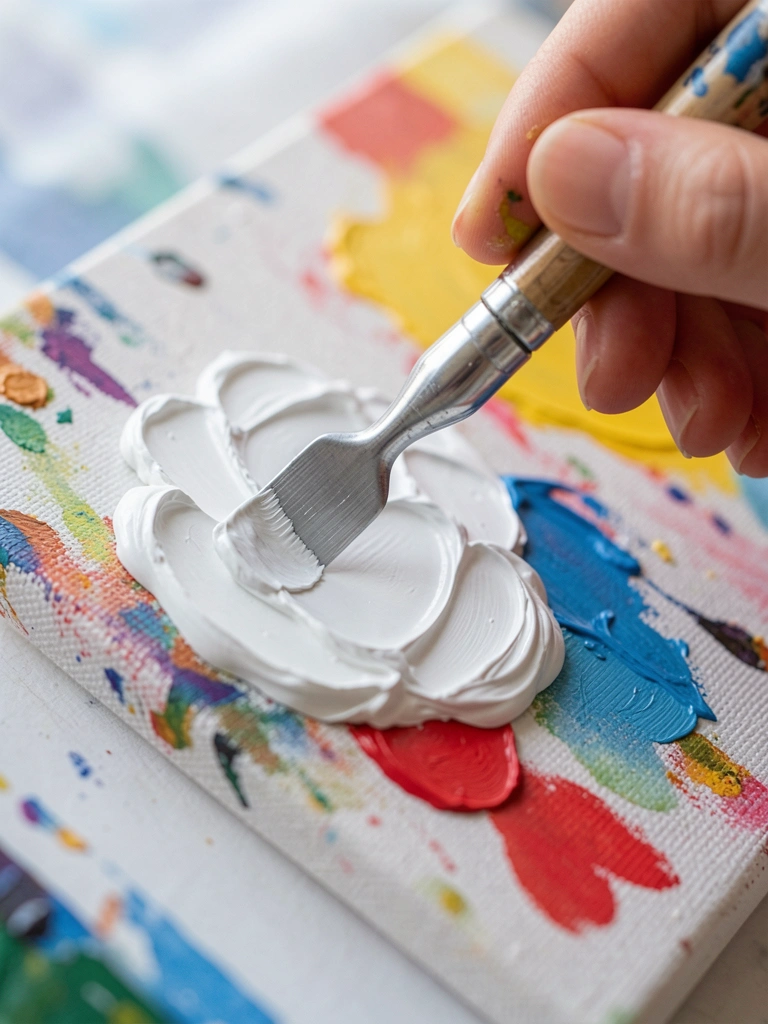
I used a palette knife when I wanted bolder, tactile petals. My early knife marks were muddy because I scraped wet layers. I learned to reserve knife work for the final, dryer layers so the texture reads clean.
A thin base with brushwork, then lifted knife strokes for highlights, gave me convincing petals and reflective vase edges. The physicality of the knife adds a lively surface that catches light in photos and real life.
What You'll Need for This
- Palette knife
- Heavy body acrylic or oil paint
- Primed canvas or panel
- Paper towel
5. Dry Brushing to Suggest Veins and Soft Petal Edges
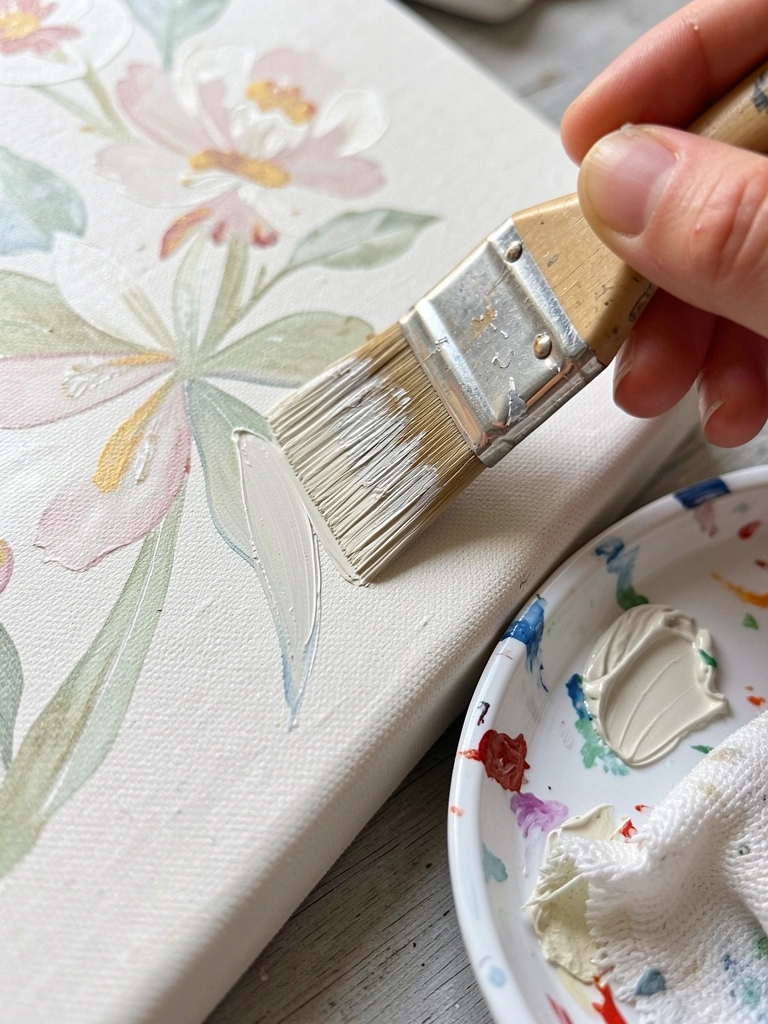
I started dry brushing when my petals looked too flat after blending. I wipe most paint off the brush and drag a few strokes to suggest veins and softened rims. It added age and realism without painting every line.
I sometimes overdid it and got scratchy marks; that taught me to test brush load on scrap first. When used sparsely, dry brushing gives delicate textures that keep the flowers feeling believable.
What You'll Need for This
- Stiff flat or fan brush
- Lightly loaded paint (titanium white or pale tint)
- Scrap paper for testing
- Canvas or paper surface
6. Glazing Thin Layers to Fix Color Shifts (and My Over-Glaze Mistake)
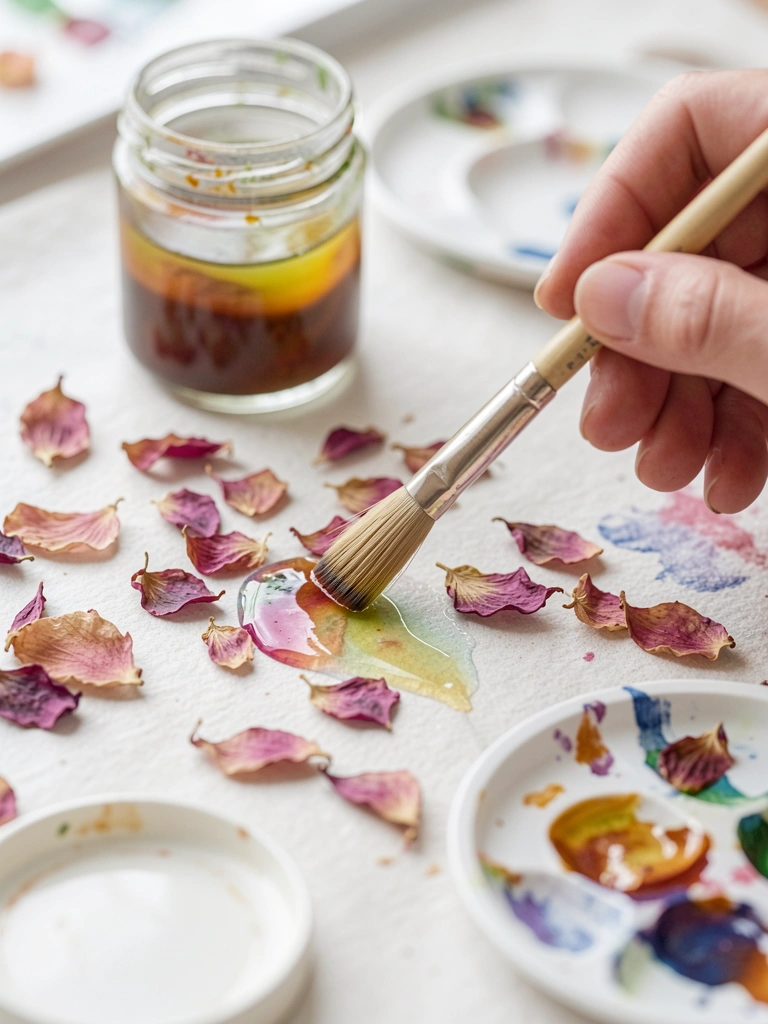
I glaze thin transparent layers to unify color and nudge temperature. Early on I over-glazed and turned a bright orange bloom into a dull brown — a hard lesson. Now I mix small ratios and test on a scrap, then add tiny passes.
Glazing is forgiving if layers are thin and fully dry. It smooths transitions and adds glow without repainting everything. Patience beats force here.
What You'll Need for This
- Glazing medium (or heavy flow medium for acrylic)
- Soft round brush
- Transparent pigments (alizarin, quinacridone, phthalo)
- Dry, primed surface
7. Quick Gesture Sketch and Value Map Before Color
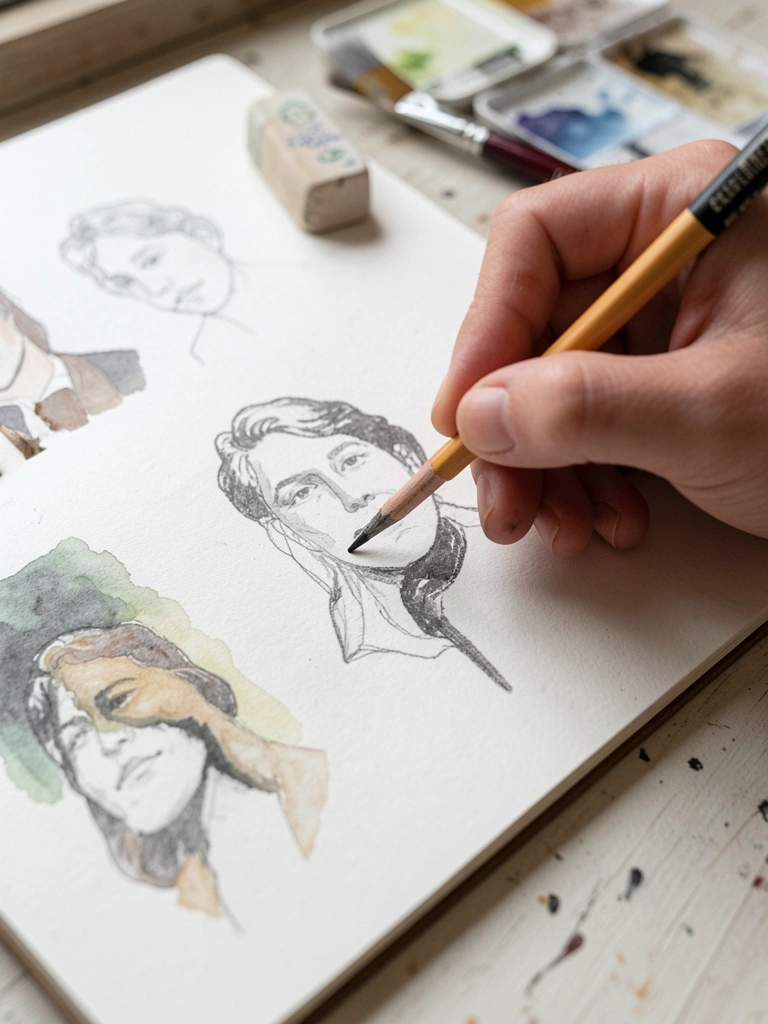
I spend five minutes on a gesture sketch and a three-value thumbnail before color. My early paintings failed because composition and value were off from the start. The thumbnail saved me many ruined canvases.
That tiny map tells me where the darkest darks go and what the vase’s focal point should be. When I skip it, I end up correcting composition mid-paint — which wastes paint and energy.
What You'll Need for This
- Sketchbook or scrap paper
- Pencil or charcoal
- Small paint thumbnail paper
- Eraser
8. Masking Highlights on Glass Vases for Crisp Reflections
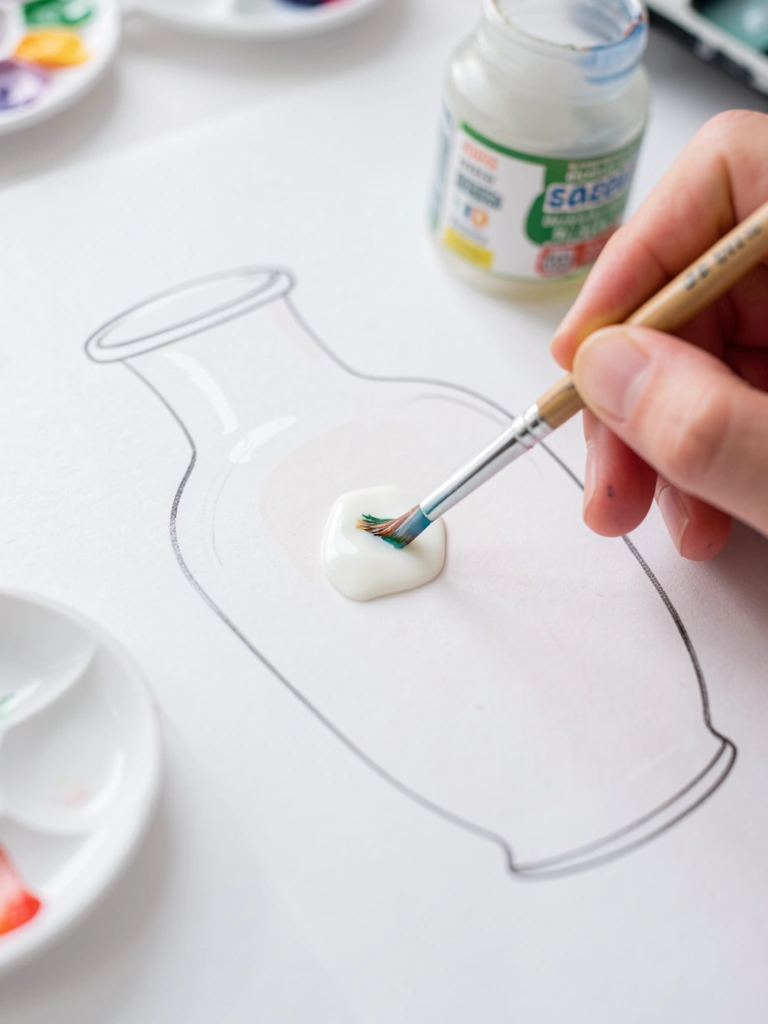
I used masking fluid to reserve bright highlights on glass vases. I used to attempt highlights freehand and then smeared them while working the background. Masking kept those whites clean while I layered washes around them.
After removing the mask I added a tiny glaze to integrate the reflection. Masking requires care—don’t scrub it while wet. It kept my glass feeling crisp without frantic editing.
What You'll Need for This
- Masking fluid and small synthetic brush
- Bowl of water for removal
- Watercolor or thin gouache
- Smooth paper or panel
9. Negative Painting to Make Flowers Pop
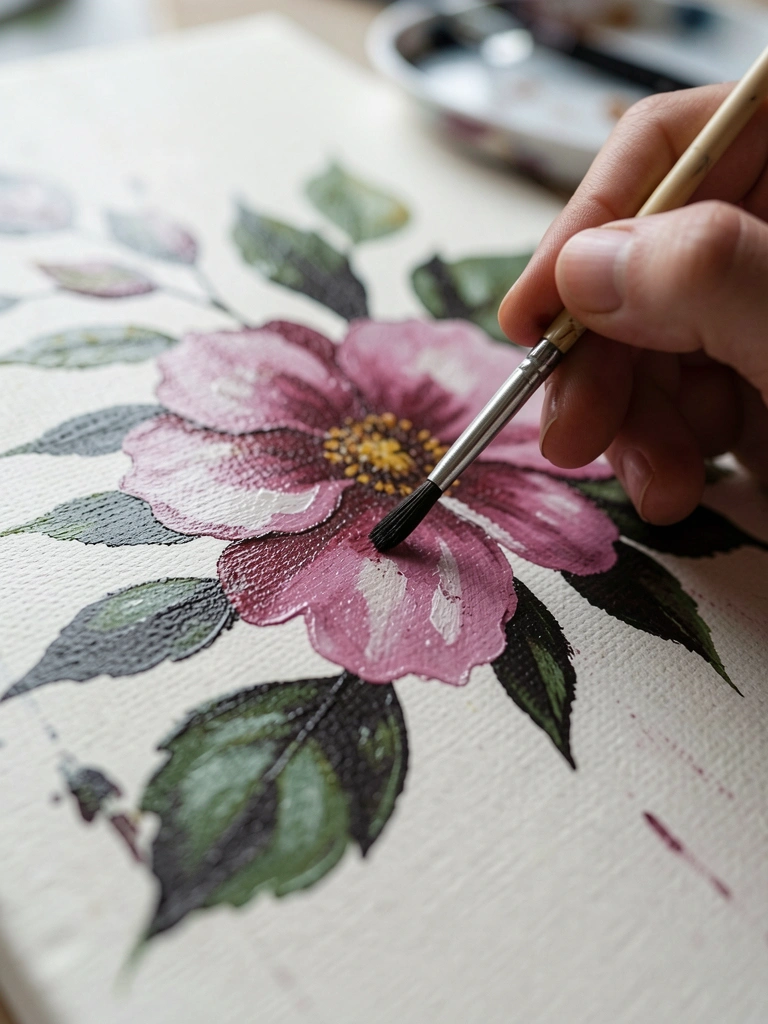
I learned negative painting by darkening space around petals instead of painting petals perfectly. My first petals had wobbly edges. Painting the negative shapes disciplined my brushwork and created cleaner silhouettes.
It’s a patience game: I slowly paint the background shapes that hug petals, then lift edges where needed. That tightens form without forcing every petal outline. It makes flowers feel like they sit in space.
What You'll Need for This
- Small round brush
- Mid to dark background paint
- Canvas or panel
- Palette for mixing
10. Controlled Edge vs Soft Edge: When to Stop Blending
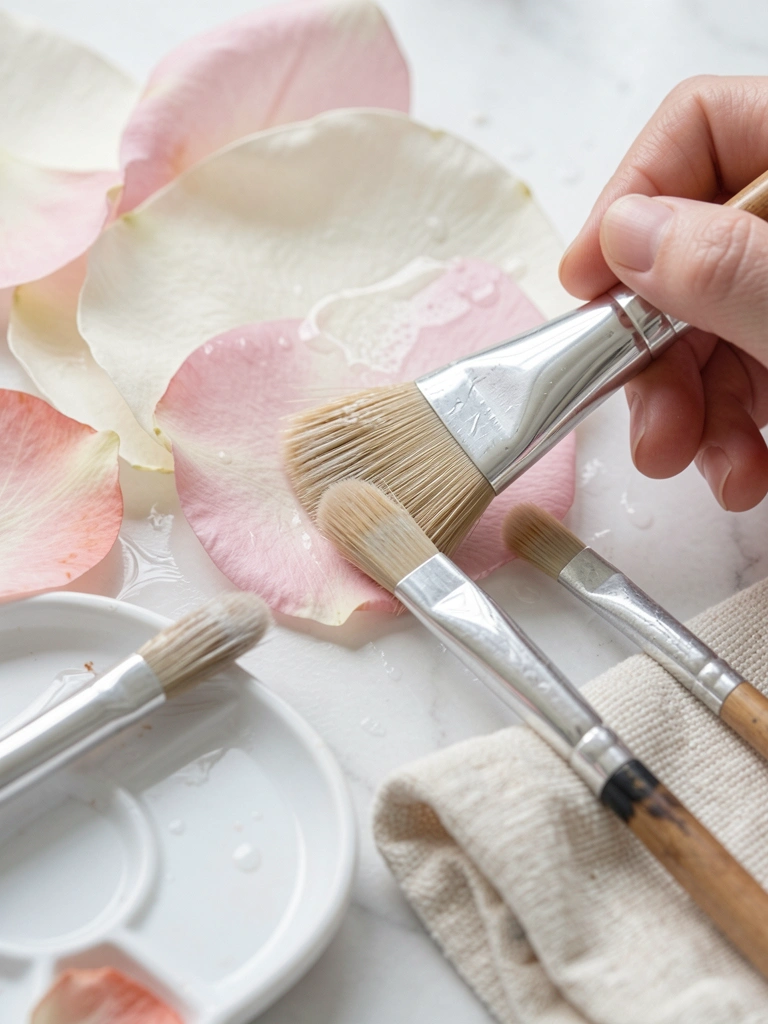
I learned to choose hard or soft edges deliberately. Early on I blurred everything and lost structure. Deciding a single petal edge to keep sharp made the whole cluster read better.
I work hard edges where I want focus, then feather surrounding areas softly. It’s a rhythm: paint, step back, soften a bit, then leave it. Overblending kills energy; controlled edges keep life in petals.
What You'll Need for This
- Soft round and small liner brush
- Clean water or blending medium
- Canvas or paper
- Rag for lifts
11. Limited Palette to Avoid Muddy Mixes (and the Time I Mixed Too Many Greens)
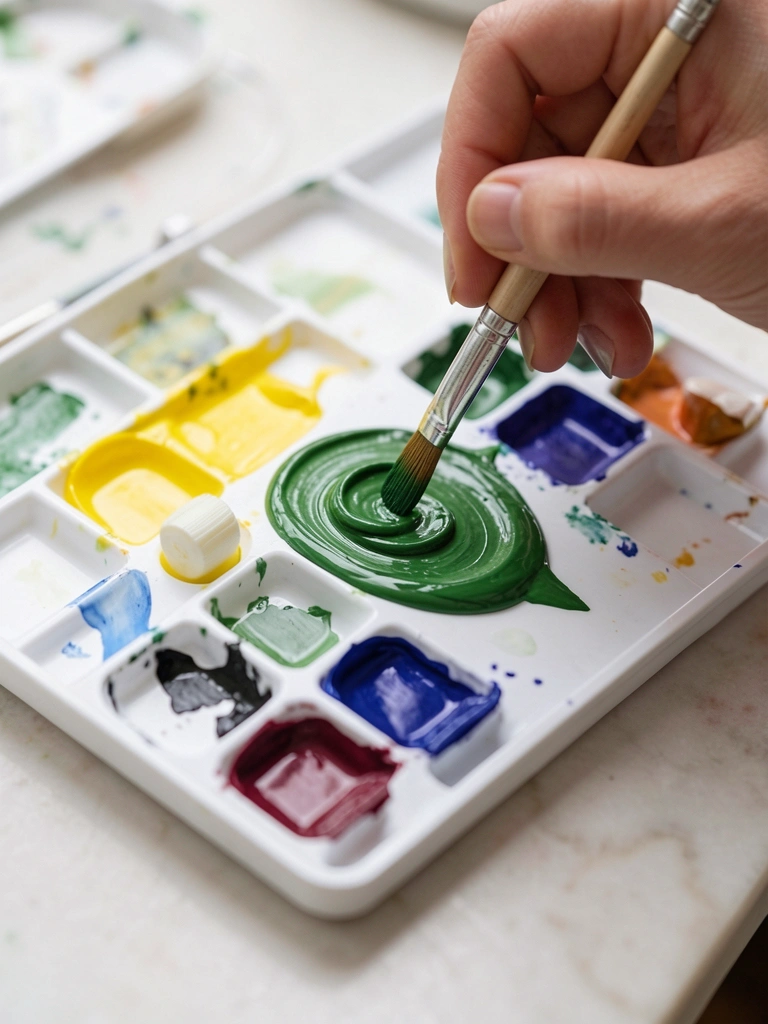
I switched to a limited palette—two primaries plus a transparent blue and white. Before that I mixed endless greens and ended up with muddy foliage. Limiting my tubes forced me to see relationships and kept color harmony.
Using one warm yellow and one cool blue gave me consistent leaf tones. I still mix surprises, but the structure is simpler. Limiting choices reduced second-guessing and sped up painting.
What You'll Need for This
- Two primary pigments (one warm, one cool)
- White
- Palette and knife
- Canvas or panel
12. Impasto Accents for Sunlit Highlights
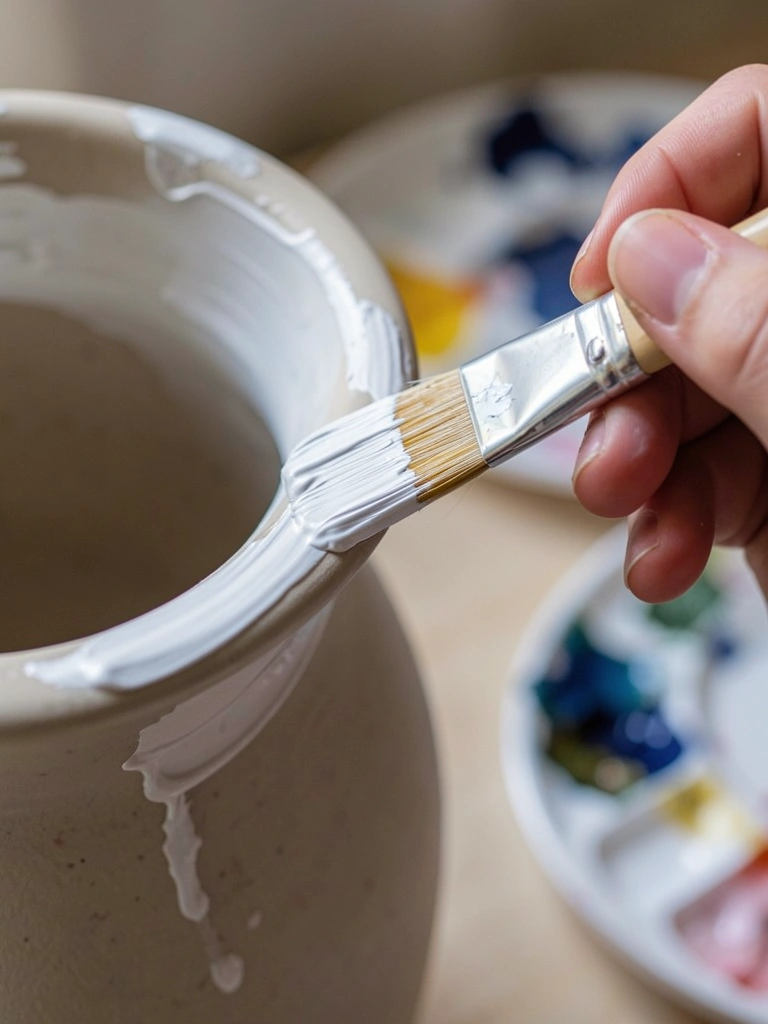
I add impasto accents only to the strongest light hits—petal tips or vase rims. My early impulse to thicken everything made the surface heavy. Now I pick two or three tiny spots for texture.
Those bright, raised marks catch real light and give a natural pop. I let them dry and then photograph to check if they read correctly. Less is more when it comes to raised paint.
What You'll Need for This
- Heavy body paint or impasto medium
- Small round or knife
- Canvas or panel
- Palette knife (optional)
13. Spatter and Pollen Texture for Natural Imperfections
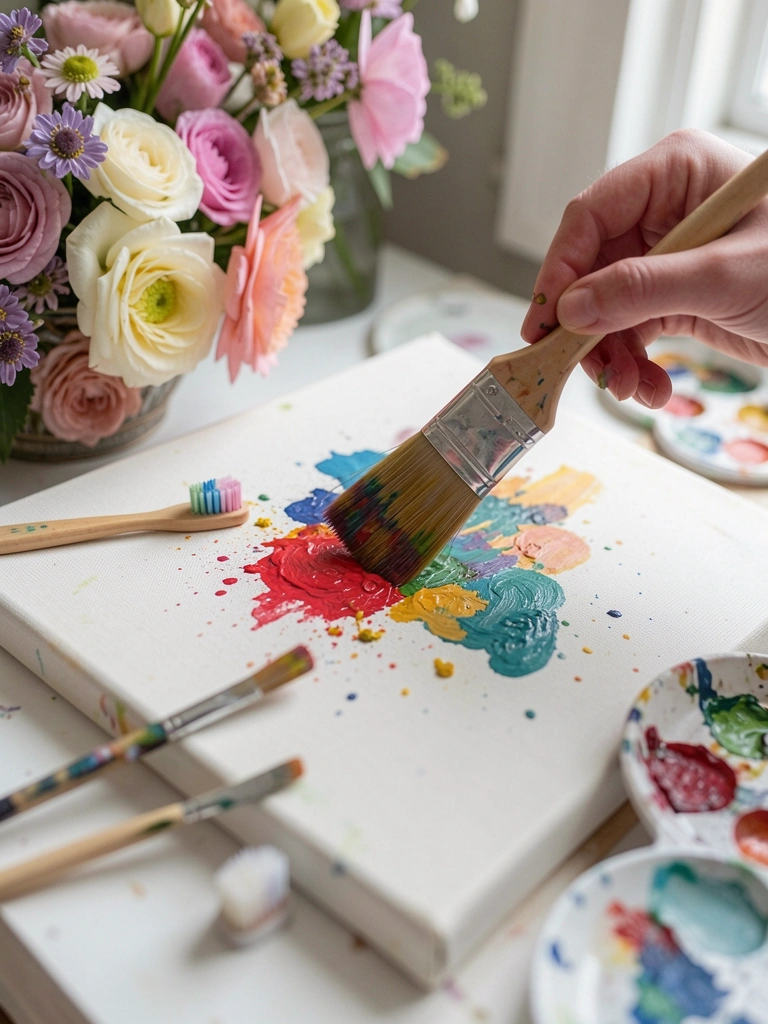
I use gentle spatter for pollen or dusty edges. My first spatter sessions showered the whole easel. I learned to shield areas and practice flicks on scrap first. Controlled spatter adds life without chaos.
I mix a slightly watery paint and tap the brush carefully. A little goes a long way. These tiny marks suggest the environment and make the scene feel lived-in.
What You'll Need for This
- Old toothbrush or stiff small brush
- Thinned paint
- Masking paper or scrap for shielding
- Canvas or paper
14. Simple Patterned Vase with Foreshortened Ovals (and My Perspective Slip)
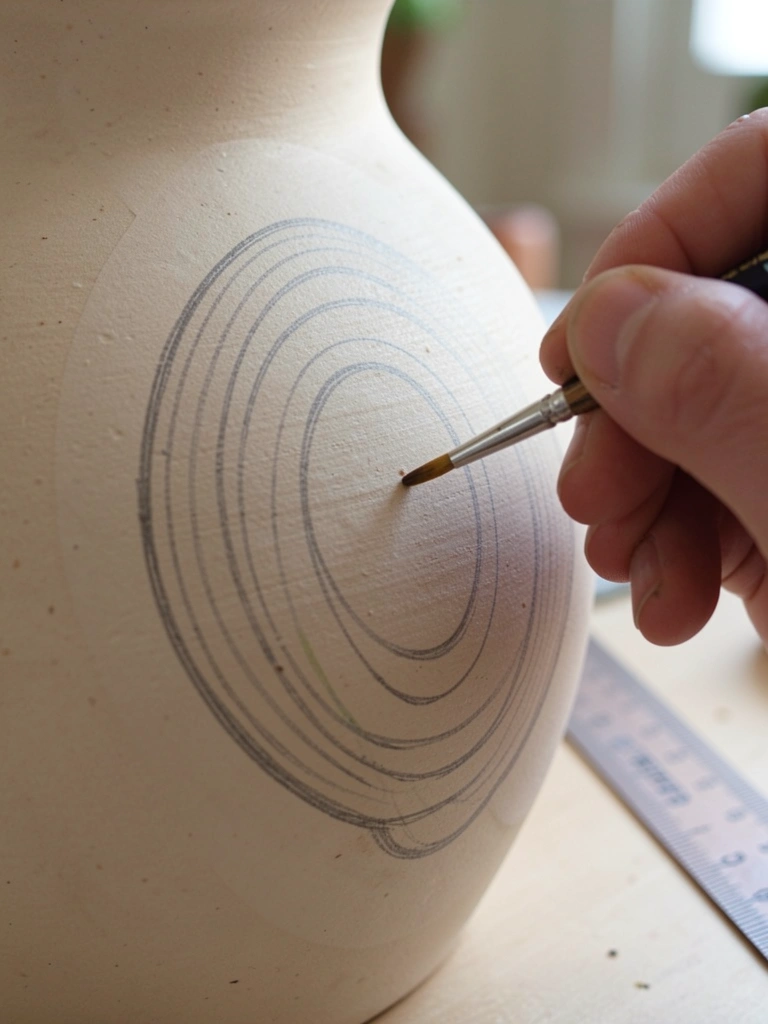
I paint simple patterns on vases using foreshortened ovals to sell the curve. Once I drew straight stripes on a rounded vase and it looked flat—lesson learned. Mapping ovals first keeps pattern believable.
I sketch light guide lines, paint pattern with confident strokes, and then add a glaze to tuck the pattern under reflections. It makes a plain vase read as ceramic or pottery without over-detailing.
What You'll Need for This
- Pencil for guide lines
- Small round brush
- Acrylic or gouache
- Canvas or panel
15. Two-Minute Color Study Before Painting the Full Piece
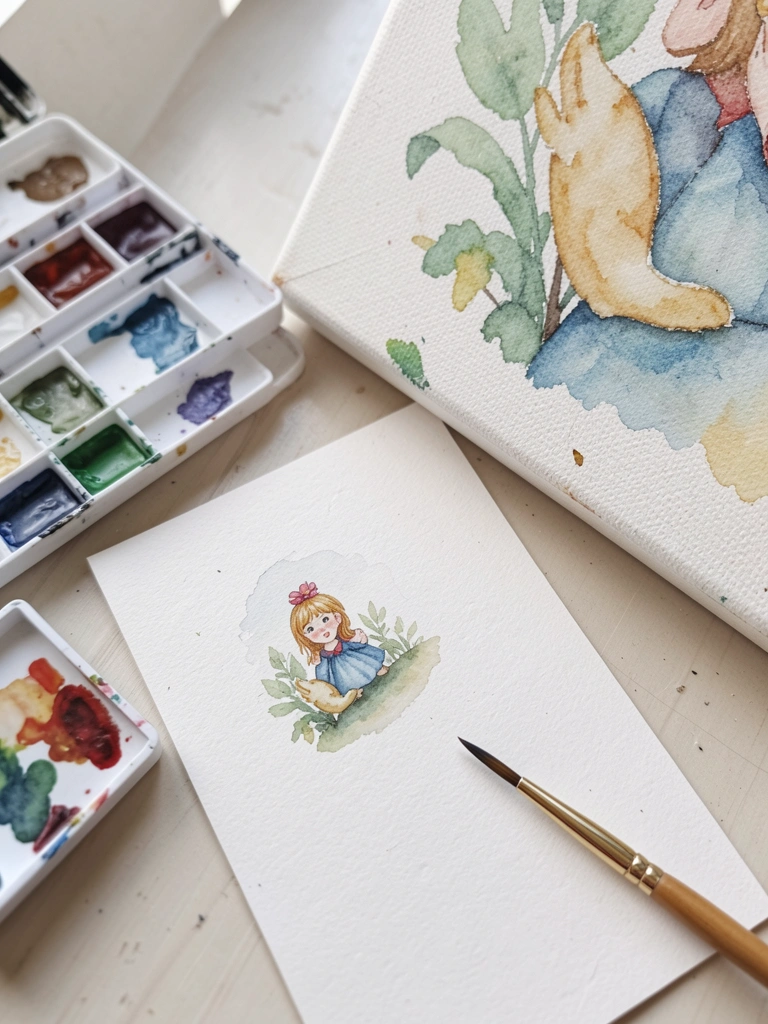
I paint quick two-minute color thumbnails to test a palette and mood. I used to dive into a full canvas and wish I’d tried a smaller test first. The tiny study tells me whether my vase and flower colors will harmonize.
I keep it rough: large shapes, three values, one color note. It saves mistakes and helps me commit confidently when I scale up. Few minutes, fewer ruined canvases.
What You'll Need for This
- Small scrap paper or sketchbook
- Pocket palette or small tubes
- Small round mop or flat brush
- Water jar and rag
16. Scumbling the Background with Thin Layers to Keep Color Fresh
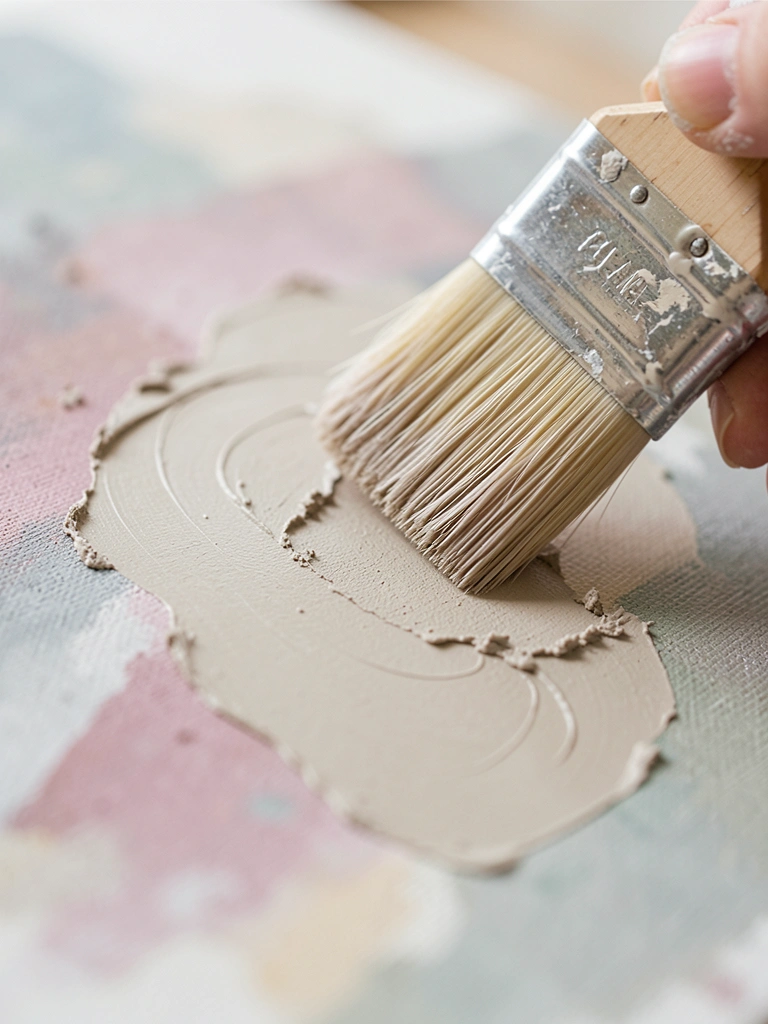
I scumble thin, semi-dry layers across backgrounds to build subtle color without muddying the vase. My first heavy background washes flattened everything. Light scumbling keeps texture and allows the vase to sit on top.
I use a dry, soft brush and a small paint load, working in circles and short strokes. Each pass adds nuance and keeps the foreground colors readable. It’s a patient way to get a softly layered backdrop.
What You'll Need for This
- Soft bristle or hog wash brush
- Thin paint or paint + medium
- Canvas or panel
- Palette and rag
Final Thoughts
I don't expect anyone to master all these overnight.
I picked two techniques per painting and saw real improvement.
Paint slow, test small color studies, and let layers dry between tries. Trust small wins. I'll keep painting beside you.