7 Colorful Umbrella Painting Ideas to Brighten Rainy Days
I used to avoid painting umbrellas because the shape felt too literal.
Then I kept ruining backgrounds and redoing them three times.
When I stopped chasing a tutorial thumbnail and trusted simple steps, things clicked.
These ideas are things I actually tried and kept.
7 Colorful Umbrella Painting Ideas to Brighten Rainy Days
These seven ideas are practical, hands-on ways I use color, texture, and simple tricks.
They’re the exact techniques I use when I want bold color or soft atmosphere.
Seven ideas, ready to try.
1. Blocking in Bold Color Shapes for Clean, Graphic Umbrellas
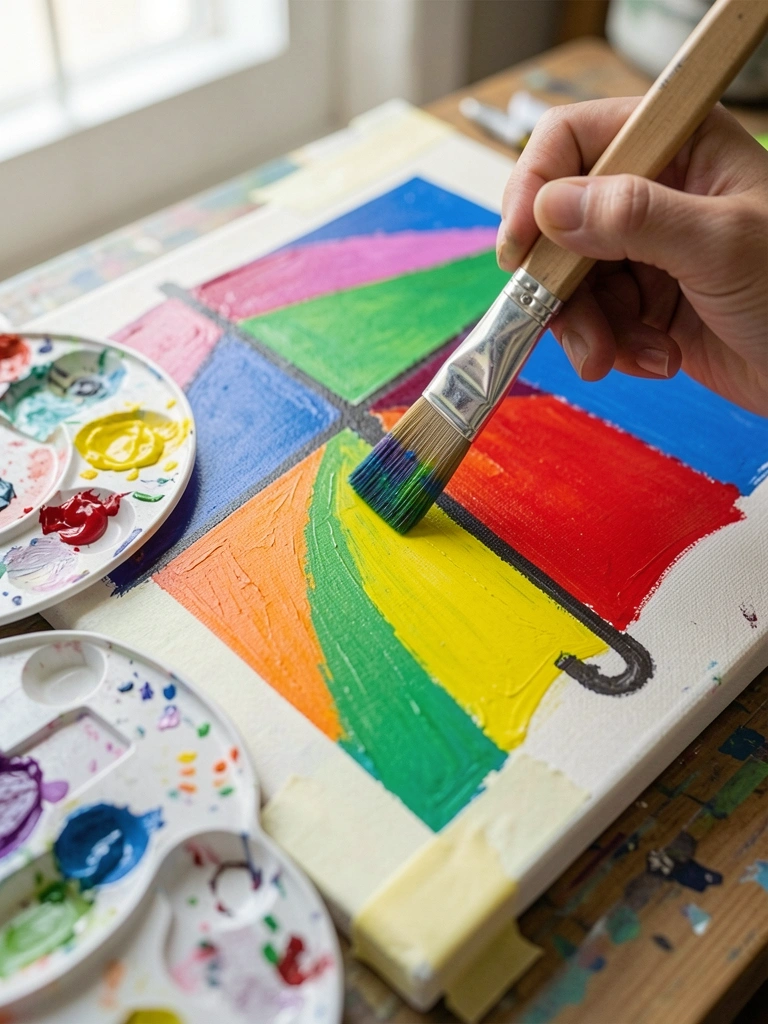
I started by sketching outlines and losing clarity when I blended too soon.
Blocking in flat, unmuddied color fixes that. I paint umbrella panels as separate shapes.
Keeping edges crisp gives each color its own life and avoids muddy mixes.
Pay attention to value — a darker panel next to a bright one makes the shape read better.
What You'll Need for This
- Stretched canvas or rigid panel
- Flat synthetic brushes (small and medium)
- Acrylic paints in saturated colors
- Low-tack masking tape
- Pencil for light sketching
2. Wet-on-Wet Sky with a Loose Umbrella Silhouette
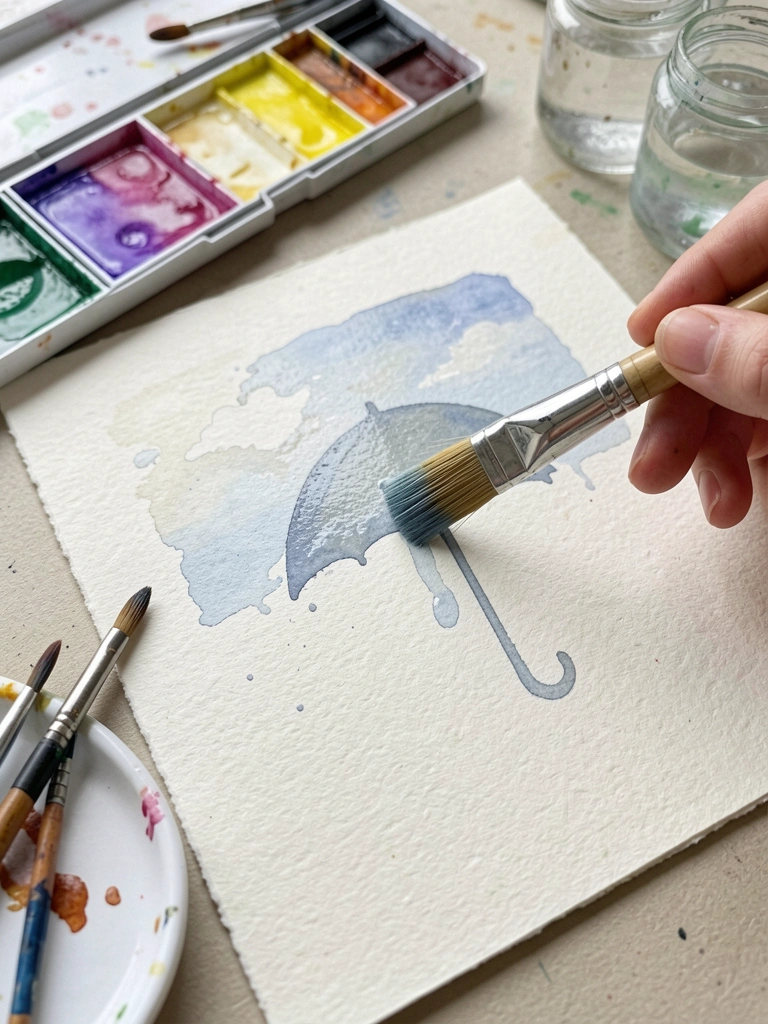
I used to panic when colors bled into each other. Then I accepted the bleed.
Working wet-on-wet for the sky creates soft rain-blurred backgrounds that make a simple umbrella pop.
I paint the sky first, let it settle, then lift a silhouette of the umbrella with a darker wash.
Watch drying times; push the umbrella silhouette while the sky is damp but not puddled.
What You'll Need for This
- Cold-press watercolor paper
- Round watercolor brushes (sizes 6–12)
- Watercolor paints or thinned acrylics
- Large mop brush or spray bottle
- Paper towel for lifts
3. Thin Glazes to Build Transparent Umbrella Hues
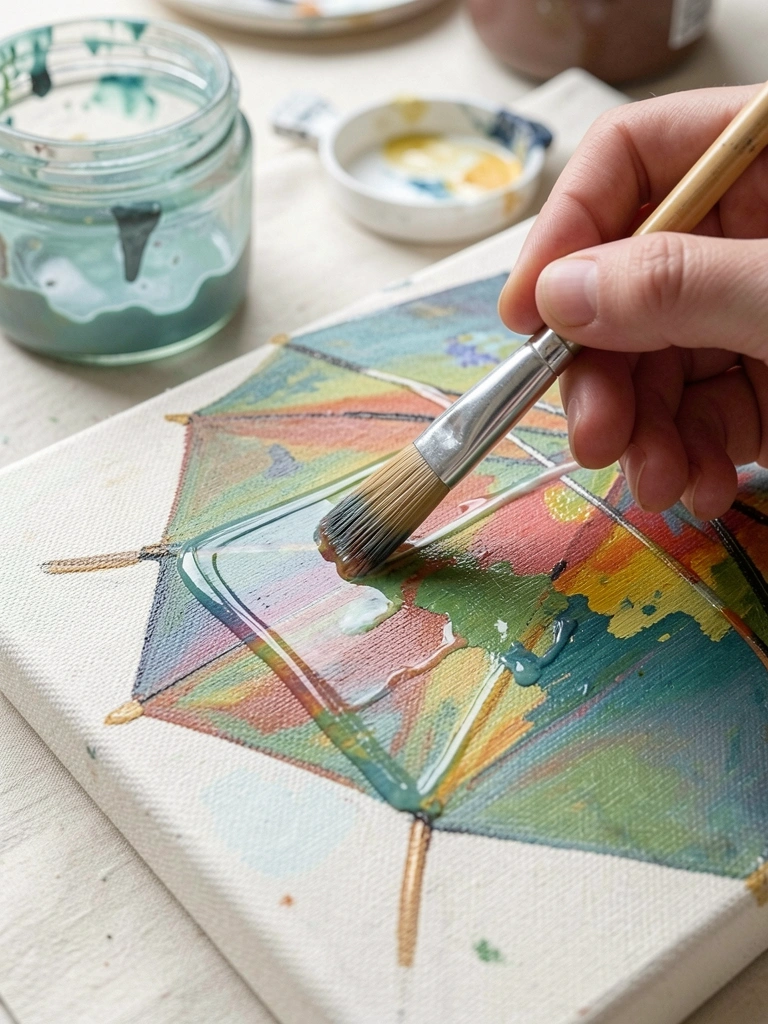
I ruined a few canvases by slapping on opaque paint too fast. Glazing saved me.
Thin layers of translucent acrylic let me shift hue without covering previous work. The umbrella gains depth this way.
I mix paint with medium or water and apply multiple thin passes. Each pass dries quickly and adds richness.
Avoid thick paint here; that defeats the point. Keep layers thin and patient.
What You'll Need for This
- Acrylic glazing medium or thin flow medium
- Soft filbert or round brushes
- Palette and palette knife for mixing
- Stretched canvas or gessoed panel
4. Palette Knife Texture for Thick, Joyful Umbrellas
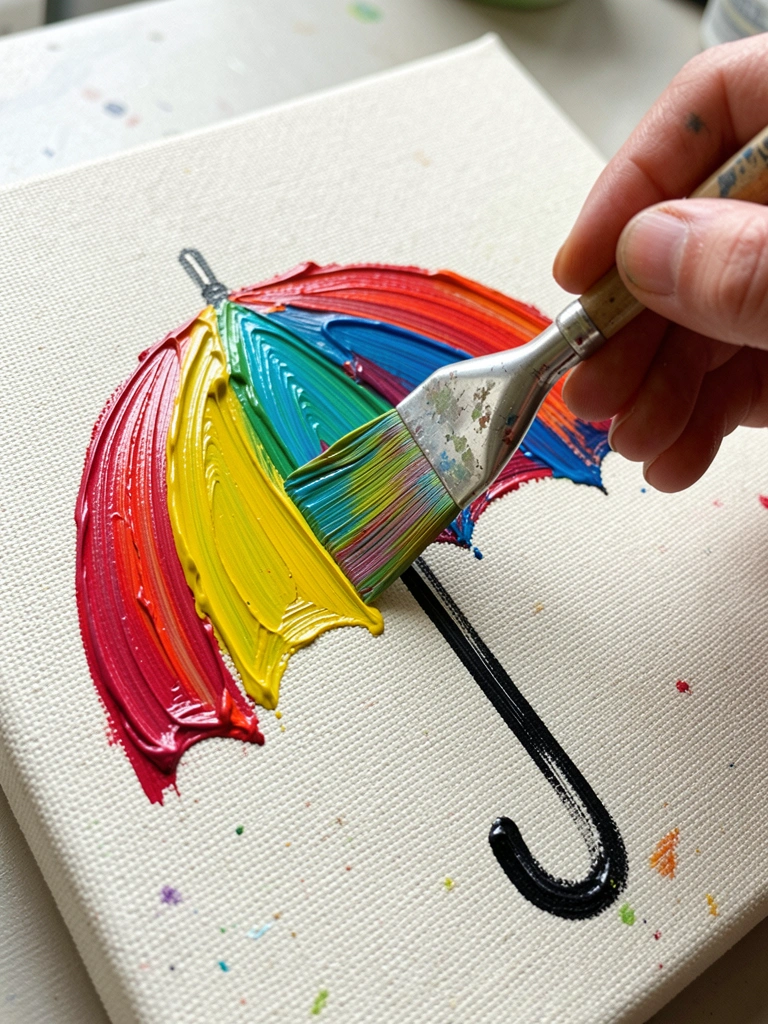
I learned the hard way that palette knife work needs thicker paint. Early tries looked flat.
Using heavy body acrylic or oil, I drag and dab with the knife to create raised panels and visible strokes.
The texture gives rainy scenes energy and catches light differently than flat paint.
Load the knife with enough paint. Too thin and you’ll scrape the ground layer off.
What You'll Need for This
- Heavy body acrylics or oil paint
- Palette knife set (small and medium)
- Sturdy canvas or gessoed board
- Rags for scraping and cleaning
5. Reflections: Pulling Umbrella Shapes into Wet Pavement
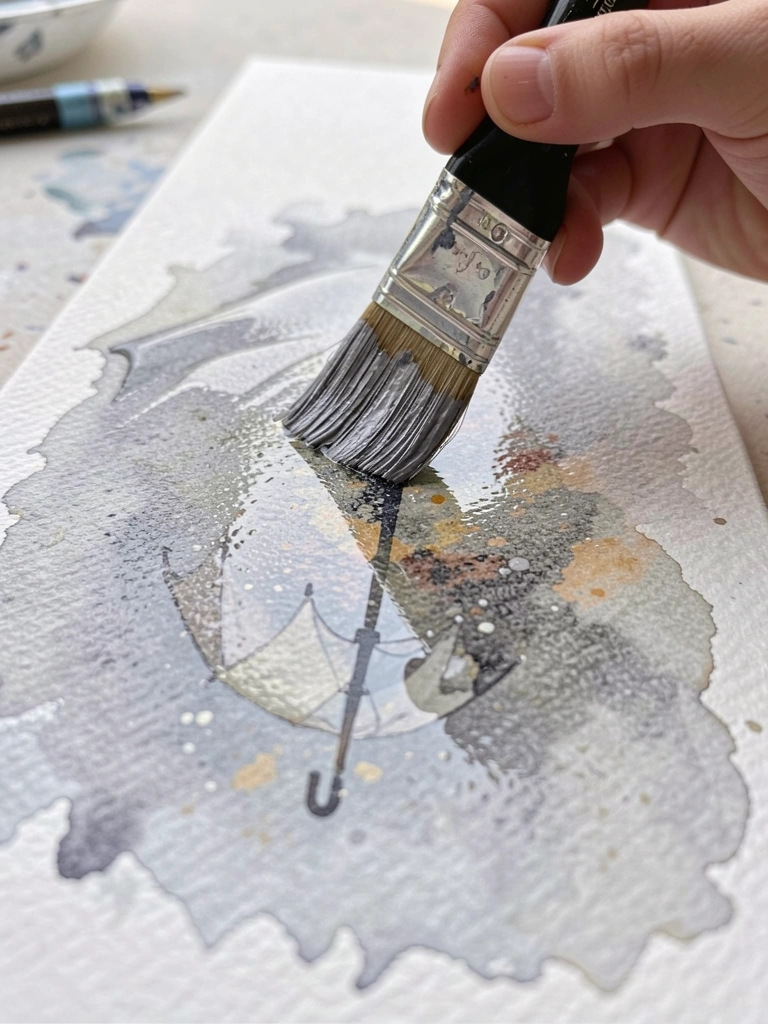
My first reflection attempts ended up muddy and unreadable. I learned to limit my palette.
I paint the umbrella first, then pull a slightly smeared, desaturated version down into the pavement with a soft brush.
A single vertical drag blends the colors but keeps them legible. Use a low-chroma mix for the reflection.
Clean your brush often. Dirty brushes are the fastest route to muddy color.
What You'll Need for This
- Acrylic or watercolor paper/canvas
- Soft flat brush for dragging
- A limited palette of diluted paints
- Clean water jar and paper towel
6. Masked Patterns and Stenciled Panels for Playful Umbrellas
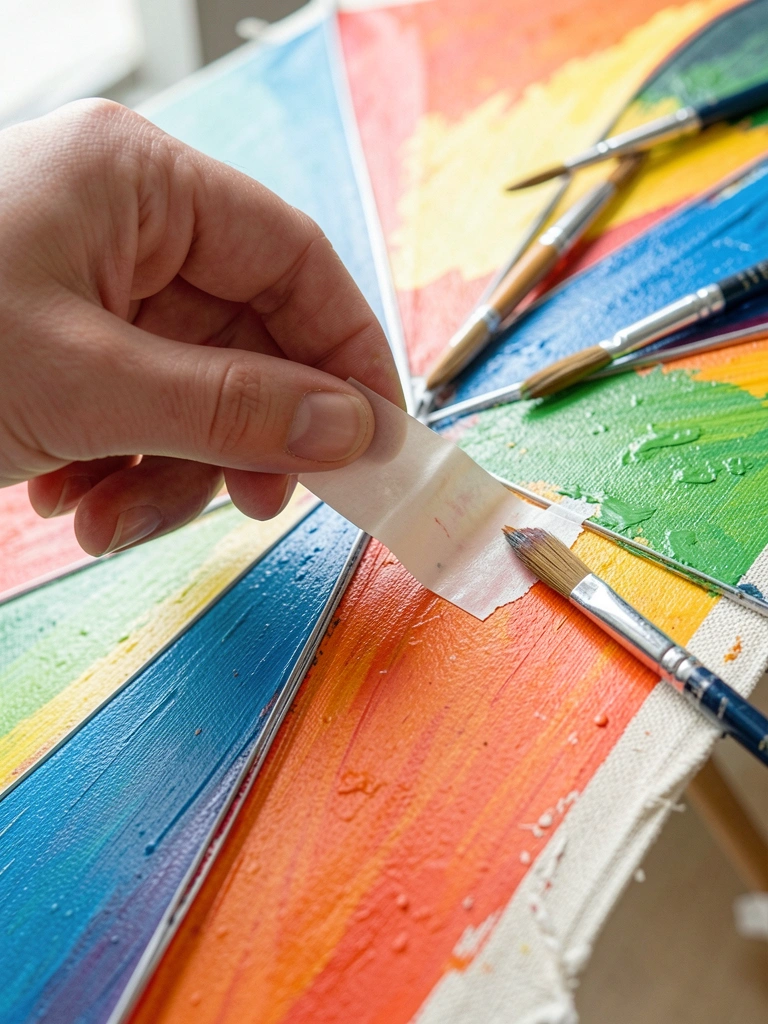
I once peeled tape and lifted fresh paint off the canvas. Ouch. Low-tack tape fixed that.
Masking lets me paint stripes, polka dots, or geometric panels cleanly. I mask, paint, then remove the tape carefully.
Stencils add repeatable patterns without overworking a piece. The result looks intentional and bright.
Test your tape on scrap first. Pull slowly at a low angle to avoid tearing paint.
What You'll Need for This
- Low-tack artist’s tape
- Small detail brushes
- Stencil or homemade cut paper masks
- Acrylic paints and a scrap board for tests
7. Night Glow: Painting Neon Umbrellas and Light Bounces
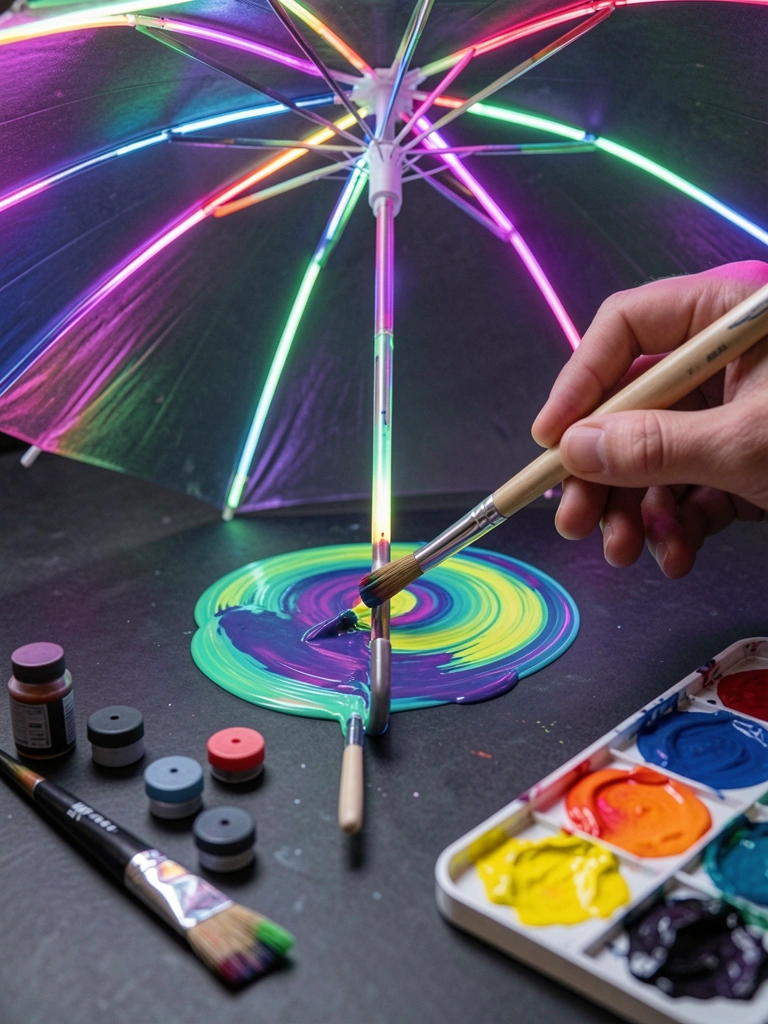
I used to lose highlights by overworking dark areas. For neon, I start with a deep, even dark ground.
Then I layer thin, bright glazes and soft halo strokes to suggest wet light reflecting off surfaces. The umbrella becomes a source of color.
Reserve the brightest highlights until the end. A tiny dot of almost-white makes the glow believable.
Keep strokes loose. Tight edges kill the softness of a light bounce.
What You'll Need for This
- Acrylics or gouache for opaque bright colors
- Dark-primed canvas or panel
- Small rounds and soft blending brushes
- A tiny brush or gel pen for final highlights
Final Thoughts
I still ruin a canvas now and then. That’s part of learning.
Pick one idea, try it, and treat the next piece as practice.
You don’t need to master every technique. You just need a brush and a minute of courage.