15 Bold Face Painting Ideas for Adults
I used to overblend everything until my faces looked muddy and tired.
A bold move fixed that—clear shapes, clear color choices.
I ruined a few looks by trying to copy thumbnails.
Now I aim for paint that sings, not just looks pretty in a photo.
15 Bold Face Painting Ideas for Adults
These 15 techniques are ones I actually use at the easel and on faces.
They’re practical, clear, and ready to try.
Each idea shows real tools and a simple step you can repeat.
1. Color-Blocking Cheek Panels
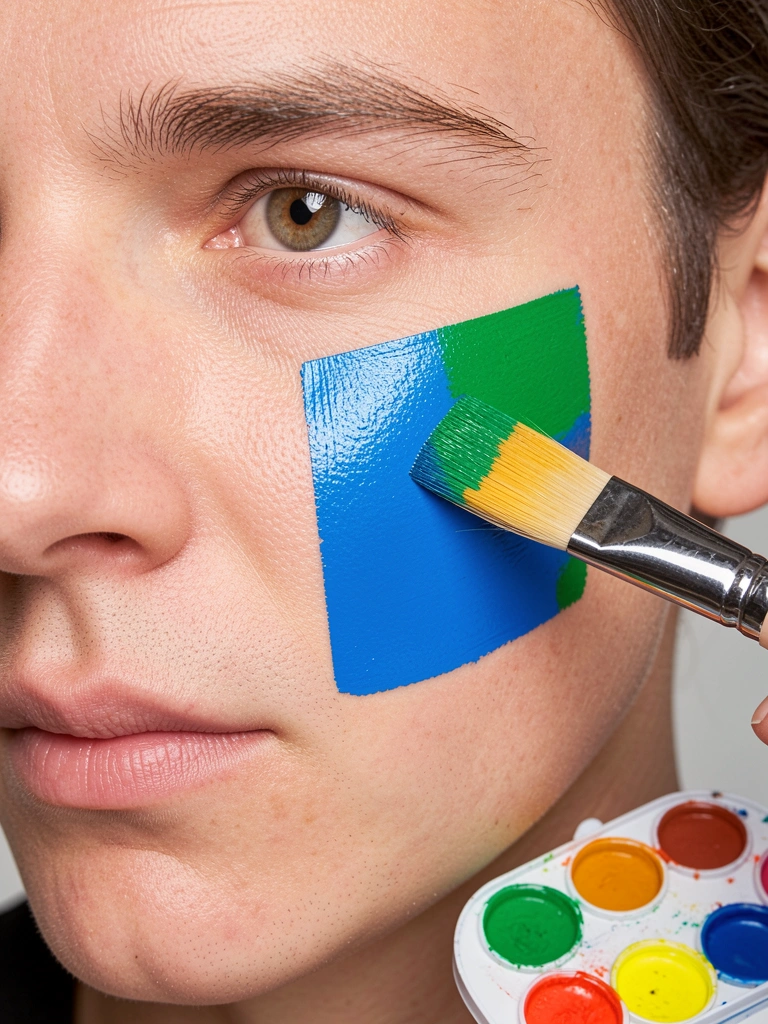
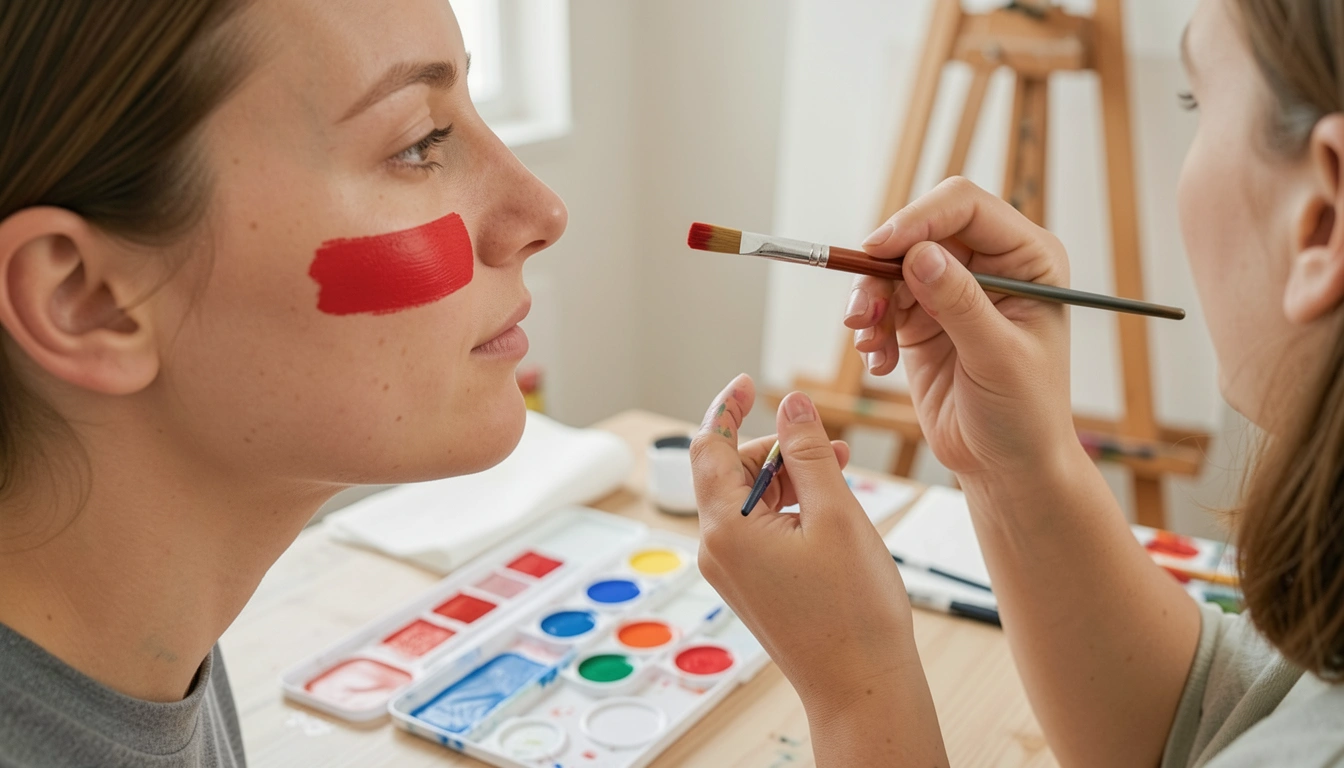
I started with tiny strokes and ended up with streaks. Then I loaded a flat brush and moved like a stamp. The panel reads clearly from across the room now. Color-blocking forces you to choose two or three colors and commit. It simplifies values and keeps the face readable in photos.
What to watch for: thin paint will show skin texture. Use a slightly thicker mix and press evenly.
What You'll Need for This
- Water-activated face paints
- Flat synthetic brush (size 8–12)
- Small mixing palette
- Damp sponge for edges
2. Crisp Graphic Lines with a Rigger Brush
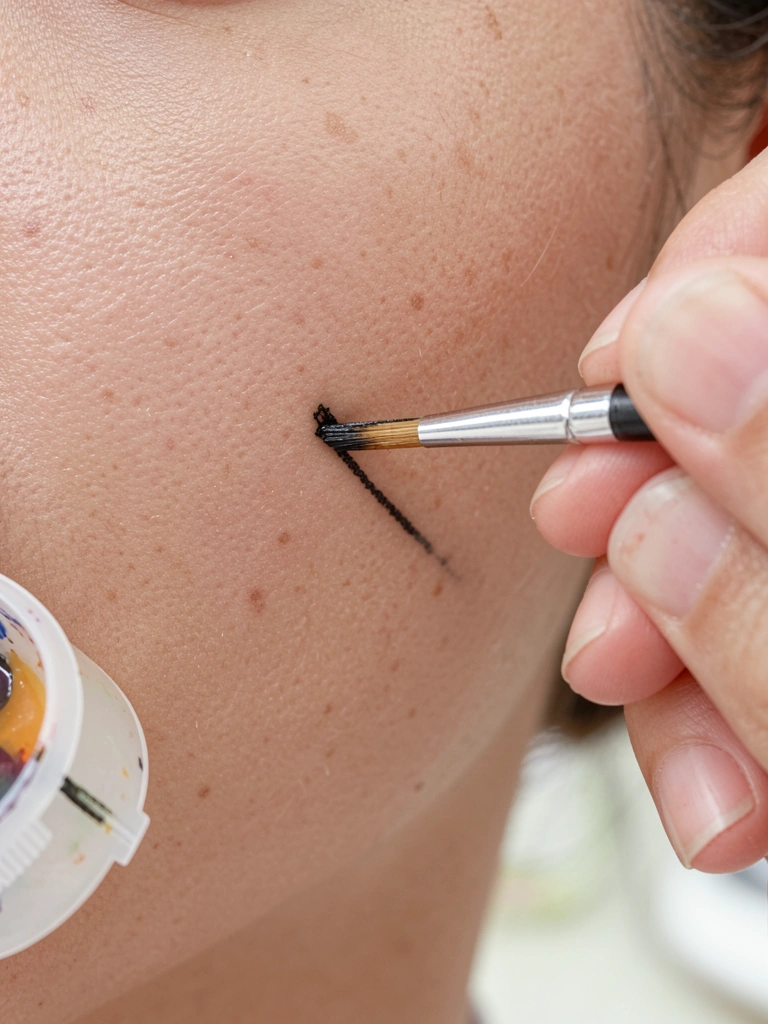
I used to pull lines with a too-dry brush and got scratchy edges. Switching to a rigger brush with consistent paint load made my lines smooth and confident. This technique is great for graphic brows, cheek stripes, and geometric frames. The key is a steady wrist and a loaded but not drippy brush.
Tip: practice on paper strips first. I once wiped a line away and repainted — that taught me to keep wipes handy.
What You'll Need for This
- Rigger/liner brush
- High-pigment face paint (black and white)
- Small palette cup for thinning
- Clean paper towel
3. Metallic Accents and Cosmetic Glitter
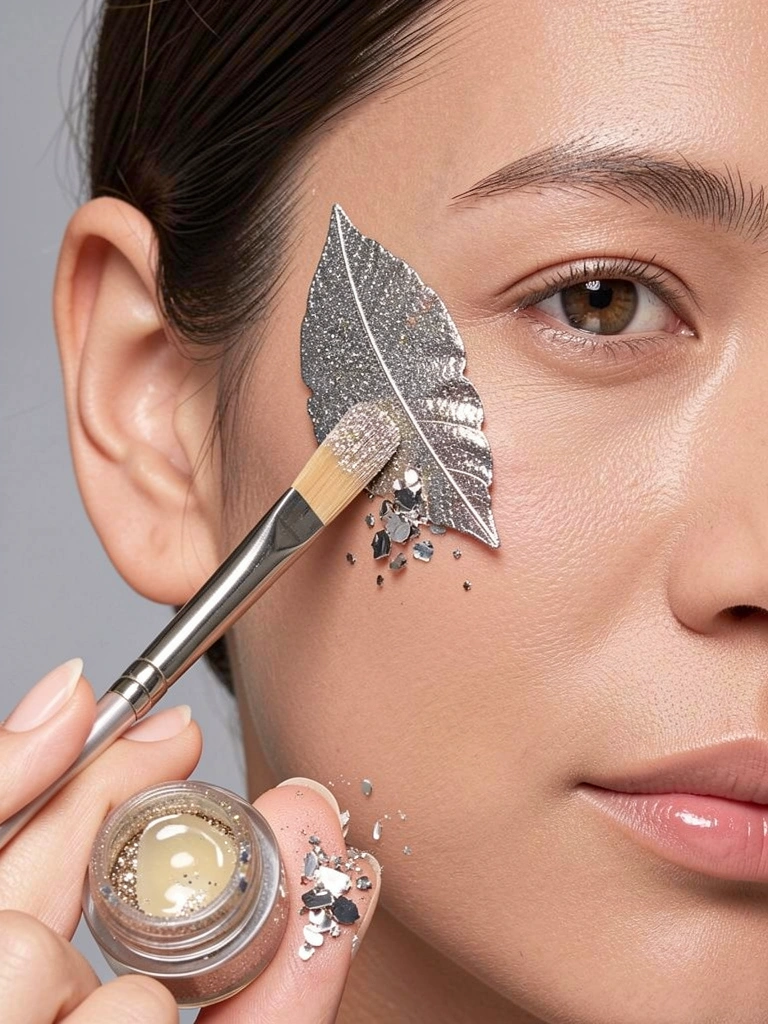
I used foil meant for crafts once and it flaked everywhere. Using cosmetic-safe metallic flakes and proper adhesive changed everything. Metallic accents catch light and add structure without heavy paint. I usually place them on raised planes—cheekbones, brow bones, Cupid’s bow.
Do a test patch for adhesive compatibility. Keep flakes small and press gently.
What You'll Need for This
- Cosmetic adhesive or glitter gel
- Cosmetic-safe metallic flakes or loose glitter
- Small soft brush or silicone tool
- Damp cotton swab for cleanup
4. Monochrome Drama: One Hue, Many Values
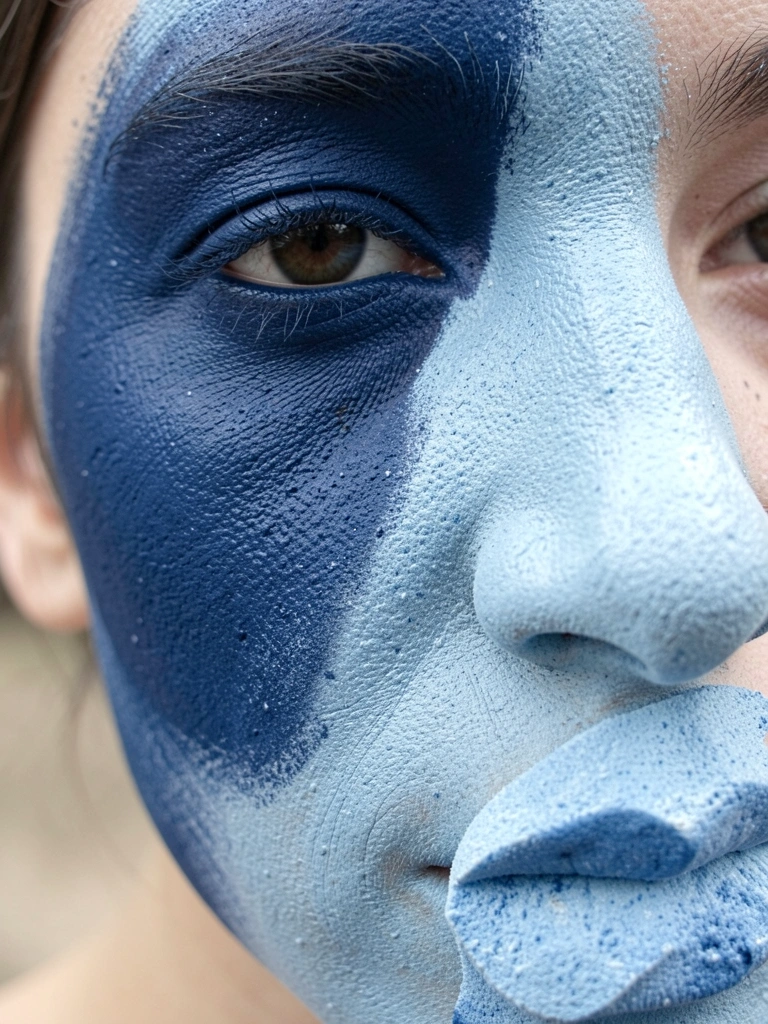
I learned to stop mixing too many colors. Sticking to one hue and making darker and lighter values gave me a more dramatic result with less risk of mud. Monochrome looks cohesive and modern. I mix a mid-tone, then add water or a white tint for highlights and a touch of black for depth.
Watch edges so your values read separately. Work from light to dark when possible.
What You'll Need for This
- One main face paint color plus white and dark tint
- Round brush and sponge
- Small liner brush for details
- Water and palette
5. Controlled Drips for an Edgy, Painterly Look
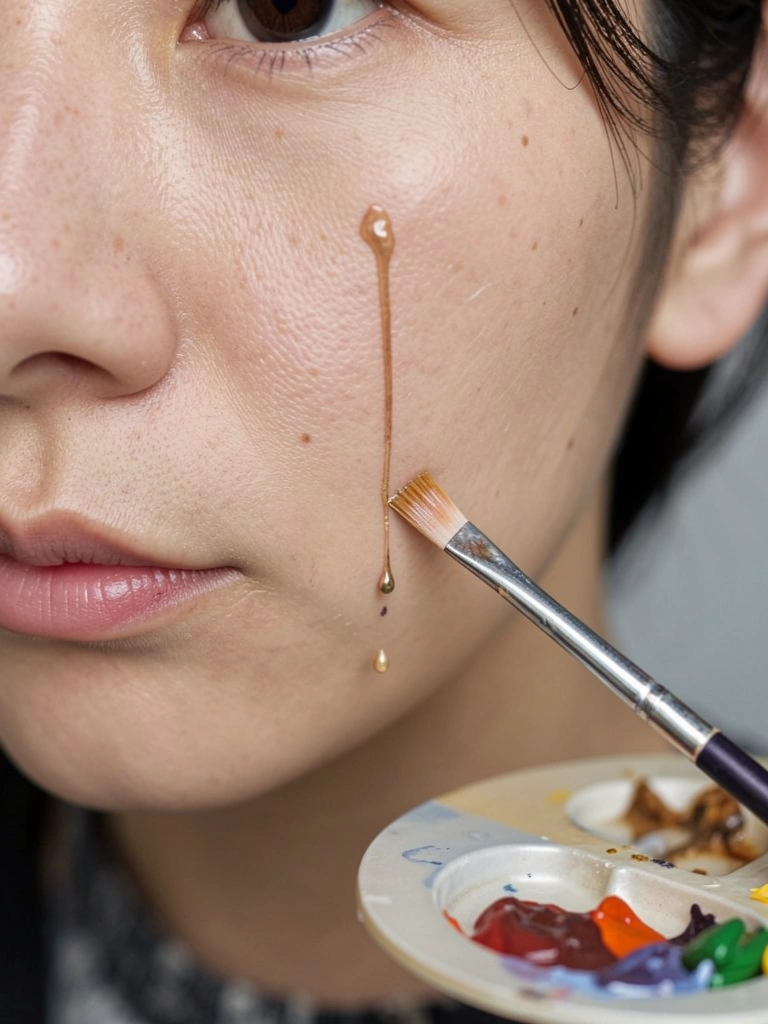
I tried free drips and ended with a face that looked like a mess. Controlling drips—by diluting paint and using a small pipette or the brush tip—gave me a deliberate, grungy effect. It reads like intention, not accident. Drips work best along natural flows: from hairline downward or under a painted lash.
Be ready with a wipe; I wiped off one runaway drip and repainted a cleaner line.
What You'll Need for This
- Runny face paint or diluted water-activated paint
- Small pipette or fine brush
- Paper towel and clean water
- Small fan or breath to guide drips
6. Sponged Texture for Subtle Depth
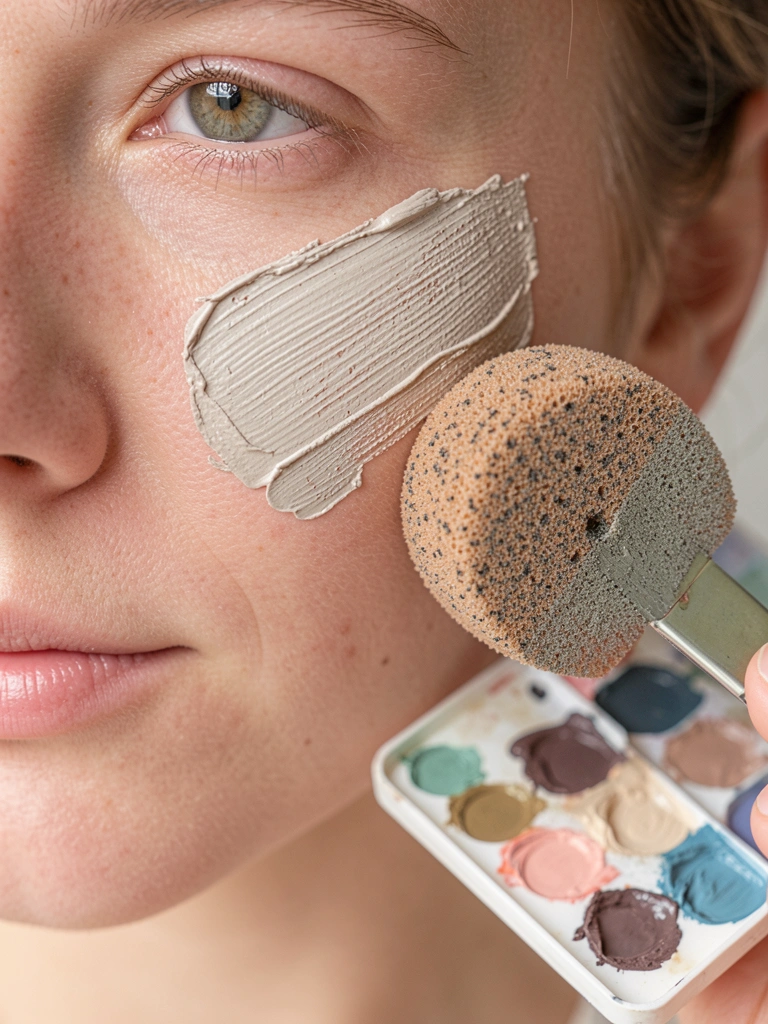
Sponges rescued me when my brushes left brushstrokes I couldn’t fix. A torn sponge or stipple sponge adds texture without precision. I layer a darker base, then sponge lighter tones to suggest skin depth or fabric texture. It softens transitions and avoids muddy blending.
Use a light touch. Overworking a sponge can look blotchy.
What You'll Need for This
- Small stipple or sea sponge
- Two to three face paint tones
- Flat palette
- Damp cloth for sponge cleanup
7. Soft Gradient Blends from Cheek to Temple
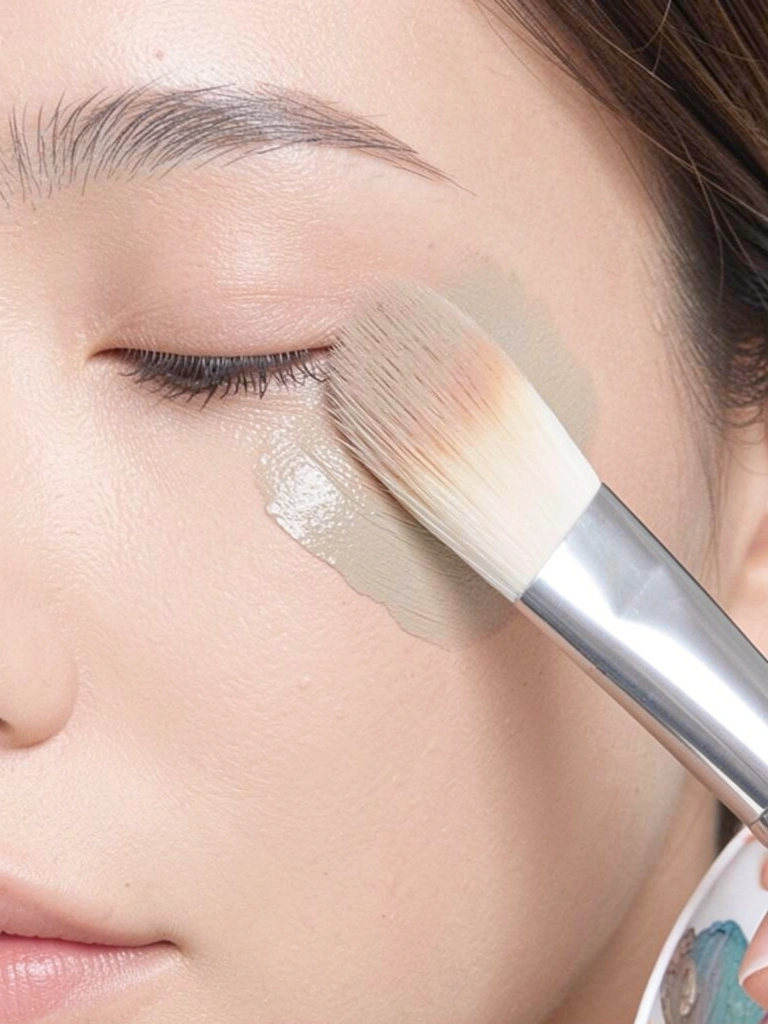
My early blends had hard ridges. Learning to pull paint with a soft, slightly damp brush smoothed transitions. Start with three values—light, mid, dark—and feather them together. This technique gives faces a soft, wearable contour without heavy lines.
If you overblend, wait for paint to dry a bit and re-layer. That saved two looks for me.
What You'll Need for This
- Soft round synthetic brush
- Three paint values of same hue
- Dry sponge for softening
- Small water cup
8. Micro-Stippling for Freckles and Skin Texture
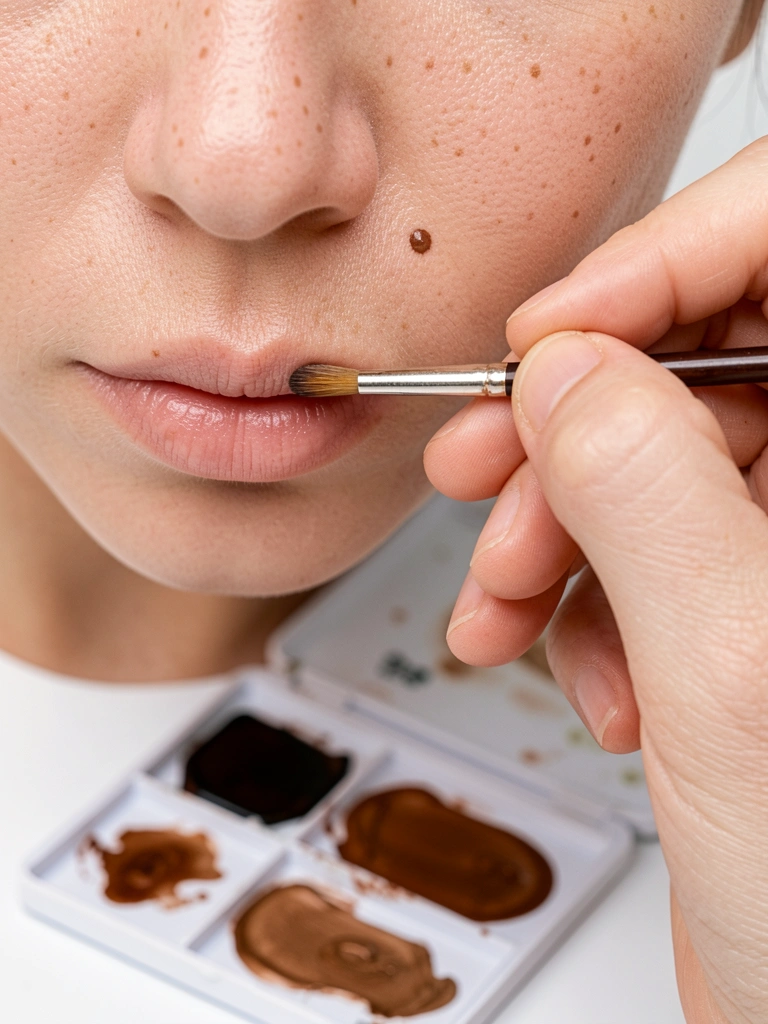
I used to dot with the wrong color and ended up with fake-looking spots. Micro-stippling with varied browns and subtle tones looks natural. I tap the brush lightly and randomize spacing. It adds personality and age-friendly texture.
Less is more. I always start with fewer dots and add if needed.
What You'll Need for This
- Fine round brush (size 0–2)
- Brown and warm-toned paints, diluted
- Palette for mixing
- Small mirror for placement reference
9. Floral Wraparound Designs with One Brush
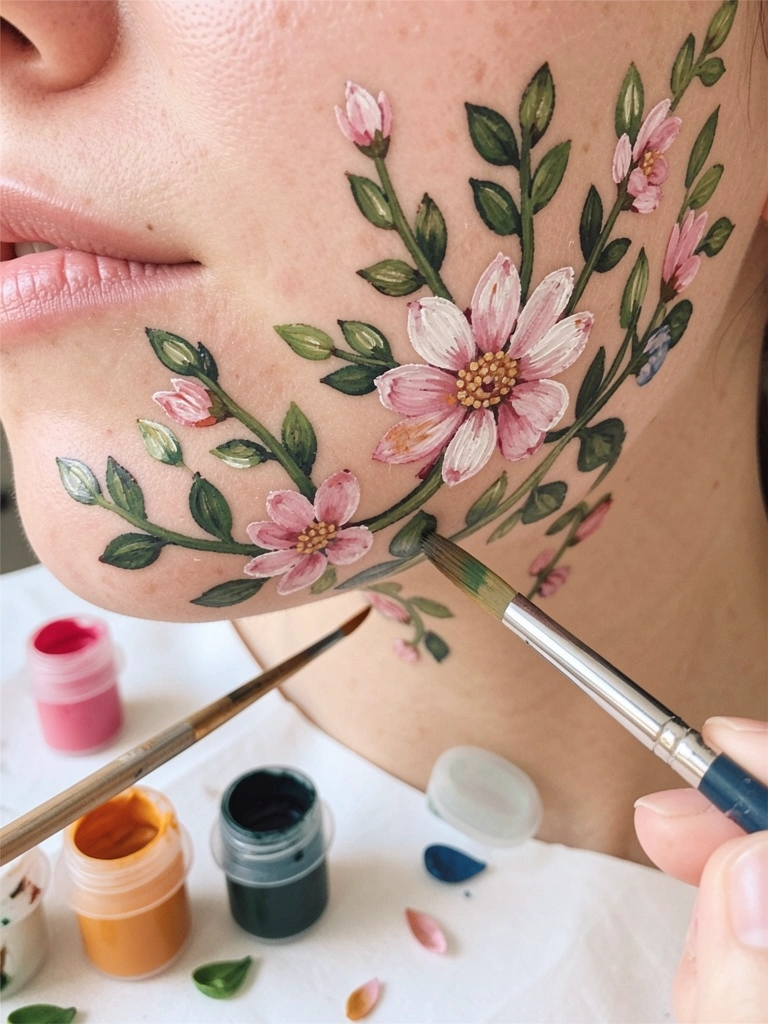
I once tried dozens of brushes and made it too fussy. Limiting myself to one medium round brush simplified shapes. I blocked petals with the brush tip and added leaves with a quick twist. The wraparound motion makes the face wearable and feminine without fuss.
My first vine looked lopsided; I corrected it by stepping back and mirroring the flow.
What You'll Need for This
- Medium round brush (size 4–6)
- Few floral tones: white, two petal colors, green
- Palette and water cup
- Small fan for drying
10. Geometric Shapes and Negative Space
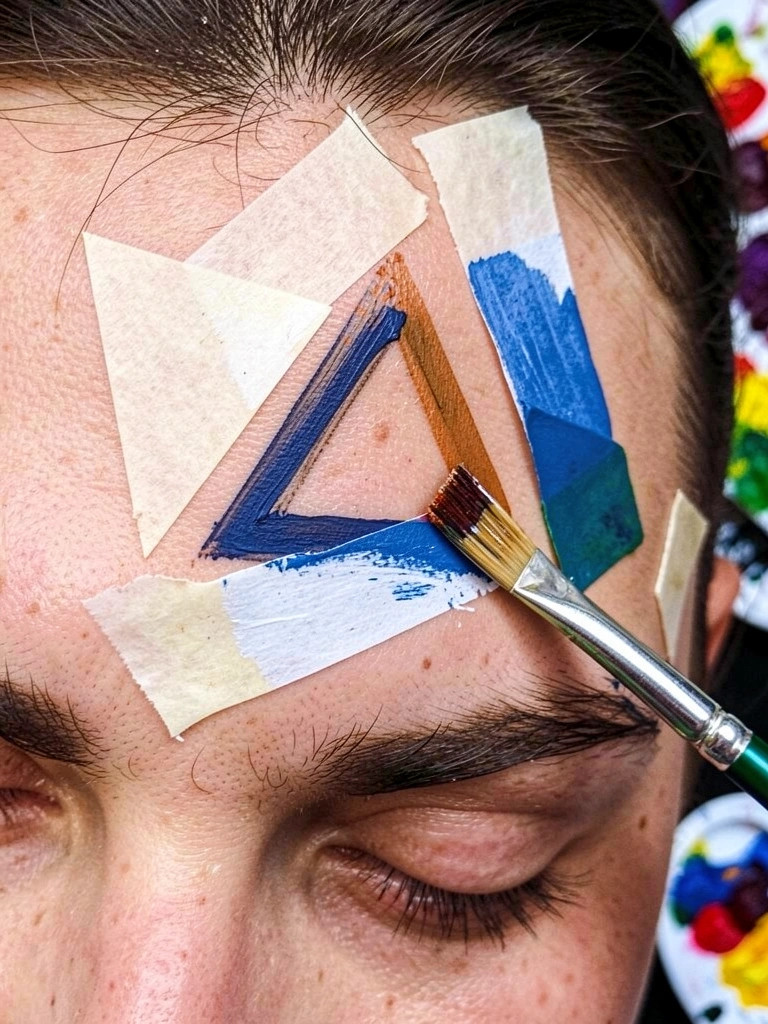
I used to fill every gap and lost the design’s punch. Leaving negative space makes shapes read cleaner. I map triangles and rectangles with a steady hand or painter’s tape, then paint around them. The contrast of painted and bare skin looks modern and bold.
Be precise at edges. I often use a thin liner to crisp the border.
What You'll Need for This
- Painter’s tape or stencil
- Rigid flat brush or liner
- High-pigment face paints
- Small scissors for tape shapes
11. Reverse Stenciling for Crisp Patterns
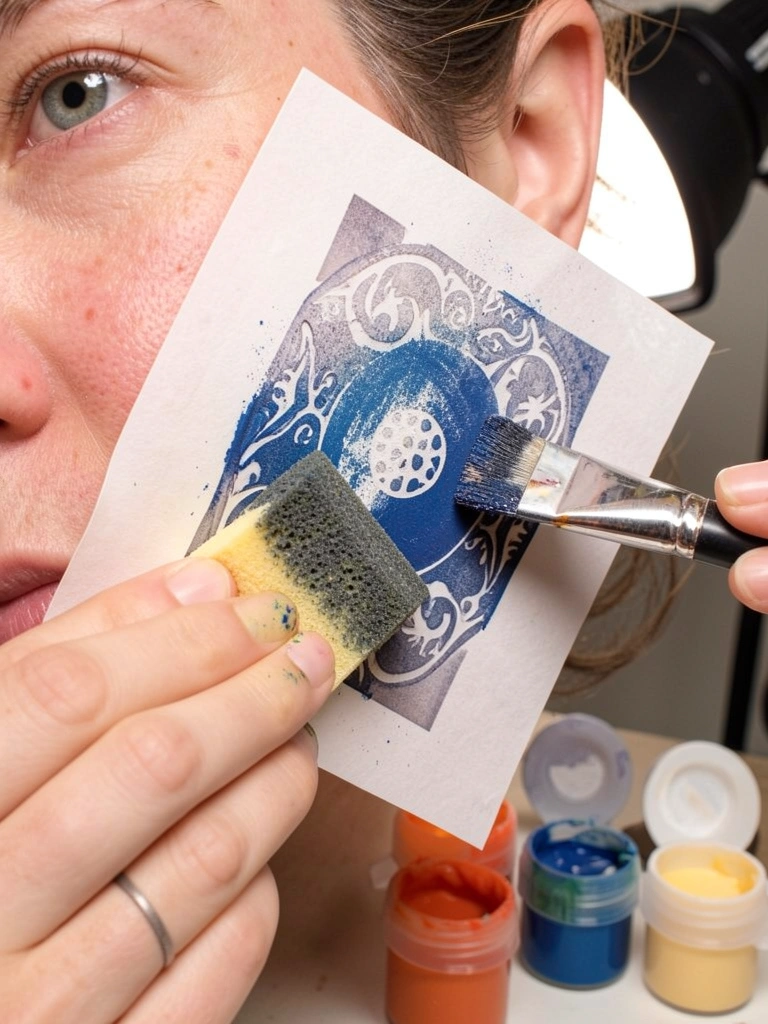
I once used a wet stencil and it shifted. Taping the stencil down changed the game. Reverse stenciling—where you paint around the cutout—gives crisp floral or dot patterns quickly. It’s great for repeating motifs and keeping things consistent across faces.
Test on paper first. Stencils need to sit flat to avoid bleed.
What You'll Need for This
- Flexible stencil sheets
- Stippling sponge or flat brush
- Painter’s tape
- Two contrasting paint colors
12. Two-Brush Wet-on-Wet Soft Bloom
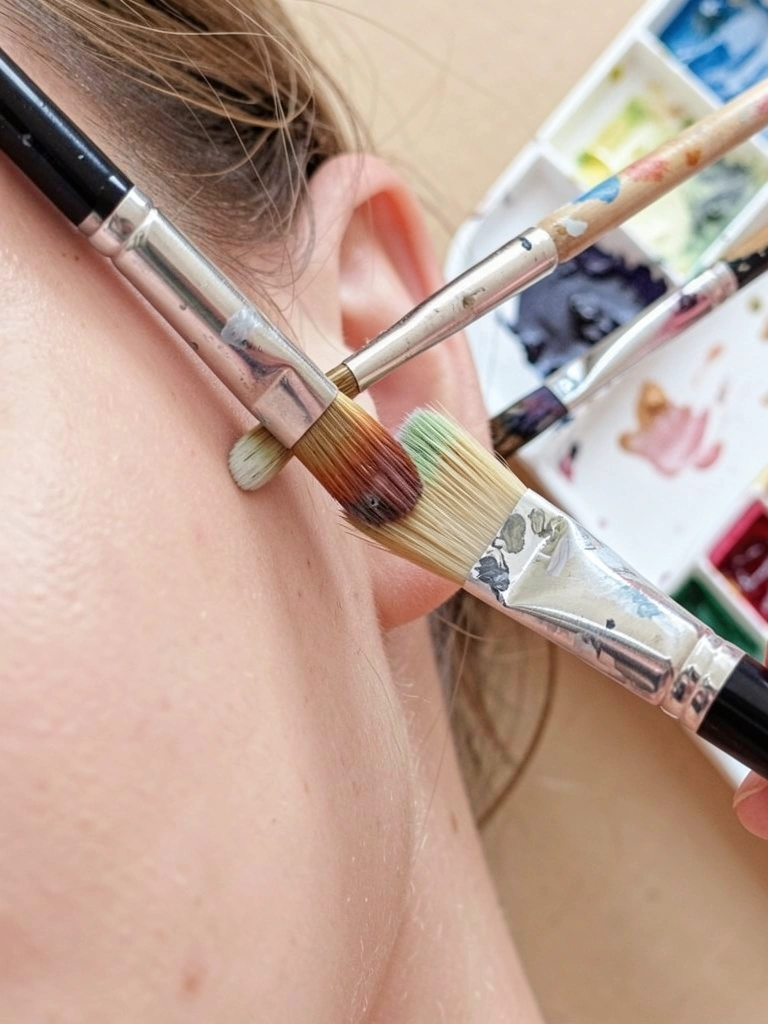
I learned wet-on-wet from watercolor but adapted it for face paint. Load one brush with a saturated spot and immediately pull with a clean damp brush. The color blooms outward in a soft halo. It’s forgiving and great for smoky eyes or soft petals.
Timing is key—work quickly before the paint skins over.
What You'll Need for This
- Two soft round brushes
- Diluted face paints
- Damp sponge or towel
- Small spray bottle (optional)
13. Painterly Brush Strokes for an Abstract Look
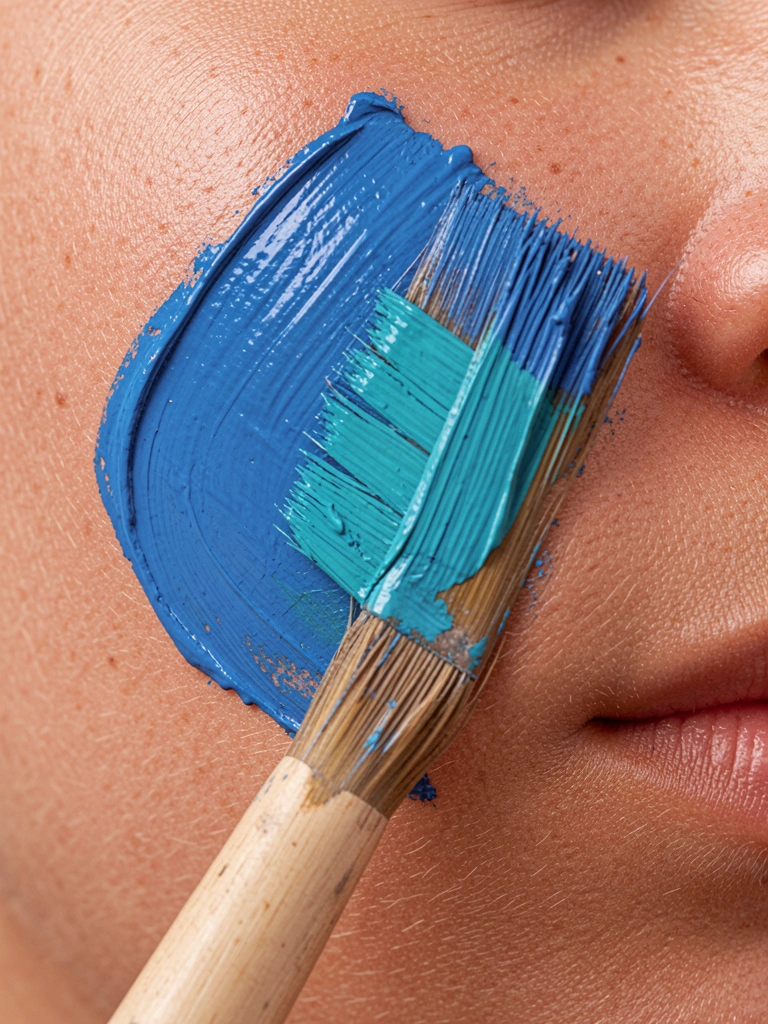
I used to imitate tiny, perfect strokes from tutorials. Letting my brush be visible gave character. Broad, confident strokes across the cheek or temple read artistic and relaxed. Use thicker, cream-based face paint or body paint so the brush marks hold.
I ruined a face by over-layering thin strokes; switching to bolder, fewer strokes fixed that instantly.
What You'll Need for This
- Stiff flat brush
- Cream-based or thicker face/body paint
- Palette knife for loading (optional)
- Small towel for wiping
14. Ink-Like Liner with Waterproof Gel
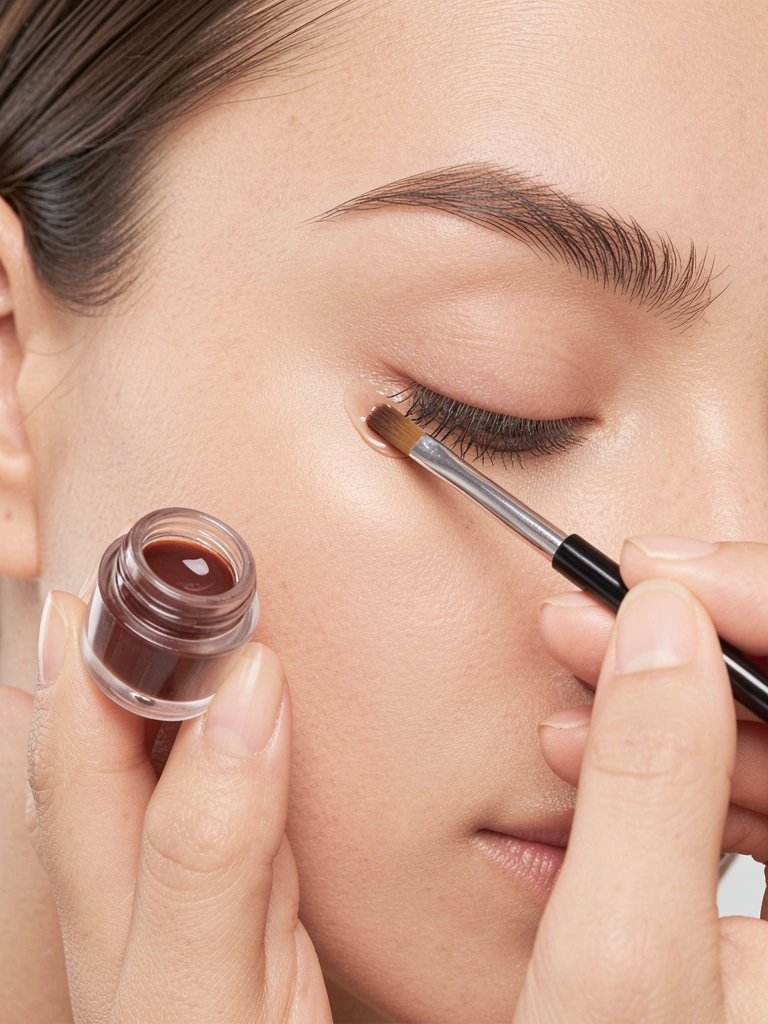
I discovered waterproof gel after one rainy shoot ruined pigment. Gel liners give a sharp, glossy ink line that stays. I use an angled or dagger brush to create graphic wings, small letters, or fine dots. It’s precise and holds up through heat and sweat.
Remove carefully with an oil-based remover. I learned that the hard way.
What You'll Need for This
- Waterproof gel liner or body gel
- Angled or fine liner brush
- Makeup remover cloths
- Small mirror
15. UV and Glow Accents for Night Looks
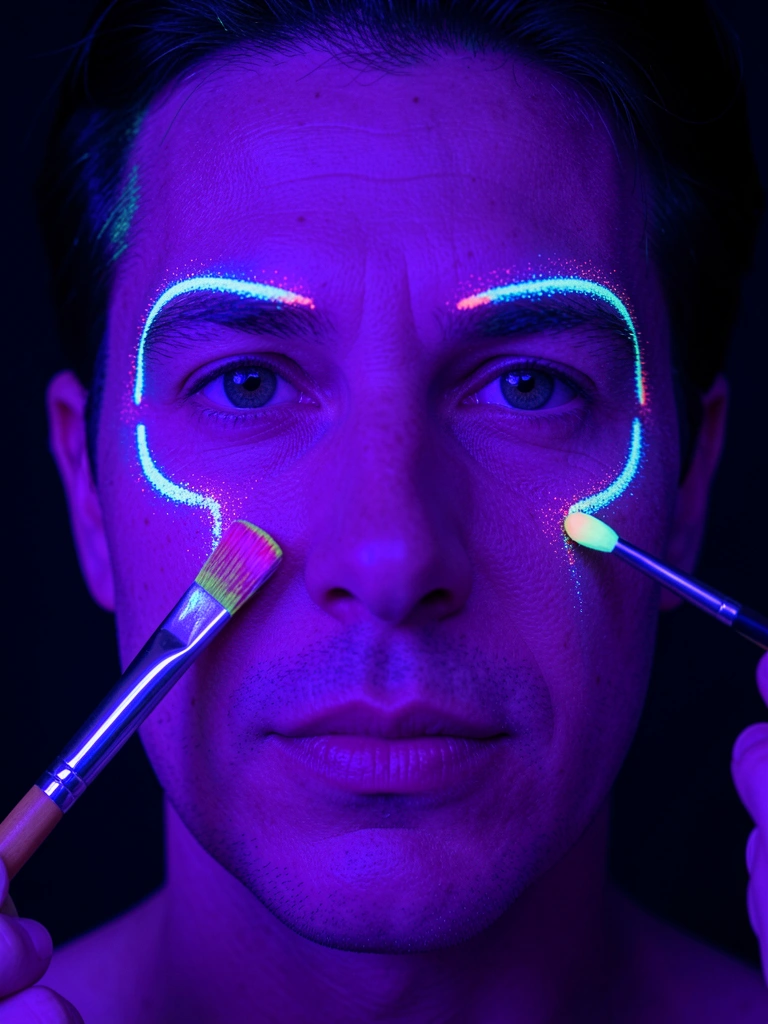
I painted UV accents once and forgot to photograph under blacklight. Lesson learned: test in the lighting you’ll be seen in. UV and glow paints give a surprising pop for night events. Place them sparingly—along edges, under brows, or as tiny stars.
Use face-safe UV paints only. Do a quick patch test to check for skin reaction.
What You'll Need for This
- Skin-safe UV/glow face paints
- Small round brush
- Blacklight for testing
- Patch-test supplies
Final Thoughts
I don’t try everything at once. I pick one technique and repeat it until it feels natural.
You’ll ruin a look sometimes. That’s part of learning.
Paint confidently, keep wipes handy, and enjoy the practice.