How to Paint Hydrangeas Step by Step
I remember ruining my first canvas because I pushed details before the volumes read right. I went back, wiped layers, and learned to build the flower from big shapes to small touches.
This is a full, honest walkthrough from blank canvas to a finished hydrangea painting.
No fluff. I’ll show you what to do, what usually goes wrong, and how I fix it.
How to Paint Hydrangeas Step by Step
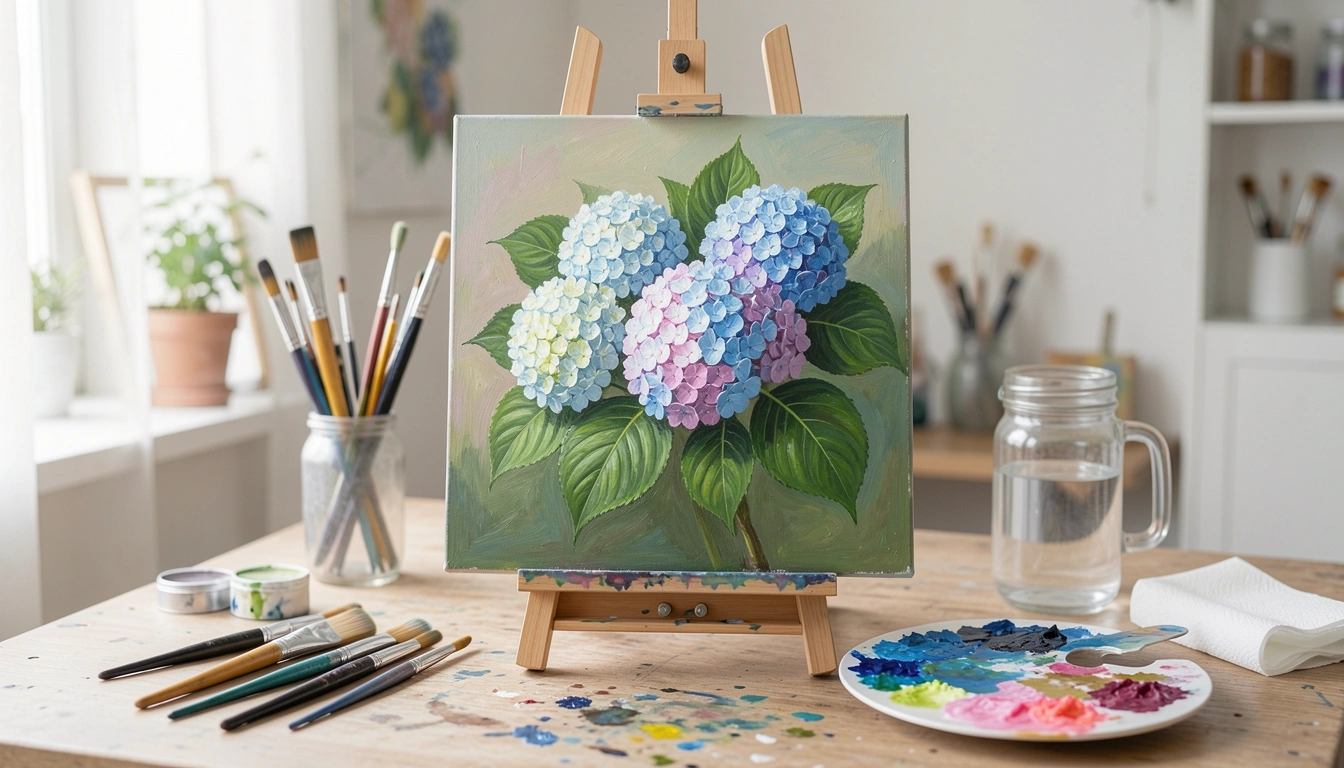
By the end you'll have a finished acrylic hydrangea that reads like a cluster of flowers, not a bunch of dots. Here's how I do it, broken into 7 simple steps.
What You'll Need
- Stretched canvas or canvas board (any small-to-medium size)
- Acrylic paints: titanium white, ultramarine blue, phthalo blue, quinacridone magenta (or alizarin), yellow ochre or burnt sienna, phthalo green
- Large filbert or flat brush (1" or similar)
- Medium round brush (size 6–8)
- Small round detail brush (size 0–2)
- Palette (or flat mixing surface) and palette knife
- Water jar, paper towels, spray bottle or wet palette
- Easel or flat work surface, sketching pencil or charcoal
Step 1: Prepare the Surface and Mix Your Base Colors
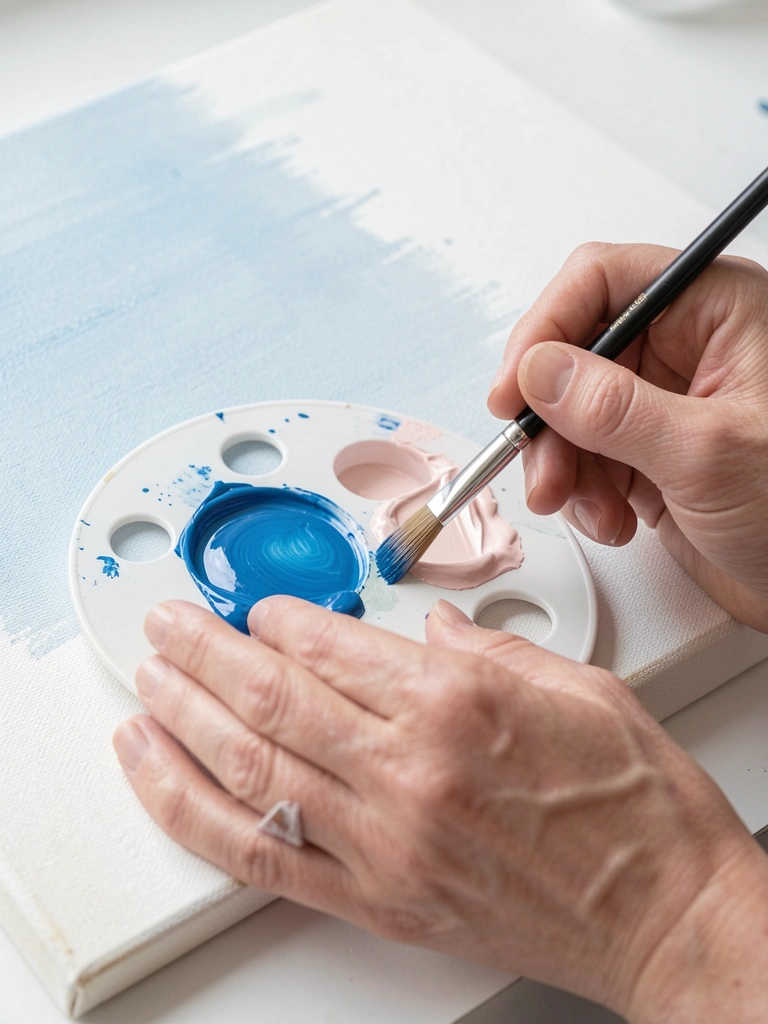
Start by priming or lightly sanding the canvas if needed and setting up a consistent light. Mix three base mixes: a cool blue, a warm pink/purple, and a mid-tone neutral for shadows. Make enough of each; acrylics dry fast.
When it’s right, your mixes should read distinct on the palette — not muddy. Mine often looked too bright at first; that’s normal.
Big fail here is running out of a mix and remaking it slightly different. Tip: keep a small wet palette or spray your palette occasionally so colors stay usable.
Step 2: Sketch Composition and Block in the Background Wash
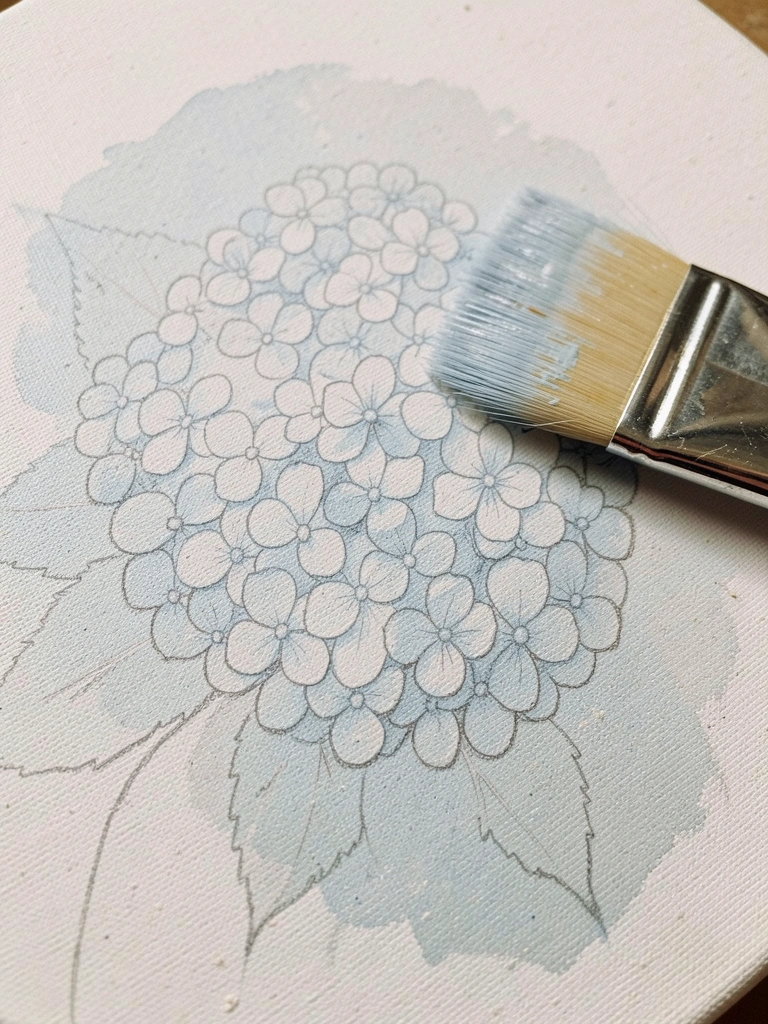
Lightly sketch the main cluster shapes — big circles for heads, simple stem lines. Then lay a thin, diluted background wash around those forms with the large brush. Keep the background soft and slightly cooler or warmer than your flowers.
When this step is working, the clusters sit on the canvas and the negative space feels balanced. Mine used to fight the background when I made it too saturated.
The usual mistake: painting background too dark or detailed, which steals attention. Tip: keep background values one step lighter or darker than your mid-tones.
Step 3: Block in the Flower Masses (Loose Shapes, No Details)
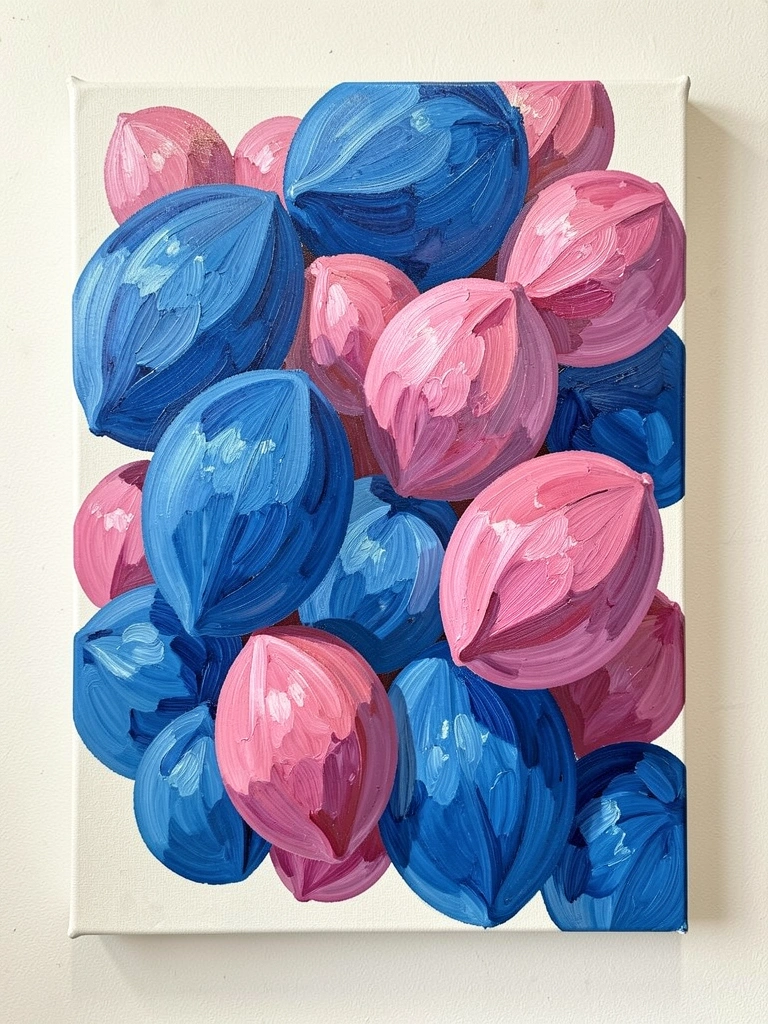
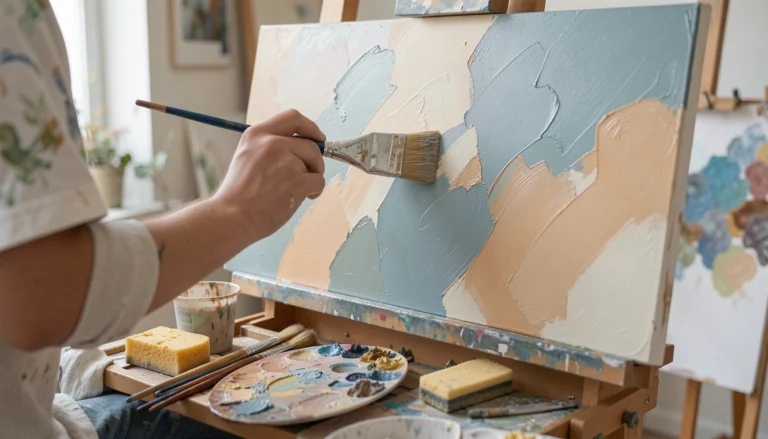
Use the large or medium brush to block in the basic masses of each hydrangea head with your base blue and pink mixes. Work in clusters of roughly circular dabs — vary size and overlap. Don’t attempt petals yet; think big shapes and value.
It should look patchy but readable. When mine looked like blobs, I reminded myself the next layers fix it.
What goes wrong: over-defining edges or blending until everything is gray. Tip: press and lift the brush to make varied edges; stop when volumes read.
Step 4: Build Mid-Tones and Shadow Structure
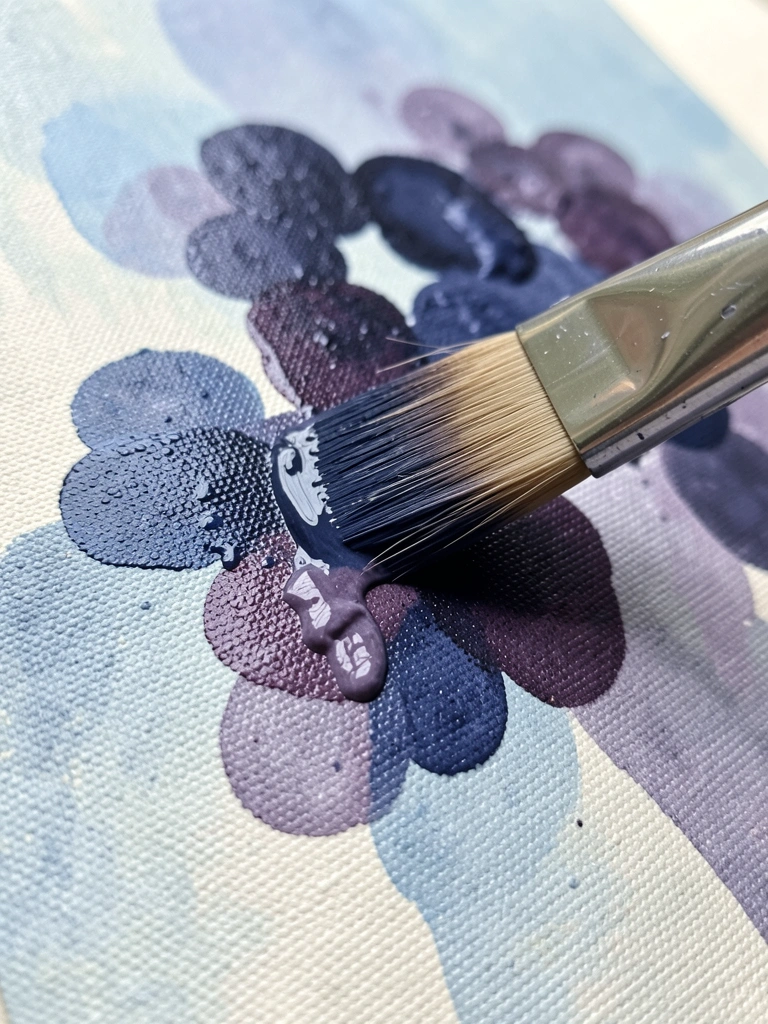
Now add mid-tones and deeper shadows between florets and at cluster edges with a slightly darker mix. Thin layers (glazes) work well here — acrylics let you add transparent layers to deepen without muddying. Use a small amount of yellow ochre or burnt sienna to mute extreme blues.
When this goes right, the cluster reads as volume, not flat color. Mine often turned muddy when I mixed too many pigments in one dab.
The problem to watch: losing color purity by overmixing. Tip: make shadow mixes on the palette and test a small area before sweeping through.
Step 5: Suggest Individual Florets with Small Brushwork
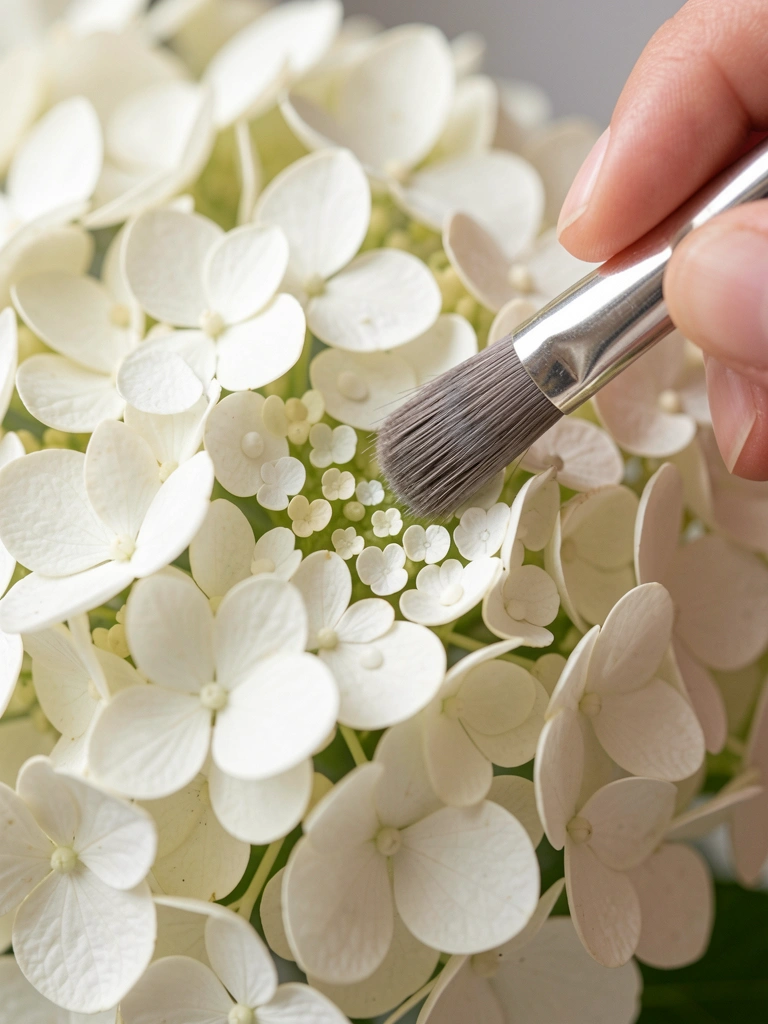
Switch to the small round brush and start suggesting florets: single tiny rounded strokes, clusters of three or four dots, and short crescents. Use a three-value approach: shadow, mid, and highlight for each area. Don’t paint every petal — imply groups.
At this stage it should read floral up close but still loose. My early attempts were too neat and looked artificial.
Common mistake: over-detailing the whole painting. Tip: reserve crisp highlights for a few focal florets and leave others soft.
Step 6: Paint Leaves and Stems Using Negative Space
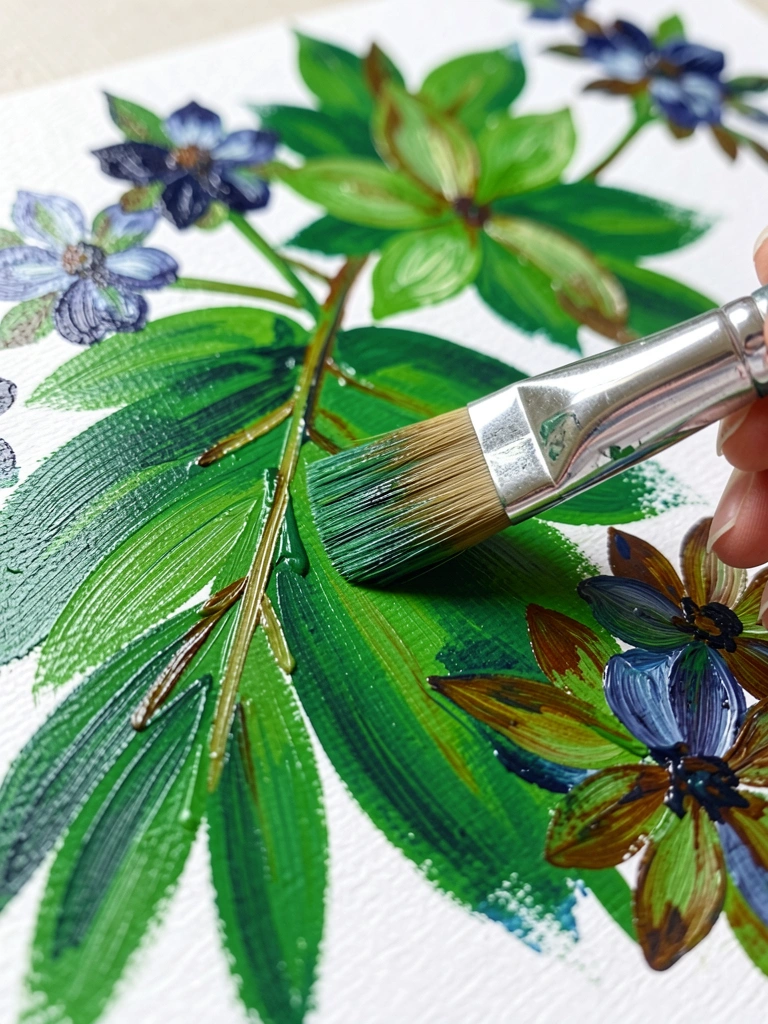
Paint leaves and stems with confident directional strokes. Mix a base green, then darken and desaturate slightly for the shadowed undersides. Use negative space between leaves and flower heads to sharpen the cluster edges without outlining.
When it reads right, leaves support the flowers without overpowering them. Mine used to pull focus when I used too bright a green.
Trouble here is color dominance — green that’s too saturated. Tip: dull greens with a touch of burnt sienna or a blue mix and keep leaf edges varied, not perfectly neat.
Step 7: Final Adjustments, Glazes, and Selective Sharpening
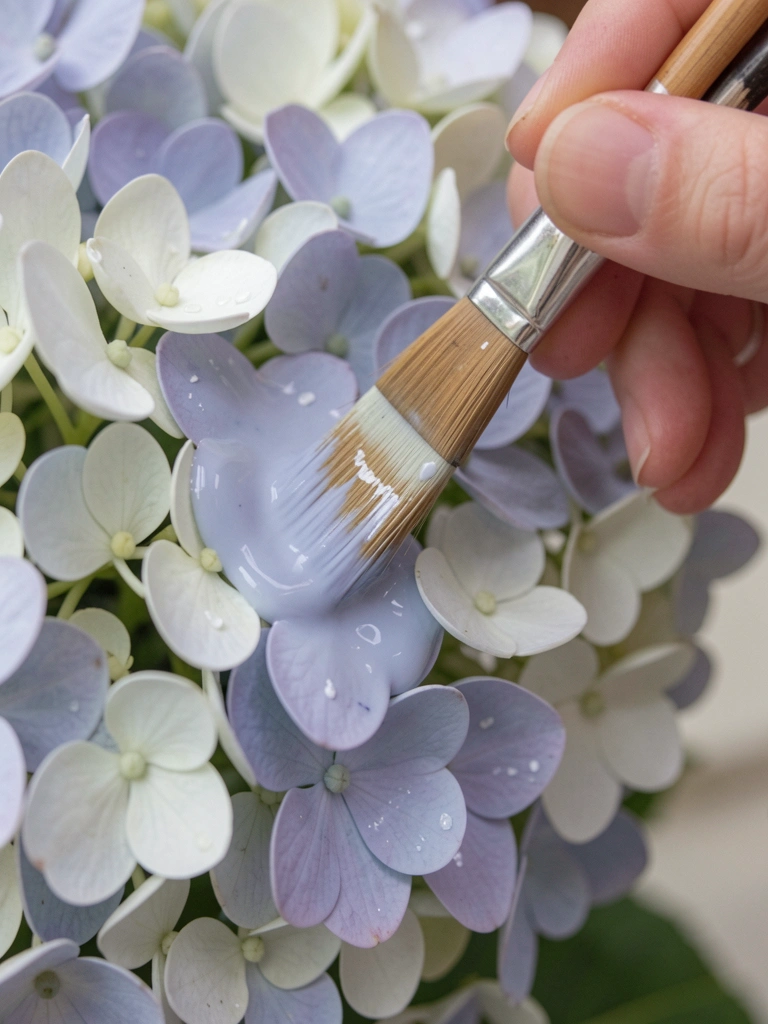
Step back and decide where to sharpen edges, add a few bright highlights, and where to soften transitions. Apply a very thin glaze (watered-down paint or glazing medium) to unify color temperature across the painting if needed. Add final tiny white highlights on a handful of florets.
It should feel cohesive but not overworked. My worst mistake here was pushing the paint until it went flat and muddy.
The key fail: overworking. Tip: stop after small, deliberate fixes and let paint dry before more glazing.
Common Mistakes to Avoid
- Painting tiny petals too early — fix: block big shapes first, add detail later.
- Overmixing blues into gray — fix: preserve separate mixes and mute with small amounts of warm earth.
- Background too saturated or detailed — fix: keep it softer and one value away from your flowers.
- Overworking the whole piece at the end — fix: sharpen only a few focal spots, leave the rest soft.
- Using bright greens for leaves that compete — fix: mute greens with a touch of burnt sienna or ultramarine.
Final Thoughts
Hydrangeas reward a patient, layered approach. I ruined canvases learning that detail needs structure underneath.
Your first piece won’t match the example, and that’s okay. Each layer teaches you more about value and color.
Keep the main steps in mind: block, build, imply, and finish. You’ll get results you can be proud of.