9 Creative Faux Painting Techniques to Transform Any Room
I used to overblend until everything went muddy.
I’ve ruined more canvases practicing edges than I care to admit.
Slowly, I learned what actually holds up on a wall and what only looks good in a thumbnail.
These tips are the things that stuck—practical, low-fuss, and ones I’d do again.
9 Creative Faux Painting Techniques to Transform Any Room
These 9 techniques are hands-on faux painting methods I’ve actually used to refresh rooms. I’ll cover what worked, what I wasted, and clear steps to try them yourself.
1. Layered Glaze Wash for Subtle Depth
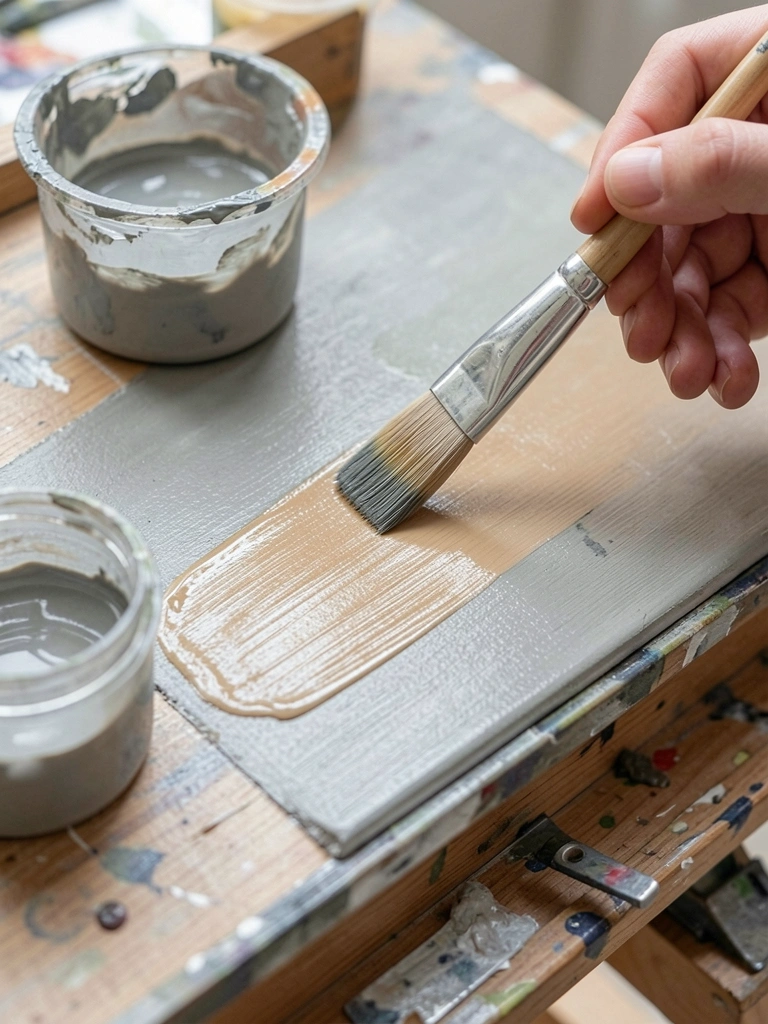
I started glazing because solid color felt flat. Thin glazes let me build depth slowly without heavy texture. I layer a translucent color, let it dry, then scumble another thin pass. The wall breathes instead of shouting.
Watch the ratio—too much medium and the glaze won’t tint; too little and it drags. I once went too dark on the first glaze and had to sand lightly before fixing it.
What to watch for: work in small sections, keep edges soft, and always test on a board first.
What You'll Need for This
- Acrylic glaze or paint thinned with glazing medium
- Soft nylon brush
- Plastic mixing cup
- Test board or scrap panel
2. Dry-Brushed Weathered Plank Look
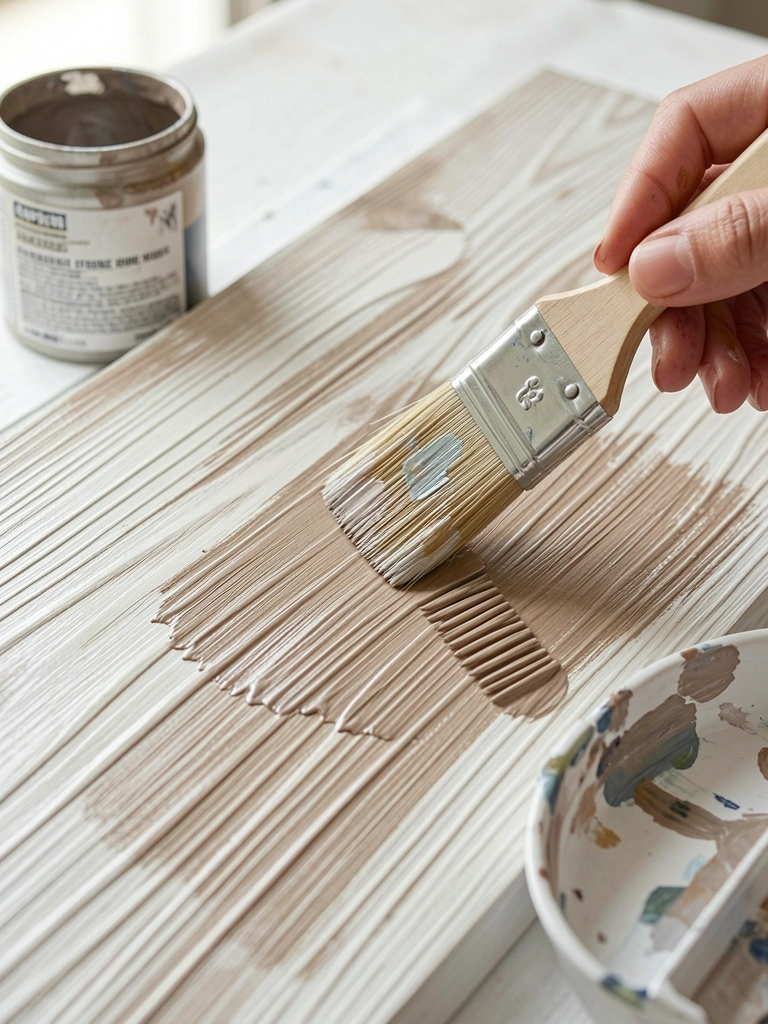
I mimicked wood grain with dry brushing after a base coat. The trick was loading the brush lightly and drawing it across the surface with a gentle, uneven hand. That looseness reads like real weathering.
Early attempts were streaky because I used too much paint. Once I wiped nearly all paint off the brush, the effect was layered and believable. I also used a comb to pull lines when I wanted tight grain.
What to watch for: less paint, more control, and step back often to judge rhythm.
What You'll Need for This
- Stiff flat brush
- Two or three acrylic colors (base, mid, highlight)
- Rag for wiping brush
- Grain comb or old credit card
3. Faux Marble Veining with Soft Blending
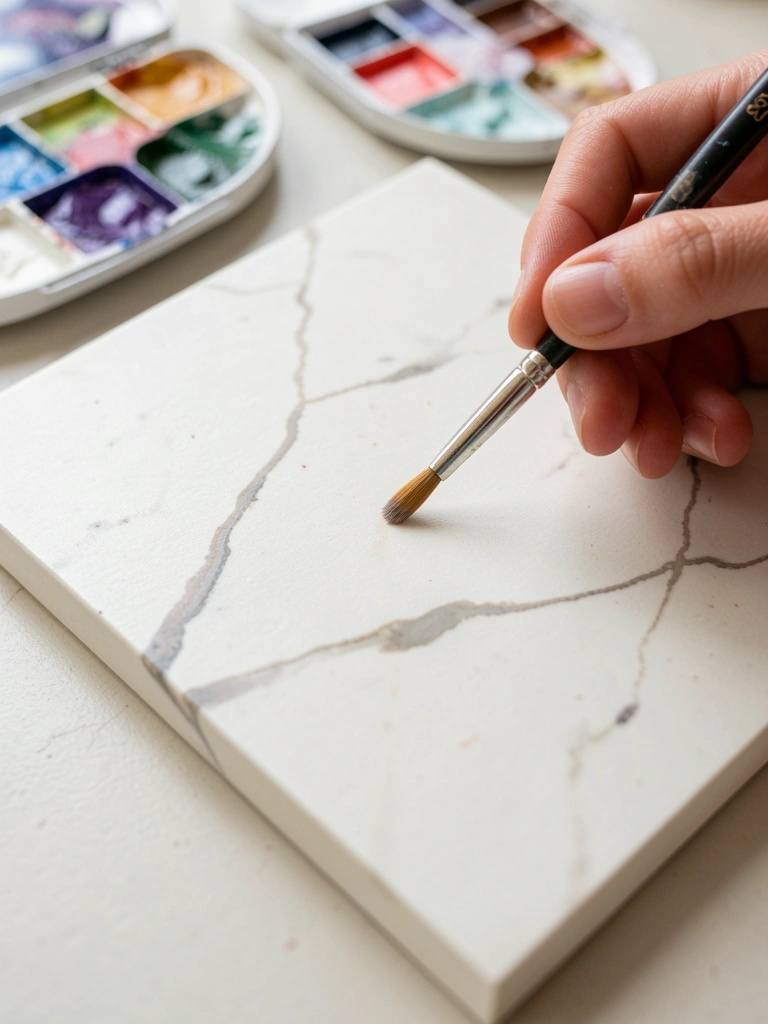
Marble terrified me until I let the veins be imperfect. I sketch the main veins lightly, drag a wet brush to soften them, and lift color with a damp rag to create natural veining. It’s about suggestion, not exact replication.
I once overworked a vein until it looked like a hose mark. Now I do one soft pass and resist fiddling. Small, pale secondary veins sell the look.
What to watch for: keep your darkest veins thin, blur edges, and do small corrections with a damp sponge.
What You'll Need for This
- Small round and soft blending brush
- Damp sponge or rag
- Thinned acrylics in white, grey, and one darker tone
- Test panel
4. Venetian-Style Trowel Texture Without the Plaster
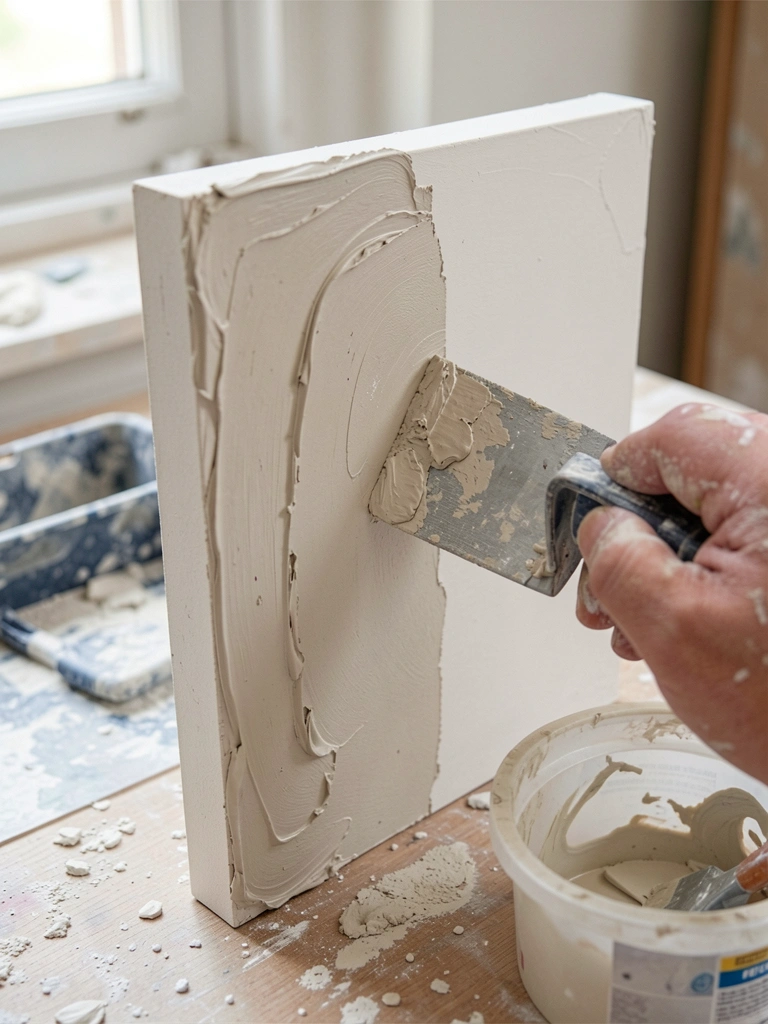
I wanted a plaster look but didn’t want the dust. Tinted joint compound or heavy acrylic medium spread thinly with a small trowel gives that soft, layered texture. I swipe in varied directions for an honest surface.
My first layer was too thick and cracked while drying. Thin layers win here—build up slowly, sand light between passes, and keep edges feathered.
What to watch for: keep layers thin, sand lightly, and seal with matte varnish for durability.
What You'll Need for This
- Small finishing trowel or palette knife
- Tinted joint compound or heavy body acrylic medium
- Sandpaper (fine)
- Drop cloth or scrap board
5. Metallic Veil Over Muted Base
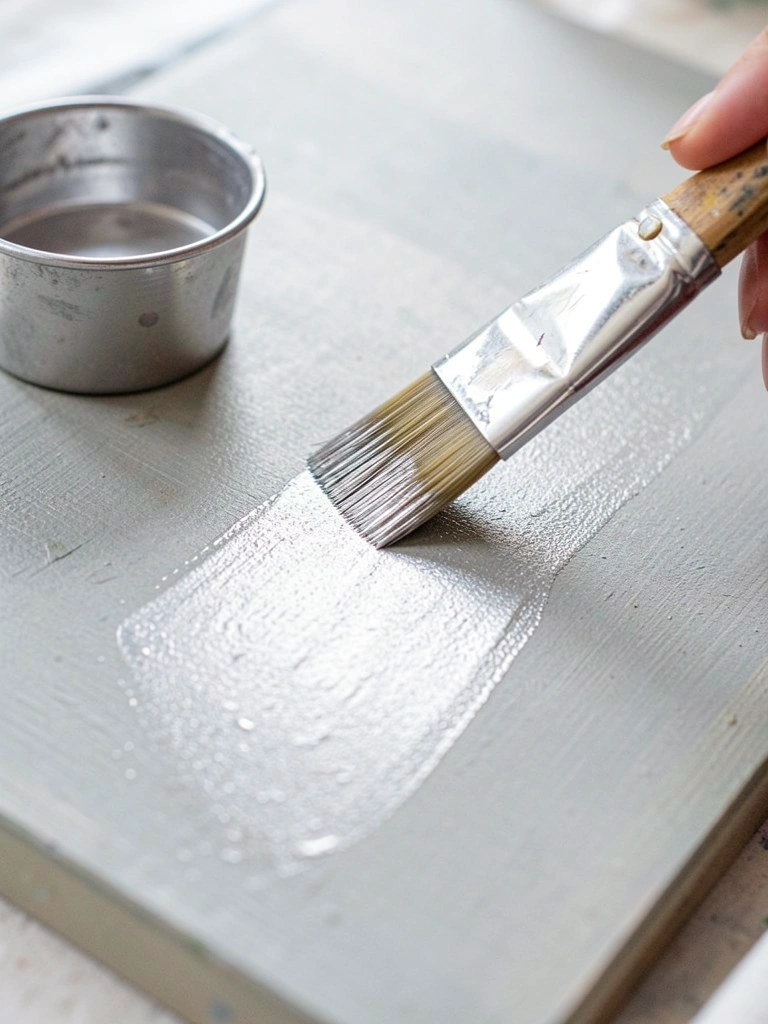
I use a muted base and a thinned metallic glaze to catch light without screaming metallic. It’s about whispers—tiny amounts across high points, not full coverage. It reads luxurious but still lived-in.
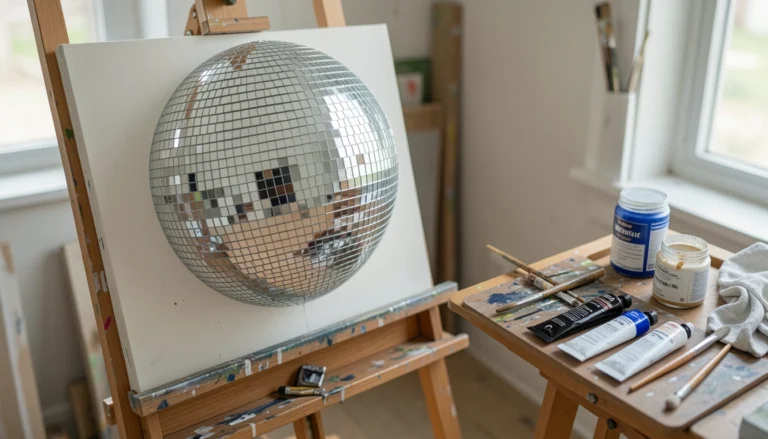
I used full-strength metallic once and regretted the disco look. Thinning to a glaze keeps it delicate. Light direction matters; test with your room’s daylight.
What to watch for: less is more, apply with a soft brush, and wipe back if it pools.
What You'll Need for This
- Metallic acrylic paint
- Glazing medium or water for thinning
- Soft brush or sponge
- Test panel with your room’s light
6. Sponged Color Wash for Organic Texture
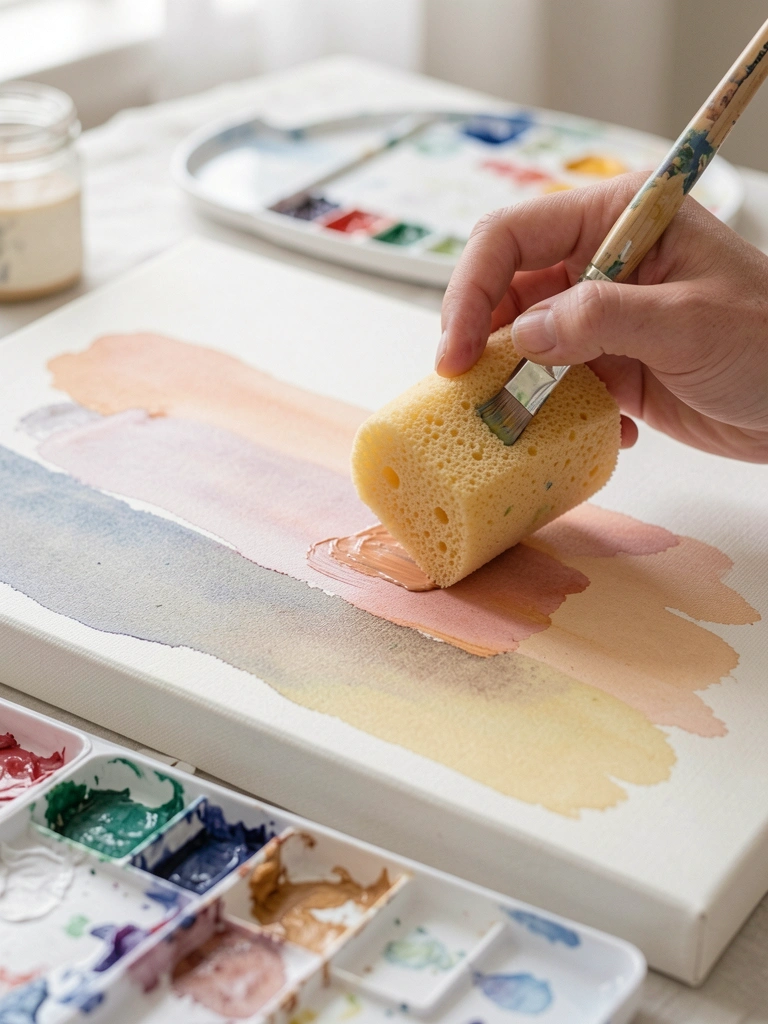
Sponging saved me when I wanted organic texture fast. I blot glaze onto a base, lift paint in places, and rotate sponges for variety. The result is forgiving and hides mistakes well.
I made colors muddy by using too many shades at once. Now I stick to 2–3 harmonized tones and build slowly. Keep a scrap board nearby to test sponge pressure and color mix.
What to watch for: clean your sponge often, work in small areas, and step back to check balance.
What You'll Need for This
- Natural sea sponge or synthetic sponge
- Thinned acrylics or glaze
- Paper towel for dabbing
- Test panel
7. Painted Panel Molding with Simple Shadows
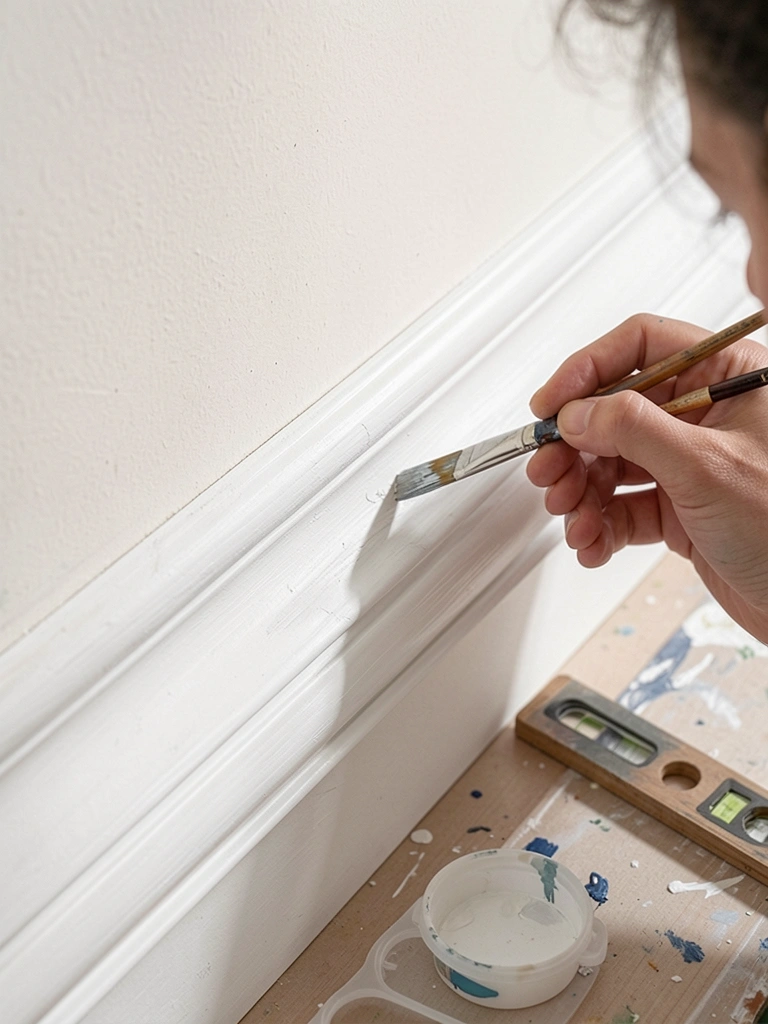
I painted faux panels to get architectural interest without carpentry. I sketch the layout, block in mid-tone strips, then add a thin shadow line and a highlight. Clean edges matter more than fancy shading.
I once freehanded without a guide and the panels wobbled. A level and painter’s tape kept everything honest. The shadow should be subtle—too dark reads fake.
What to watch for: measure twice, tape lightly, and feather the shadow with a soft brush.
What You'll Need for This
- Pencil and level or straightedge
- Small angled brush
- Two paint tones for shadow/highlight
- Painter’s tape
8. Soft Chalky Finish with Light Distressing
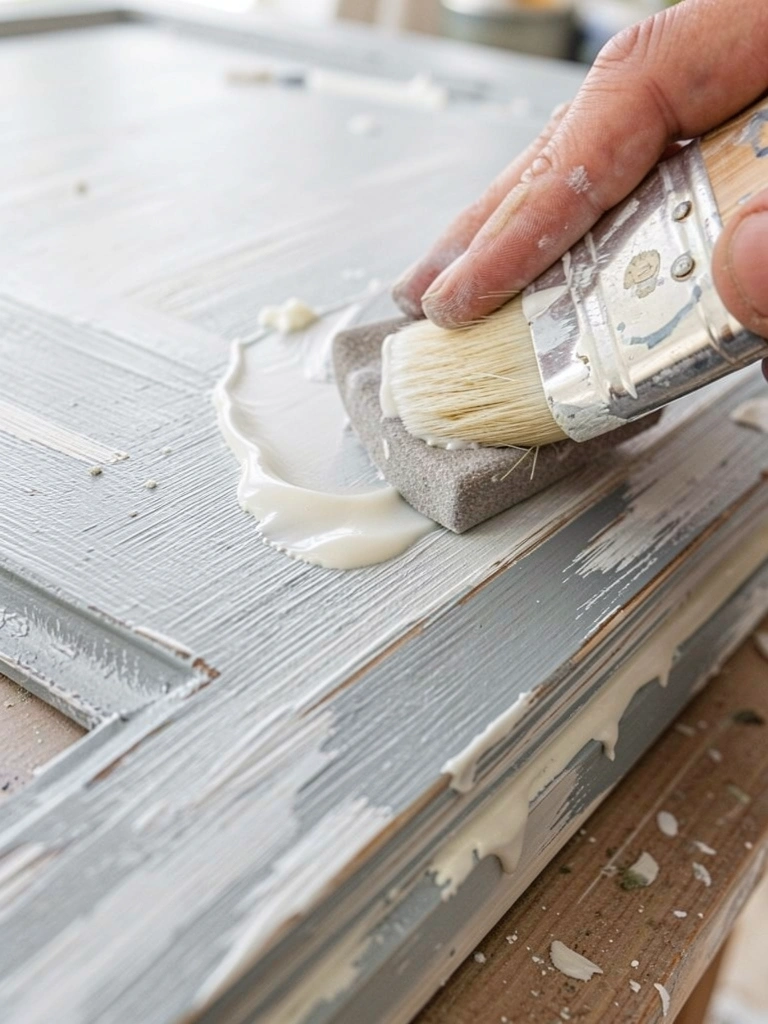
A chalky finish gives calm matte texture. I thin flat acrylic or use chalk-style paint, sand edges gently, and rub with wax for a worn look. It’s forgiving and easy to repair.
I over-sanded once and exposed bare gesso in spots. Take it slow—distress sparingly and in logical places like corners and edges.
What to watch for: seal with a matte wax or varnish and test distressing on a spare board first.
What You'll Need for This
- Flat acrylic or chalk-style paint
- Sandpaper (fine)
- Soft cloth or wax for sealing
- Scrap board for testing
9. Faux Linen Texture with Stipple and Dry Brush
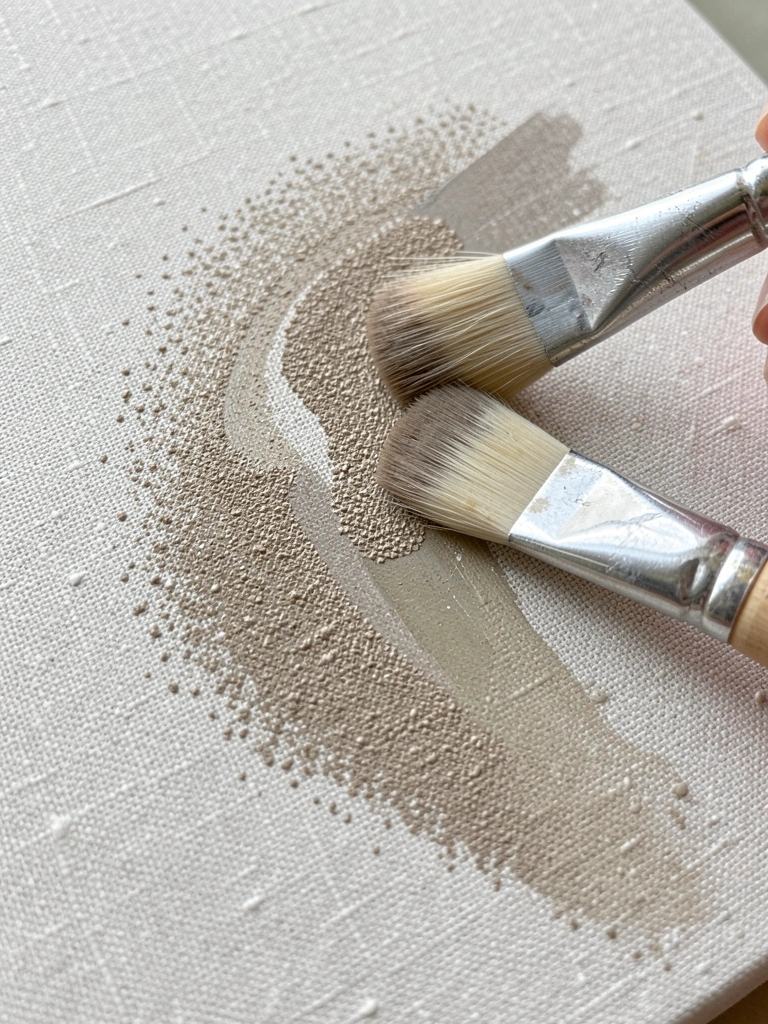
I faked linen by stippling a base with a stiff brush, then sweeping a dry brush for soft streaks. The combination creates fine weave illusion without fabric. It’s subtle and works in muted neutrals.
Early tries looked like wallpaper because I repeated a pattern. Randomize your strokes and vary pressure. Small color shifts sell the fabric effect more than heavy texture.
What to watch for: build in layers, keep highlights soft, and step back to avoid banding.
What You'll Need for This
- Stiff stippling brush and soft dry brush
- Two or three neutral paint tones
- Rag for blending
- Test panel
Final Thoughts
You don’t need to master every method. Pick one technique, practice on a board, and apply it where you’ll see it often.
I still ruin experiments. That’s how I learned what keeps a room looking lived-in and real. Go slowly, test, and enjoy the process.