11 Practical Wood Painting Techniques for Beautiful Finishes
I used to ruin boards by skipping the small prep steps. I learned the hard way—raised grain, bleed-through, and muddy layers.
These techniques are the ones I actually use when I want a clean, real finish. No fluff. Just what I wish someone told me earlier.
You can try most of these in an afternoon and see real improvement.
11 Practical Wood Painting Techniques for Beautiful Finishes
These 11 techniques are what I rely on for painted wood projects. They’re practical, tested, and easy to try in sequence. Use all or pick a few—11 solid ideas included.
1. Sanding to the Right Grit for a Smooth Base
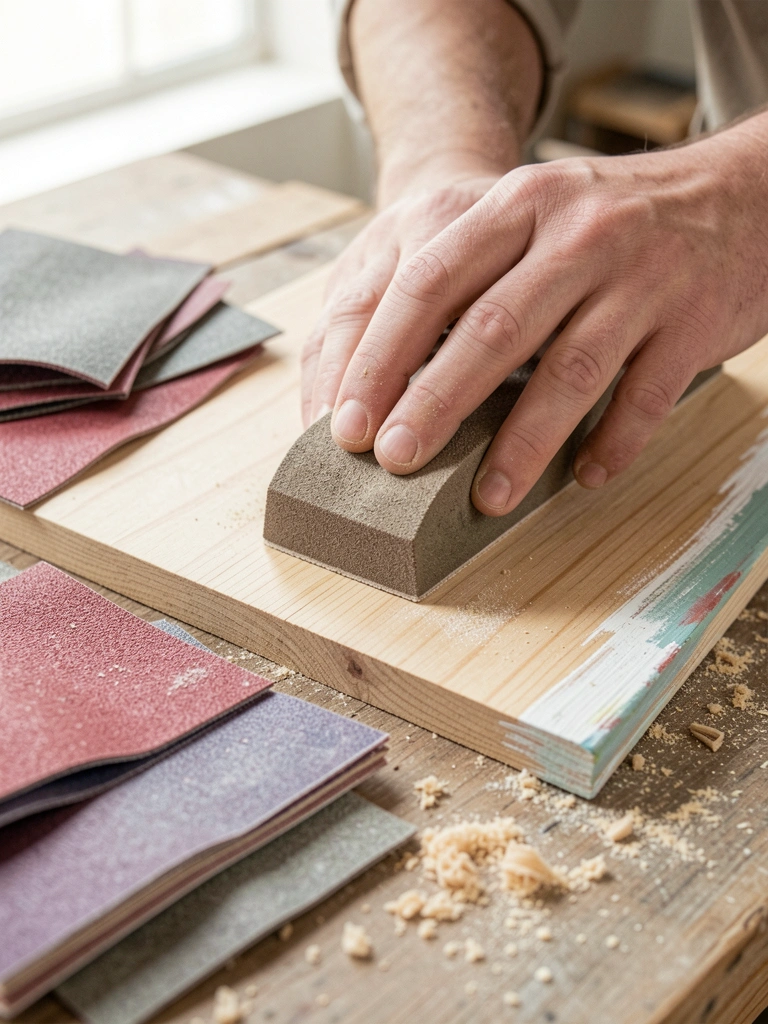
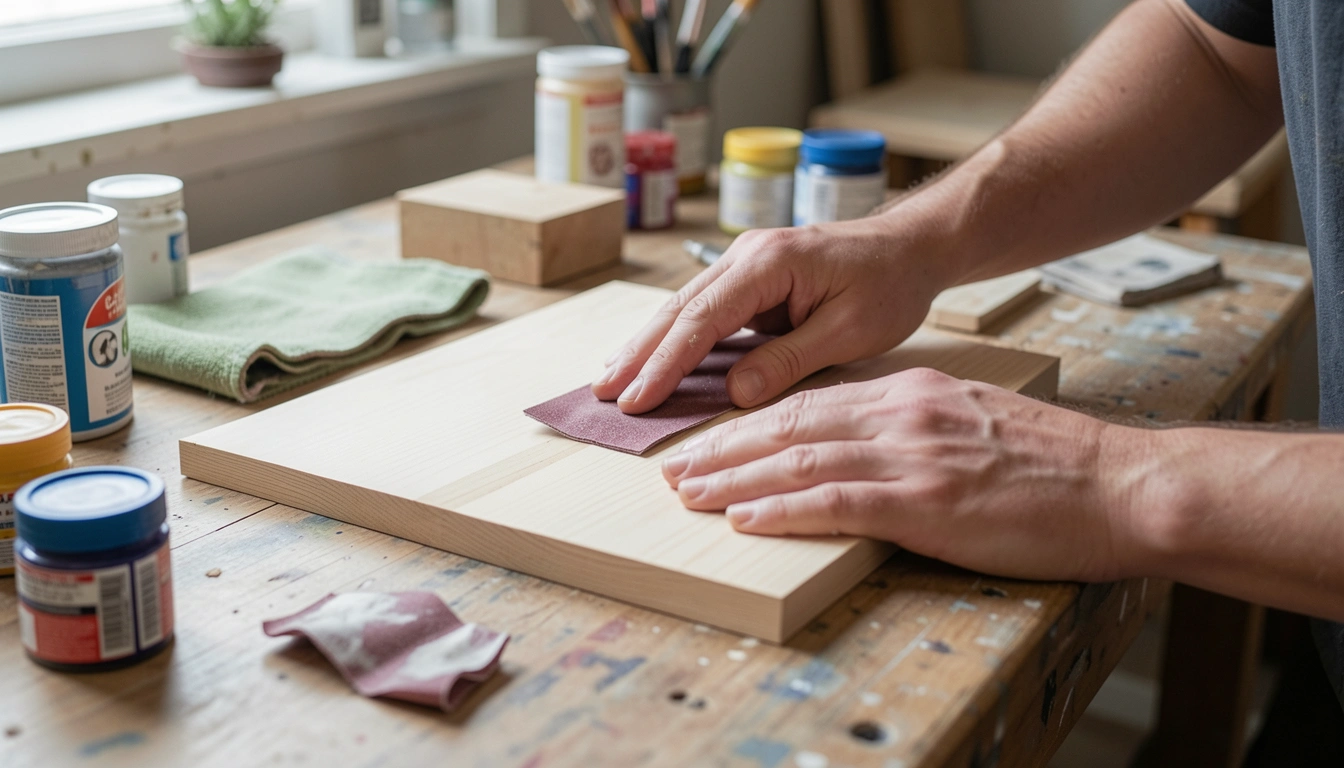
I used to start painting right away and paid for it with bumps and raised grain. Sanding from 120 to 220 grit gave me an even surface that actually holds paint.
I learned to sand along the grain and wipe with a tack cloth between steps. The paint sits better and I get fewer brush marks.
Watch for sanding through thin plywood faces. If the surface starts to feel thin, stop and switch to a lighter grit or a sanding sponge.
What You'll Need for This
- Sandpaper (120, 180, 220 grit)
- Sanding block or foam pad
- Tack cloth or clean rag
2. Sealing Knots and Sap with Shellac
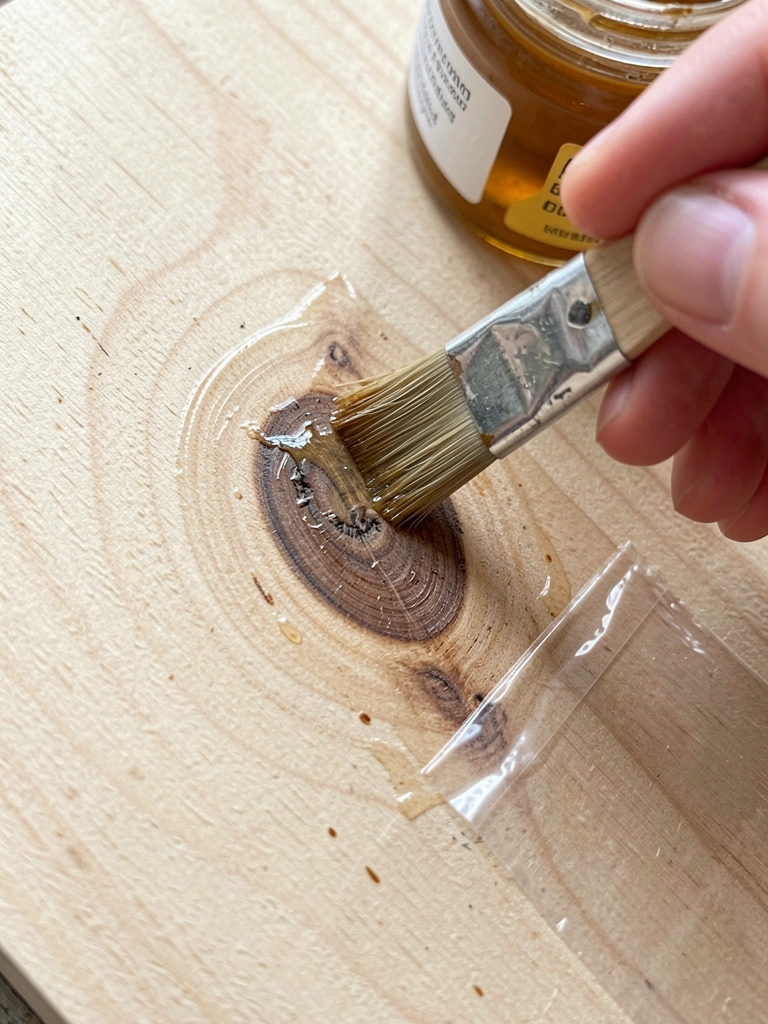
Knots bled through my paint until I started sealing with shellac. One thin coat stopped yellow sap and tannins from staining light colors.
I use a small brush and keep the coat thin. It dries quickly and gives the primer a consistent surface to grab.
If you skip this, expect ghosting under pale paints. Test a small area if you’re unsure how porous your wood is.
What You'll Need for This
- Shellac or alcohol-based knot sealer
- Small natural-hair brush
- Disposable cup for shellac
3. Thin Primer Layers Instead of Thick Slaps
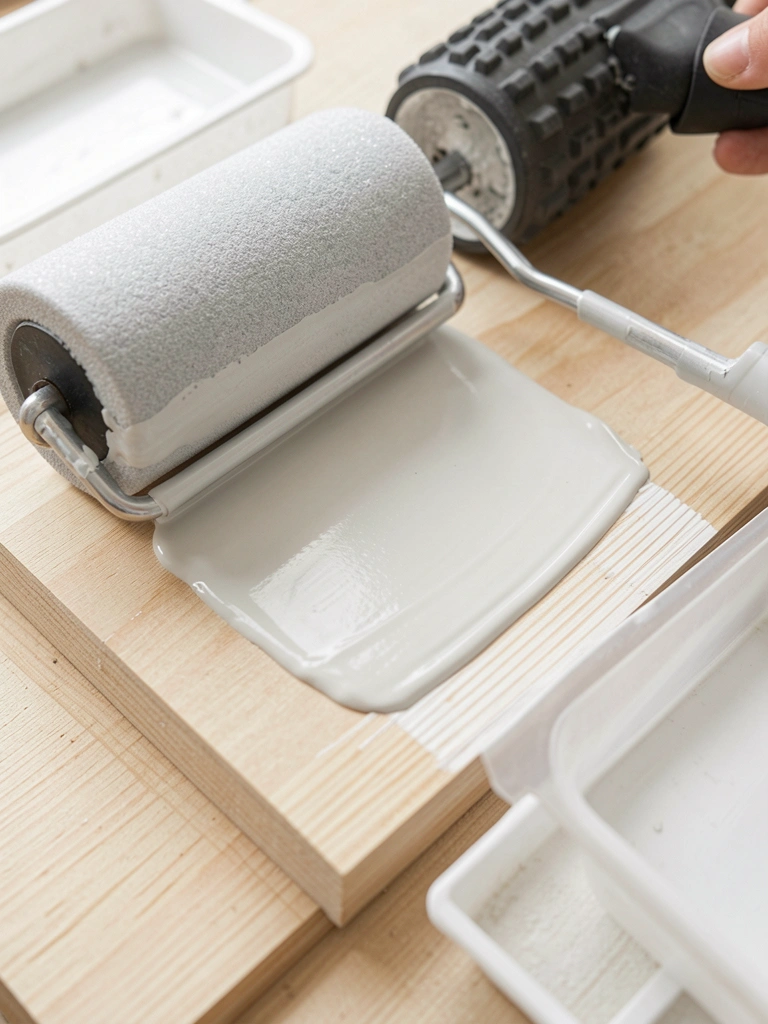
I used to glob on primer and then sand forever. Thin, even primer coats dry faster and sand smoother.
Roll on a thin base and brush the edges. If you sand lightly between two thin coats, the final surface is far smoother than one thick coat.
Keep primer just enough to seal the surface—too much hides grain if you want it, and too little still needs another coat.
What You'll Need for This
- Acrylic or oil-based primer
- Foam roller and small brush
- Sanding sponge (fine)
4. Glazing Thin Layers to Avoid Muddy Color
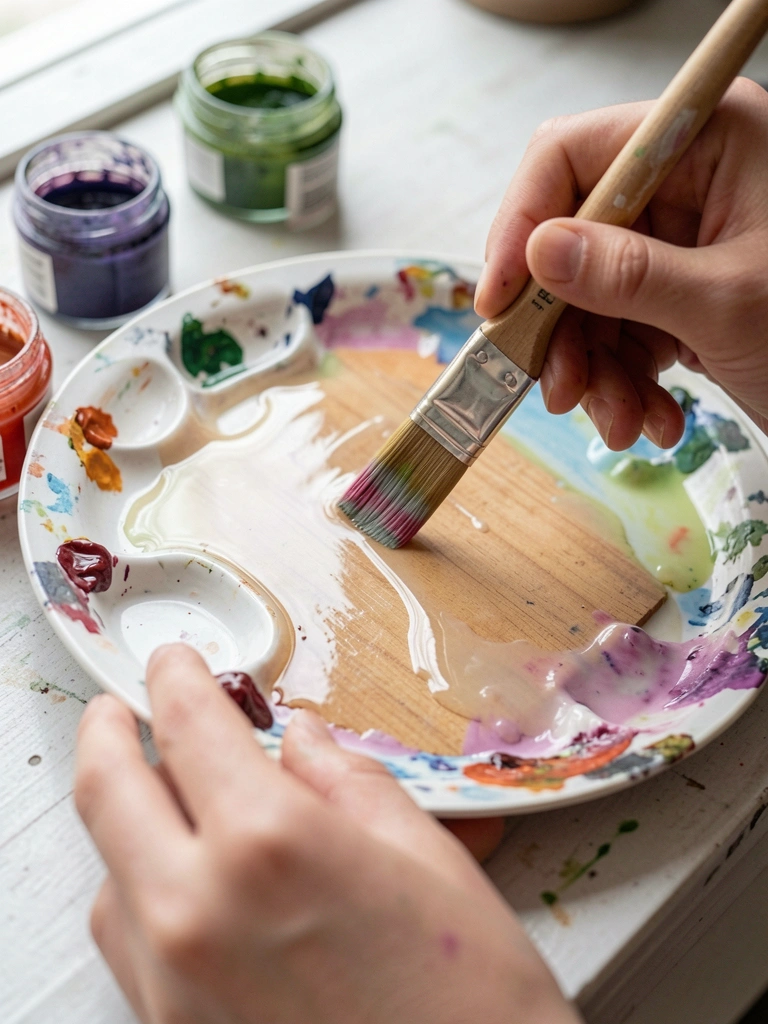
I learned glazing the hard way after muddy mixes ruined a piece. Mixing paint with glazing medium or lots of water (for acrylic) lets me build color without covering previous layers.
Each glaze shifts the color slightly. I stop when the depth feels right instead of chasing opacity. The result is clearer color and softer transitions.
Don’t overwork a wet glaze—lift or blend gently. If it looks muddy, wipe it back and let it dry before the next layer.
What You'll Need for This
- Glazing medium or acrylic flow extender
- Soft brush or mop brush
- Palette and mixing tool
5. Loading the Brush Fully to Avoid Streaky, Patchy Coverage
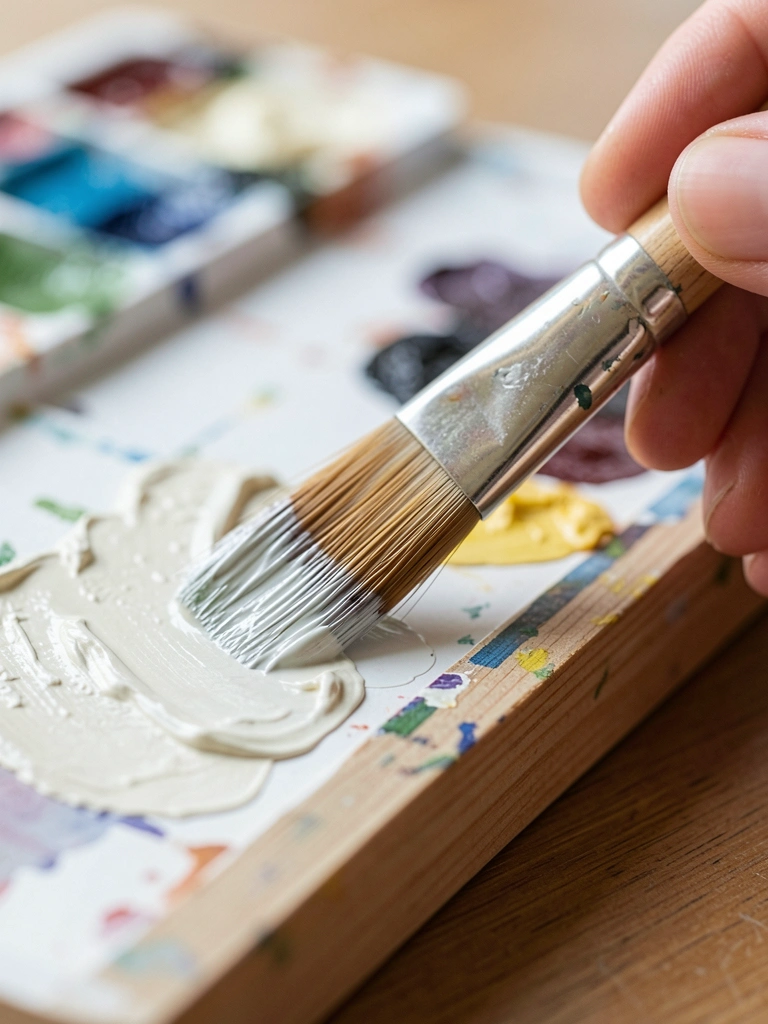
My early pieces showed streaks because I didn’t load enough paint. I now load the brush to the point it holds a steady ribbon of color but not a drip.
Work in long, confident strokes and keep a wet edge. That simple change cut my patchy areas in half.
If you see streaks, stop and reload. Thin coats and steady pressure beat dry, scrappy strokes every time.
What You'll Need for This
- Flat or angled brush (synthetic or natural)
- Palette for loading paint
- Paint thinned to working consistency
6. Dry Brushing to Bring Out Grain and Texture
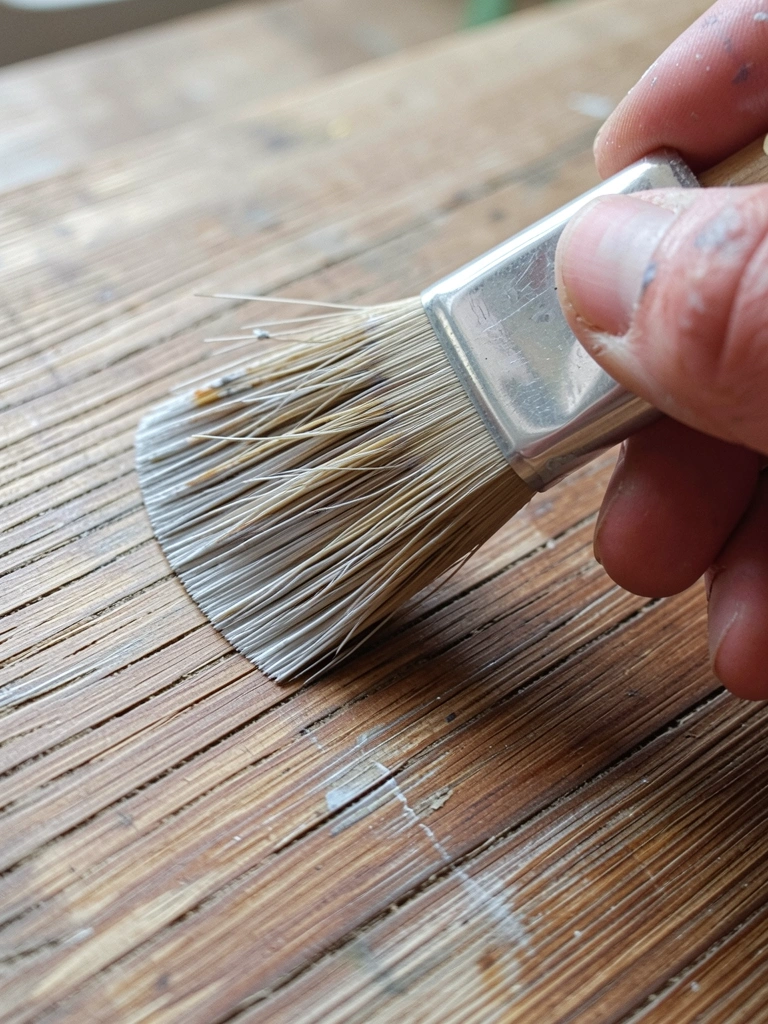
I used too much paint at first and got clumps instead of subtle highlights. Dry brushing taught me restraint—wipe most paint off and skim the surface.
It’s perfect for catching raised grain, highlighting corners, or simulating soft wear. Small strokes build up without covering the base color.
Be mindful: heavy loading kills the effect. Practice on scrap wood until you can feel the brush and the paint balance.
What You'll Need for This
- Stiff bristle or fan brush
- Small amount of paint on a palette
- Scrap wood for practice
7. Scumbling for Soft, Layered Color Depth
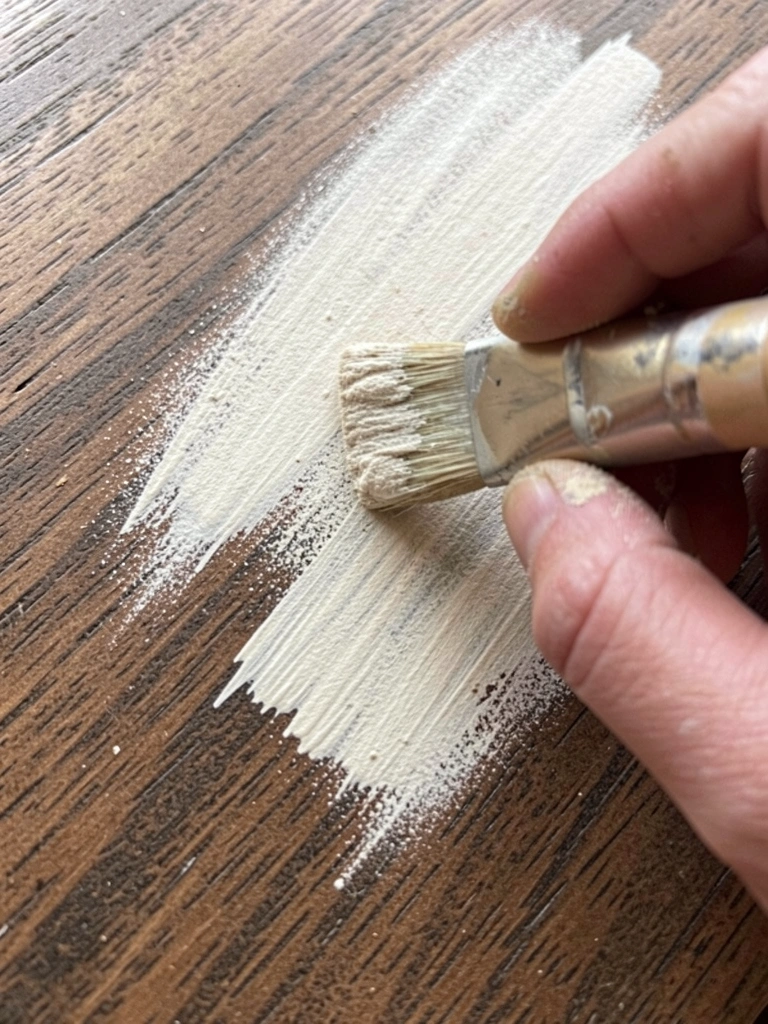
Scumbling saved pieces that felt flat. I lay a thin, semi-dry layer of lighter color and drag it lightly so the underlayer shows through.
It’s forgiving; mistakes read as texture instead of errors. I often use scumbling to age edges or mellow a saturated area.
Pay attention to drying times—do it on slightly tacky or dry paint. If it’s too wet, the layers blend and you lose the broken texture.
What You'll Need for This
- Natural-hair or bristle brush
- Thin paint or paint with medium
- Rags for wiping excess
8. Use a Foam Roller for Smooth, Even Base Coats
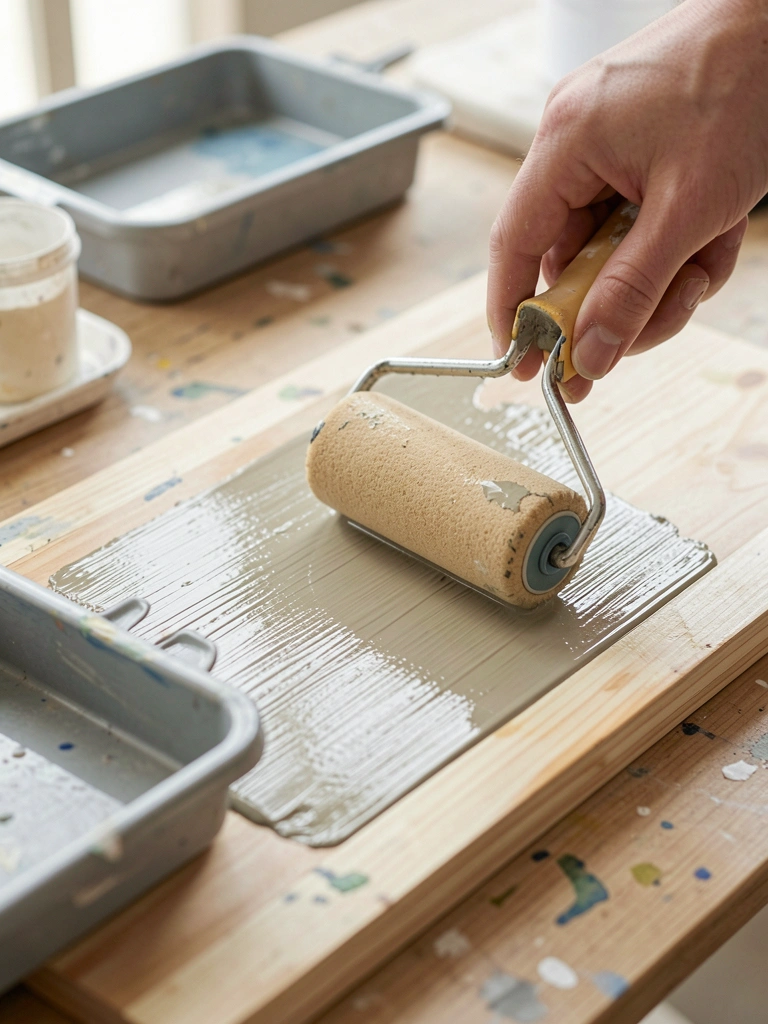
Brush marks used to bug me until I started rolling bases. A foam roller gives a smooth, even base and saves time on larger panels.
I roll the flat areas and cut in edges with a brush. That combo keeps edges crisp and the flat planes consistent.
Don’t press too hard—light, overlapping passes work best. If the paint skins over, sand lightly and re-roll a thin coat.
What You'll Need for This
- Small foam roller and tray
- Brush for cut-ins
- Thinned paint for rolling consistency
9. Sanding Between Coats for an Ultra-Smooth Finish
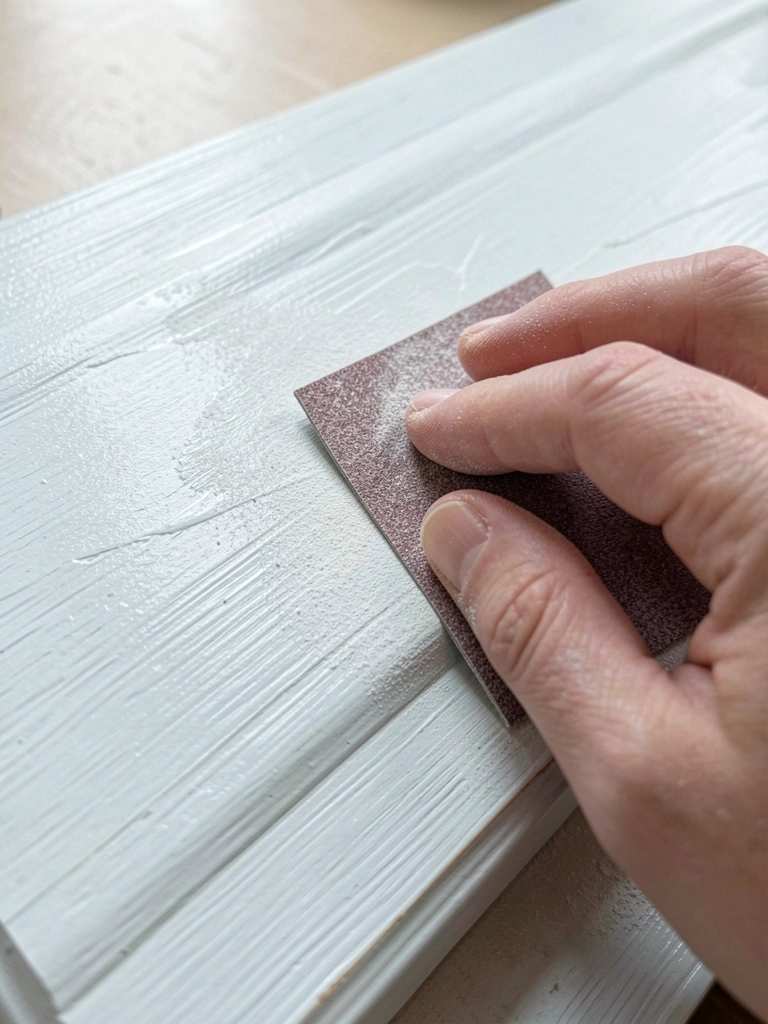
After my first glossy disaster, I started sanding between coats and it made a real difference. Use fine grit (220–400) and a light touch.
This knocks down nibs and keeps the next layer laying flat. Wipe away dust with a tack cloth before repainting, or you’ll lock grit into your finish.
Don’t over-sand into the primer. If you feel a soft spot, stop and inspect—sometimes a second thin coat fixes it better than aggressive sanding.
What You'll Need for This
- Sandpaper or sanding sponge (220–400 grit)
- Tack cloth or lint-free rag
- Small dust brush
10. Create Faux Wood Grain with a Graining Tool
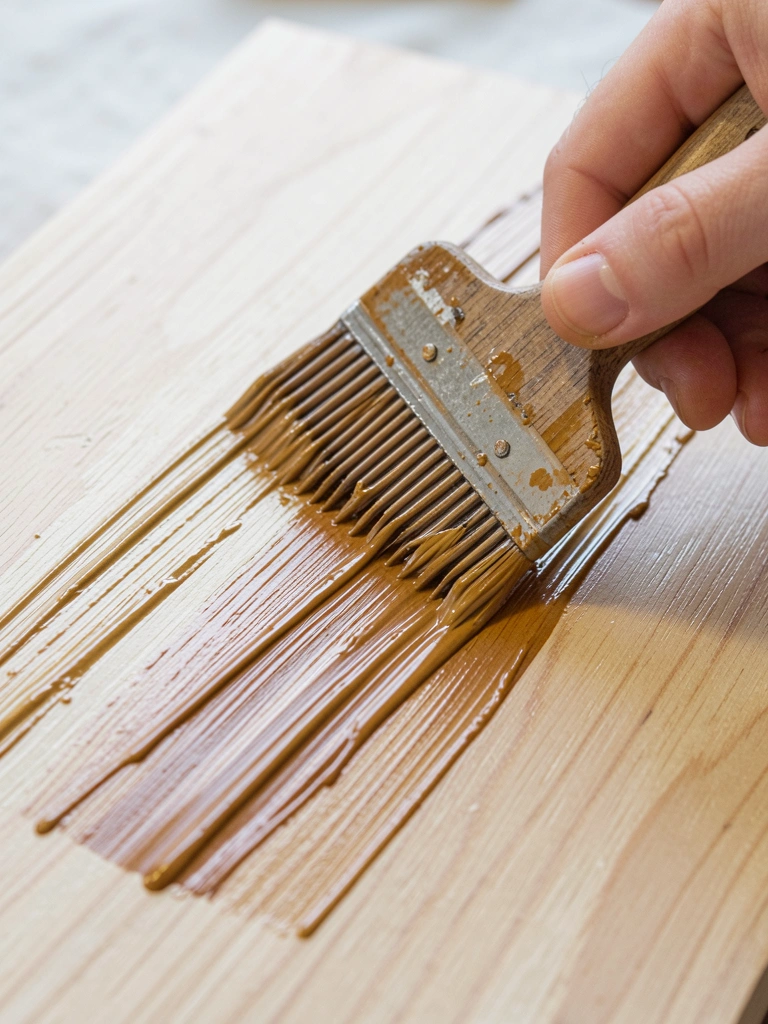
I tried faux grain and ruined a few pieces before I learned the timing. Drag the graining tool through a wet glaze or wet-on-dry topcoat; timing is everything.
Practice on scrap wood to control the pattern. Subtle is better—overdoing it looks forced. I often thin the top color so the underlayer reads as shadow.
If the tool skips, the paint was too thick. If it smears, it was too wet. Adjust the mix and keep a damp rag nearby.
What You'll Need for This
- Wood graining tool or comb
- Two contrasting paint layers (base + top glaze)
- Mixing cup and brush
11. Finish with Thin Varnish Layers and Test Sheen
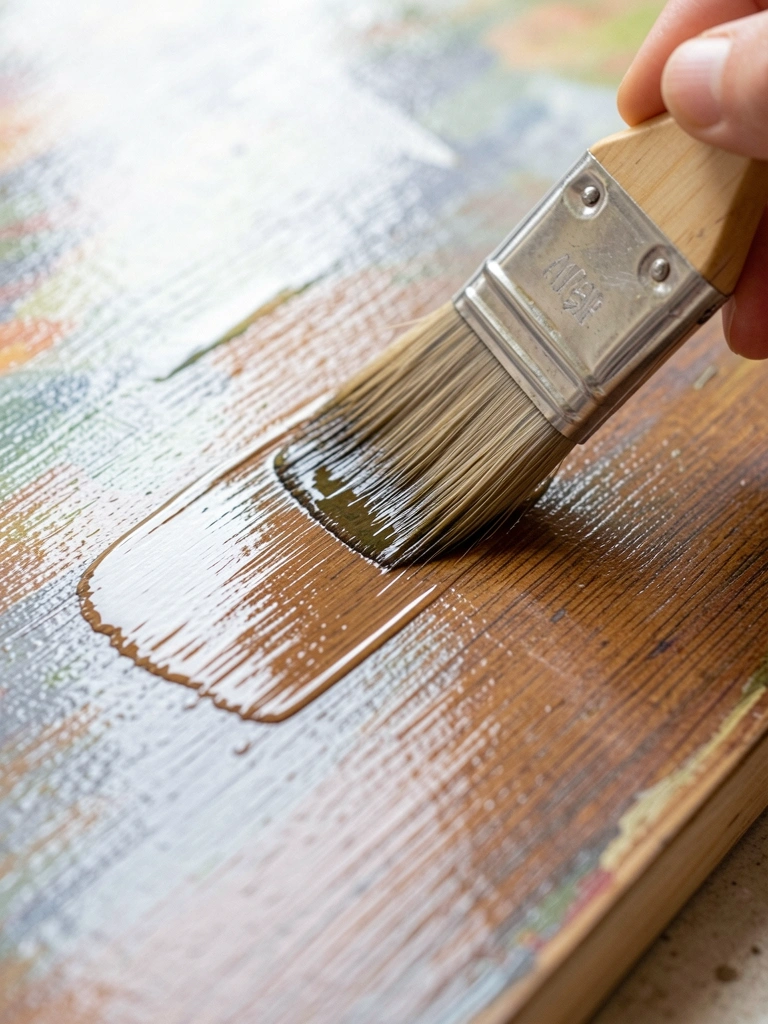
I used to slap on varnish and get cloudy spots. Thin, multiple varnish coats applied with a soft brush avoid fog and pooling.
Pick a varnish sheen you like and test it on scrap. Wipe-on poly or satin varnish can be more forgiving than a thick brushed coat.
Between coats, sand lightly with ultra-fine paper and remove dust. That final careful step makes the finish feel unified rather than layered-on.
What You'll Need for This
- Varnish (brush-on or wipe-on)
- Soft natural-hair varnish brush or lint-free rag
- Fine sandpaper (400–600 grit) and tack cloth
Final Thoughts
I don’t try to use all these at once. I pick a few that fit the project and build from there.
Small changes—sanding, thin layers, sealing knots—make the biggest difference. Paint, step back, and adjust as you go.
You’ll learn faster by doing than by memorizing. Trust the process and keep the scraps for practice.