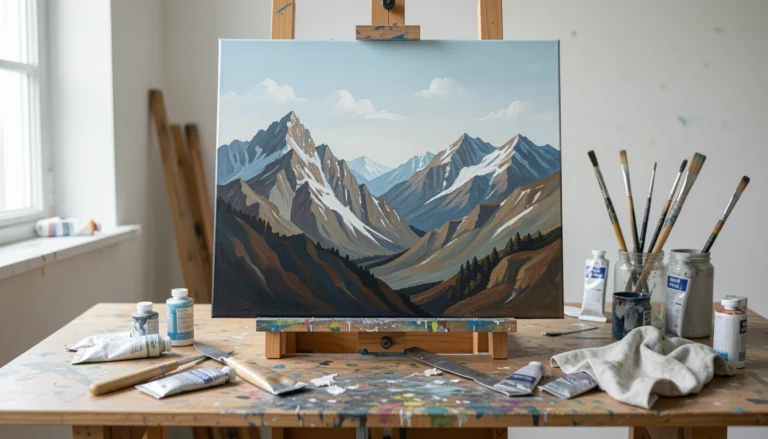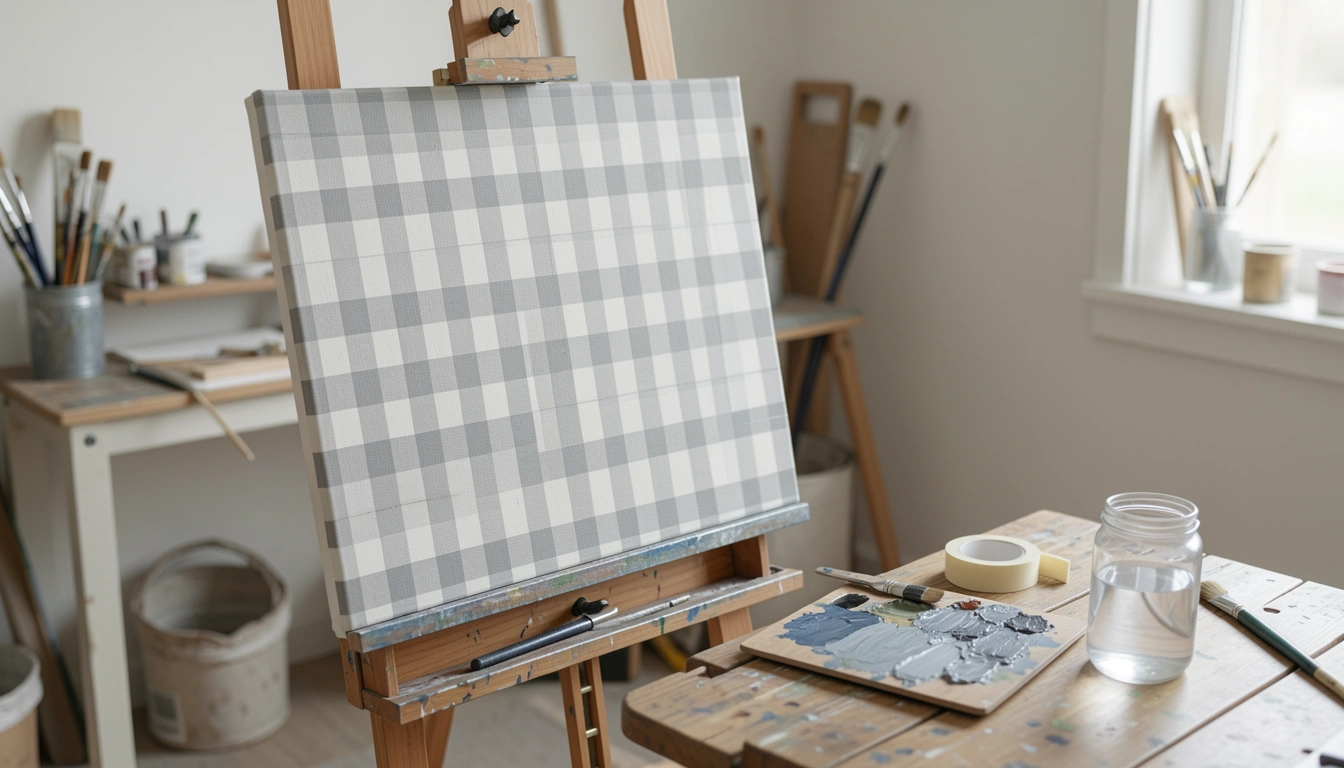
How to Paint Gingham Pattern Like a Pro
I wanted crisp checks the first time. I taped, painted, and ended up with fuzzy edges and muddy overlaps.
I redid the background three times before I learned to mix a convincing overlap color and control the tape.
This is a full walkthrough from priming to finish. I’ll show what actually works, not just a pretty thumbnail.
How to Paint Gingham Pattern Like a Pro
By the end you'll have a clear, even gingham grid with clean overlaps and subtle depth. It's doable with basic tools and patience. Here's how I do it, broken into 6 simple steps.
What You'll Need
- Primed canvas or gessoed board (size of your choice)
- Acrylic paints: white, base color, plus a darker mix for overlap
- Acrylic glazing medium
- Flat synthetic brushes (1" and 1/4") and a small angled brush
- Mixing palette or plate and palette knife or stick for mixing
- Ruler and pencil (light graphite)
- Painter's tape (thin roll, 1/8"–1/2")
- Water jar and paper towels
- Soft rag and small container for excess water
- Varnish (optional, for final protection)
Step 1: Prime and Block In the Base Color
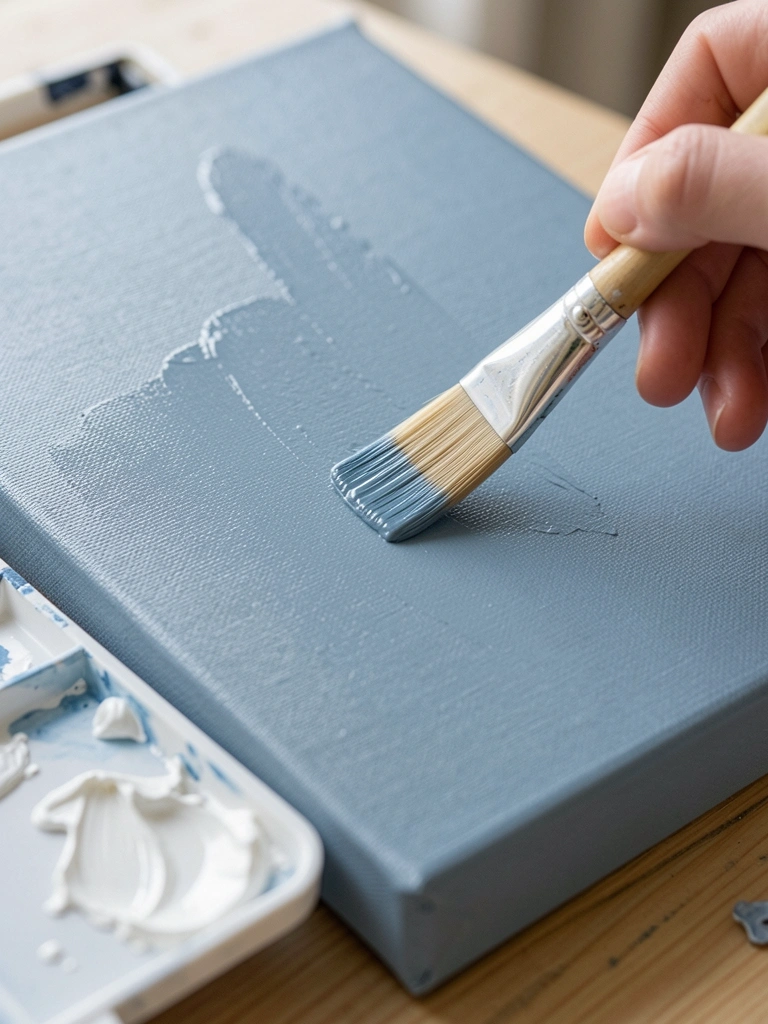
Start by laying down a flat, even base coat in your chosen light color. Use the 1" flat brush and thin the paint slightly with water or glazing medium so it flows without brush drag.
When it’s right, the surface looks even but not slick — you should still see tiny brush marks. Mine looked patchy at first, and that’s normal; two thin coats beat one thick one.
The main failure here is streaky, opaque coverage. Catch it by brushing while the paint is still slightly wet and smoothing out edges. Tip: work in horizontal passes, then vertically, to avoid visible direction lines.
Step 2: Plan and Mark the Grid Lightly
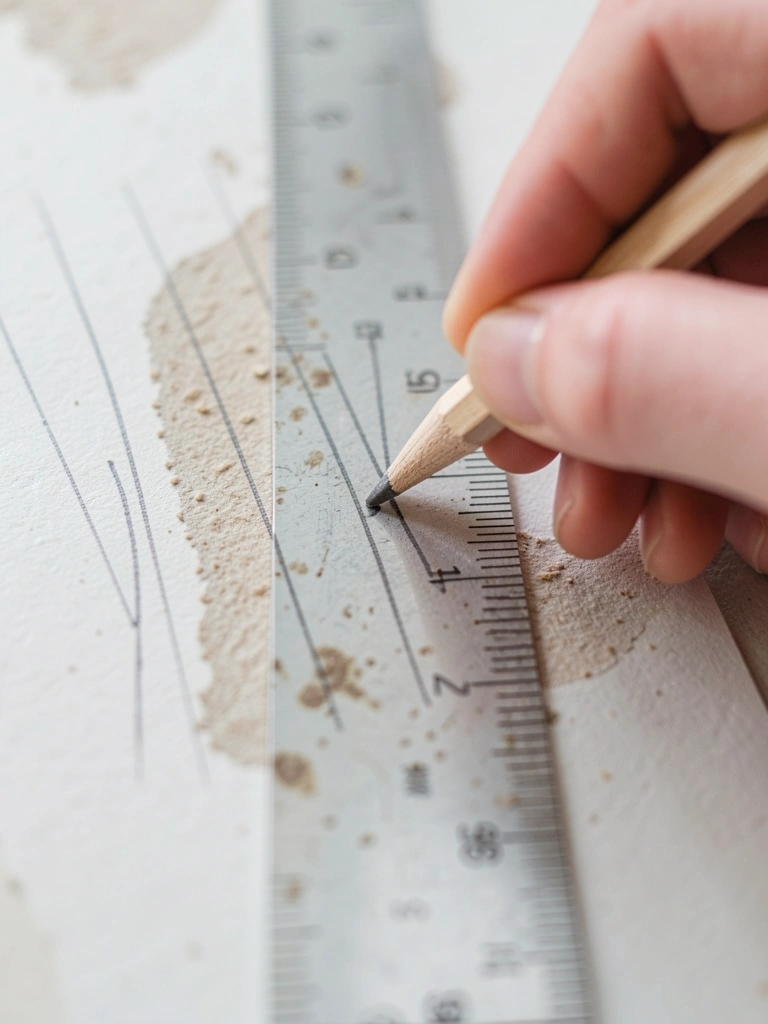
Measure your canvas and decide the stripe width. I usually pick equal squares — mark tick lines lightly with a pencil. Keep marks faint so they don’t show through the paint.
When done right, the marks are evenly spaced and you can visualize the grid. My first layouts were off by a hair and the pattern looked lopsided.
What goes wrong here is uneven spacing. Check three reference points (top, middle, bottom) as you mark. Practical tip: measure from both edges and mark centers; then snap a light line if you need a guide without tape.
Step 3: Tape and Paint the Vertical Stripes
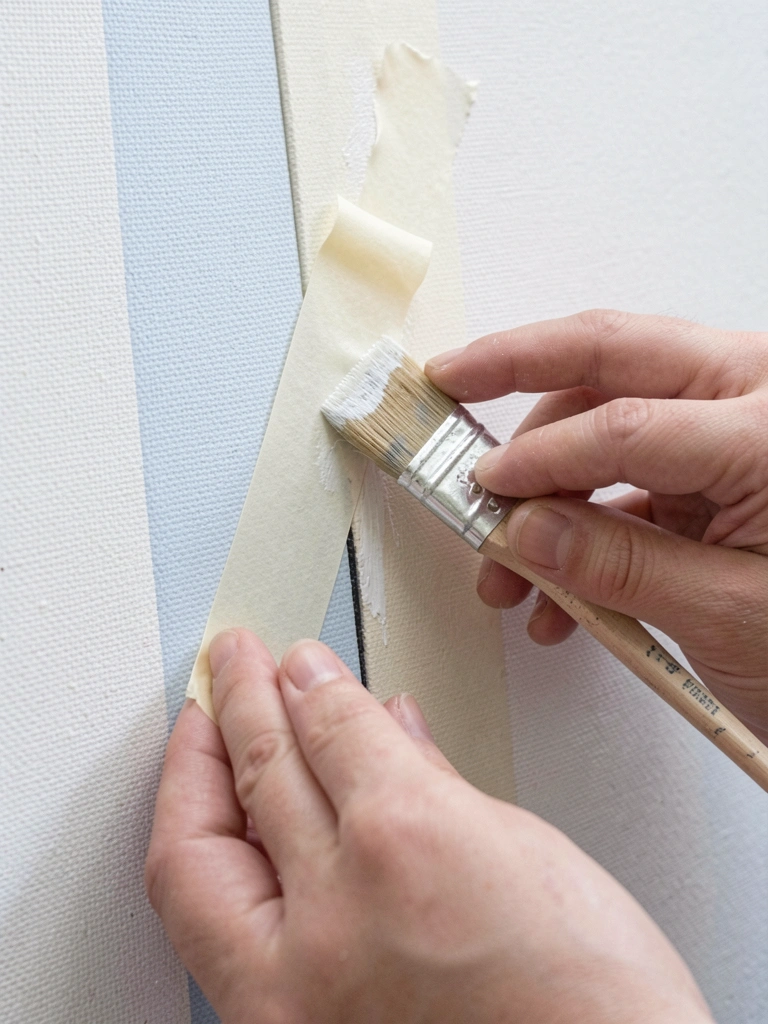
Apply painter’s tape to mask the vertical stripes using your pencil guides. Press the tape edge firmly to avoid seepage. Paint the exposed vertical bands with your base-darker mix using a 1/4" flat brush.
When it’s right, the stripes are opaque and even. Mine bled the first time where tape wasn’t sealed — those areas looked fuzzy and had to be scraped and repainted.
The failure here is paint seeping under tape. Catch it early by sealing the tape edge with a thin swipe of the base color before painting the stripe. Tip: remove tape while paint is still slightly tacky, not bone-dry, to preserve crisp edges.
Step 4: Paint the Horizontal Stripes and Create the Checks
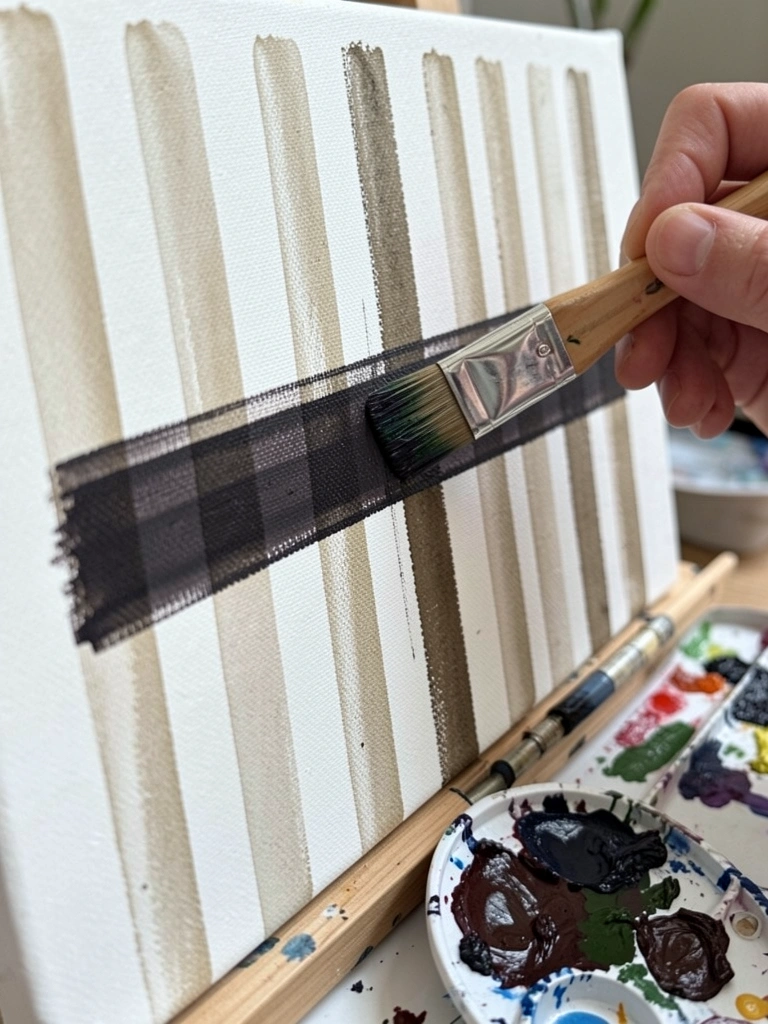
After the verticals dry to the touch, tape for horizontal stripes and paint them the same way. Where horizontal and vertical overlap, you’ll get darker checks — mix a slightly deeper value color for consistency if needed.
If it’s working, the intersections read as a third, darker tone immediately. Mine often looked muddy until I mixed the overlap color separately instead of relying on two wet layers to blend.
The most common issue is too-opaque second stripes that hide the cross effect. To avoid that, use a thin glaze or slightly translucent paint for the second pass. Tip: do a test on scrap to confirm the overlap color before applying to the canvas.
Step 5: Remove Tape, Refine Edges, and Soften Where Needed
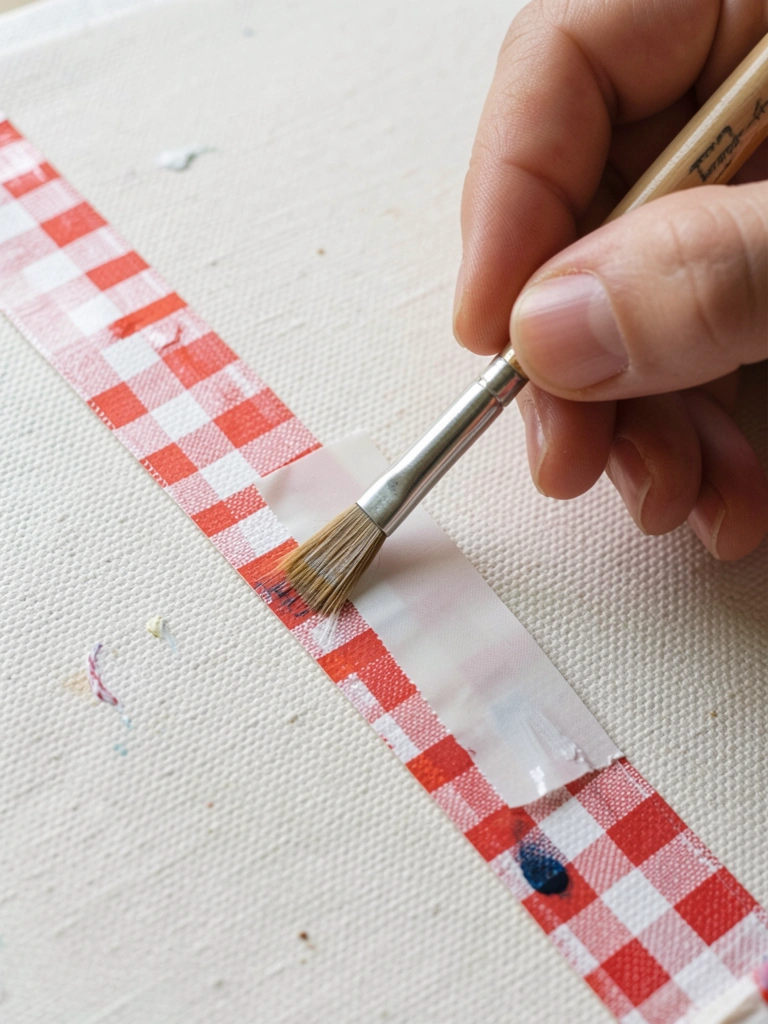
Peel tape slowly at a shallow angle while paint is tacky. Inspect every edge and use a small angled brush to tidy any nicks or tiny bleeds. You can add a soft glaze over select squares if you want fabric-like depth.
When this goes well, edges look crisp but not brittle. My early attempts had ragged corners where I yanked tape too fast.
Typical mistake: overworking edges and creating visible brush strokes. Fix it by loading a tiny amount of paint on a dry brush and feathering; or use a glazing medium for a subtle, transparent fix. Tip: step back and squint to spot uneven values.
Step 6: Add a Glaze for Depth and Seal the Painting
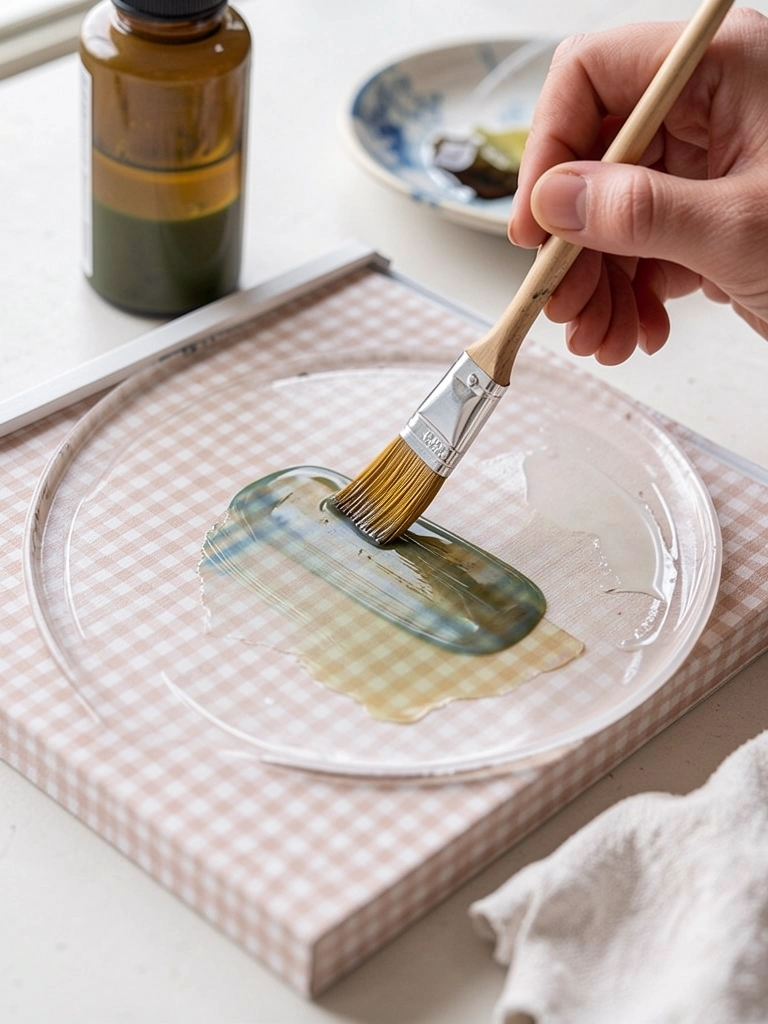
Mix a thin glaze from your base color and glazing medium for a soft, unified look. Apply one translucent wash across the whole pattern to harmonize values and knock back any harsh spots.
If it’s right, the checks feel like one piece, not pasted stripes. My first glaze was too strong and dulled the pattern; a little goes a long way.
The risk is muddying the crisp checks. Avoid that by testing the glaze density on scrap first and wiping off excess immediately. Once fully dry, varnish if you want protection. Tip: wait 24–48 hours for acrylic to fully cure before varnishing.
Common Mistakes to Avoid
- Rushing base coats and using thick paint — fix: thin coats, let each dry.
- Not sealing tape edges so paint seeps under — fix: press tape down and seal with base color first.
- Relying on wet layering to create overlap color — fix: pre-mix a slightly darker glaze for checks.
- Removing tape too late or too fast — fix: peel while paint is tacky and pull at a low angle.
- Over-glazing and losing contrast — fix: test glaze strength on scrap before applying.
Final Thoughts
Gingham looks precise, but it’s forgiving if you plan and take thin layers. Your first panel will teach you measurements and how your paint behaves.
Small fixes and glazes make a big visual difference. Be patient with drying and tape, and you’ll end with clean checks you can be proud of.