10 Fun Canvas Painting Ideas for Kids
I wrecked a few canvases before I learned to keep things simple.
My kids’ projects taught me that small ideas with clear steps work best.
These pages are honest—what I tried, what smeared, and what actually stuck.
10 Fun Canvas Painting Ideas for Kids
These 10 ideas are simple, hands-on, and kid-friendly. I tested them with messy painters and picky beginners. Each is ready to try on a canvas.
1. Handprint Animals on Mini Canvases
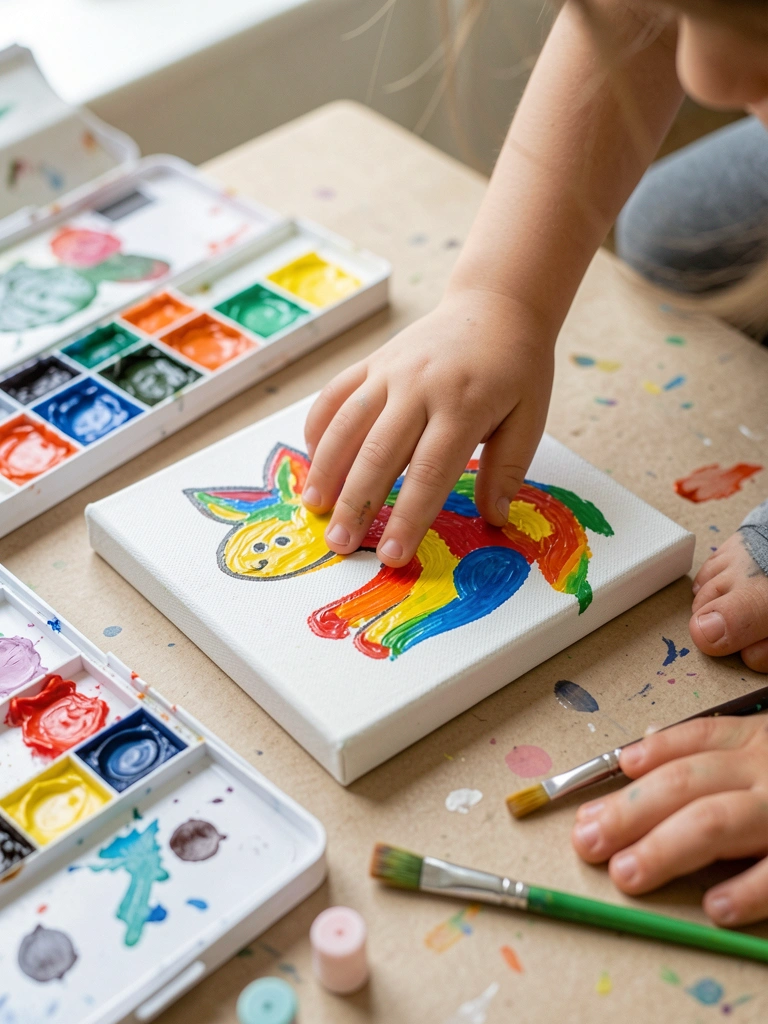
I started doing handprint animals when my youngest wouldn’t sit still.
The trick was letting the base color dry before adding faces, or prints smudge.
I like how one bold handprint becomes a fox or a fish with a few brush lines.
Before you start, test paint thickness—too watery and the print spreads; too thick and it blobs.
What You'll Need for This
- Small stretched canvas (4×6 or 6×8)
- Student acrylic paint
- Flat brush and small round brush
- Wet wipes or damp rag
2. Sponge-Stamped Flower Fields
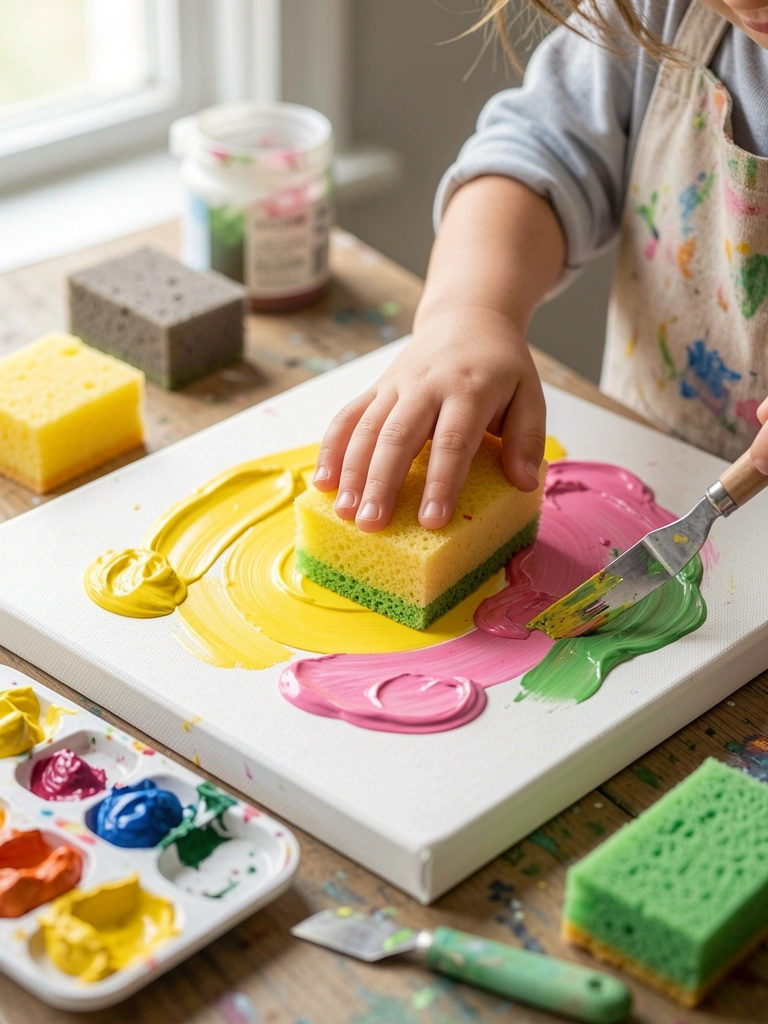
I cut kitchen sponges into rough petal shapes and let kids stamp freely.
At first they over-stamped the same spot and made muddy blobs.
I learned to show them how to lightly press and lift—layers look better than pushing hard.
Keep a palette of colors nearby and encourage layered colors for depth, not tight outlines.
What You'll Need for This
- Medium canvas (8×10 or 9×12)
- Sponges cut into shapes
- Acrylic paints in 3–5 colors
- Paper plate palette
3. Starry Splatter Galaxy (Controlled Splatter)
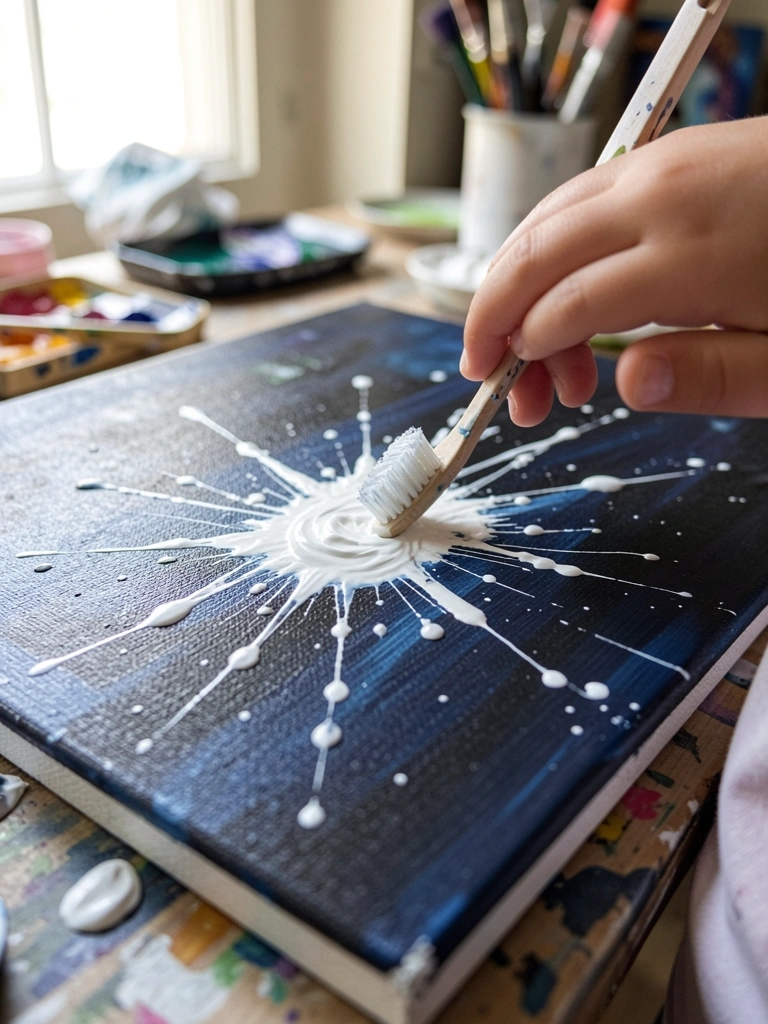
I tried full-on splatter once and ruined a blue background with gray mud.
Then I switched to a toothbrush for small, controlled stars and used separate layers for nebula color.
I like that kids can see stars appear without covering the whole canvas.
Tip: tape the edges and practice flicking on scrap paper first to avoid floppy blobs.
What You'll Need for This
- Dark-painted canvas base
- White acrylic or gouache
- Old toothbrush or stiff-bristle brush
- Scrap cardboard for practice
4. Tape-Resist Rainbows and Geometrics
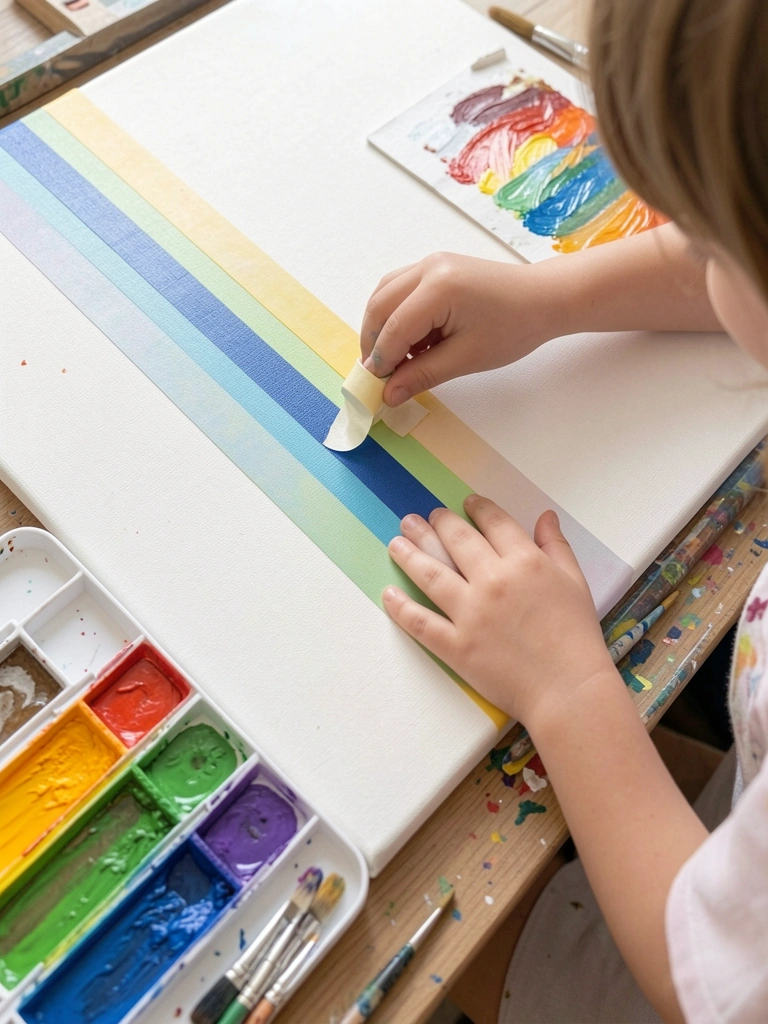
I used painter’s tape to keep color blocks crisp after several wobbly stripes.
My first attempt tore paint when I peeled tape too soon.
Now I wait until paint is just dry to touch before removing tape for clean edges.
This works great for teaching color placement and simple composition without needing tight brush control.
What You'll Need for This
- Canvas (any size)
- Painter’s tape
- Multiple acrylic colors
- Flat brush
5. Puffy Paint Clouds (Texture Play)
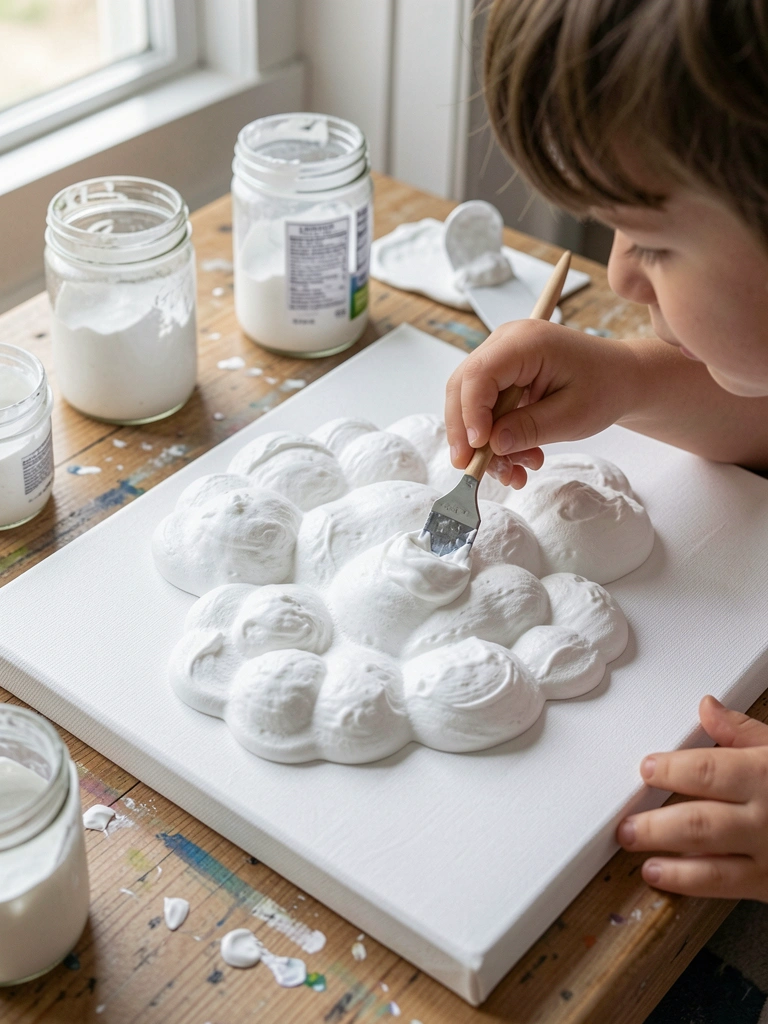
I mixed a kid-safe puffy paint and learned it dries matte and raised—fun to touch.
At first I used too much filler and the paint cracked as it dried.
Now I use light dollops and shape quickly; kids love the tactile result.
Keep expectations low for fine detail—this is all about texture and playful marks.
What You'll Need for This
- Canvas (9×12 works well)
- White puffy paint or homemade mix (glue + shaving foam)
- Palette knife or old spoon
- Optional acrylic wash for background
6. Blow-Painted Flowers (Straw Blowing)
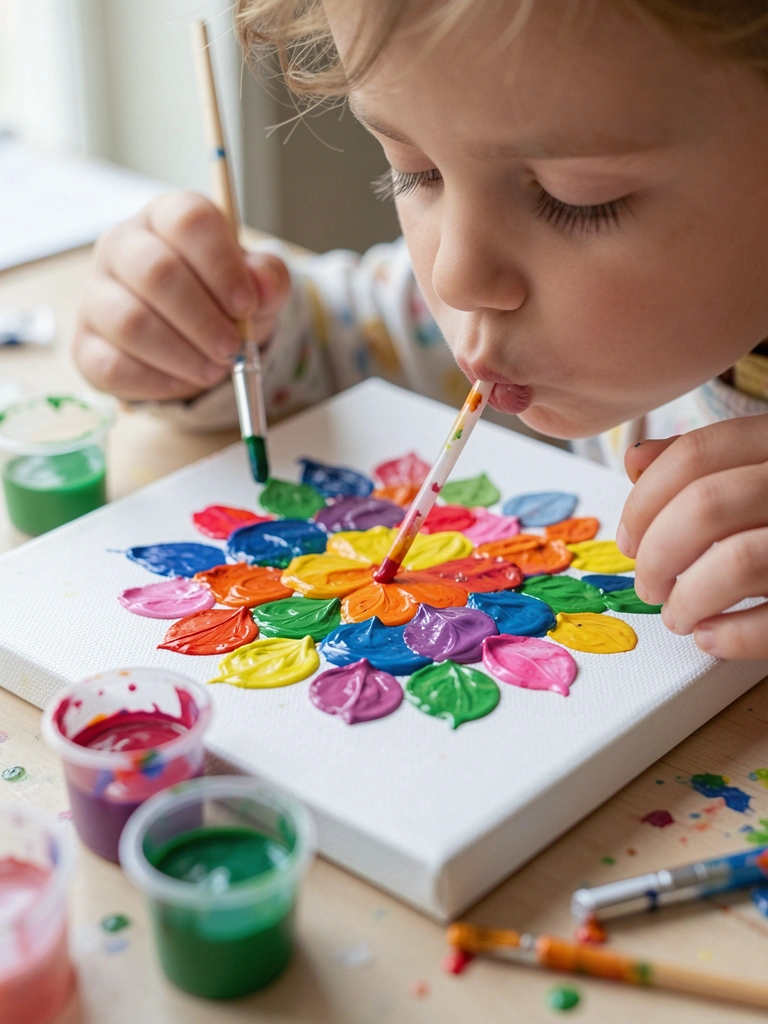
I showed kids how to drop watered paint and blow it into petals.
At first the paint ran off the canvas when I used too much water.
Lesson: keep the mix slightly thicker and work on a shallow tray to catch drips.
This gives quick, organic shapes and teaches control of dilution and air pressure.
What You'll Need for This
- Canvas (8×10)
- Diluted acrylic or watered gouache
- Short plastic straws
- Paper towels and tray
7. Texture Trees with Forks and Combs
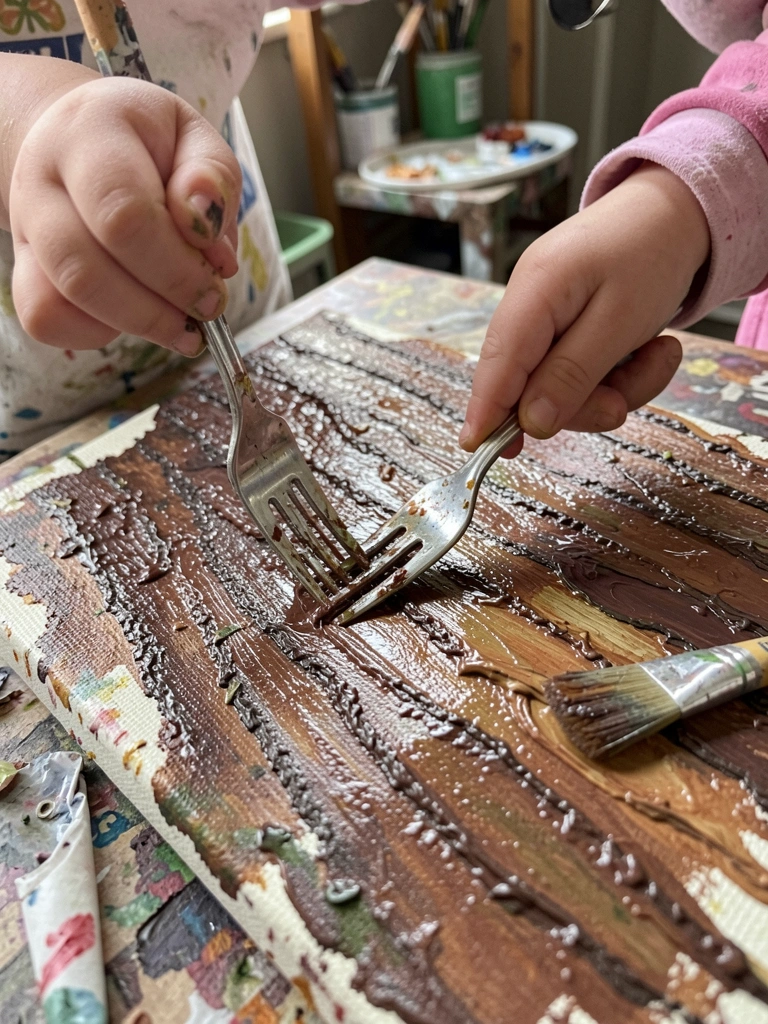
I got tired of flat trunks, so I let kids drag a fork for bark marks.
Once a child pressed too hard and tore the canvas edge—so gentle pressure is key.
The result is lively texture that reads as bark even at a distance.
Try vertical and diagonal pulls and finish with a dry brush for highlights.
What You'll Need for This
- Canvas (any size)
- Acrylic paint in browns and greens
- Old fork or wide-tooth comb
- Flat dry brush
8. Layered Wash Backgrounds with Silhouette Animals
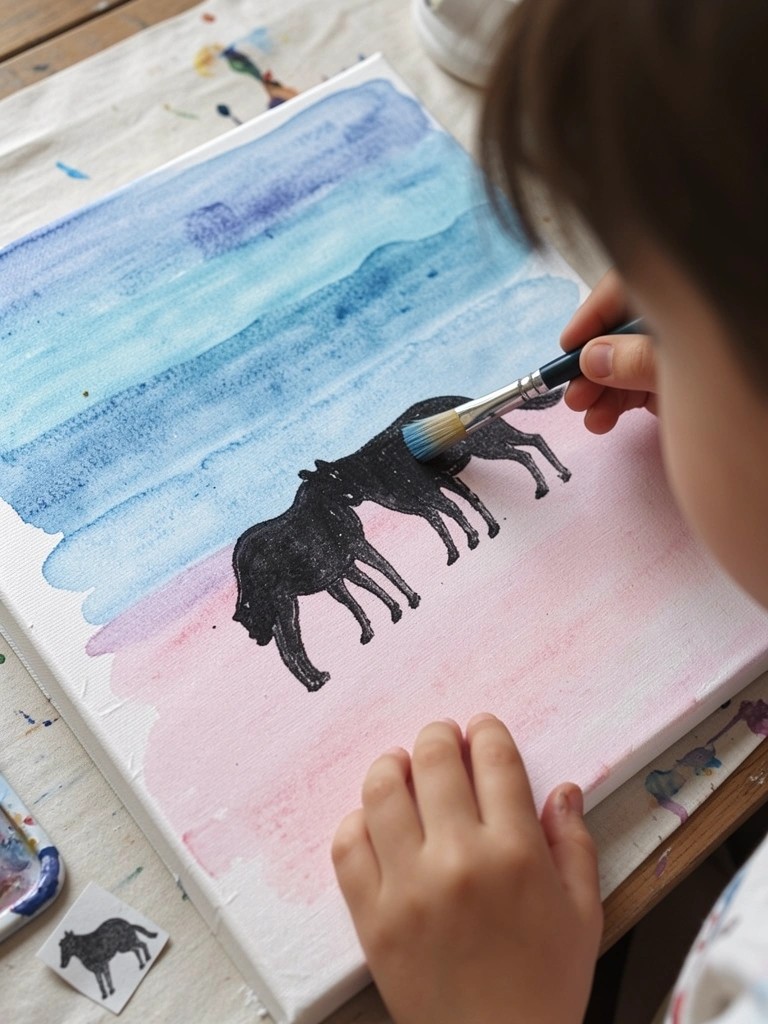
I let kids practice watery washes to make sunset or sea backgrounds.
My early washes had streaks until I learned to keep the brush loaded and work wet-on-wet.
After the wash dries, adding a single dark silhouette makes the scene read clearly.
This teaches layering, negative space, and restraint—one silhouette goes a long way.
What You'll Need for This
- Canvas (9×12 or larger)
- Thinned acrylics or gouache for washes
- Large round brush and small liner brush
- Black paint for silhouette
9. Palette Knife Flowers and Thick Petals
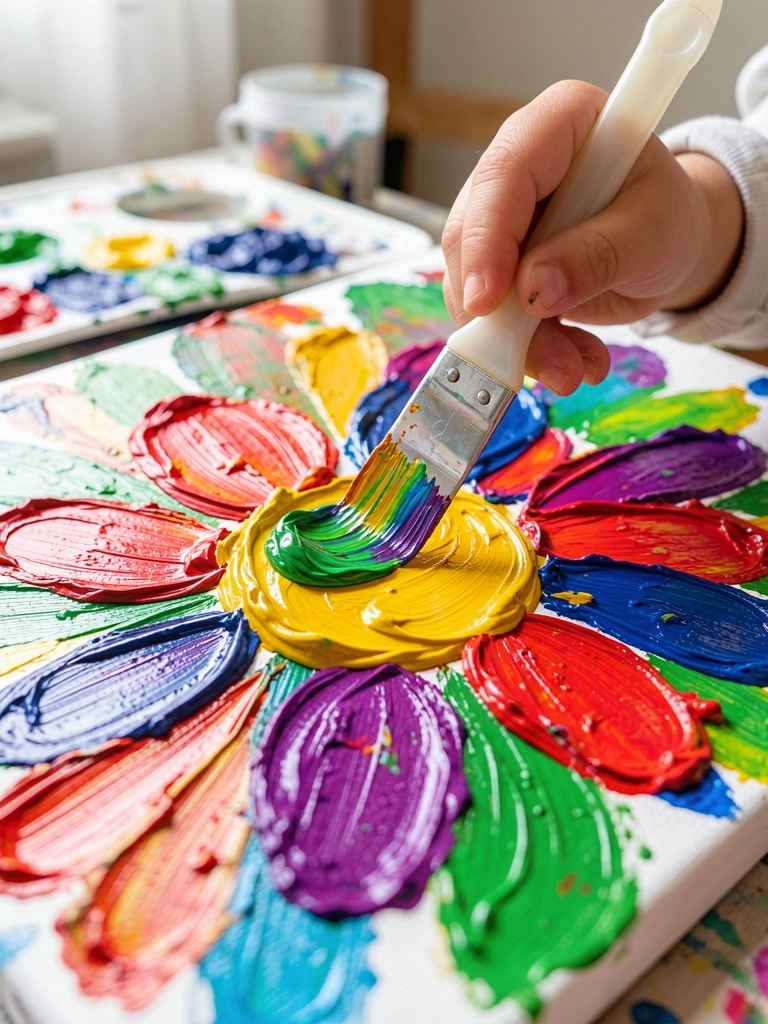
I swapped brushes for a palette knife when kids wanted chunky flowers.
At first they scraped too thin and the petals lost shape, so I taught them to load the knife.
The knife gives bold, textured petals and it’s forgiving—mistakes can become leaves or stems.
Keep paint thicker for texture and show a quick demo before they dive in.
What You'll Need for This
- Canvas (any size)
- Heavy-body acrylic or thicker paint
- Small plastic palette knives or old credit cards
- Paper palette
10. Collaborative Grid Canvas (Each Kid Paints a Tile)
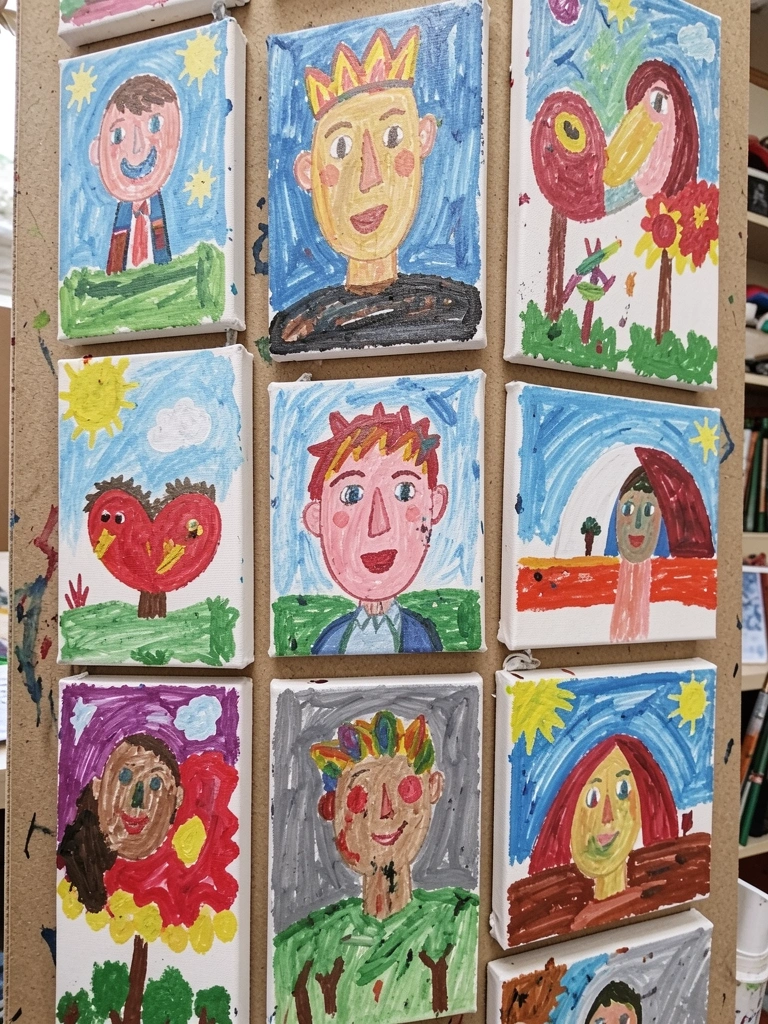
I taped a big canvas into tiles so each child had a square to paint.
We learned fast: coordinating a color scheme helps the final grid feel connected.
Once, one row went neon and clashed; we fixed it with a thin glaze to unify colors.
This is great for group projects and shows kids how small pieces make a bigger picture.
What You'll Need for This
- Large canvas or several small canvases
- Painter’s tape for grid lines
- Variety of acrylic paints
- Multiple brushes and palettes
Final Thoughts
Keep things playful and expect smudges.
I learned more from ruined canvases than from quick wins.
Start small, use what you have, and let kids be proud of their sticky, colorful experiments.