9 Whimsical Mushroom Painting Ideas
I've painted mushrooms that looked great in thumbnails and awful on canvas.
I’ve mixed mud, wasted canvases, and redone backgrounds three times.
Over time I learned small moves that actually work.
These ideas are things I used at the easel and still reach for when I want playful mushroom pieces.
9 Whimsical Mushroom Painting Ideas
These 9 specific painting ideas focus on texture, color, and composition. I give small, practical steps you can try right at the easel.
1. Layered Background Wash for Depth
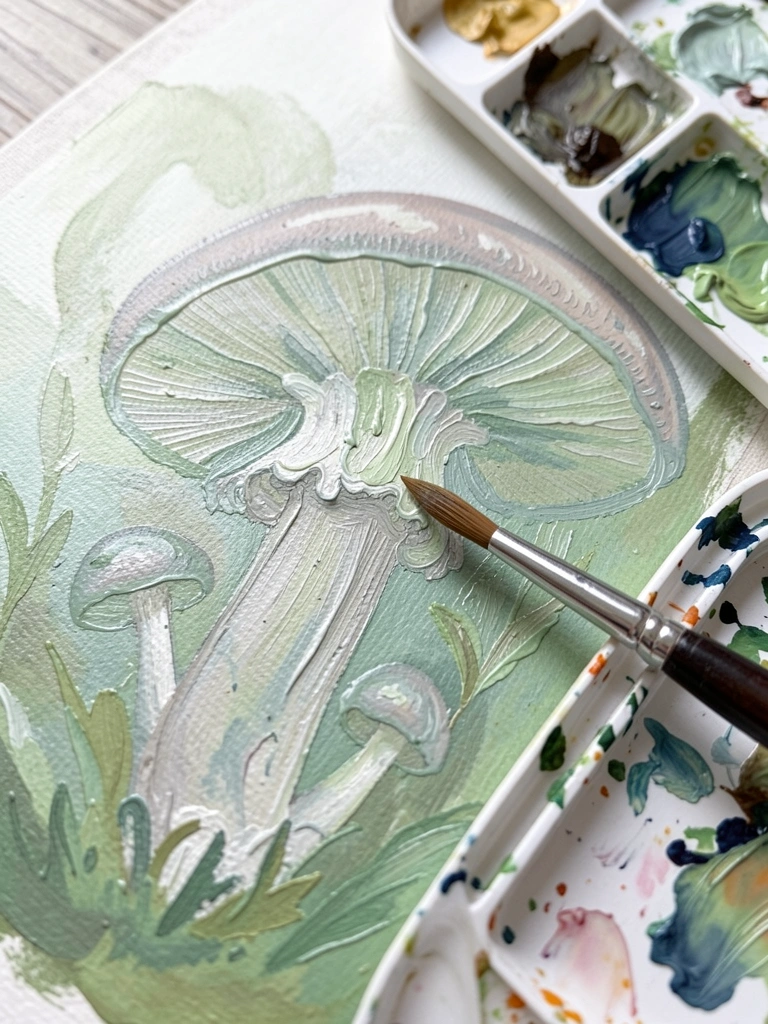
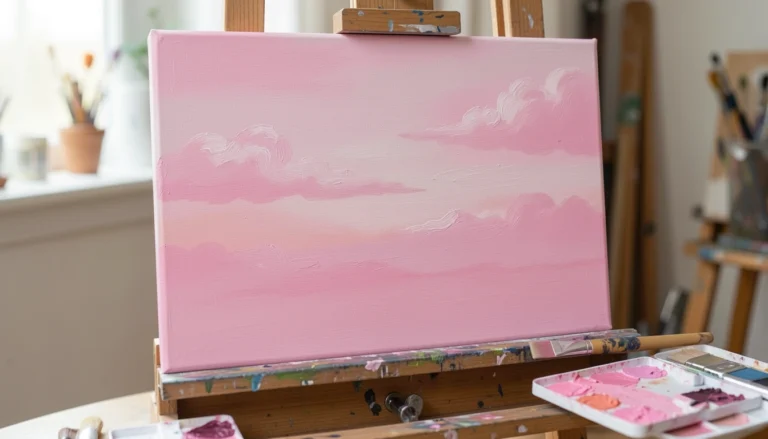
I started doing thin, layered background washes to get depth without muddying my foreground mushrooms.
Each glaze is a transparent layer of acrylic thinned with glazing medium. I used to slap on color and ruin the subtle edges.
Waiting for each layer to cure made the caps sit forward and breathe. Keep your brushes clean so layers don't drag.
Tip: mix a touch of the next layer color into the rinse water for smoother transitions. I found a low-sheen varnish brings the layers together once dry. This approach rescued several canvases I thought were lost.
What You'll Need for This
- Acrylic paint
- Glazing medium
- Soft filbert or flat brush
- Gessoed canvas or panel
- Palette and mixing cups
2. Playing with Scale: Tiny Toadstools to Giant Caps
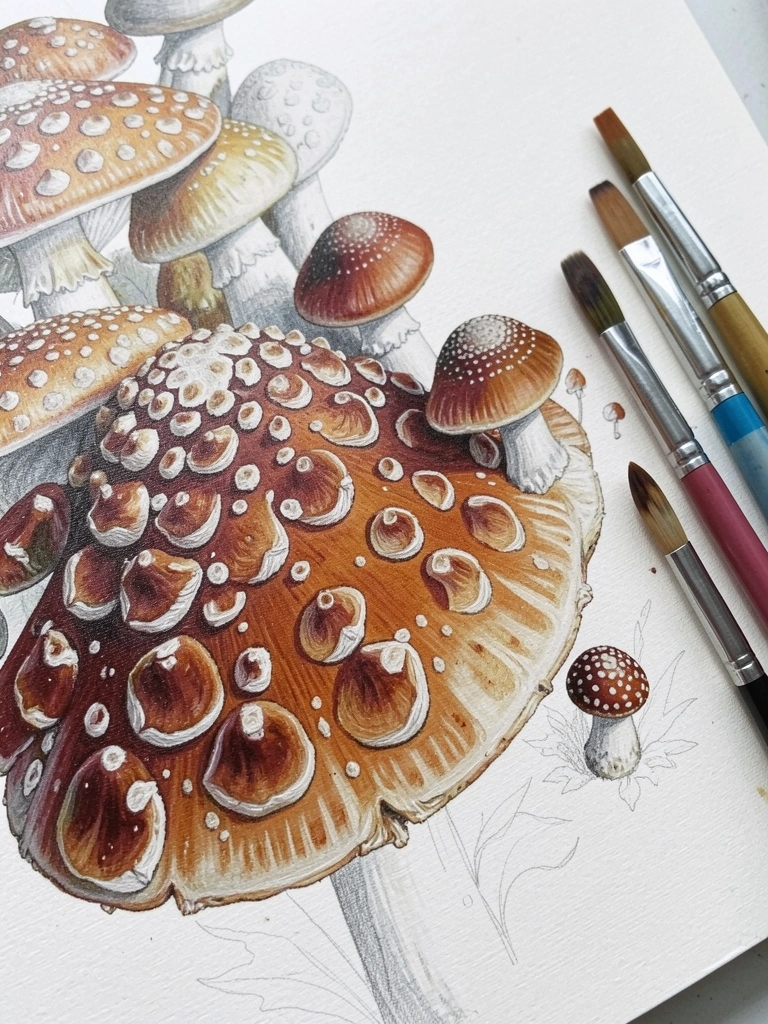
I started varying mushroom sizes to make scenes feel alive. A tiny toadstool near a large cap creates a sense of story and depth.
Early on I painted everything the same size and the piece looked flat. Changing scale forced me to rethink composition and value contrast.
I place the largest shapes first, then sketch smaller forms around them. Watch your horizon line; scale only reads if perspective is consistent.
Practical tip: use a cheap sketch layer and wipe mistakes with a damp rag on acrylics. I also scribble thumbnails before committing. Thumbnails save paint and time. They stop me from overworking.
What You'll Need for This
- Sketching pencil or charcoal
- Acrylics or gouache
- Scrap paper for thumbnails
- Toned or white canvas/panel
3. Wet-on-Wet Soft Blending for Velvet Caps
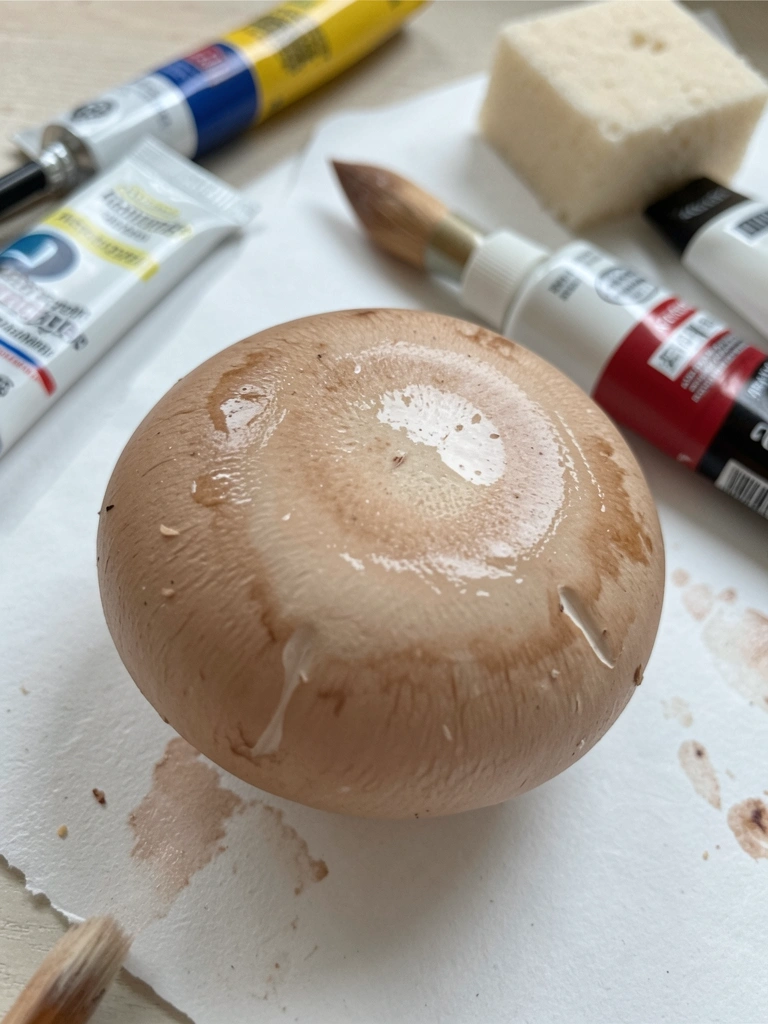
I used wet-on-wet glazing to get soft, velvety caps in gouache and acrylic. Early tries left streaks because I didn't have enough slip in the paint.
Once I thinned paint slightly and kept the surface damp, blending became smooth. I work quickly and pull color across the cap with a soft filbert.
Don’t overwork the edge or you’ll lose the highlight. I also blot with a clean brush to lift excess.
Small insight: warm and cool variants on the same cap give that plush look without extra detail. Test on scraps first.
What You'll Need for This
- Gouache or acrylic
- Soft filbert brush
- Water cup and cloth
- Primed paper or gessoed board
4. Palette Knife Texture for Lichen and Gills
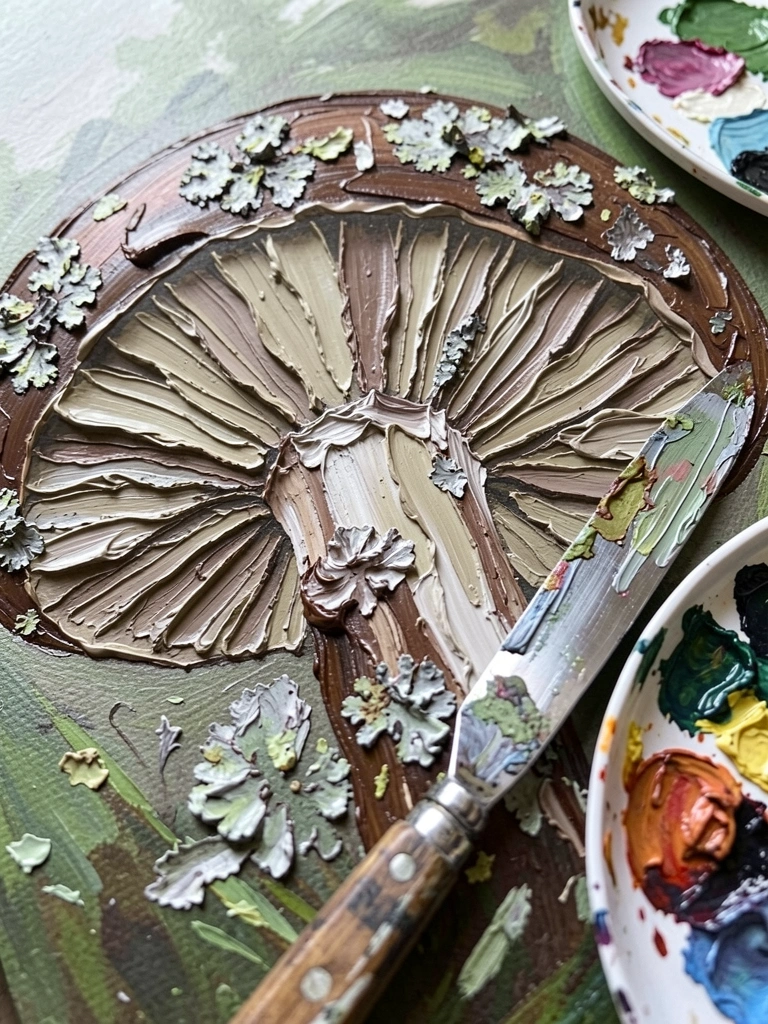
I learned palette knife work after ruining a smooth cap with too much scraping. The knife adds grit and lift for lichen and ragged gills.
I apply thick, slightly dried paint and drag once. That little hesitation makes flakes and ridges that read as texture from far away.
My first attempts flattened the forms, so I kept some fluid medium in the mix to keep flexibility. Watch the light direction; knife marks read as form when lit consistently.
Practical tip: scrape in the direction of growth for believable detail. Let thick bits cure overnight.
What You'll Need for This
- Palette knife(s)
- Heavy-body acrylic or oil paint
- Medium for flexibility (if needed)
- Gessoed panel or sturdy canvas
5. Limited Palette Harmony to Avoid Muddy Mixes
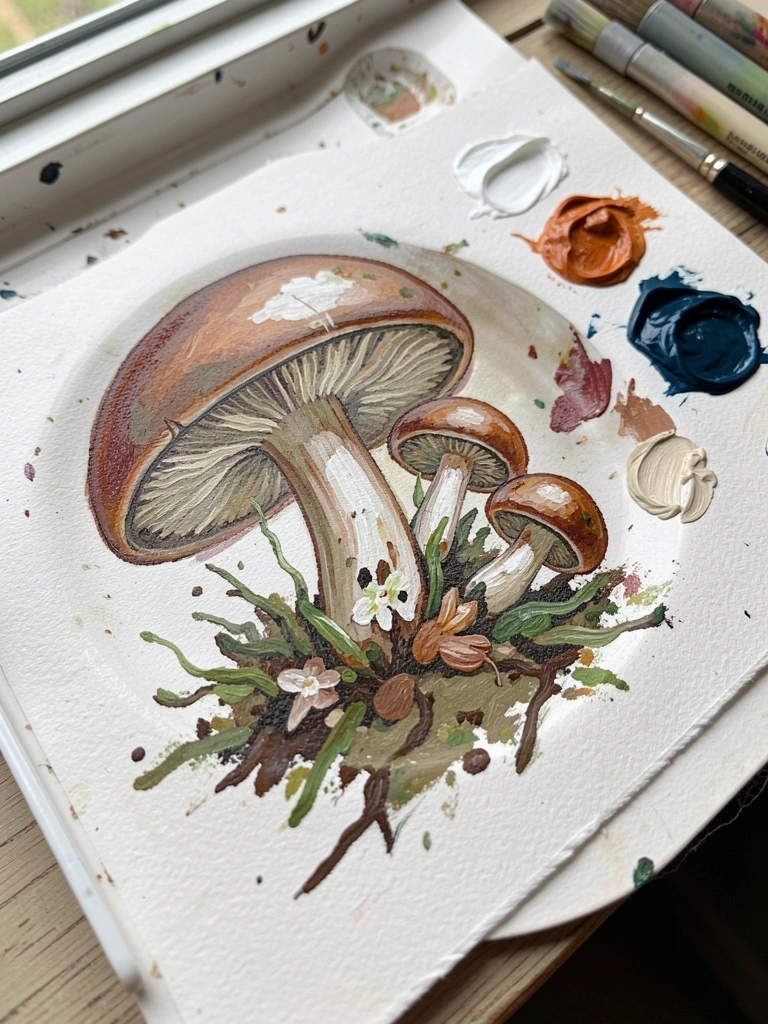
I switched to a limited palette when my colors turned muddy. Picking three pigments plus white forced me to think in mixtures, not dumps.
My mixes started reading as unified groups and the mushrooms read as part of the scene. I pick a warm, a cool, and a neutral to cover most needs.
That gives me contrast without chaos. A color-mixing map on the palette helps. Mistake to avoid: adding every color you own.
Instead, test mixes on scrap and note ratios. Small habit: wipe the palette edge clean between shifts so old scraps don’t contaminate new mixes.
What You'll Need for This
- Three pigments plus white (acrylic, gouache, or oil)
- Mixing palette or palette paper
- Palette knife for mixing
- Scrap paper or canvas for tests
6. Dry Brush and Sponging for Mossy Bases
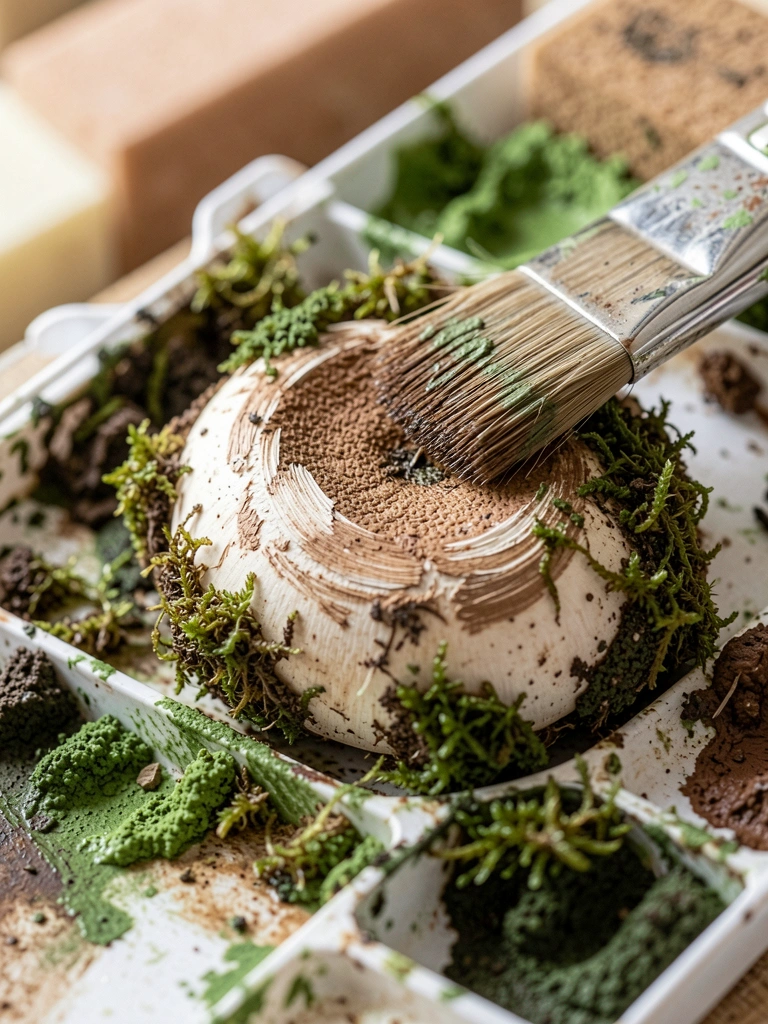
I used dry brushing and sponging to get believable moss at mushroom bases. At first my sponge made blotchy glue-like patches.
Then I learned to tap lightly and build in passes. Dry brush picks out tiny highlights on stones and roots. I rotate sponge textures and change paint load.
The key is restraint; less paint gives more suggestion. I look from arm’s length often to see if it reads as moss.
Quick tip: use a paper towel to test the sponge pattern before touching the painting. A little dry pigment on top sells the texture.
What You'll Need for This
- Natural sponge or cut sponge
- Stiff dry brush
- Earthy greens and browns
- Paper towel and scrap surface
7. Loose Brushwork for Cartoon-Like Mushrooms
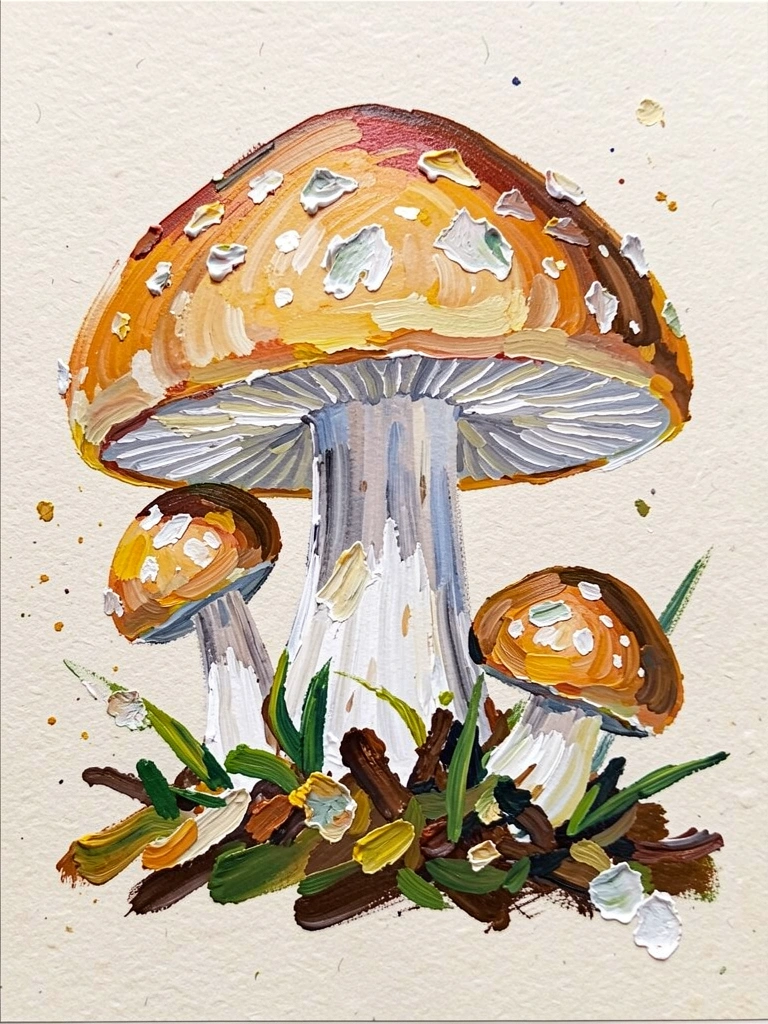
I relaxed into loose brushwork for bright, cartoon-like mushrooms. I stopped fussing over tiny gills and focused on confident strokes.
That freed me to use bold shapes and controlled edges. My early tight lines made the scene stiff. Letting the brush suggest form made compositions more lively.
I use a round and a flat for variety. Keep edges varied; sharp where the light hits, soft in shadow.
Small exercise: paint five-minute mushrooms to loosen your hand. You’ll wreck a few canvases. That’s okay; those were my best teachers.
What You'll Need for This
- Acrylics or gouache
- Round and flat brushes
- Toned paper or canvas board
- Timer for quick studies
8. Reflections and Shadows with Reverse Scumbling
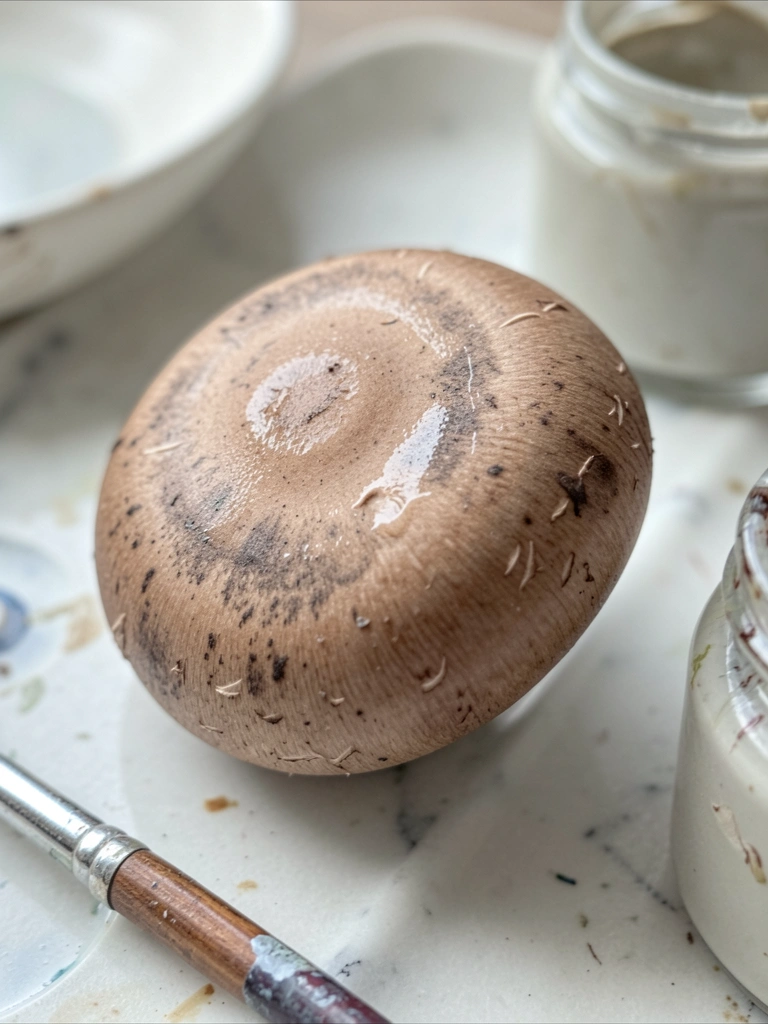
I used reverse scumbling to get soft cast shadows under cap rims. Instead of adding darks directly, I lay a thin cool glaze over the lit area to push it back.
That subtle step saved me from heavy black shadows. My first attempts looked smudged because I used heavy pigment. Thinning the glaze with medium kept it transparent.
I also lifted a tiny highlight with a clean brush to sell the form. Watch drying times; scumbles blend differently on wet versus semi-dry surfaces.
A small note: test on a scrap to judge intensity. It makes the mushrooms read grounded without heavy contrast.
What You'll Need for This
- Thin glazing medium or diluted paint
- Soft round brush
- Clean rag and water jar
- Primed surface or gessoed board
9. Stamping and Masking for Repeated Patterns
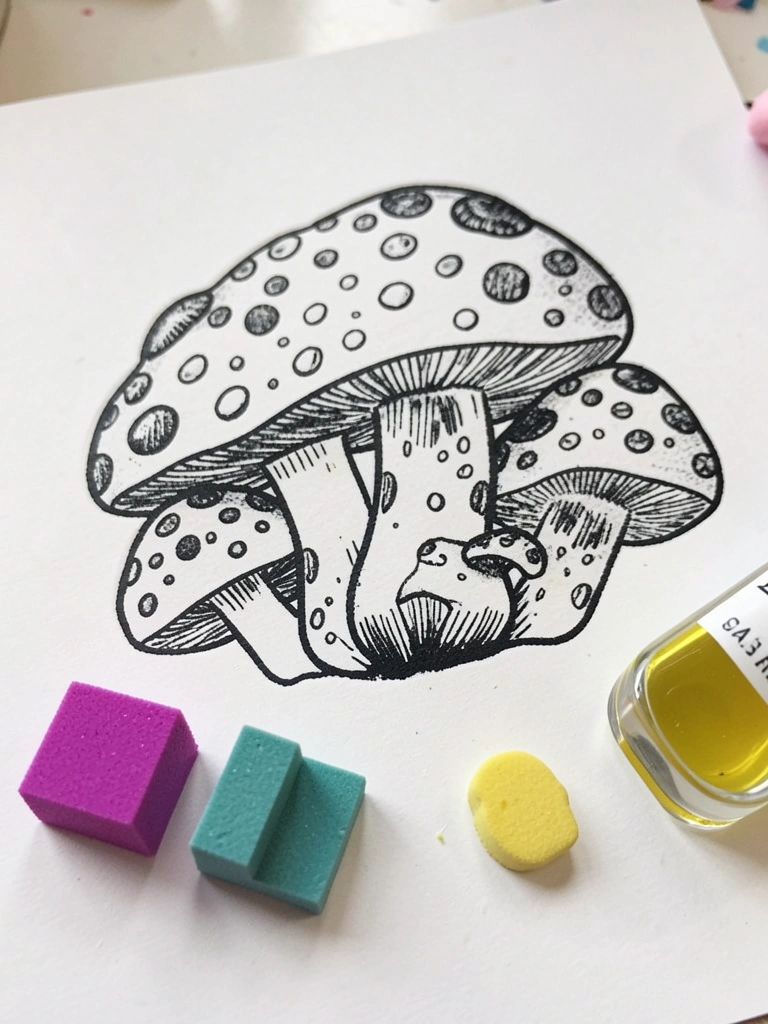
I started using masking fluid and simple stamps to repeat mushroom spots and tiny background fungi. My first masking attempt peeled paint off a wet layer.
I learned to let base coats toughen before masking. Stencils and stamps save time and keep patterns consistent. I carve small stamps from dense foam and test spacing on scrap paper.
That lets me play with rhythm across a cluster. When removing masks, pull slowly at a low angle to avoid lifting paint.
Practical tip: keep a damp brush handy to soften any hard edges after removing masks. Stamps wear out; test often.
What You'll Need for This
- Masking fluid or removable frisket
- Small foam or rubber stamps
- Carving tools and scrap foam
- Toned paper or primed panel
Final Thoughts
I don't expect you to master every technique at once. I still revisit the messy experiments.
Pick one idea, try it on scrap, and paint freely. Small, regular practice beats one long flawless session.
You'll learn what works for your hand and paints. Be patient and enjoy the marks. Keep painting.