15 Creative Paint Marker Art Ideas
I ruined canvases to learn one thing: paint markers change how I plan a piece.
I used to treat them like pens. That led to muddy color and regret.
Now I think in layers and marks. Short bursts. Controlled pressure.
These ideas are what actually helped me keep a canvas and keep going.
15 Creative Paint Marker Art Ideas
These 15 paint marker art ideas are hands-on and practical. I tested each one at the easel. You’ll get clear, usable steps and what to watch for.
1. Using Paint Marker Under-sketches for Layered Acrylics
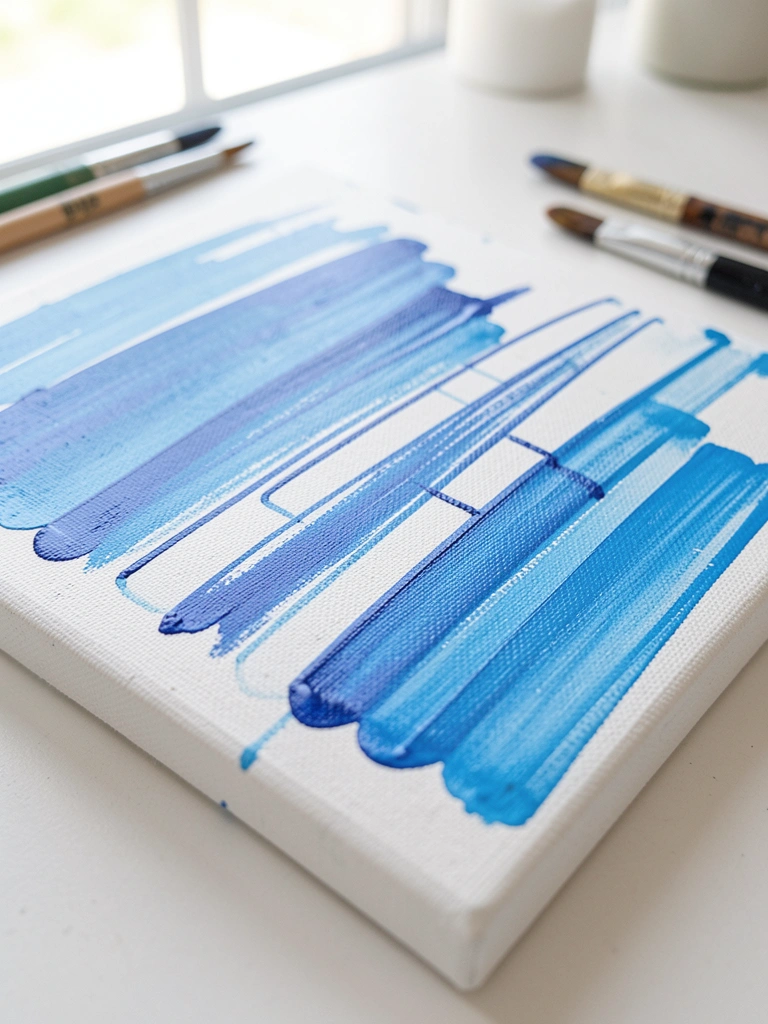
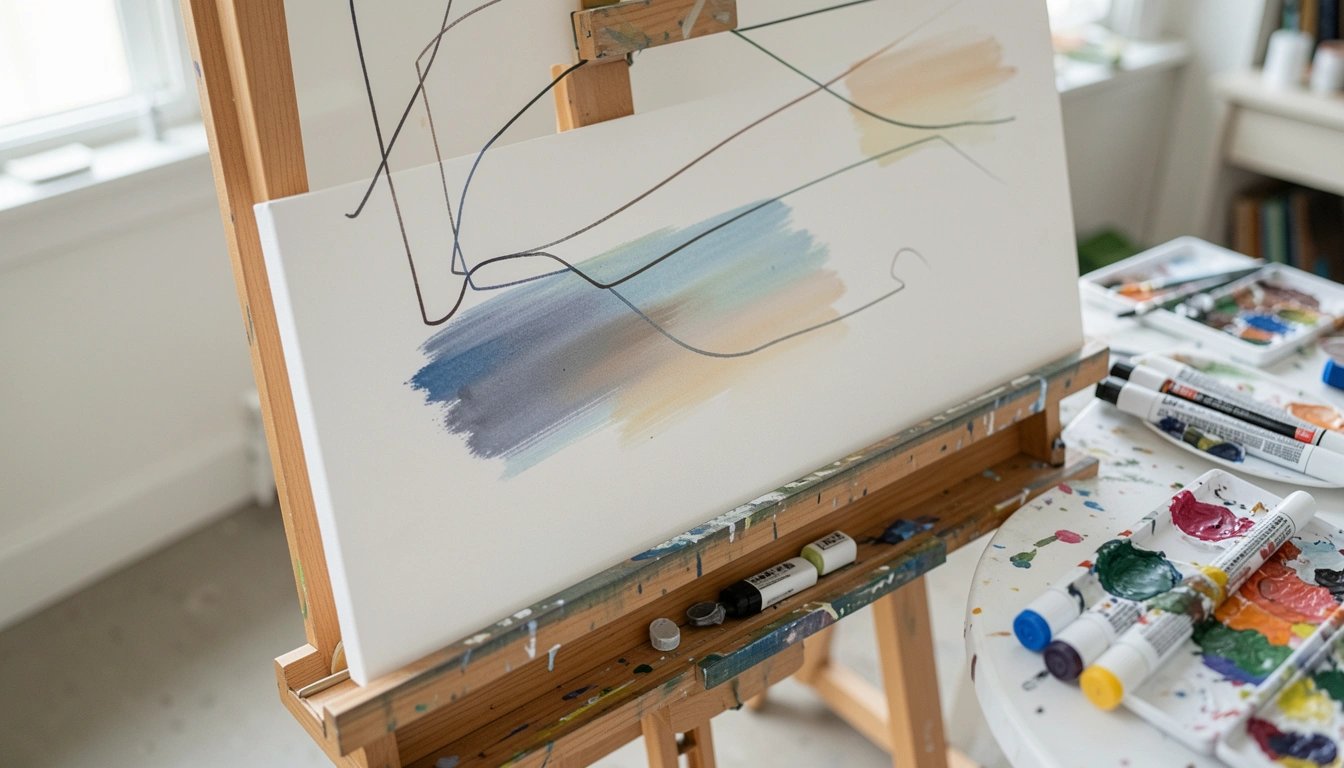
I started doing quick paint marker sketches directly on canvas. I stopped wasting time erasing charcoal. The marker acts like a roadmap for layered, loose brushwork.
It helped keep shapes tight when I went in with wet acrylics. I learned to use a light color so my under-sketch didn’t deaden later glazes.
Watch pressure. Heavy marker lines can show through thin layers. If a line looks too bold, tone it down with a thin glaze.
What You'll Need for This
- Light-value paint marker (e.g., pale gray or sepia)
- Acrylic paints
- Flat synthetic brushes
- Canvas or gessoed panel
2. Controlled Cross-Hatching for Textured Marks
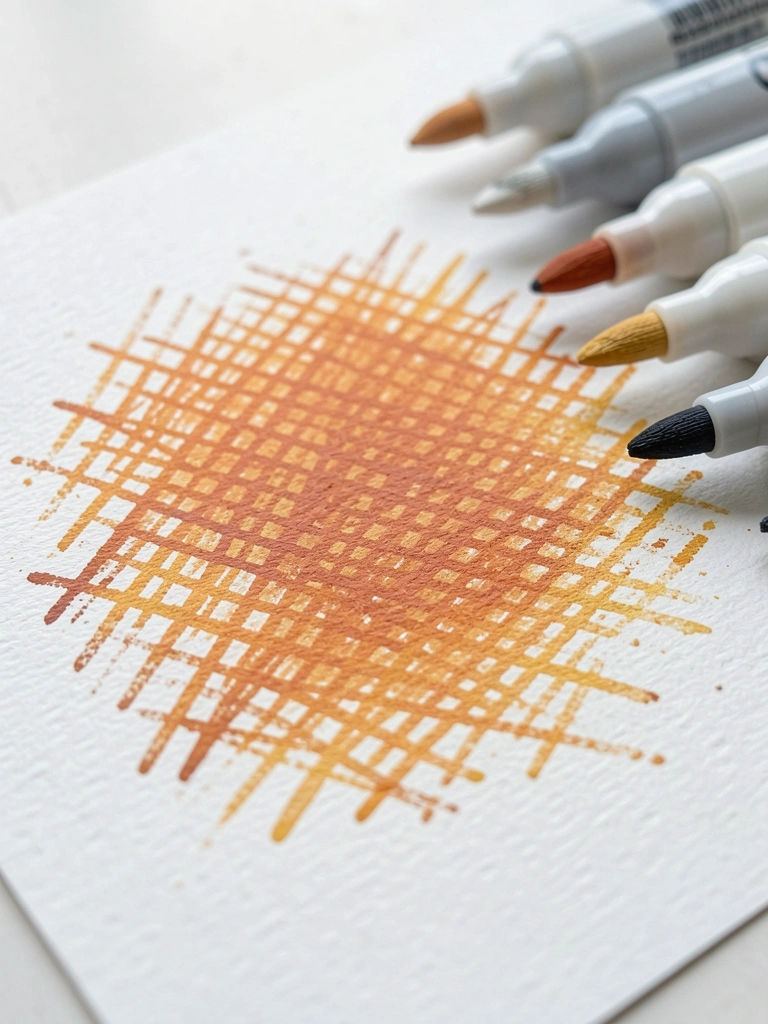
I used to overblend until textures disappeared. Switching to measured cross-hatching with paint markers gave surfaces life without muddying color.
I layered short opposing strokes to build value and texture. It looked deliberate rather than accidental. The marks read as fabric, fur, or grain depending on density.
Pay attention to marker tip wear. A rounded tip makes softer hatch; a chisel keeps edges crisp. Practice spacing on a scrap so you don’t overwork the area.
What You'll Need for This
- Various tip paint markers (fine and chisel)
- Heavy-weight paper or primed panel
- Scrap paper for testing
3. Glazing with Diluted Acrylic and Marker Highlights
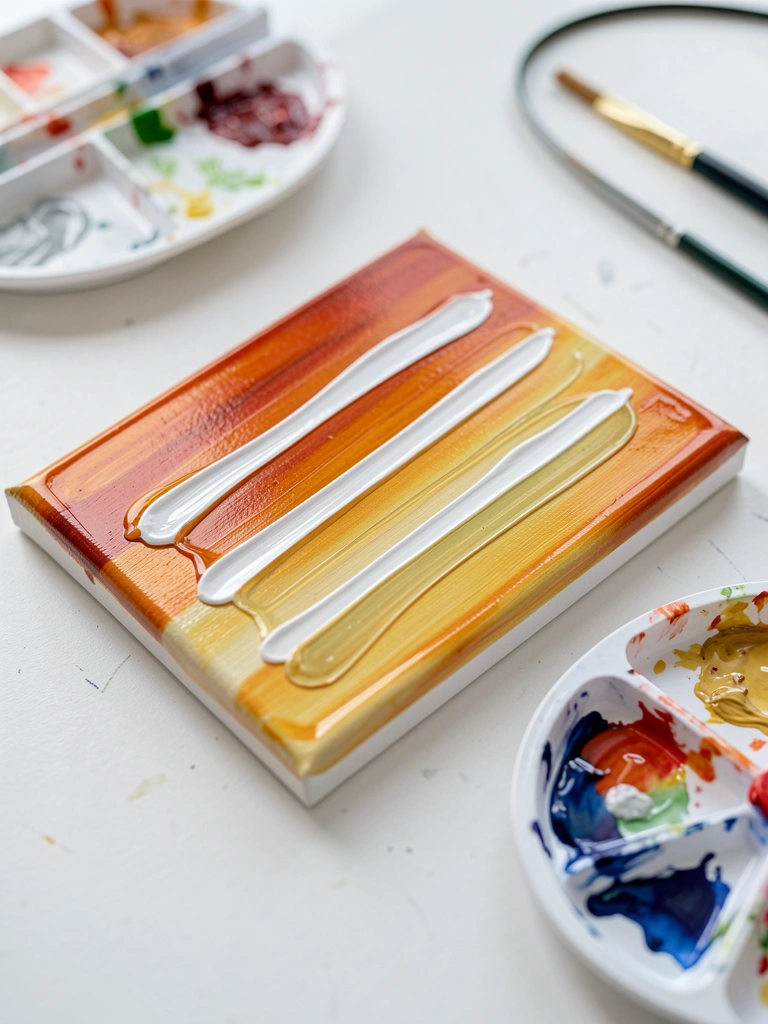
I learned the hard way that paint markers sit on top of glazes best. I started doing thin acrylic glazes first, letting them dry, then adding crisp marker highlights.
The glaze softened edges and kept colors vibrant under the marker. That stopped the chalky, flat look I used to get when applying marker over heavy paint.
Drying is key. If the glaze is tacky, the marker drags. Wait the recommended time or use a hairdryer on low.
What You'll Need for This
- Acrylic paint and medium for glazing
- Paint markers (opaque for highlights)
- Soft brush for glazes
- Hairdryer (optional)
4. Blocking in Bold Shapes with Markers, Then Refining
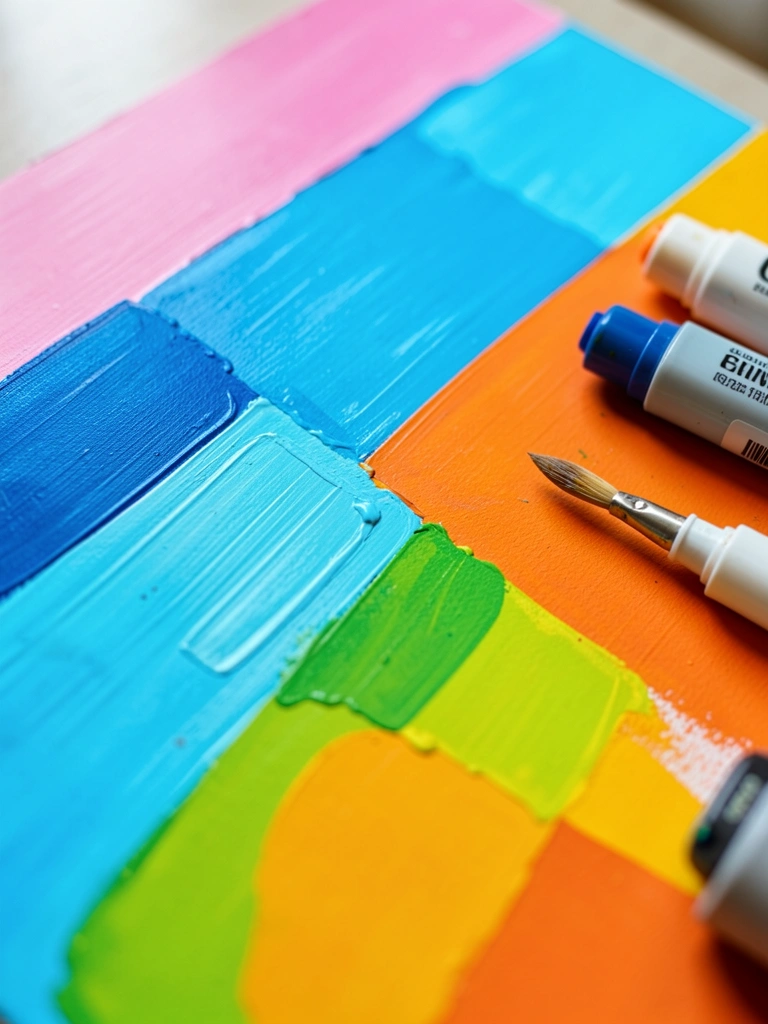
I began blocking in major shapes with paint markers to establish composition fast. That saved me from overworking and helped with color harmony early.
Once the large planes were dry, I softened edges with a brush or added details atop the marker. It’s forgiving—if a block is off, I can paint over it or add a complementary line.
Beware of streaky coverage. Multiple thin passes beat one heavy swipe. Let each pass dry if you want a clean, flat look.
What You'll Need for This
- Wide-tip paint markers
- Acrylic paint for corrections
- Medium and flat brushes
- Primed canvas or panel
5. Wet-on-Wet Backgrounds on Watercolor Paper with Marker Accents
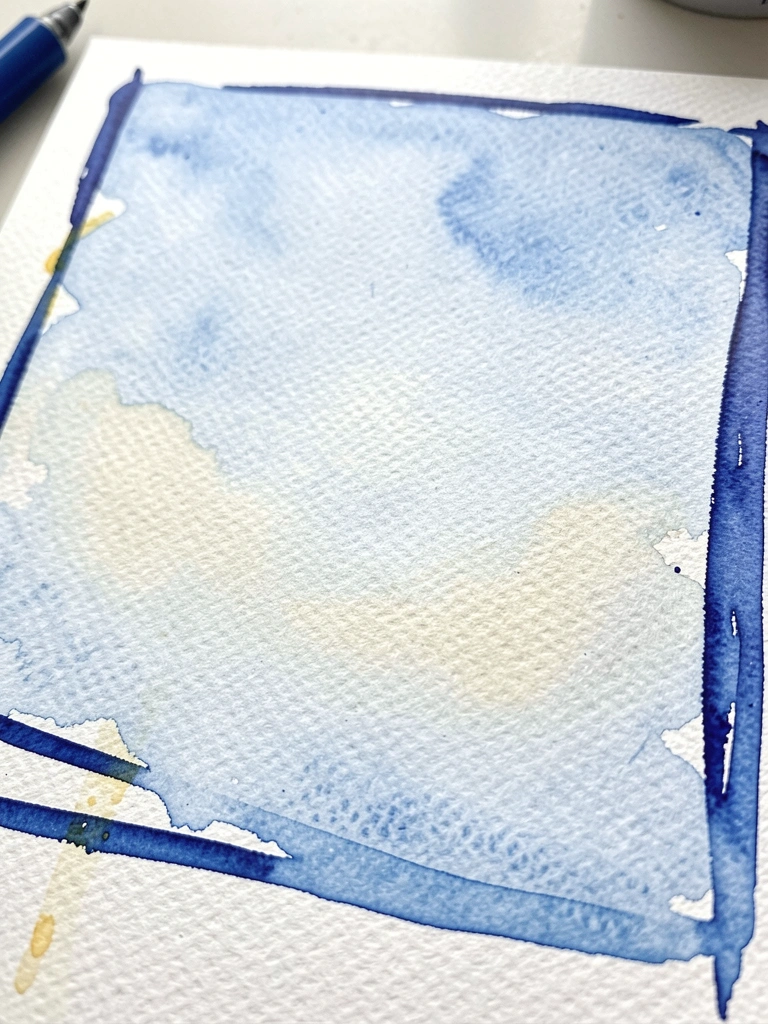
I tried wet-on-wet washes under markers and learned paper matters. On cold-press watercolor paper, the wash stays soft and markers add clean accents afterward.
I let the wash dry just enough so the marker didn’t bleed. The result: soft, layered fields with crisp line work on top. It made backgrounds feel intentional rather than flat.
Tip: test your marker on the same paper while the wash is damp to see if it feathers.
What You'll Need for This
- Watercolor or mixed-media paper (cold-press)
- Watercolor or thinned acrylic wash
- Paint markers suited to paper
- Large round wash brush
6. Stippling and Pointillist Effects with Varied Tip Sizes
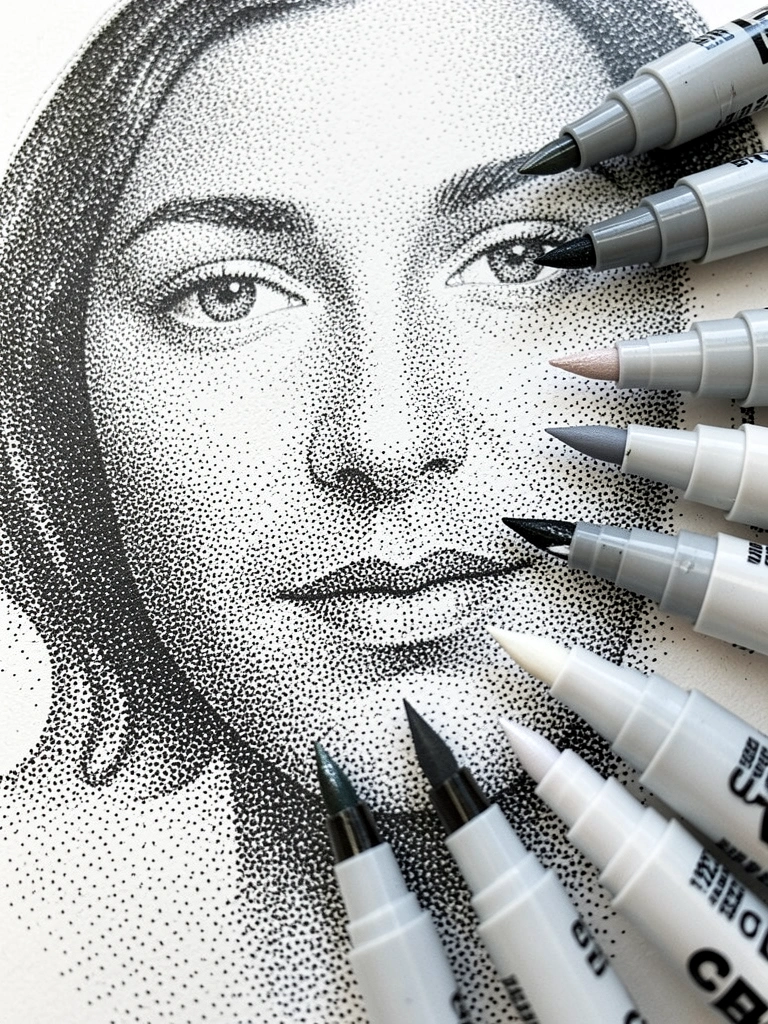
I tried stippling with brushes and got tired fingers. Paint markers made controlled dots easy. Switching tip sizes helped me manage value shifts without overmixing color.
I built value slowly. Tiny dense dots darkened shadow; wider spacing suggested light. I once went too dense and lost form—so I back off when midtones look muddy.
Use a scrap to warm up pressure. Too hard and the dot blotches; too soft and it’s faint.
What You'll Need for This
- Fine and medium-tip paint markers
- Heavy paper or panel
- Scrap paper for testing
7. Masking and Resist for Clean Negative Space
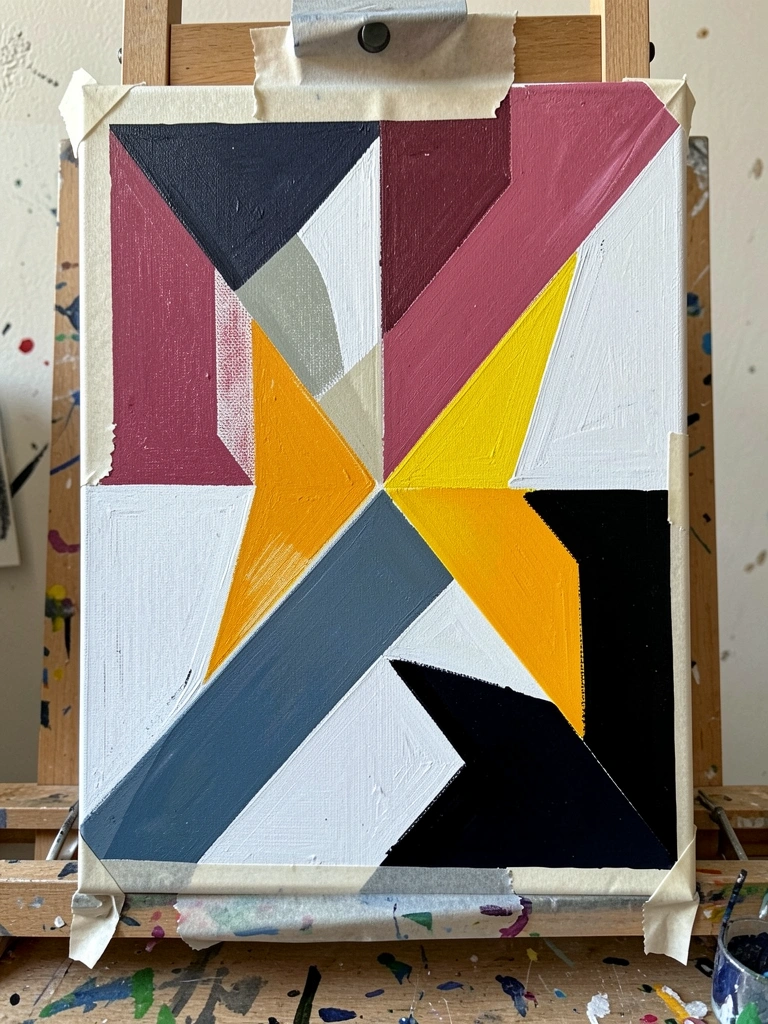
I learned masking after repeatedly ruining clean edges with a shaky hand. Painter’s tape or a frisket keeps negative space clear when using paint markers over large areas.
I mask, fill, let dry fully, then remove the tape slowly. The contrast between bold marker strokes and sharp masked edges looks intentional.
Mistake I made: pulling tape too early. It lifted fresh paint. Wait until the paint is more than tacky.
What You'll Need for This
- Painter’s tape or frisket film
- Paint markers in chosen colors
- Clean blade for tape trimming
- Ruler or straight edge
8. Palette Knife Texture with Marker Linework Over It
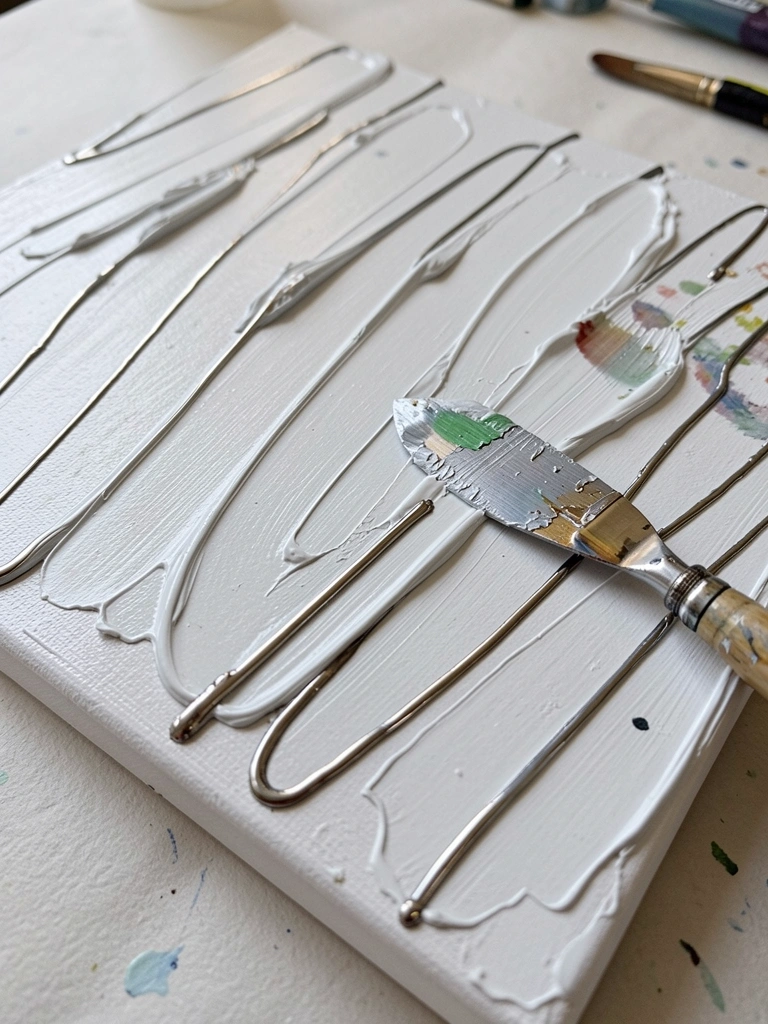
I started adding marker lines over palette knife texture and it made edges readable. Thick paint holds the marker without dragging like a soft glaze might.
I used the knife to lay in strong texture and then carefully drew thin marker highlights along ridges. It pulls focus to the texture and keeps the piece readable from a distance.
Tip: test the marker on a small ridge first. Sometimes a very fresh impasto will squish the tip.
What You'll Need for This
- Palette knife and acrylic heavy body paint
- Opaque paint markers (fine tip)
- Primed panel or board
9. Metallic Marker Highlights Over Dark Underpainting
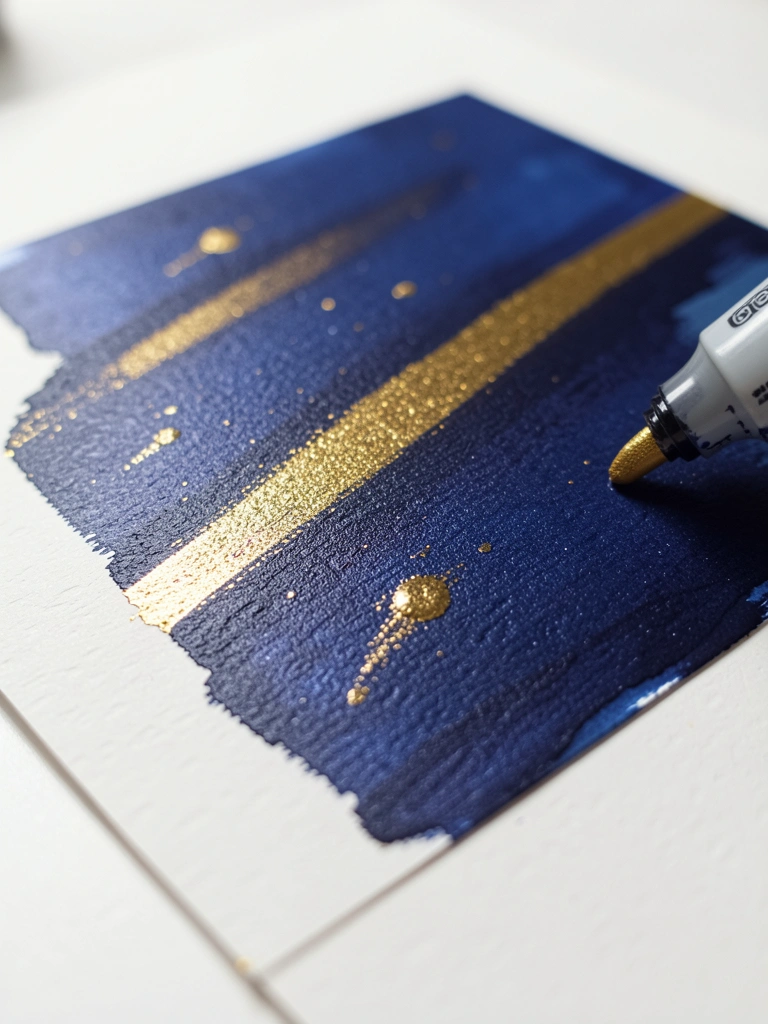
I loved the way metallic markers popped over deep, matte backgrounds. I painted a dark, even underlayer, let it cure, then added metallic accents with a light hand.
The metallic reflects and gives a clean, intentional highlight. I had one painting where bright metallic over-saturated the area—so I kept strokes minimal and placed them where light would actually hit.
Let the underpaint fully cure. Wet paint dulls marker shine.
What You'll Need for This
- Dark acrylic underpaint
- Metallic paint markers
- Small brush for touch-ups
- Rigid panel or board
10. Faux Woodgrain and Natural Textures with Layered Strokes
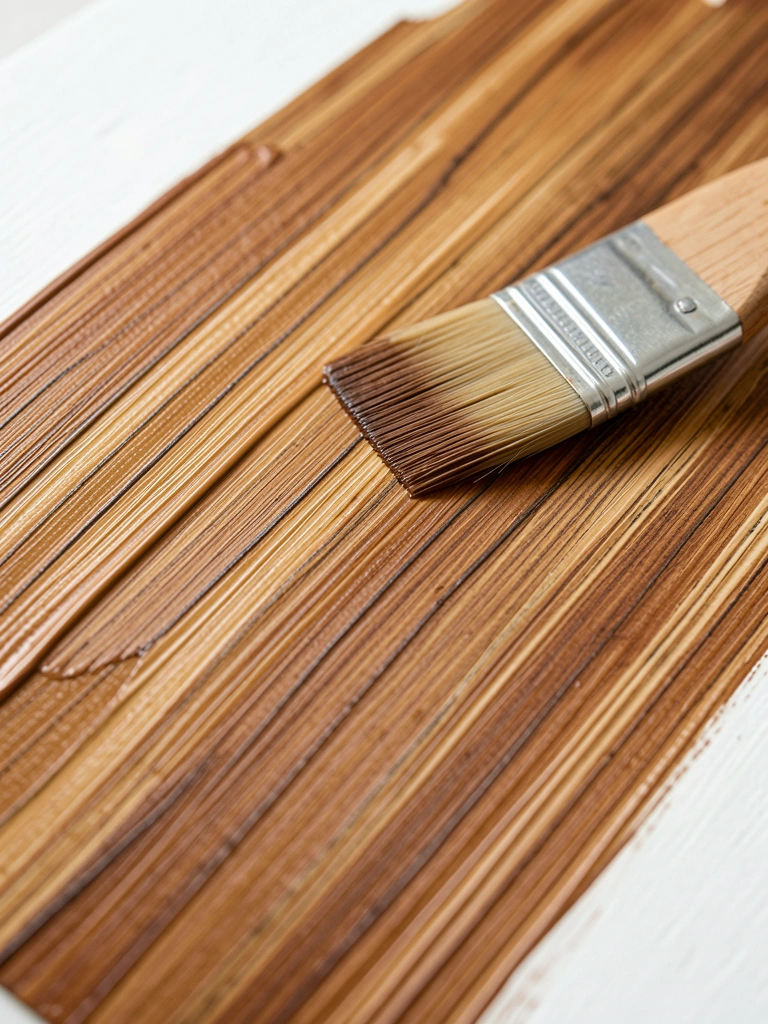
I faked woodgrain with layered marker strokes. Start with a mid-tone base, then add darker irregular lines and lighter highlights. The trick is varied pressure and direction.
It stopped me from over-blending. The layered marks read as texture. Early attempts looked cartoonish until I added tiny knots and subtle highlights.
Keep your reference near. Small, believable irregularities sell the effect more than perfect symmetry.
What You'll Need for This
- Brown and beige paint markers
- Mid-tone acrylic base
- Small flat brush for softening
- Reference photo
11. Fine Hair and Fur with a Rigger Brush and Marker Combo
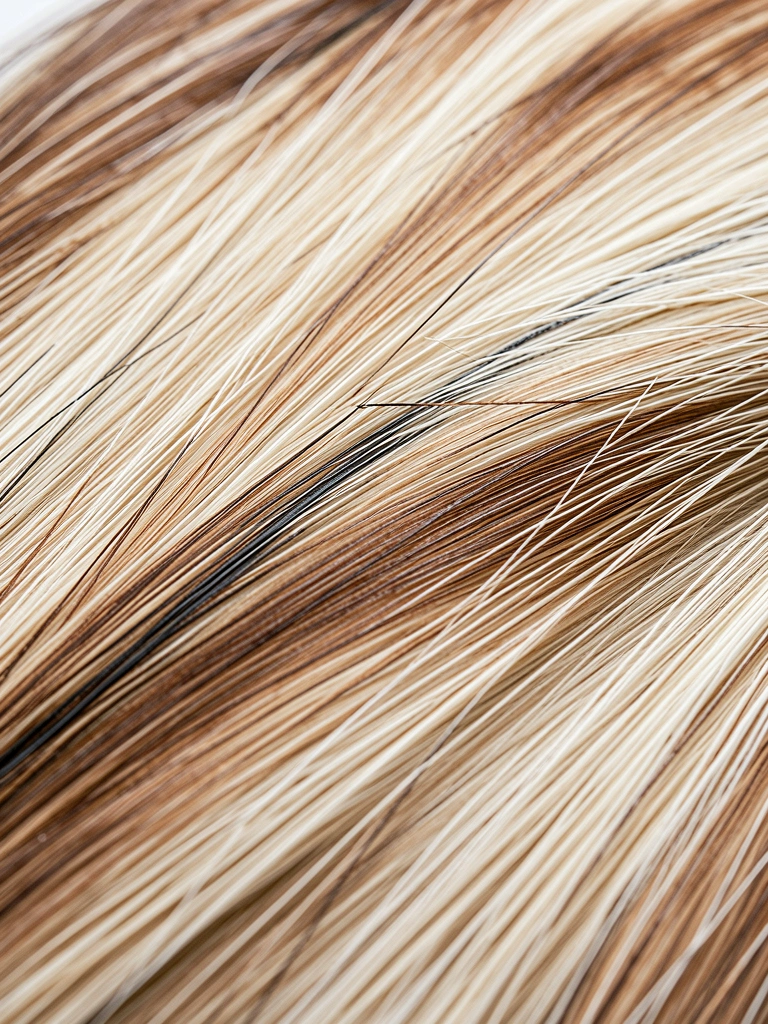
I used to try painting every hair with a marker and got stiff results. I learned to lay a soft underlayer with a rigger brush, then add sharp marker hairs on top.
The brush establishes mass and flow. Markers give the single-hair crispness without fussy control. I once went too marker-heavy and lost softness—so I keep most hairs light.
Work in passes. Build up from general to specific.
What You'll Need for This
- Rigger or liner brush
- Thin acrylic washes
- Fine-tip paint markers
- Paper towel for tip wiping
12. Monochrome Value Studies with One Marker Color
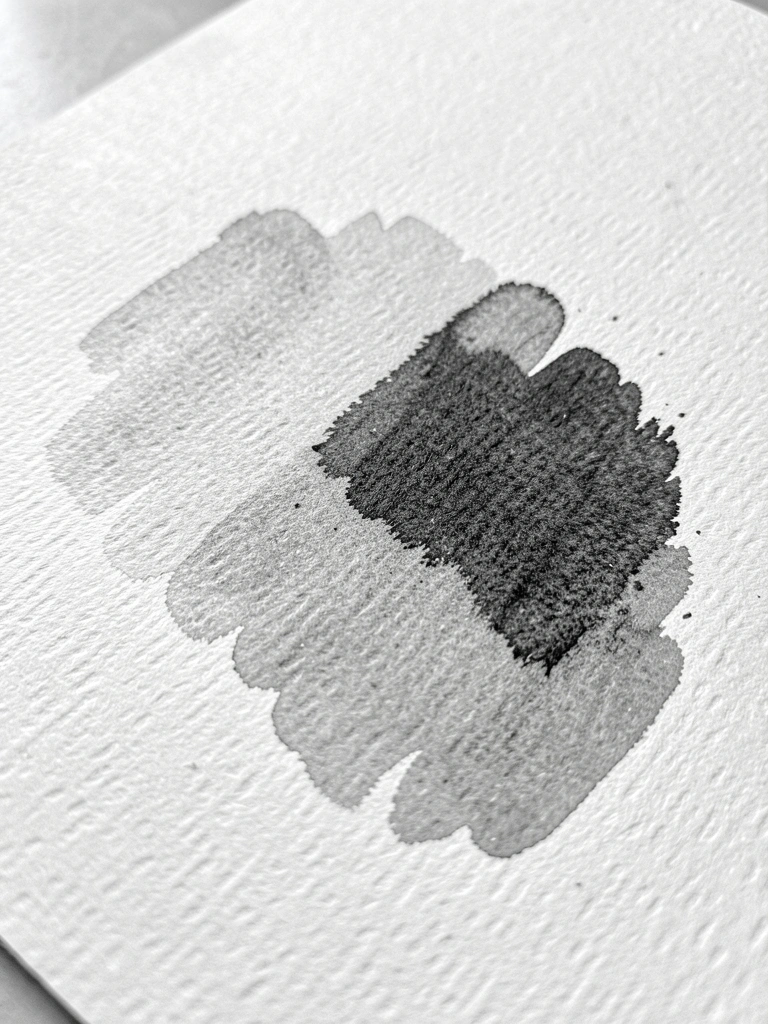
I do one-color studies to focus on value without color worry. I combine diluted washes and marker layers to get midtones and deep shadows.
Working monochrome trained my eye for contrast. I stopped relying on saturation tricks to read depth. It’s forgiving and fast for thumbnail practice.
Note: some markers are less opaque. I layer accordingly and accept that very light or very dark extremes might need paint.
What You'll Need for This
- One-tone paint marker (e.g., sepia or gray)
- Mixed-media paper
- Diluted acrylic or ink wash tools
- Small brush
13. Mixed-Media Collage with Marker Outlines
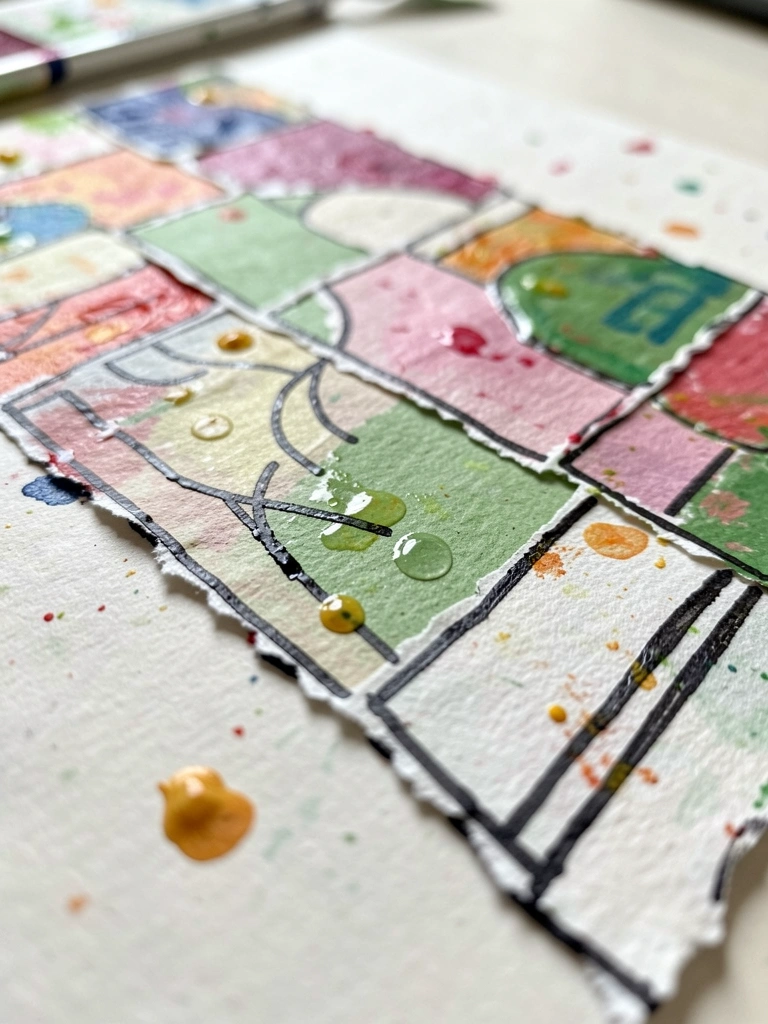
I glued painted paper scraps onto panels, then used paint markers to unify edges and add line work. The marker helps integrate collage and painting visually.
I once glued glossy paper without sealing and my marker smudged. Now I seal matte scraps first. The marker brings immediacy and ties color across pieces.
Keep pressure light on paper edges to avoid tearing. The marker should be a binding voice, not a cover-up.
What You'll Need for This
- Torn painted papers or ephemera
- Acrylic glue or gel medium
- Paint markers for outlines
- Sealer (matte medium)
14. Painting on Upcycled Objects with Sealed Surfaces
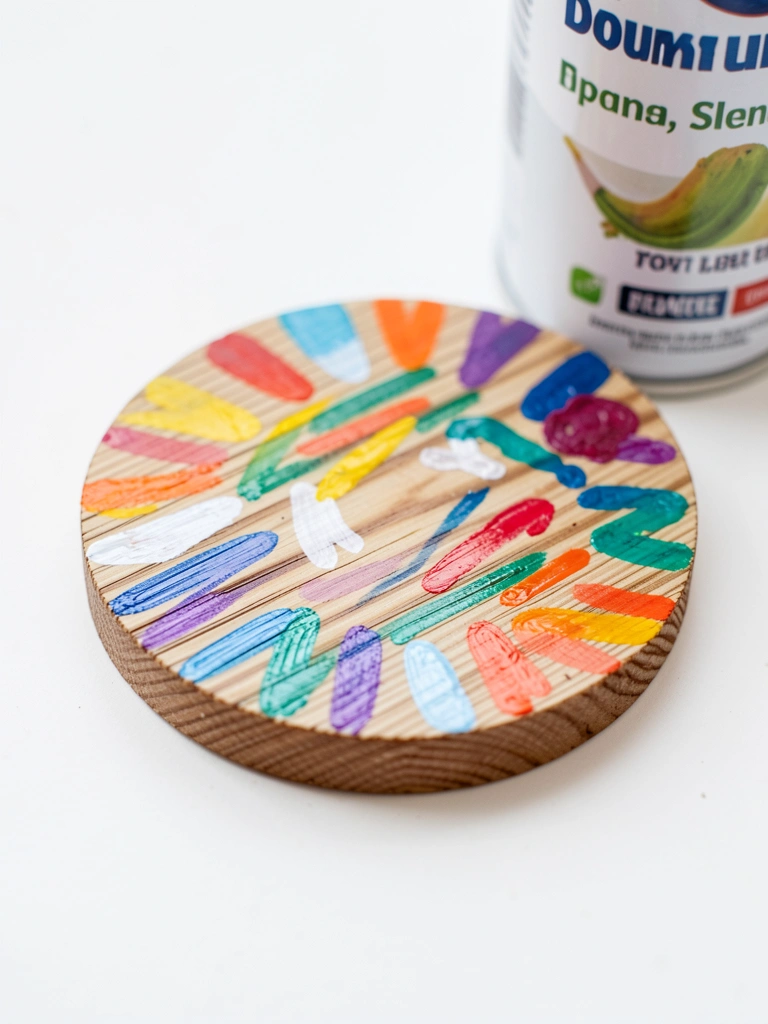
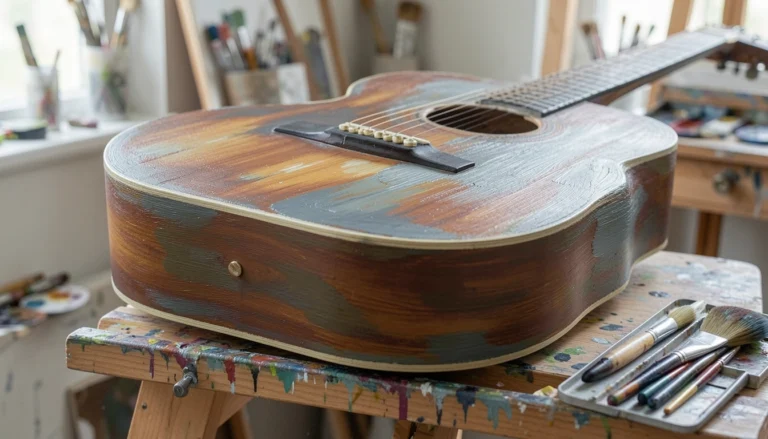
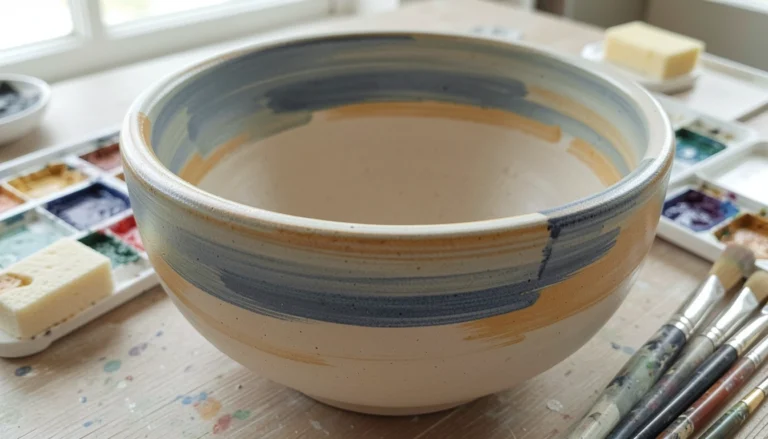
I started using markers on old wood and tins. The catch: raw surfaces soak the marker oddly. Sealing first gave a consistent surface and prevented bleed.
I brush on a thin gesso or sealer, let it cure, then draw. The marker behaves more predictably and colors stay crisp. I ruined one coaster by skipping the sealer and had bleeding.
Test adhesion on a scrap area before committing.
What You'll Need for This
- Upcycled object (wood, tin, ceramic)
- Gesso or sealer
- Paint markers
- Sandpaper for smoothing
15. Daily Mark-Making Drills: Pressure, Angle, Flow
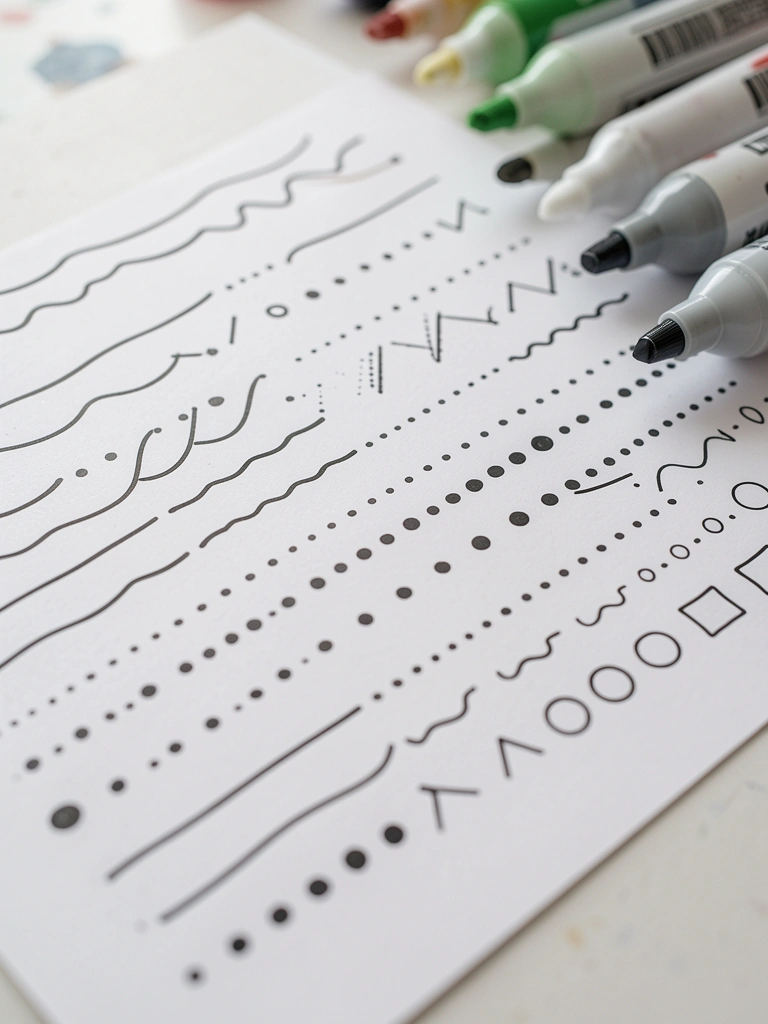
When I felt stuck, short daily drills fixed shaky lines. Ten minutes of varied pressure, angles, and speeds trains muscle memory for clean marker work.
I make rows: thin to thick, short flicks, long sweeps, dots, and hatches. It reveals how a marker tip wears and how my wrist needs to move. It also saved canvases because I stopped guessing.
Keep a practice pad dedicated to drills. It’s low-pressure and immediate feedback.
What You'll Need for This
- Practice pad or mixed-media sketchbook
- A selection of paint markers
- Timer (optional)
Final Thoughts
I still ruin pieces. I also fix them faster now. Small habits—masking, testing, and short drills—saved me hours and canvases.
You don’t need perfect tools. Start small, keep marks intentional, and learn what each marker does on each surface.
Pick one idea, try it, and build from there.