10 Bold Things to Paint on a Black Canvas
I started painting on black canvas after wrecking a few light-ground pieces.
The first layers went muddy and I blamed my brushes. Then I learned to let layers dry and think in light.
Here are 10 bold, doable ideas I actually tested. No fluff — just what worked.
Try one at a time.
10 Bold Things to Paint on a Black Canvas
These 10 techniques are practical and tested. I’ll walk through how each behaves on black and what to watch for.
1. Opaque White Underpainting to Make Colors Pop
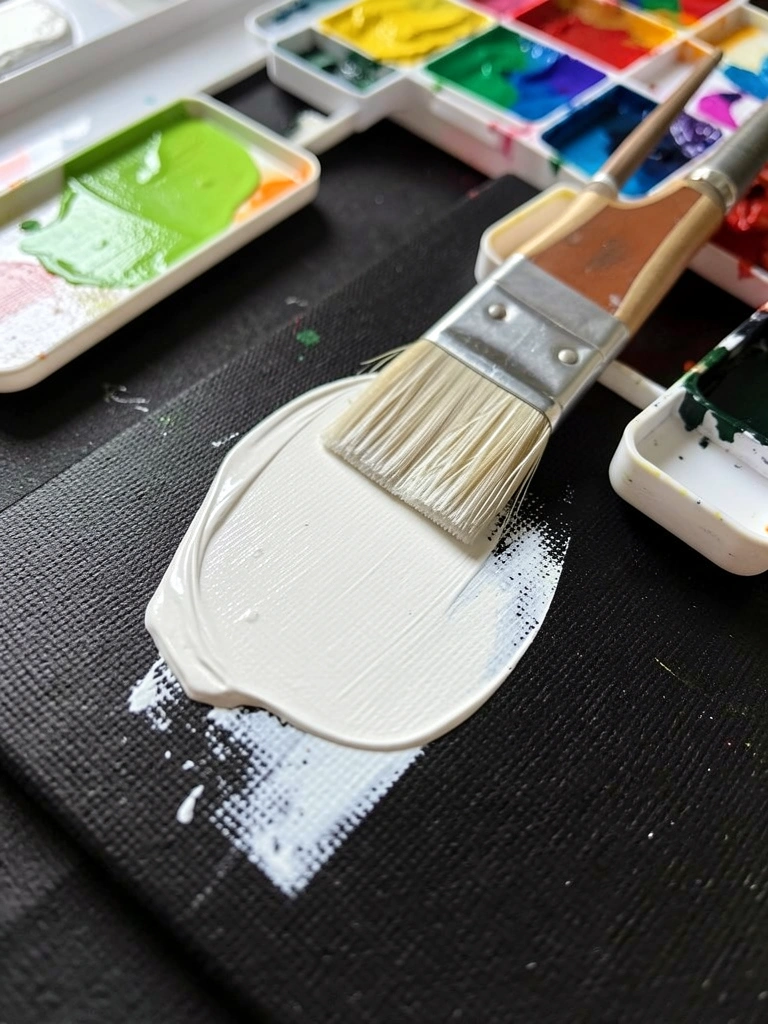
I started by blocking in an opaque white underlayer on a small corner. It felt wrong on black but it saved my later mixes from looking dull.
After the white dried I painted saturated hues over it. They read brighter and cleaner than when painted directly on black. The white reduces the absorbent, matte feel of raw gessoed black canvas.
Pay attention to edges. Too-thick white can show through where you thin paint. Thin it evenly. Use low-viscosity acrylic or a layer of titanium white gesso.
What You'll Need for This
- Titanium white acrylic or white gesso
- Flat synthetic brush
- Palette and water/rag
- Black-primed canvas
2. Neon Accents with Thin Glazes for Punch
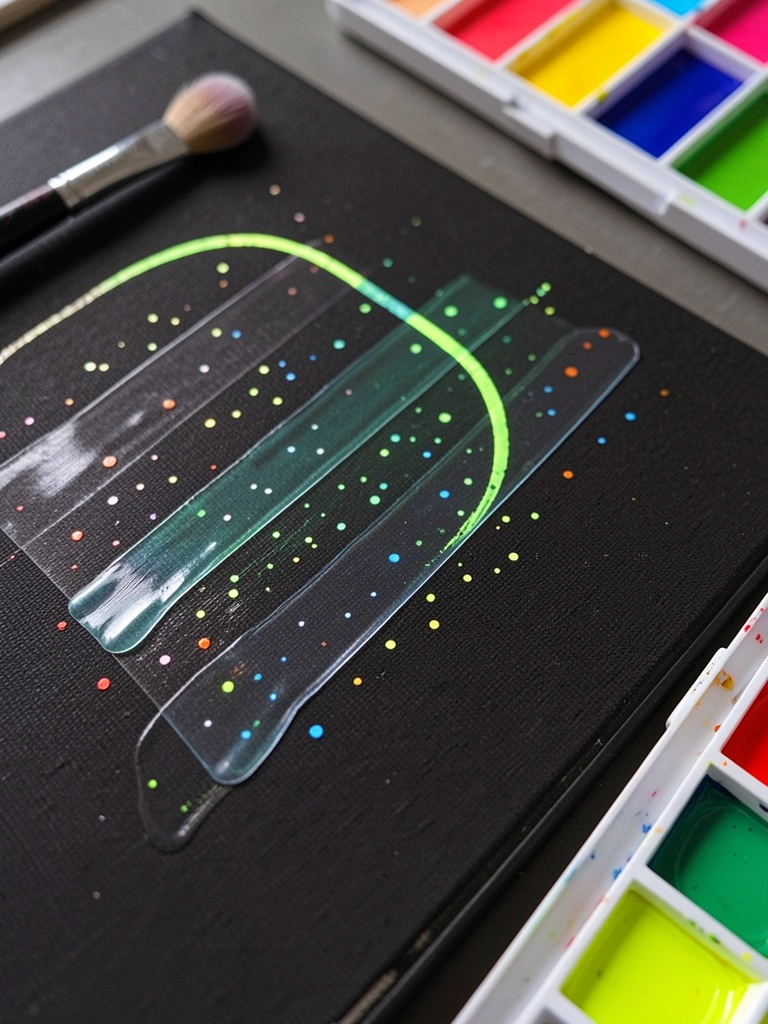
I learned to use a tight, neon-accent palette on black when my florals read flat. Small swaths of fluorescent paint sing on black in a way muted colors don’t.
I glaze thin neon over a mid-tone underlayer so the color sits rather than beads. Wet-on-wet neon tends to separate, so I work in thin semi-transparent layers. Avoid thick straight-from-tube neons; they dry streaky and chalky.
I once overused a neon yellow and got a harsh halo. Now I balance neons with a muted mid-tone nearby. Tip: mix a little grey into neon for less aggression. I keep a small swipe of neutral on the palette for quick desaturation.
What You'll Need for This
- Fluorescent acrylics or acrylic inks
- Glazing medium or fluid medium
- Small synthetic round brush
- Black-primed canvas
3. Metallic Highlights Whispered Over Matte Paint
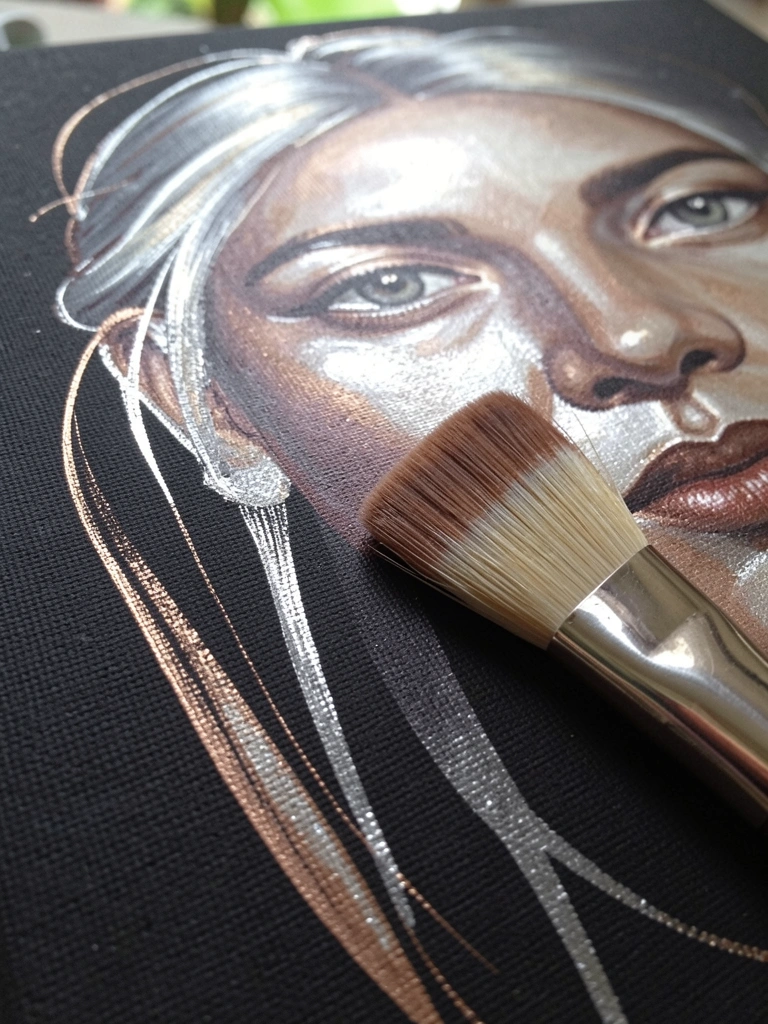
I started layering metallics after my portraits needed punch. Metallics on black read like jewelry when layered lightly.
I use a thin bright of bronze or silver over matte colors. The metallic reflects studio light and gives form without adding saturation. Avoid slapping them on thick; heavy metallics can streak and look fake.
One time I sanded back metallics because I overworked them. Now I reserve metallics for highlights and thin glazes. Use interference paints sparingly; they shift by angle and add depth.
What You'll Need for This
- Metallic acrylics (silver, bronze, iridescent)
- Soft fan or dry brush
- Palette knife for mixing
- Black-primed canvas
4. Bold Silhouettes in a Single Opaque Hue
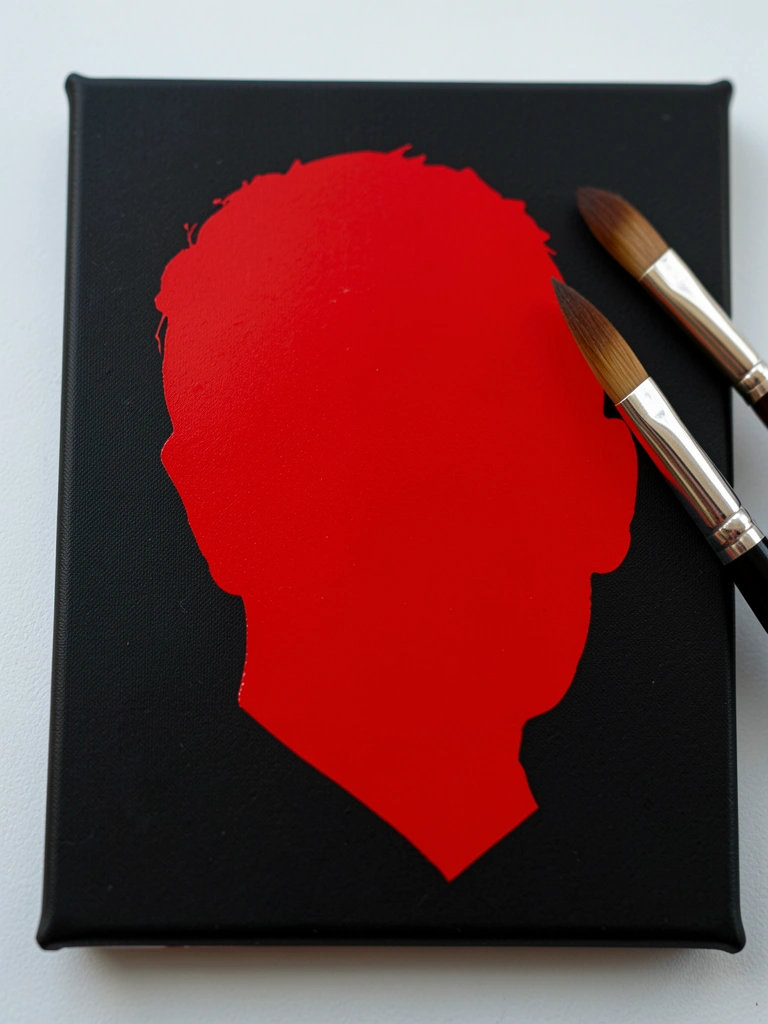
I painted bold silhouettes in a single opaque color on black to simplify composition. The negative space feels immediate on black and reads clean from a distance.
I mix an opaque mid-tone and block the shape confidently. The edge between black and color needs a steady brush. That stopped my jagged outlines and made forms legible from across the room.
I used to underpaint shapes freehand and get wobble. Now I sketch lightly with chalk and then fill. A filbert gives smooth curves with minimal strokes.
What You'll Need for This
- Opaque acrylic or gouache
- Filbert or bright brush
- Chalk or light sketching tool
- Black-primed canvas
5. Layered Glazes to Create a Soft Glow
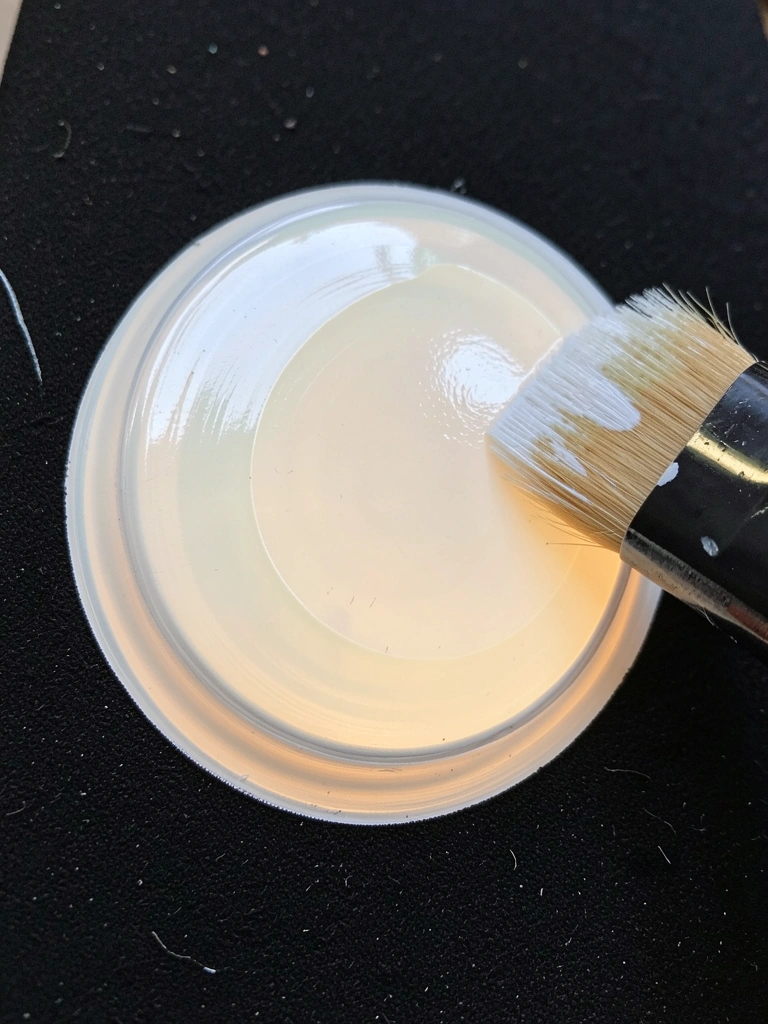
I obsessively chased glow effects on black for a while. Layered glazes made lights feel luminous without overworking the piece.
I start with a soft mid-tone circle, then glaze thin transparent paint—often thinned acrylics or fluid ink—over it. Each glaze shifts the color. On black, glazes sit like light because the surface absorbs surrounding paint. The key is thinness; too-thick layers looked muddy on me.
I once added white too early and lost the subtle glow. Now I reserve pure white for the final brightest spot. Work with a soft round brush for feathered edges.
What You'll Need for This
- Glazing medium or fluid medium
- Fluid acrylics or inks
- Soft round brush
- Black-primed canvas
6. Negative-Space Stars and Galaxy Washes
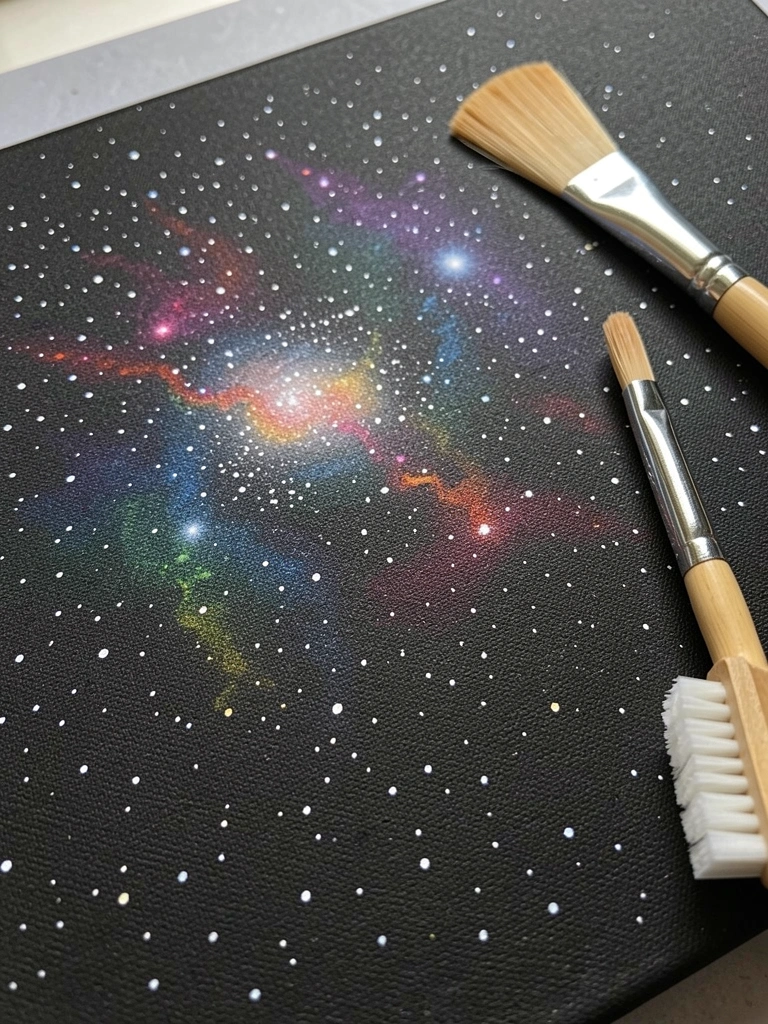
I started painting galaxies by tapping white over a dry black field. Negative-space stars read crisply on black and hide messy skies.
I mix a diluted white for speckling and reserve a few larger stars painted with a small round. For nebulas I scrub thin washes of ultramarine and dioxazine, then lift paint with a dry brush to reveal black speckles beneath. The black gives instant depth you don’t get on white.
My first galaxy had clumped stars from thick white. Lesson: thin your white and flick lightly. Use a toothbrush or fan brush for varied speck sizes; practice on scrap first.
What You'll Need for This
- Diluted white acrylic
- Small round brush
- Toothbrush or fan brush for speckling
- Fluid color paints
- Black-primed canvas
7. Monochrome Portraits in a Single Warm or Cool Tone
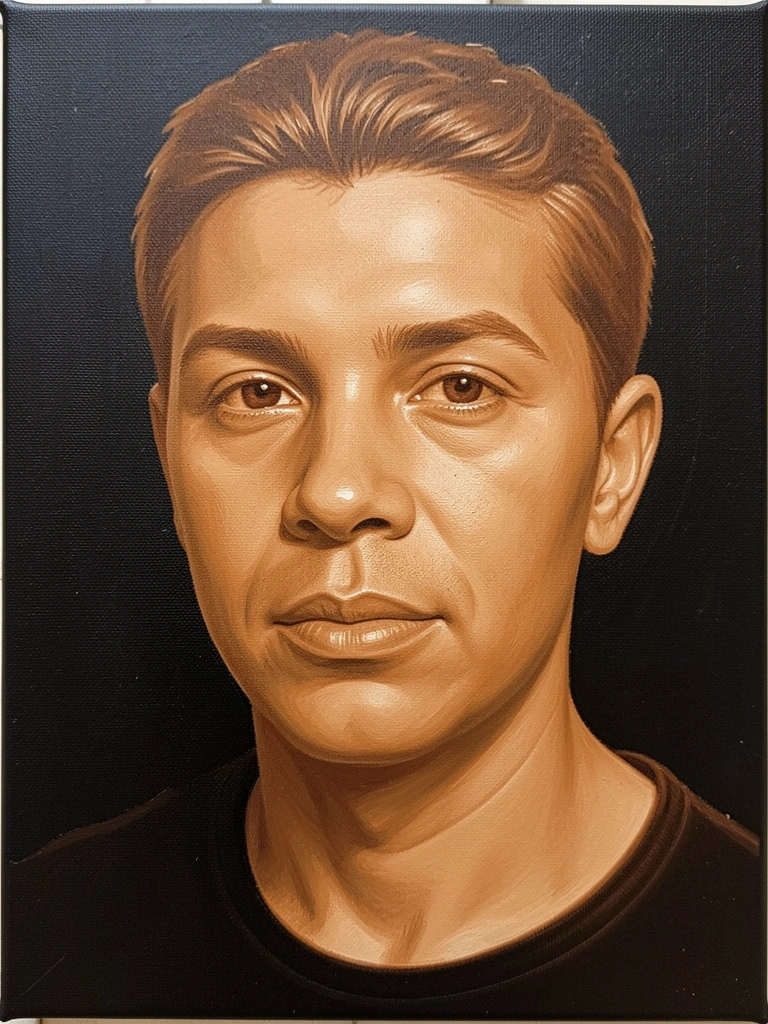
I began doing monochrome portraits on black when faces kept losing volume on light ground. Choosing either warm or cool mid-tones simplifies value decisions.
I block the mid-tone as the portrait color—burnt sienna or ultramarine mixed with white—then carve highlights with thin tints. The black becomes the deepest shadow automatically. That saved me endless glazing and muddiness.
Working this way forced me to think in three values: black, mid-tone, and highlight. Keep strokes confident; hesitation shows on black.
What You'll Need for This
- Mid-tone acrylic or gouache
- Soft synthetic round or filbert
- Small detail brush
- Black-primed canvas
8. Impasto Palette Knife Flowers for Texture
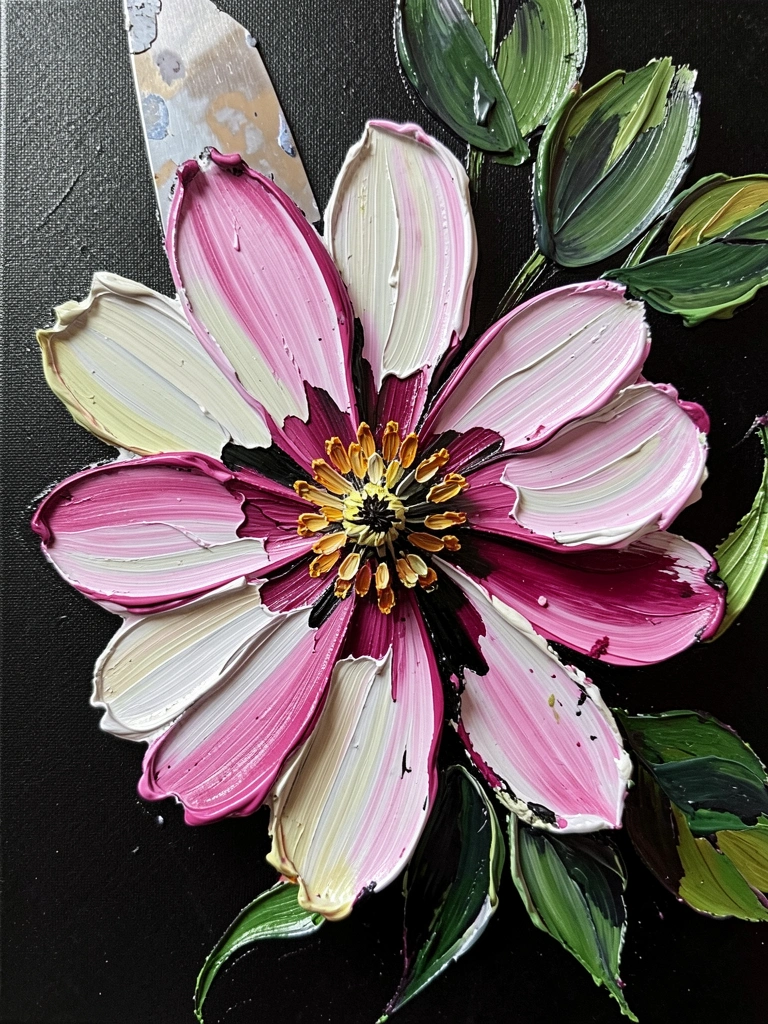
I started using a palette knife on black because my loose florals needed punch. Thick impasto petals sit differently on black; they read like relief.
I mix heavy-body acrylic or slow oil and load the knife. Apply thick shapes directly—no thin glazes at first. The black shows in gaps and adds instant contrast. After a few layers I scrape back to reveal the black for mid-shadows.
Be careful: thick paint on black can dry oddly. I ruined a canvas by stacking wet impasto. Now I wait longer between layers.
What You'll Need for This
- Palette knife
- Heavy-body acrylics or slow oils
- Stiff mixing knife
- Black-primed board or canvas
9. Chalk or Graphite Sketch with Soft Color Washes
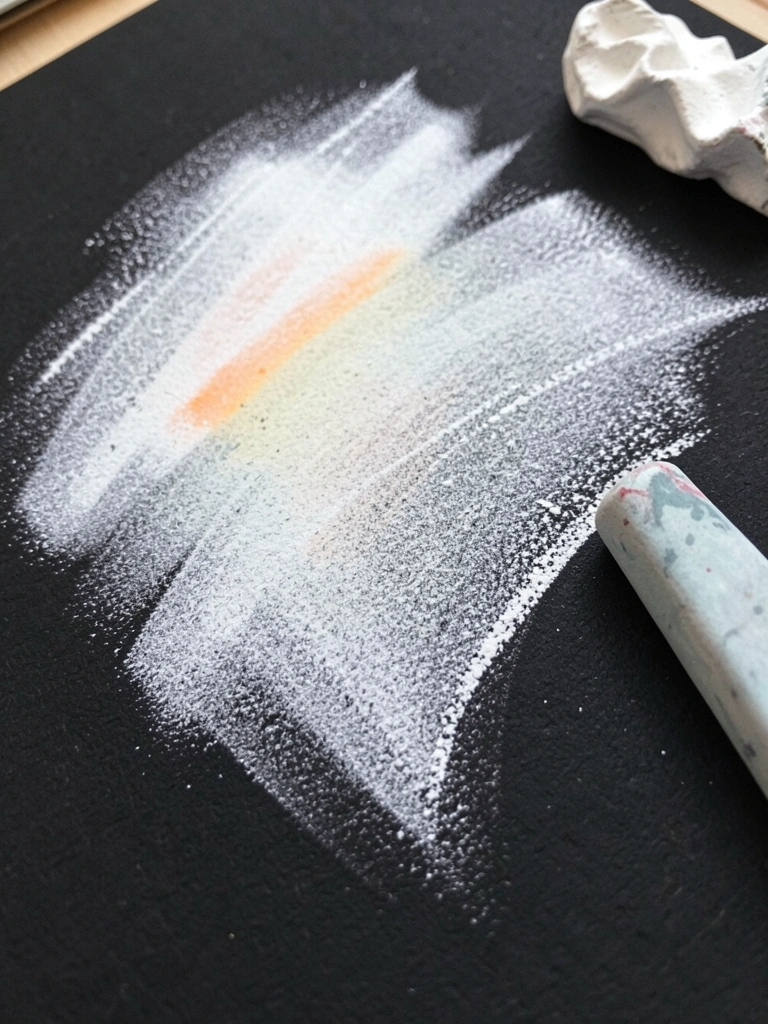
I began sketching on black with graphite and chalk to get composition before paint. The marks act like a road map and read differently on black.
I use white chalk for highlights and soft graphite for underdrawing. Then I add thin color washes—gouache or thinned acrylic—to suggest form without fighting the background. The washes sit translucent and allow the black to function as shadow.
A common pitfall is smudging the sketch when you add washes. I learned to fix it with a light fixative or by using less water. Keep a kneaded eraser for lifting chalk highlights while the wash is dry.
What You'll Need for This
- White chalk
- Soft graphite pencil
- Kneaded eraser
- Thinned acrylic or gouache
- Black canvas or heavy black paper
10. High-Key Minimal Still Life Using Masking
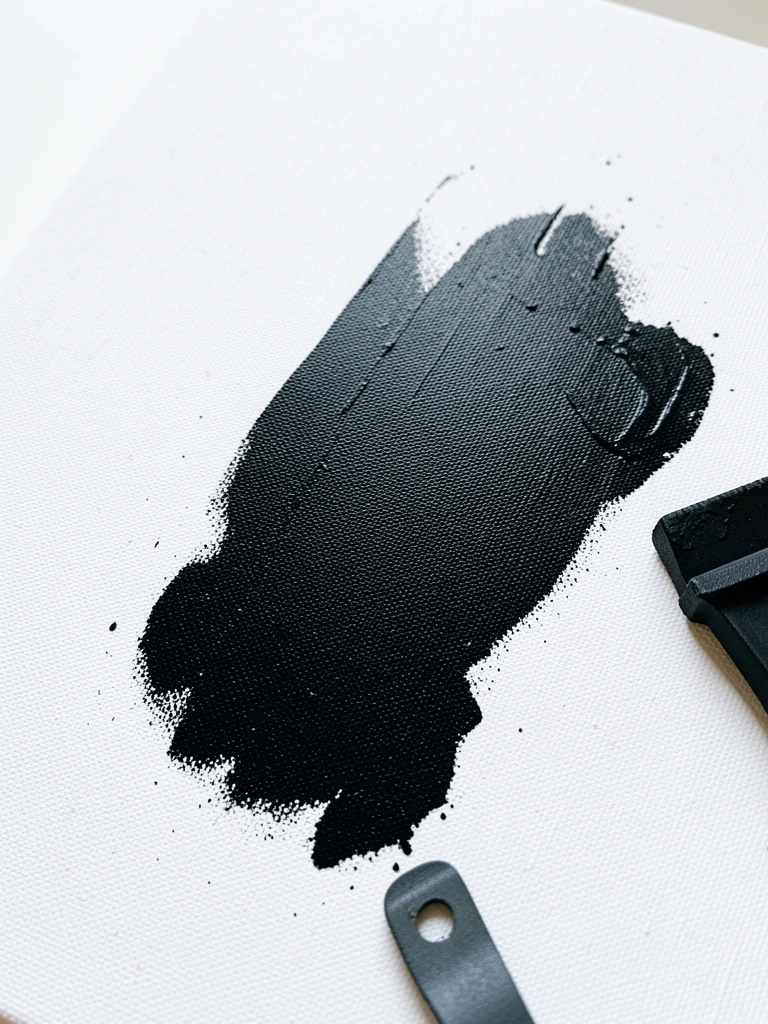
I explored minimal still lifes with masking on black to get sharp, clean shapes. Masking preserves the black negative and makes highlights pop.
I sketch the object, apply masking fluid to hold tiny highlights, then paint surrounding planes with matte colors. When I peel the mask the black shows through crisp and clean. That contrast made my simple bowls and bottles read as light and form.
My first peel tore the gesso because I used heavy tape. Now I use a soft rubber pickup or gentle fingernail. Minimal work on black can read very deliberate with little effort.
What You'll Need for This
- Masking fluid
- Small detail brush
- Matte acrylics or gouache
- Rubber pickup or soft tool
- Black-primed canvas
Final Thoughts
I’ve ruined more canvases on black than I can count. That’s part of learning.
Start small. Try one approach and notice how paint sits and dries. Black gives instant depth; your job is to decide where the light goes.
Trust a slow build. You don’t need to master every idea today.