8 Heartwarming Best Friend Painting Ideas
I ruined a background three times before this felt honest.
I learned that friendship pieces work when they’re simple and thoughtful, not overloaded.
I’ll share ideas I’ve actually painted, messed up, fixed, and finally kept.
8 Heartwarming Best Friend Painting Ideas
These 8 ideas are hands-on and approachable. I include what changed for me and what to watch for. There are eight practical setups you can try today.
1. Two-Person Silhouette Portrait with a Shared Palette
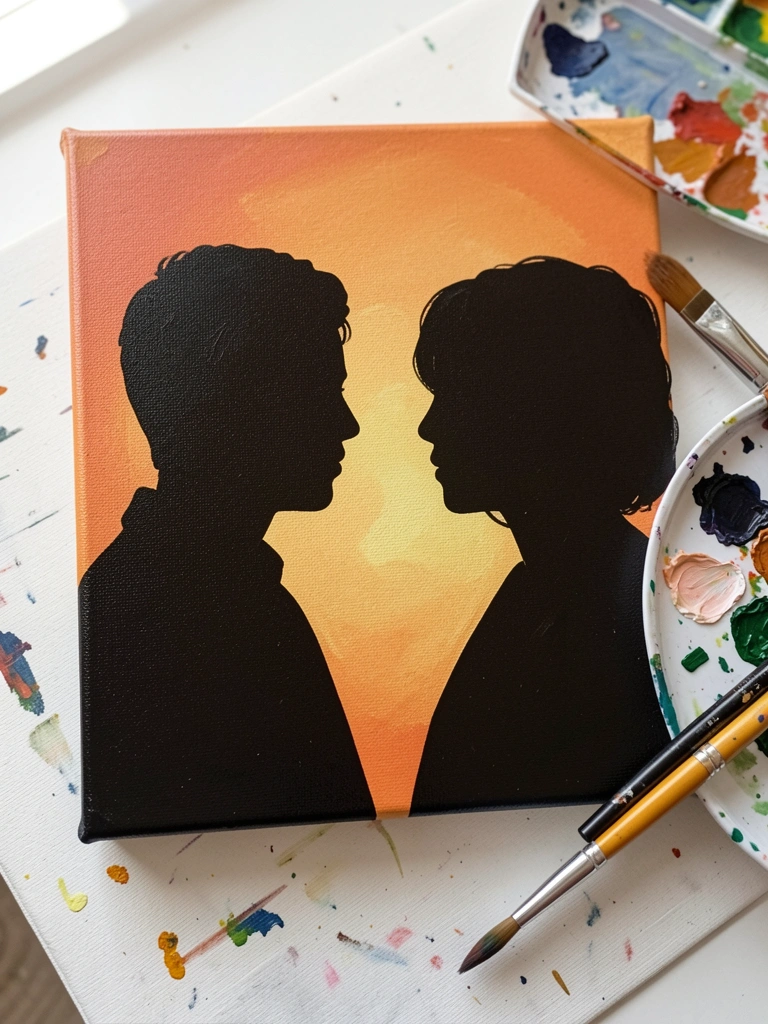
I started this after muddying skin tones too many times. Blocking strong silhouettes first saved me from overworking features. I lay down a single shared background color and painted both figures as simplified shapes, then added minimal facial cues.
What changed was focus: I painted relationships, not perfect likenesses. It stopped me from obsessing over tiny details and kept colors cleaner.
Before you try it, thin your paints and resist glazing every shadow.
What You'll Need for This
- Acrylic or gouache
- Medium-sized flat brush
- Canvas or heavyweight paper
- Palette and water jar
2. Split-Canvas Diptych: Matching, Mirrored Halves
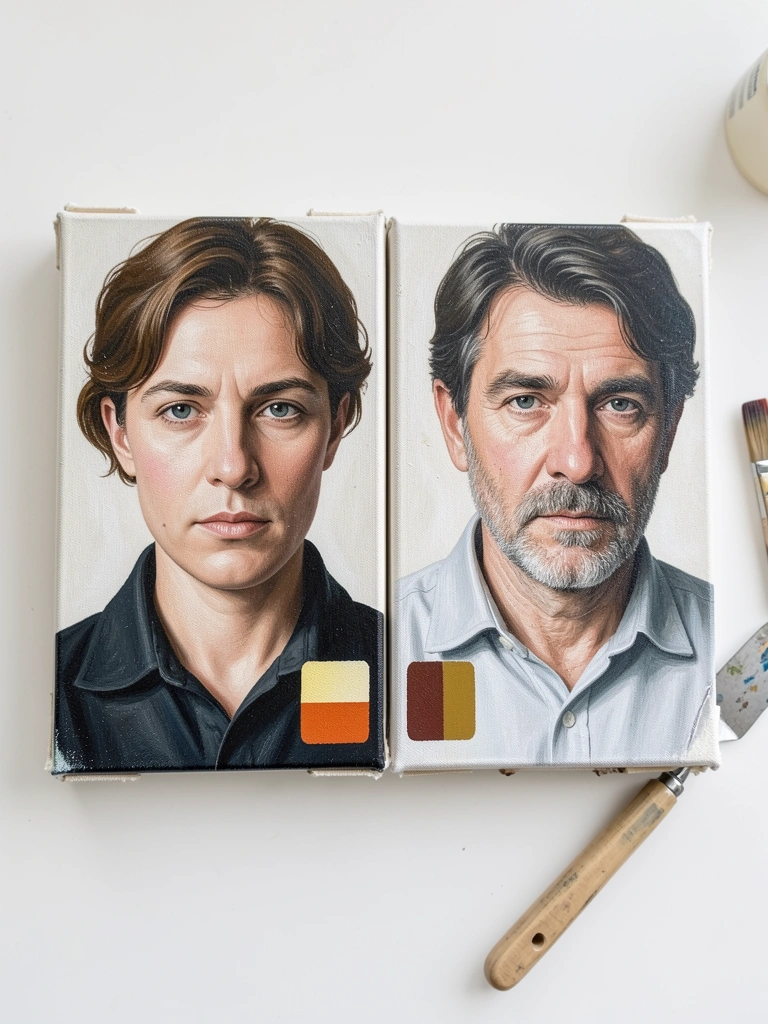
I painted two halves that join to make a single scene. The trick was measuring one side and mirroring elements lightly. I used a limited palette so the halves read as one piece across the seam.
My early attempts had one side brighter than the other. I learned to mix a single batch of midtones and keep a swatch reference on the palette.
Pay attention to edge alignment and consistent value. Tape the center while planning.
What You'll Need for This
- Two canvases or one split panel
- Pencil for layout
- Acrylics or oils
- Ruler or painter’s tape
3. Portrait + Favorite Item Combo (Mini Still Life)
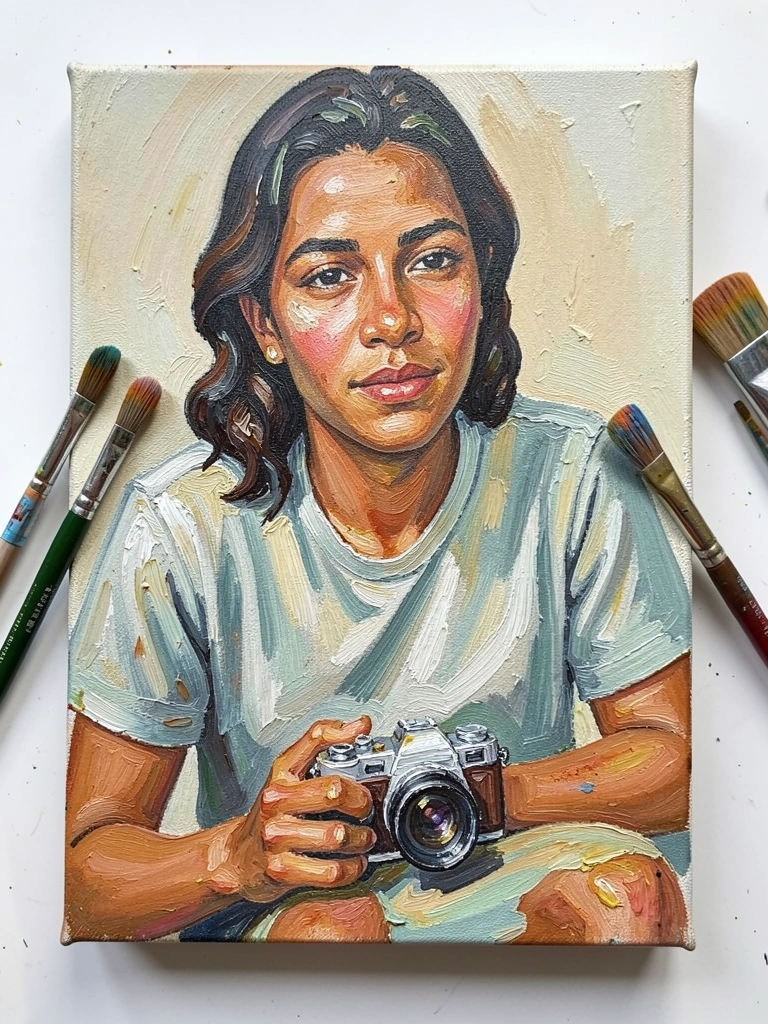
I painted my friend holding a small, meaningful object. The object grounds the portrait and gives viewers a story hook. I put the item in the foreground with crisper edges while keeping the face softer.
What shifted for me was composition: one small prop helped me avoid cluttering the background. It also kept the color palette focused.
Watch scale — I once painted a prop too large and had to repaint the hand. Sketch proportions first.
What You'll Need for This
- Small reference photo of friend with object
- Round and liner brushes
- Acrylic or gouache
- Canvas panel or heavy paper
4. Loose Brushwork Friend Study (Quick Session)
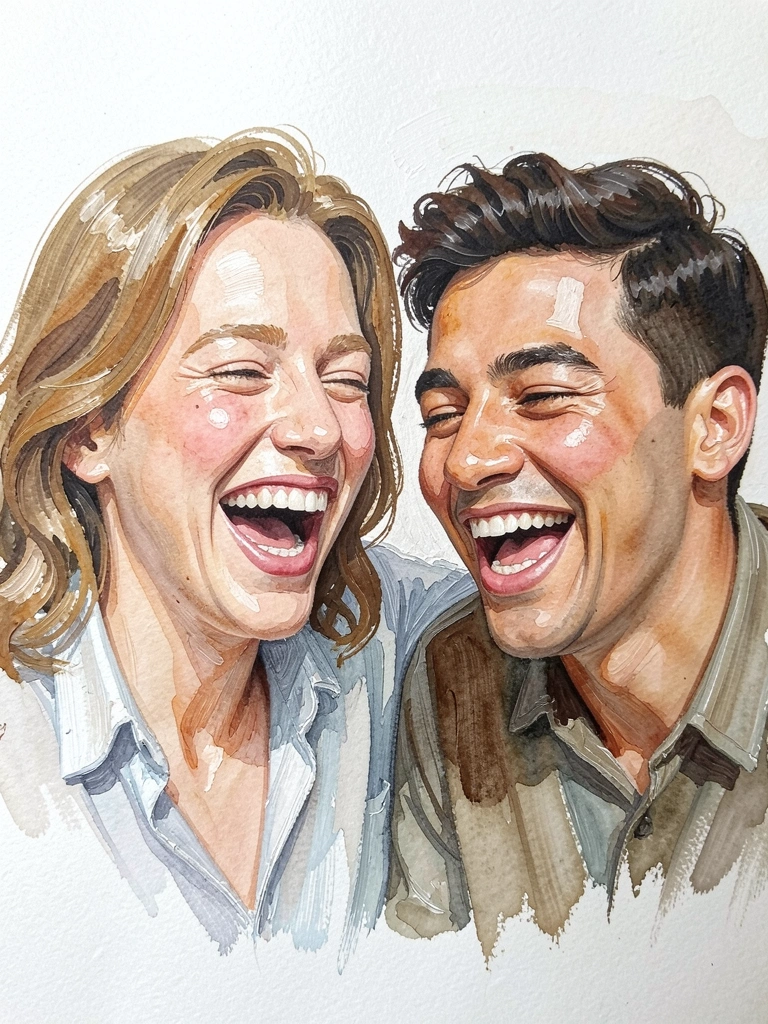
I set a 20–minute timer and forced loose marks. Early on I kept going back and blending until it was flat. Timing taught me restraint. I focused on capturing posture, light, and a few confident marks.
This freed my brushwork and reduced muddy mixes. I now accept rough edges as part of the charm. If you’re nervous, practice one short study per week.
A practical tip: load your brush in three values — light, mid, dark — and don’t rinse between strokes.
What You'll Need for This
- Quick-drying acrylics or gouache
- Large round or filbert brush
- Timer
- Canvas board or paper
5. Hand-Holding Close-Up Study
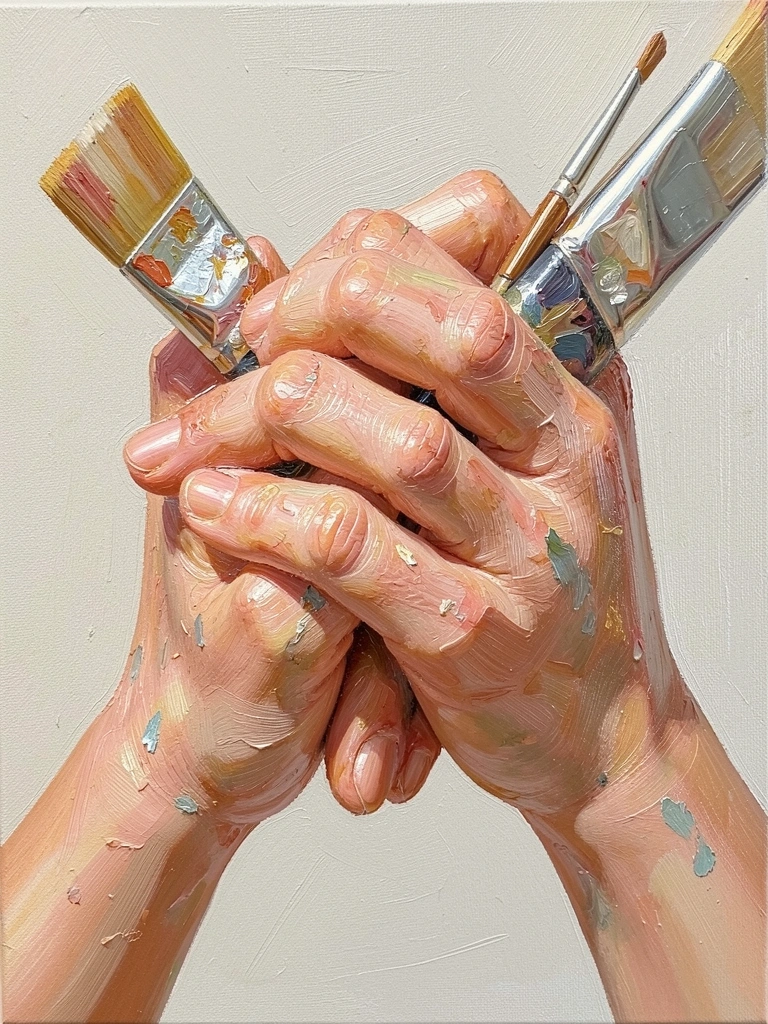
Hands made me nervous. I ruined a canvas trying to be hyper-detailed. Then I focused on planes, edges, and light. I painted broad forms first, then suggested knuckles and veins with thin glazes.
That approach kept values correct and avoided muddy midtones. I learned that a few sharp highlights sell the gesture more than endless detail.
Before you paint, squint at your reference to see only shapes. Keep your brushwork deliberate.
What You'll Need for This
- Small round and flat brushes
- Thin glazing medium (acrylic) or thinned oil
- Canvas or heavyweight paper
- Palette knife for texture (optional)
6. Memory Map Background (Collage-Paint Mix)
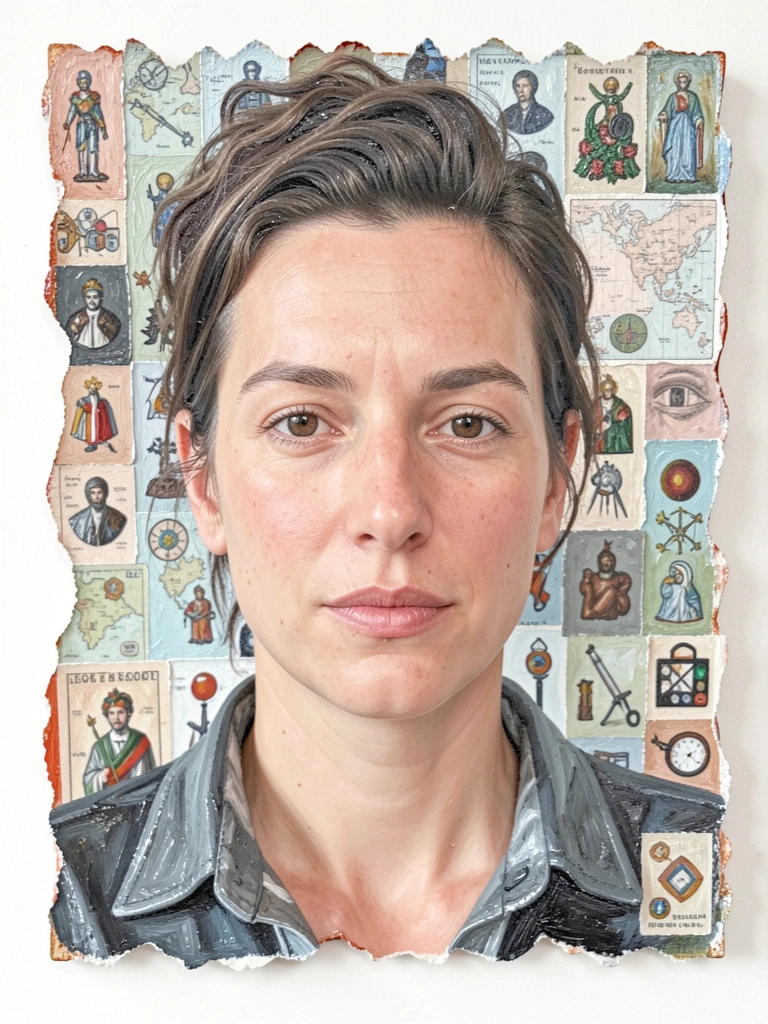
I started adding tiny painted icons behind a friend — coffee cups, playlists, park benches. I glued small paper shapes and painted over them to unify the background. Early versions looked busy; I had to mute colors and simplify shapes.
What helped was using a single toned-down wash across everything. That tied the collage to the portrait and stopped it from competing.
Test values first. If the background reads louder than the portrait, desaturate it.
What You'll Need for This
- Acrylics and a thin wash color
- Lightweight paper scraps or tissue
- Matte medium or glue
- Small round brush
7. Silky Sunset Backdrop with Backlit Portraits

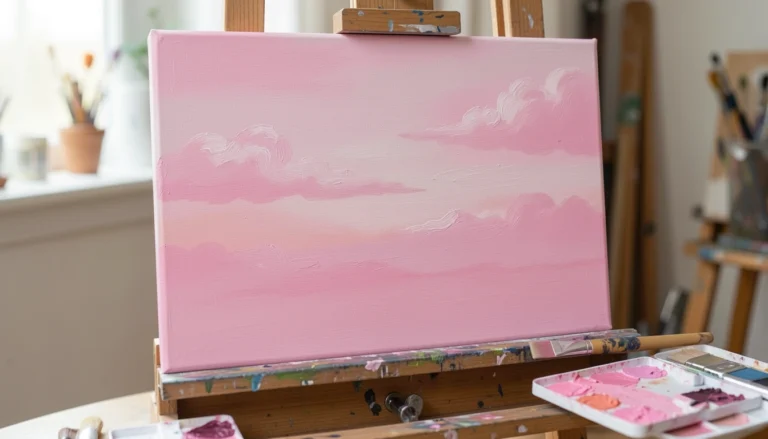
I painted friends as silhouettes with a glowing rim light from a painted sunset. My first sunsets became muddy from too many colors. I switched to three or four harmonious hues and blended wet-on-wet for a smooth sky.
Adding a thin glaze for the rim light made the figures pop without heavy detail. That thin layer is forgiving and easy to lift if it's too strong.
Keep your edges soft near the horizon and crisper on the rim light.
What You'll Need for This
- Soft flat or fan brush
- Acrylics or oils (slow-drying)
- Glazing medium or thin wash
- Canvas
8. Shared Color-Blocked Abstract Portraits
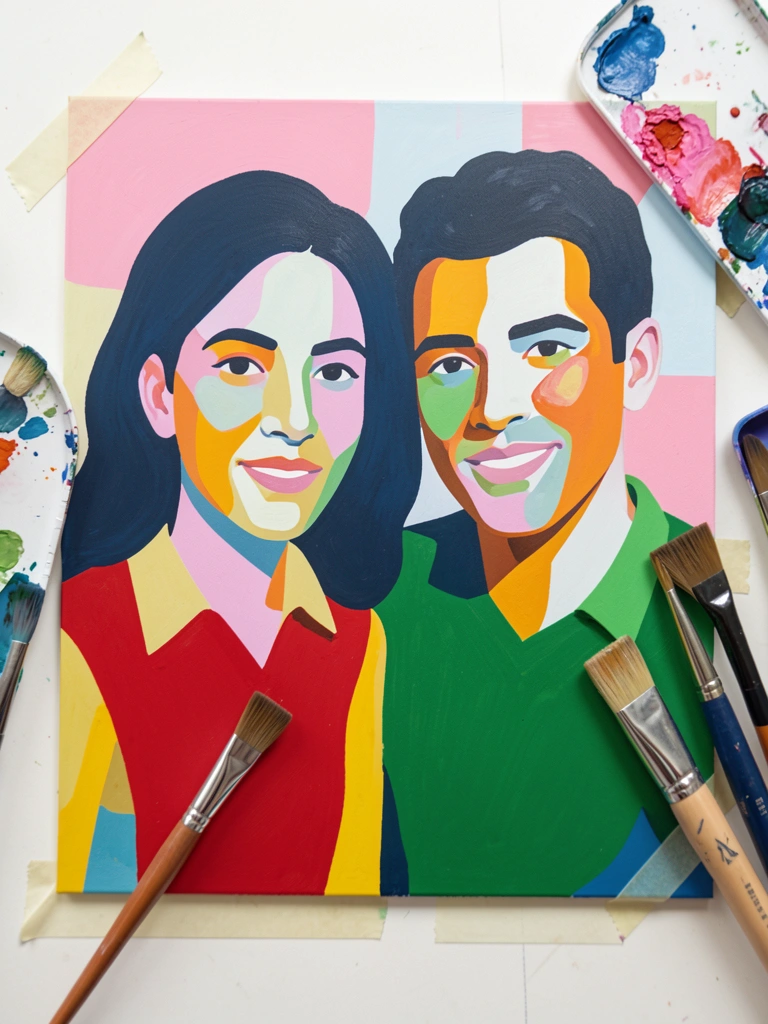
I painted simplified portraits using bold color blocks to represent mood. I limited myself to four colors and painted flat shapes that read as faces. At first I reached for extra hues and ruined the balance. Limiting color made the piece read clearly.
This method is forgiving for beginners. It focuses on shape, value, and relationship instead of likeness.
Try masking tape for crisp edges, then remove it slowly to avoid tearing the surface.
What You'll Need for This
- Large flat brushes
- Acrylic paints in a limited palette
- Painter’s tape
- Canvas or rigid panel
Final Thoughts
I’ve wasted canvases and learned more from those than any success. These ideas are simple ways to paint friendship without pressure.
Pick one, accept the messes, and keep the pieces that feel honest. You can do this with the supplies you already have.