12 Stunning Glass Painting Designs with Acrylic
I ruined a few glass panels before I stopped blaming the paint.
Cleaning and prep made the biggest difference.
I learned the hard way that acrylic behaves differently on glass.
I’ll share what actually worked for me.
Short, useful techniques you can try tonight.
12 Stunning Glass Painting Designs with Acrylic
These 12 techniques are ones I use in my studio.
They’re practical, tested, and exactly the number promised.
Try one at a time and build confidence.
1. Cleaning and Etching the Glass for Reliable Adhesion
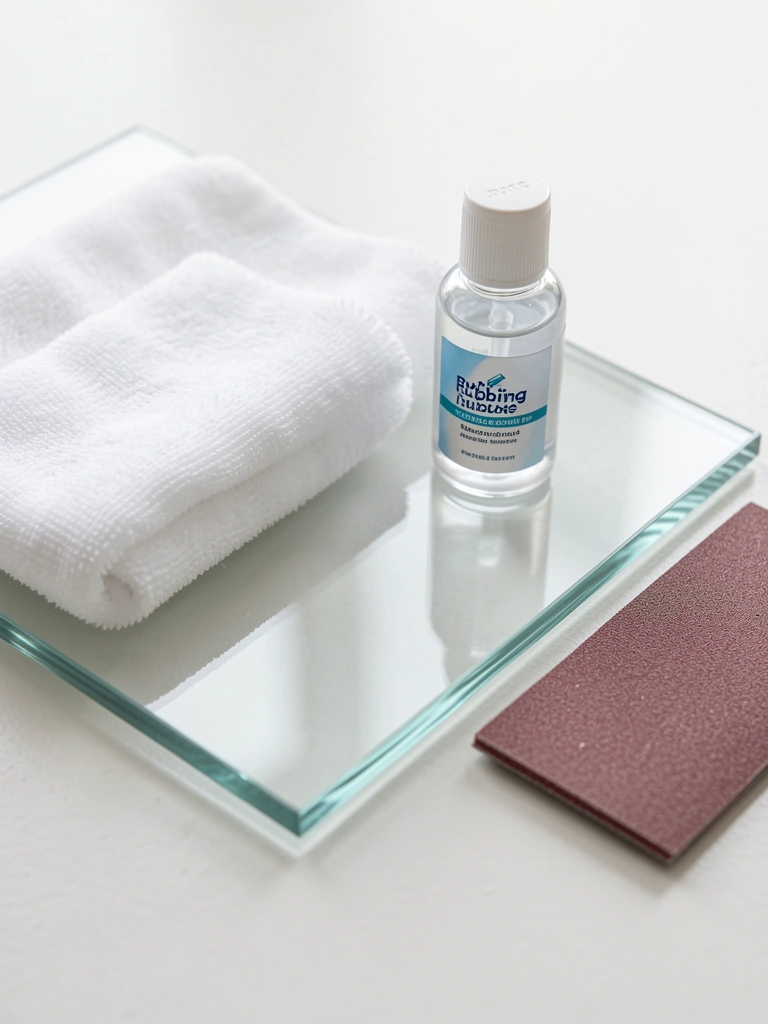
I used to skip cleaning and blamed paint for flaking later.
A thorough clean and light sanding changed that.
Rubbing alcohol and a fine grit pad remove oils and give acrylic something to bite.
I only scrub a small area at a time.
If you skip this, your edges lift or brushstrokes bead.
Pay attention to finger oils and sticker residue before you start.
What You'll Need for This
- Rubbing alcohol or acetone
- Lint-free cloth
- 400–600 grit sanding pad
- Mild dish soap and water
2. Opaque Base Coat to Stop Colors from Looking Washed Out
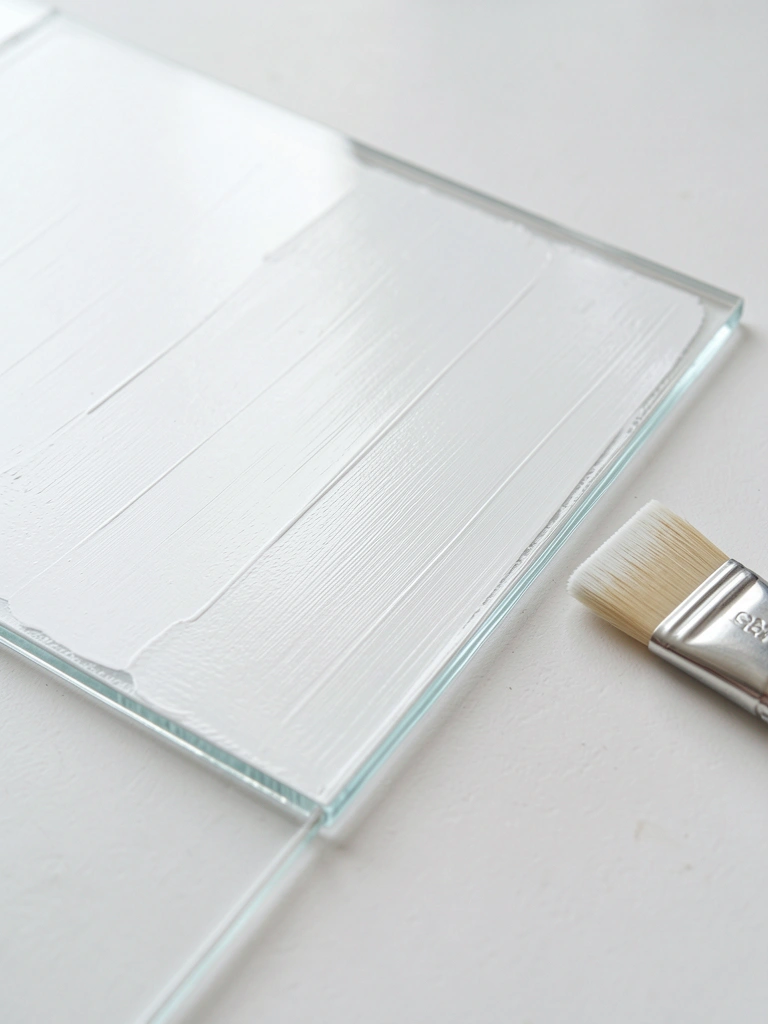
I used thin coats and ended with streaky, patchy color.
An opaque ground—white, black, or colored—gives vibrancy and hides underprints.
I learned to load the brush and work quickly to avoid dragging.
One coat often isn’t enough. I let it dry fully, then add a second thin layer.
If you see drips, sand lightly once dry and repaint.
A solid base also helps when I want a stained-glass look later.
What You'll Need for This
- Acrylic primer or heavy-body acrylic
- Flat synthetic brush (size depends on panel)
- Sanding block (fine grit)
- Water jar and palette
3. Reverse Glass Painting for Crisp Foreground Details
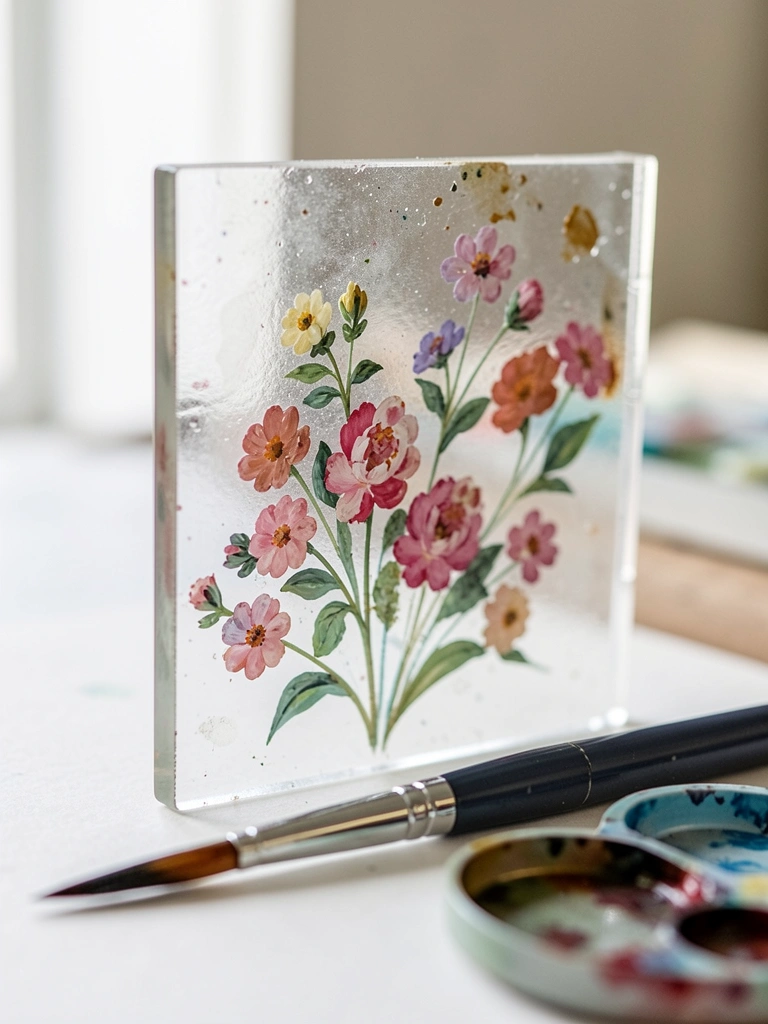
I tried painting background first and smudged the details.
Reverse painting means I paint the highlights and fine lines first.
When I flip the glass, the foreground reads crisply against a softer backdrop.
It takes planning. I sketch on paper and work forward-to-back.
Paint thin details first, then move to larger shapes and backgrounds.
This saved me from redoing delicate lines after the background dried.
What You'll Need for This
- Very fine liner brushes
- Water-soluble pencil or reverse sketch
- Small palette and magnifier (optional)
- Thin acrylics or glazing medium
4. Glazing for a Stained-Glass, Translucent Effect
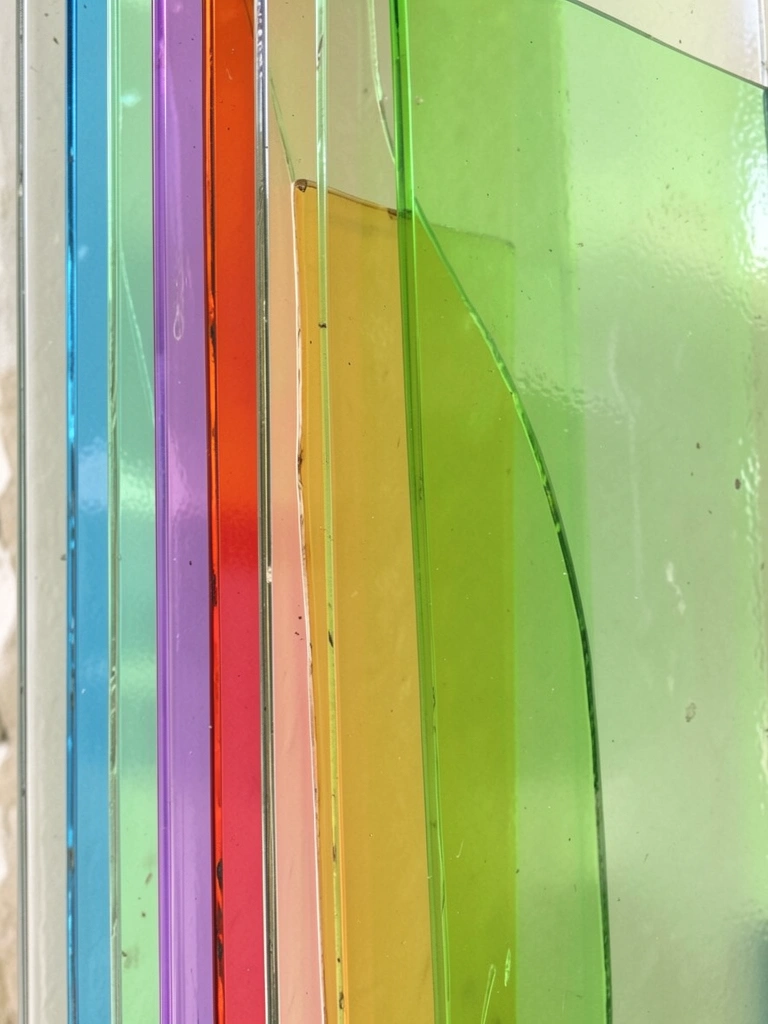
I love the stained-glass look but my first mixes went muddy.
Glazing with acrylic medium keeps pigments transparent and jewel-like.
I mix a lot of medium with small paint amounts and layer slowly.
Let each glaze dry a bit so colors don’t dull.
I build intensity in thin washes. It’s forgiving and easy to adjust.
Watch for dust between layers—glass shows everything.
What You'll Need for This
- Gloss glazing medium
- Transparent acrylic colors
- Soft round brushes
- Palette and slow-drying additive (optional)
5. Faux Lead Outlining with a Liner and Relief Paint
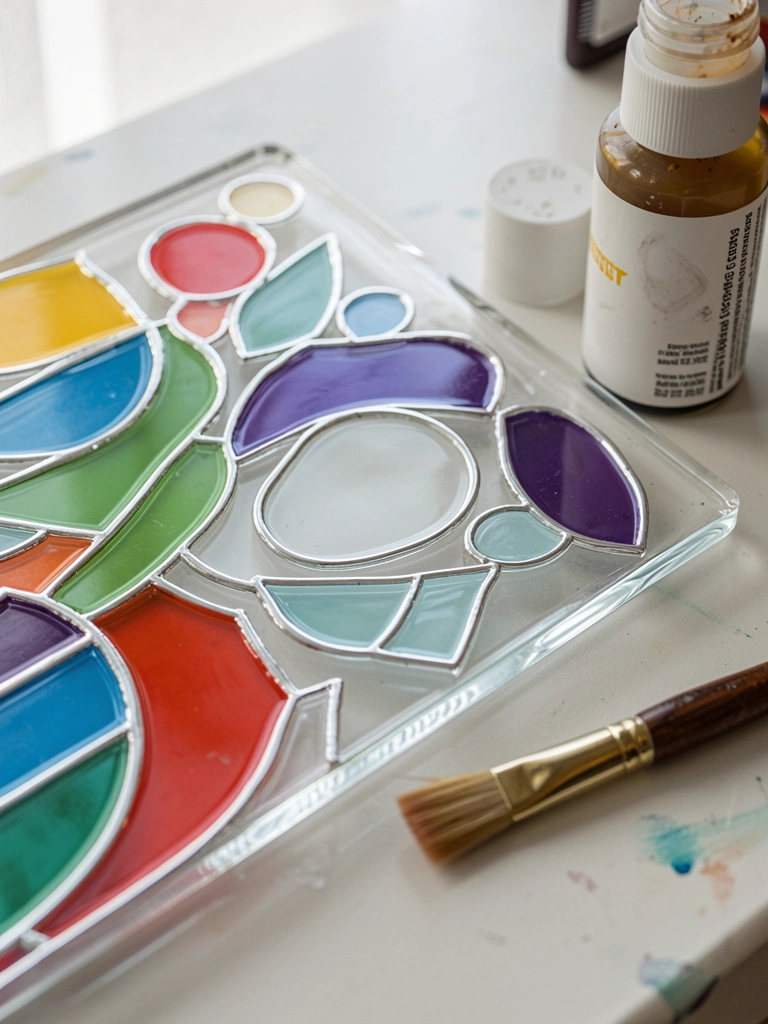
I tried piping lines freehand and they wobbled badly.
Using a steady liner brush or relief paint gives that leaded look.
I practiced pressure control on scrap glass until my lines stayed even.
If the relief bottle blobs, I scrape gently with a needle when tacky.
I once overworked a line and it pooled—less movement is better.
Good outlines instantly organize a design and protect edges of color.
What You'll Need for This
- Acrylic relief or 3D paint (liner)
- Fine liner brush
- Pointer tool or needle
- Scrap glass for practice
6. Sponging Soft Gradients for Background Atmosphere
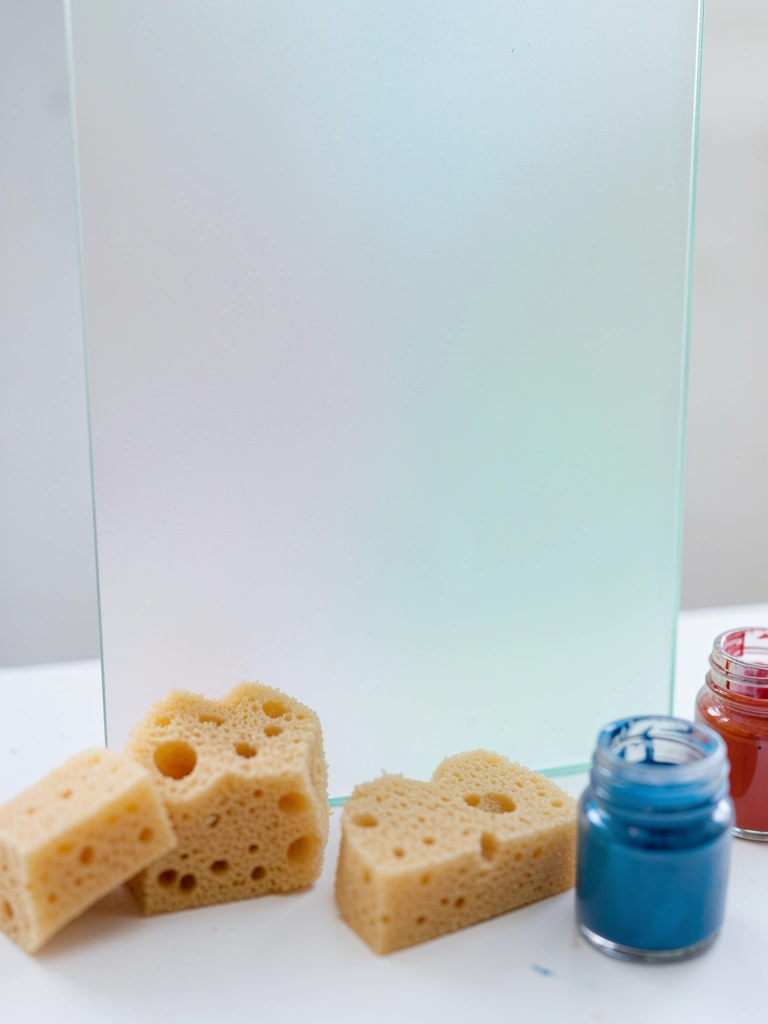
I used brushes for everything and got hard edges.
A sponge smudges paint softly on glass.
I dab thin, watered-down acrylic to create smooth shifts in tone.
Work in small sections and blot excess on paper.
Sponge up paint if it pools. I made streaks until I learned to lift rather than drag.
Sponged backgrounds are forgiving and speed up mood-setting.
What You'll Need for This
- Natural or synthetic sponges
- Thinned acrylic paints
- Paper towels
- Small shallow trays for mixing
7. Dry Brushing for Frosted or Weathered Effects
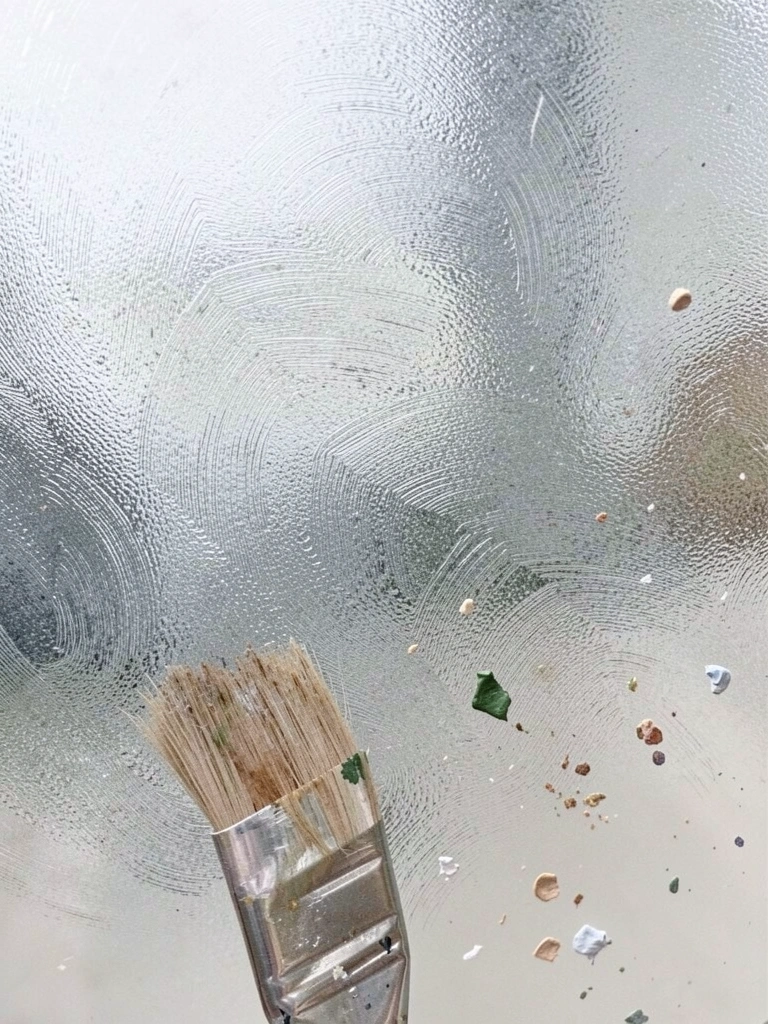
I overloaded my brush at first and got blobs.
Dry brushing with almost-dry paint adds soft, textured marks on glass.
It’s great for frost, mist, or soft highlights without full opacity.
Wipe most paint off the brush before touching the glass.
Light, single strokes build texture. I back off if it feels heavy.
This technique rescued a piece that was too flat.
What You'll Need for This
- Stiff dry-bristle brush
- Small amount of paint on palette
- Paper towel for wiping
- Scrap glass for testing
8. Palette Knife Accents for Thick, Enamel-Like Details
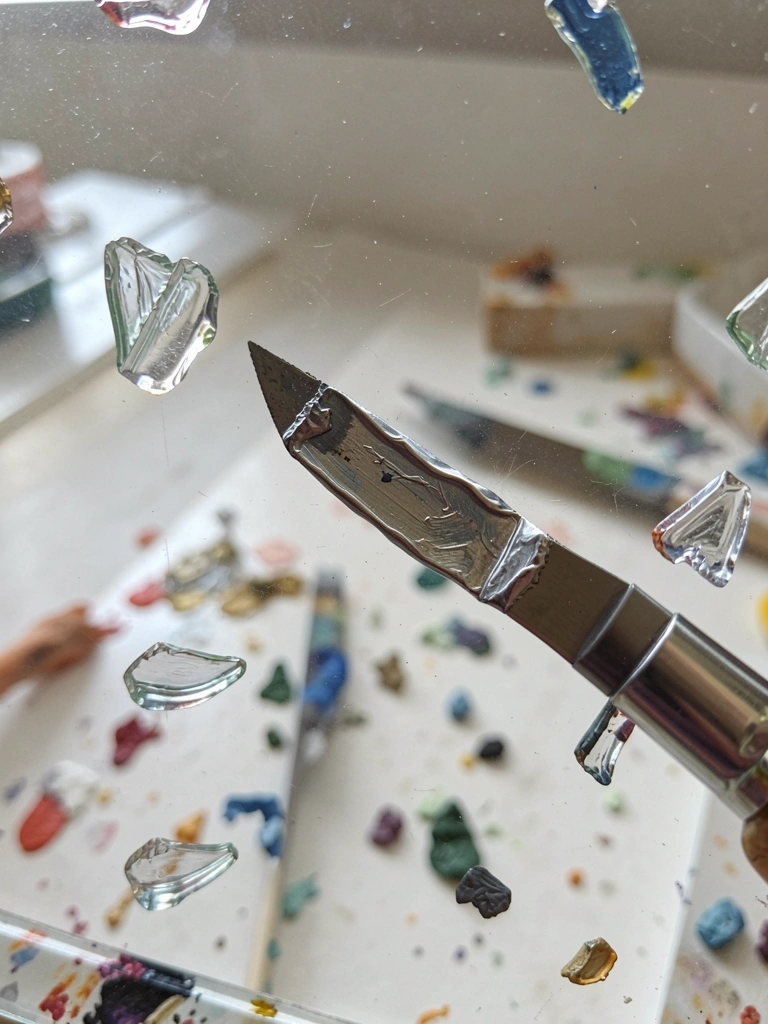
I learned the hard way that scraping can chip thin glass paint.
Using a palette knife for small raised accents creates enamel-style texture.
I press and lift; I don’t drag. That avoids smearing across the glass.
Keep accents limited. Too many raised spots catch dust and flake.
I once applied a big ridge and it cracked when bumped.
Small, deliberate knife marks add interest without risking the whole panel.
What You'll Need for This
- Small palette knife
- Heavy-body acrylics or modeling paste
- Palette
- Gloves (optional)
9. Wet-on-Dry Layering to Keep Colors Clean and Bright
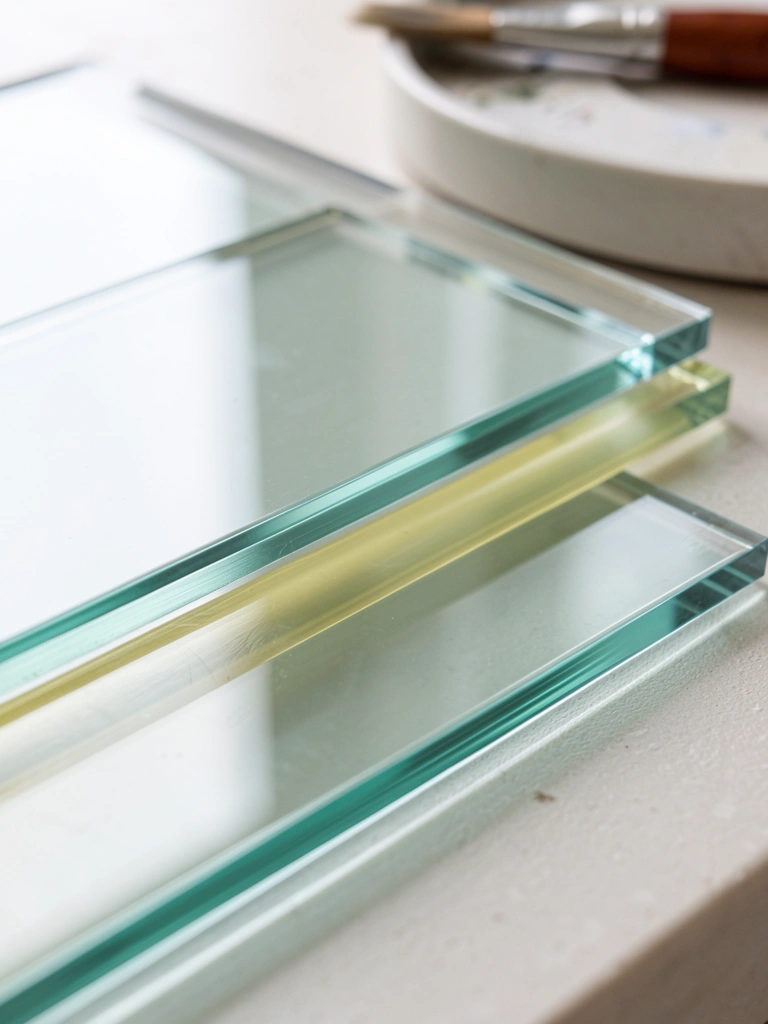
I mixed wet-on-wet and ended with mud.
Working wet-on-dry keeps layers separate and colors alive.
I let each layer set enough to be tacky or dry before the next pass.
This method slows you down, but it prevents accidental blending.
I mark drying times with a timer. Humidity changes the wait.
Clean edges helped my compositions read clearly from a distance.
What You'll Need for This
- Acrylic paints (varied viscosities)
- Timer or clock
- Soft synthetic brushes
- Spray bottle for rewetting (optional)
10. Masking for Crisp Shapes and Negative Space
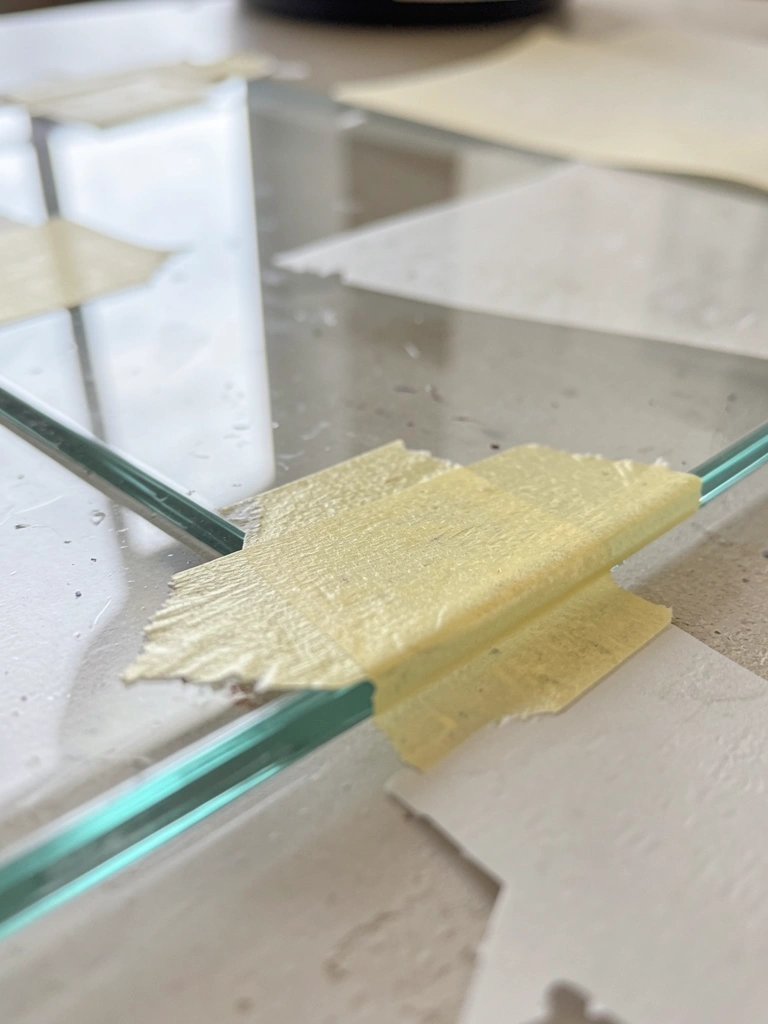
I learned masking after ruining a crisp edge with a shaky hand.
Painter’s tape and frisket film keep shapes clean on glass.
I press edges down firmly and peel slowly once paint is dry.
Test tape on scrap glass first—some adhesives lift paint.
I once ripped a thin highlight off by peeling too fast.
Masking frees you to paint boldly without fear of losing edges.
What You'll Need for This
- Low-tack painter’s tape or frisket film
- Sharp hobby knife
- Ruler or straightedge
- Clean scrap glass for testing
11. Using Metallics Carefully to Avoid Flaking
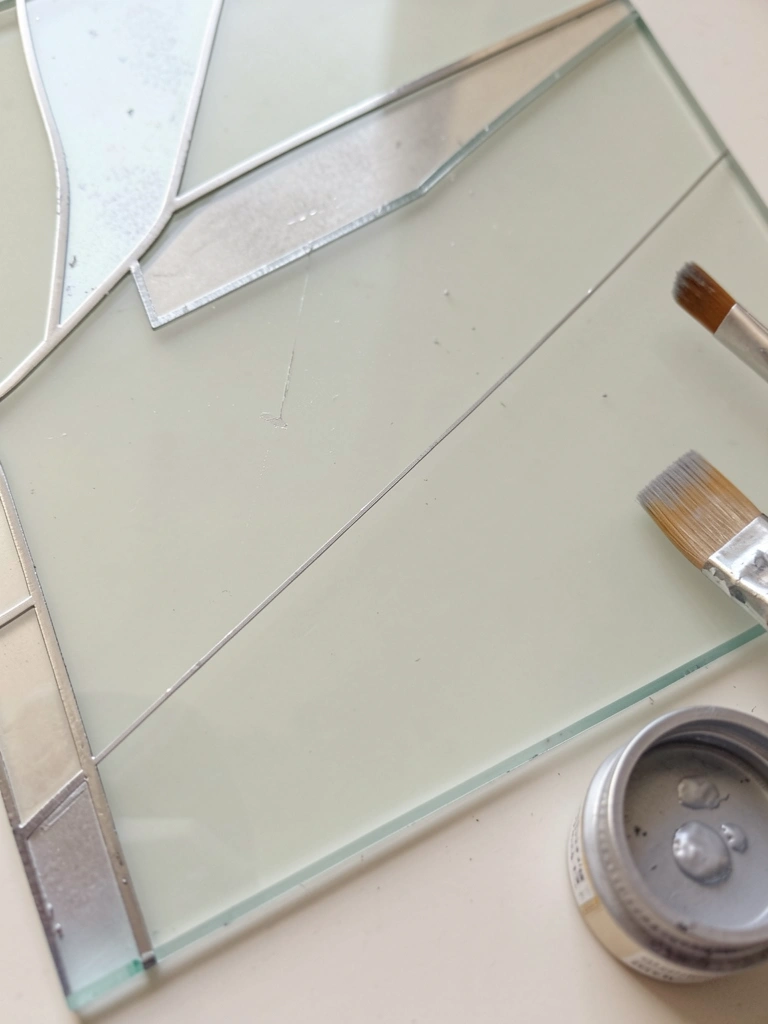
I thought metallics would hide mistakes and they didn’t.
Metallic acrylics sit on the surface and can flake if overworked.
I layer metallics thinly and seal them after full cure.
Brush lightly—no scrubbing. I learned to pat and lift rather than scrub.
If it looks patchy, glaze a neutral color under the metallic for depth.
That made my highlights hold and glow without shedding.
What You'll Need for This
- Metallic acrylic paints
- Soft flat brush
- Glazing medium
- Varnish for sealing
12. Sealing, Hanging, and Everyday Care for Glass Pieces
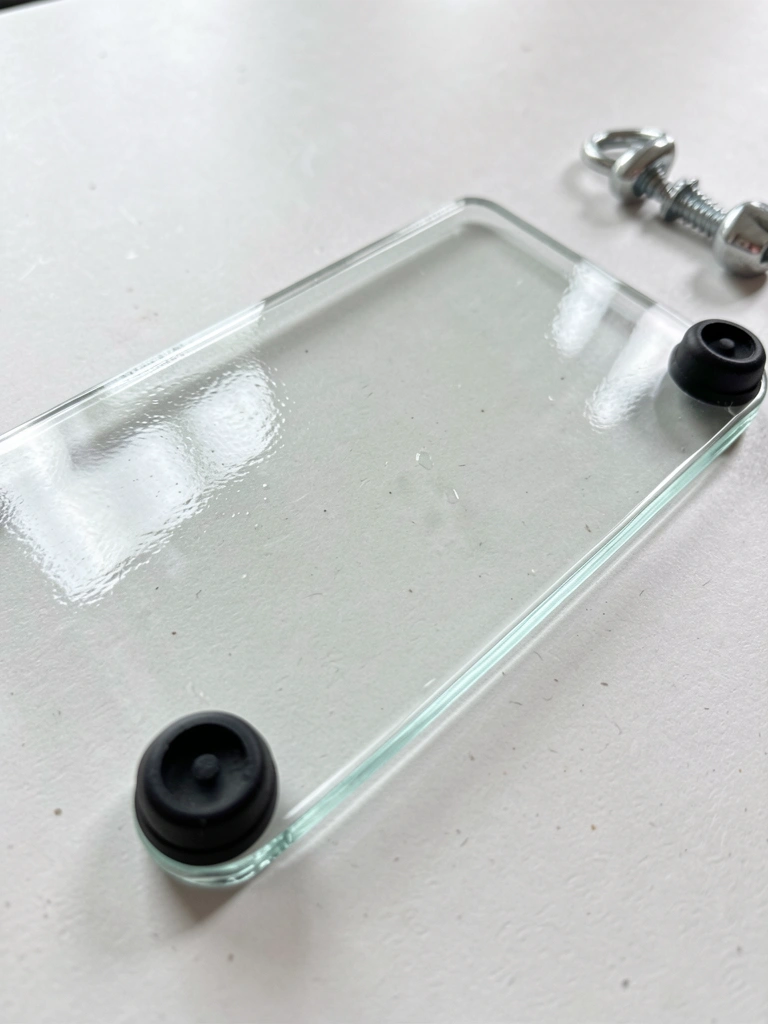
I skipped sealing once and a corner got scratched.
A thin, compatible varnish protects acrylic on glass.
I also add rubber bumpers and use hanging hardware that avoids pressure points.
Cure time matters—wait a full week for heavy handling.
I photograph pieces before hanging in case touch-ups are needed.
Simple care keeps a painted panel looking stable and ready to display.
What You'll Need for This
- Compatible clear varnish (acrylic-safe)
- Rubber bumpers or felt pads
- Hanging hardware (wire or hooks)
- Soft cloth for cleaning
Final Thoughts
I don’t expect you to master all twelve at once.
Try one technique and let it stick before moving on.
Paint on glass is forgiving if you plan and keep your strokes honest.
You’ll ruin a panel now and then. I still do.
That’s how you learn which choices matter.