14 Beautiful Leaf Painting Ideas
I ruined a batch of canvases learning leaves. I still scrap a background now and then.
What finally helped was simple routines. Small experiments, small canvases, honest notes.
I write from moments at the easel. I want you to feel you can try one of these tonight.
14 Beautiful Leaf Painting Ideas
These 14 techniques are practical and tested. Each one shows a single idea you can try. I included materials so you can grab what’s on your table and start.
1. Loading the Brush Fully to Avoid Streaky, Patchy Coverage
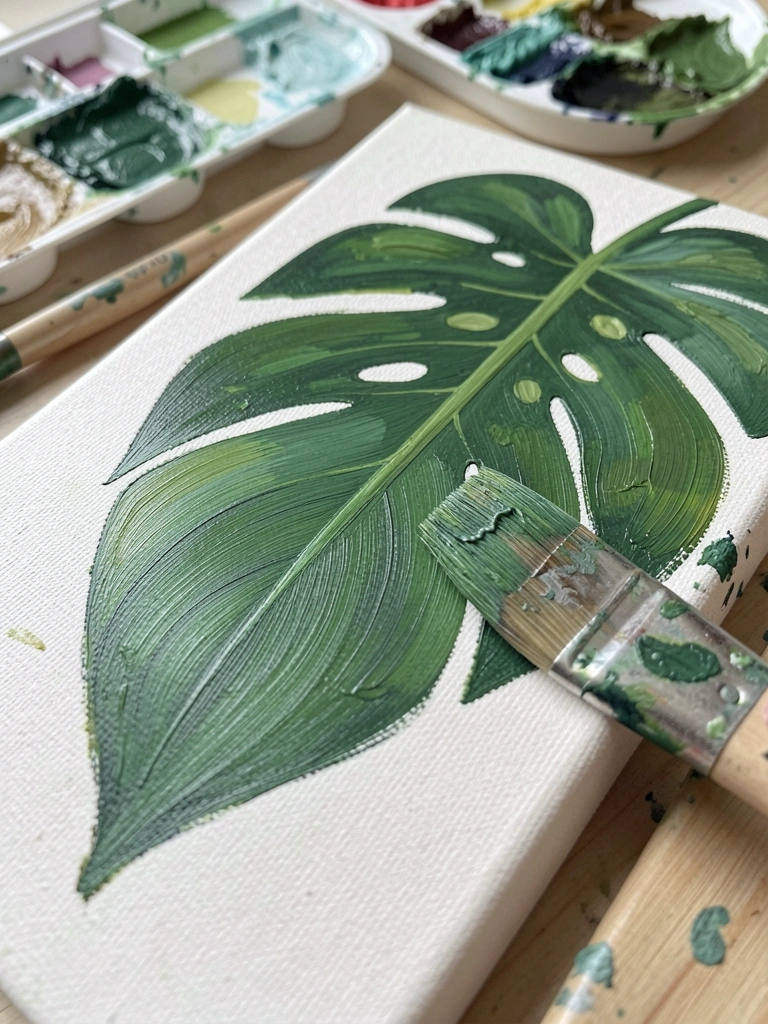
I used to drag barely loaded brushes and got streaks. Once I loaded the brush fully, my strokes laid down even color. The leaf felt like a single, confident move instead of a patchwork.
It changed how I handled edges. A loaded filbert gives a rounded tip and clean sweep. Don’t overwork the stroke; lift when the edge looks right.
Avoid scrubbing. If the paint starts to look transparent, reload rather than push more paint. It saves canvases.
What You'll Need for This
- Flat or filbert brush
- Acrylic or oil paint
- Palette and palette knife
- Primed canvas or panel
2. Single-Stroke Leaves with a Filbert for Expressive Shapes
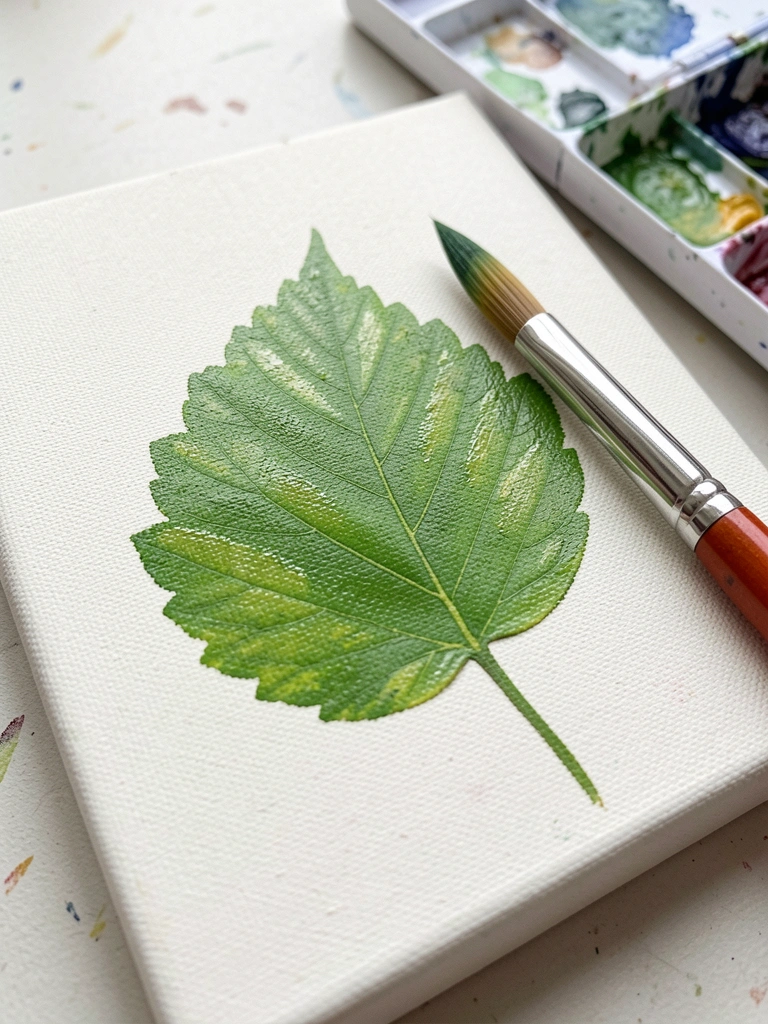
I taught myself single-stroke leaves by practicing a filbert’s edge. One confident press and sweep makes the whole shape. Early attempts were lopsided, but repetition fixed that.
This made painting groups of leaves faster and looser. I could vary pressure for thick-to-thin transitions that read as veins and tips.
Start with a water-thinned paint to avoid drag. Press, sweep, rotate the brush. If a stroke goes wrong, paint over after it dries or integrate it into the next leaf.
What You'll Need for This
- Filbert brush
- Acrylic or gouache
- Palette for mixing
- Practice paper or small canvas
3. Wet-on-Wet Watercolor Leaves for Soft, Organic Edges
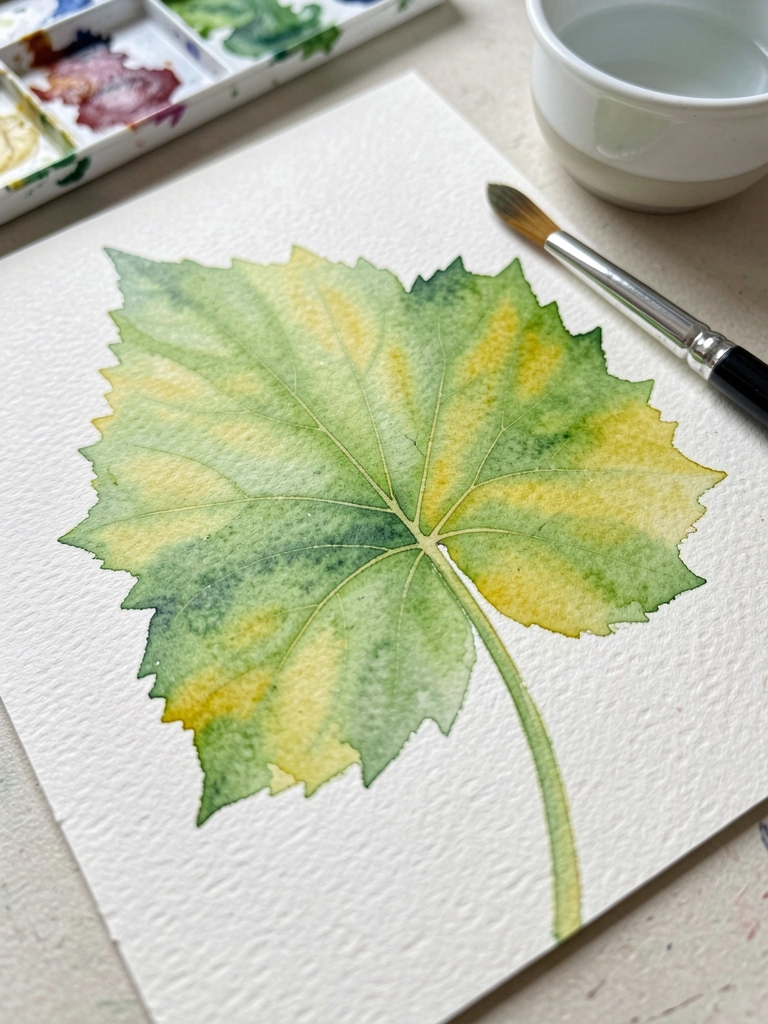
My first wet-on-wet leaves turned into muddy blobs when I overworked edges. I learned to let the pigment move. Wet paper, drop color, tilt the paper, and watch the shape form.
This method gives natural, soft edges great for distant foliage or delicate leaves. Control comes from timing: too wet and pigments run; too dry and you get hard edges.
Practice on scrap paper to see how long the surface stays open. Use a light hand for vein suggestions while still damp.
What You'll Need for This
- Watercolor paper (cold-press)
- Round watercolor brushes
- Watercolor paints
- Water container and paper towel
4. Layered Acrylic Glazes for Depth Without Muddying Colors
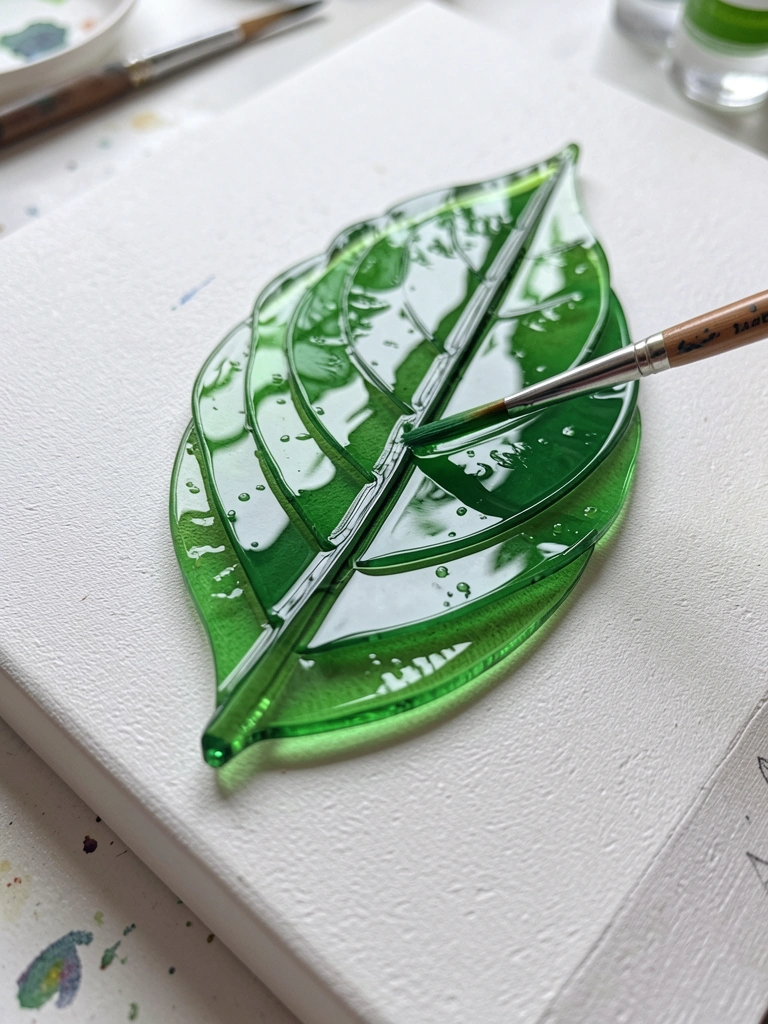
I learned glazing after a few muddy mixes. Thin layers of color let me build depth without losing vibrancy. Each glaze changed the leaf subtly, not drastically.
It slowed me down in a good way. I let each layer dry, then added another to push shadow or warmth. The result felt alive instead of flat.
Keep your mixing medium light. Too much medium makes the paint slippery. Test glaze opacity on scrap to avoid surprises.
What You'll Need for This
- Acrylic paint
- Acrylic glazing medium (or thinned paint)
- Soft flat brushes
- Primed panel or canvas
5. Palette Knife for Textured, Sculptural Leaves
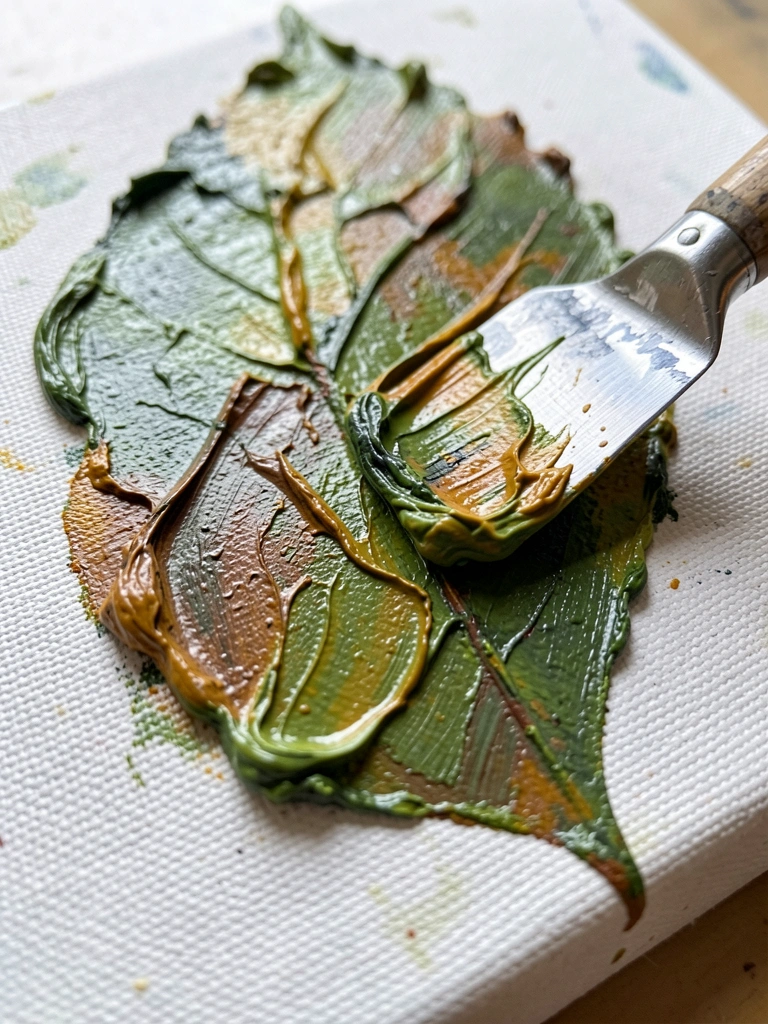
I used a palette knife when I wanted leaves to read as physical forms. Early tries were too blocky. I learned to scrape, drag, and lift for thin textured ridges.
This technique adds a raw, tactile quality. You can suggest veins with a thin scrape or build heavy impasto for foreground leaves.
Watch the blade angle. A slight tilt gives a fine edge; a flat press makes thicker strokes. Clean the knife between colors to avoid ugly mixes.
What You'll Need for This
- Palette knives (various sizes)
- Heavy-body acrylic or oil paint
- Stiff surface or canvas
- Rags for wiping
6. Dry Brushing for Veins and Subtle Leaf Texture
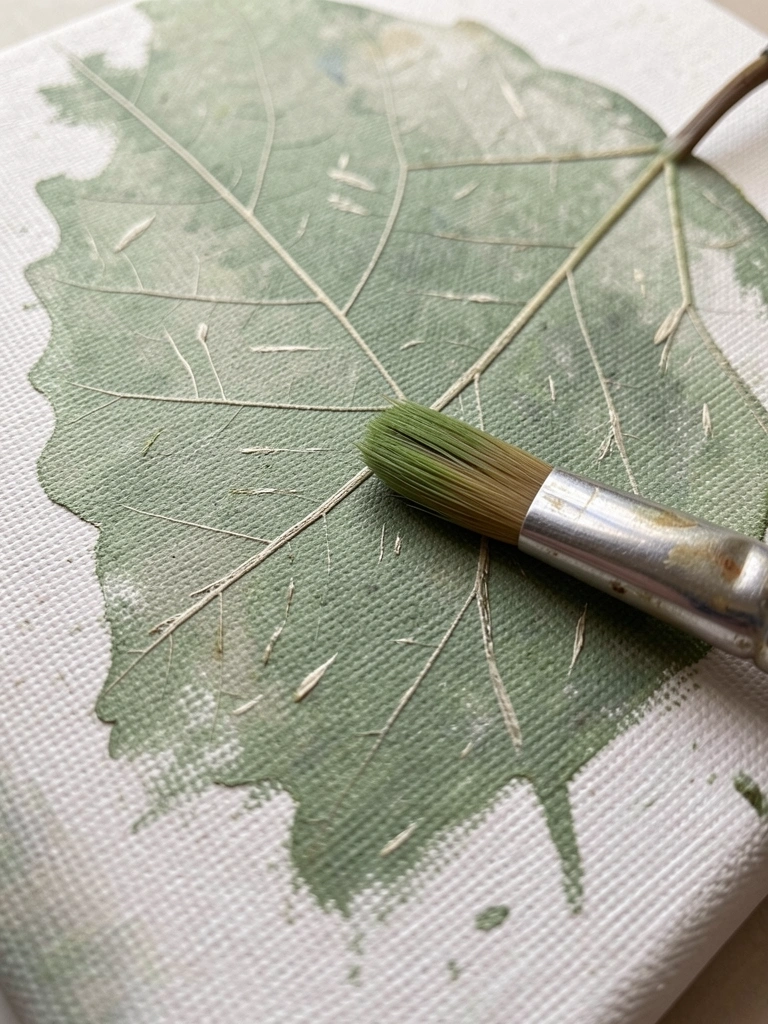
I got more believable veins when I started dry brushing. After a base layer dried, I dragged a mostly-dry brush to lift pigment onto the texture. It reads like tiny ridges.
My mistake was sometimes using too much paint and making slashes. The fix was to wipe the brush until it skims the surface.
Use a stiff small brush and a light hand. Practice directional strokes that follow the leaf’s form. A little goes a long way.
What You'll Need for This
- Stiff-bristle round or flat brush
- Acrylic or oil paint (thinned slightly)
- Dried base layer on canvas or paper
7. Negative Painting: Paint Around the Leaf for Crisp Shapes
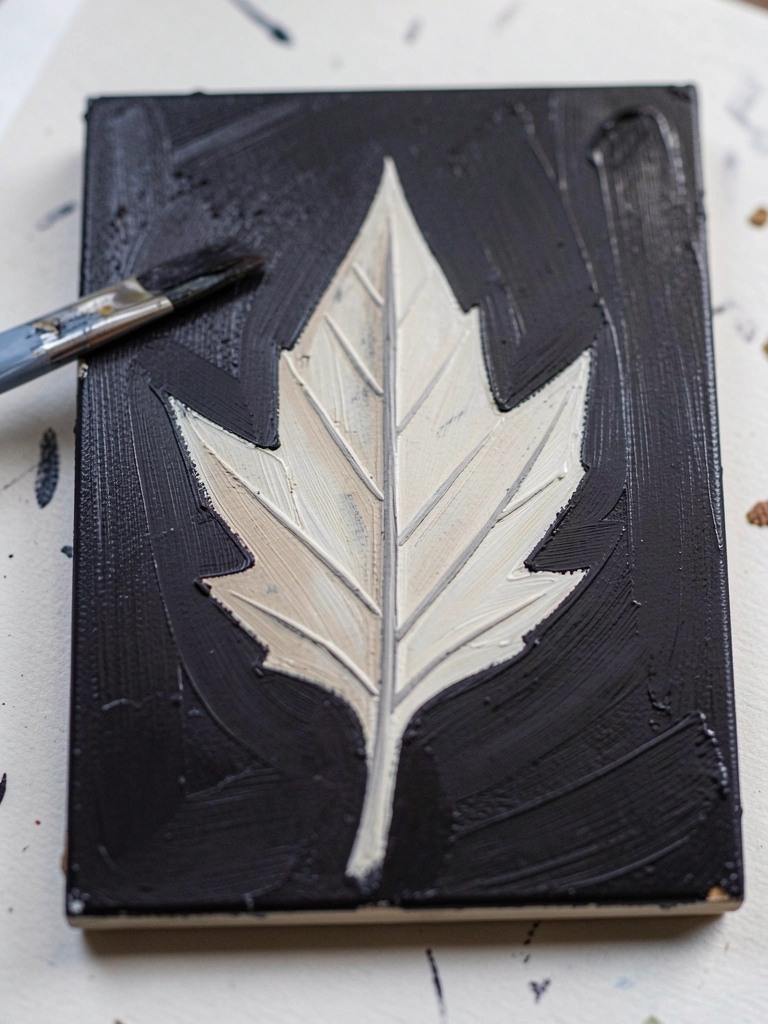
I was nervous about edges until I tried negative painting. Instead of painting the leaf, I painted the space around it. The leaf popped with crisp borders and minimal fuss.
This helps when shapes overlap. It keeps edges consistent and prevents accidental mixing on the leaf’s surface.
Start with a mid-tone background and paint darker or lighter around the silhouette. Keep a small brush handy for tight turns. You’ll be surprised how forgiving this is.
What You'll Need for This
- Small round brushes
- Acrylic or gouache
- Primed board or canvas
- Palette for mixing background tones
8. Two-Color Value Study to Train Shape and Contrast
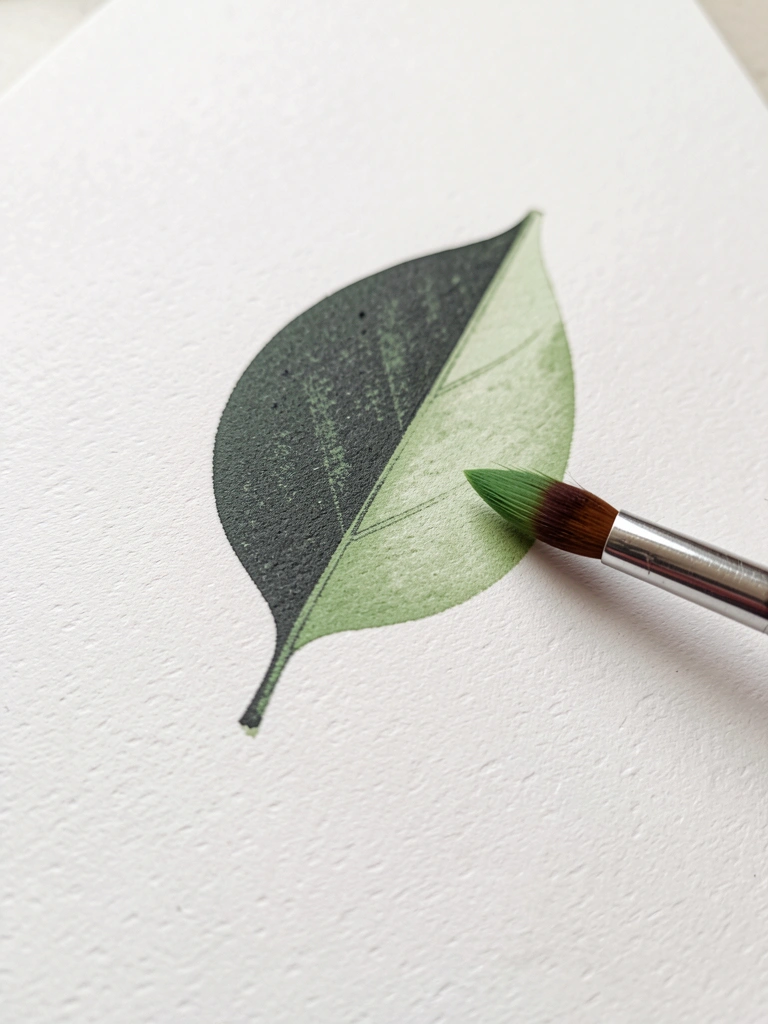
I once limited myself to two values and my compositions improved instantly. When I painted leaves with just a mid and dark green, I learned to read shadow and form.
It taught me where a highlight must live and where contrast makes a leaf sit forward. It also stopped me from mindless color mixing.
Pick two paints and commit. Focus on edges and overlaps. This practice clears confusion and speeds up decisions at the easel.
What You'll Need for This
- Two paints (mid and dark tone)
- Paper or canvas pad
- Round or filbert brush
- Pencil for initial placement
9. Masking Fluid or Tape for Crisp Leaf Edges and Layering
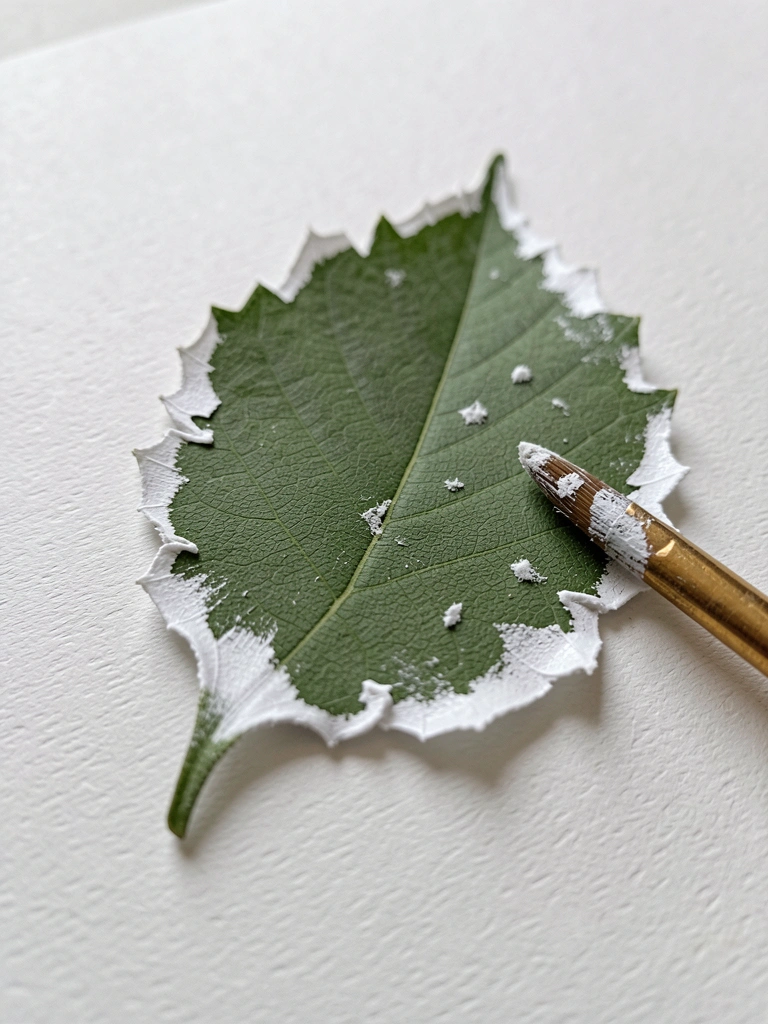
I used masking fluid when I wanted sharp leaf edges against a wet background. At first I pulled off paint with the mask. Now I test adhesion and remove gently.
This is great for preserving tiny veins or highlights while you wash a darker background. It keeps the leaf clean and prevents the “repaint a thousand times” panic.
Let the masking fluid fully dry. Paint your background, wait, then peel slowly. If you’re nervous, practice on scrap paper first.
What You'll Need for This
- Masking fluid
- Small rubber-tipped applicator or old brush
- Watercolor or gouache paper
- Round brush for background washes
10. Sponging and Stamping for Leaf Clusters and Texture
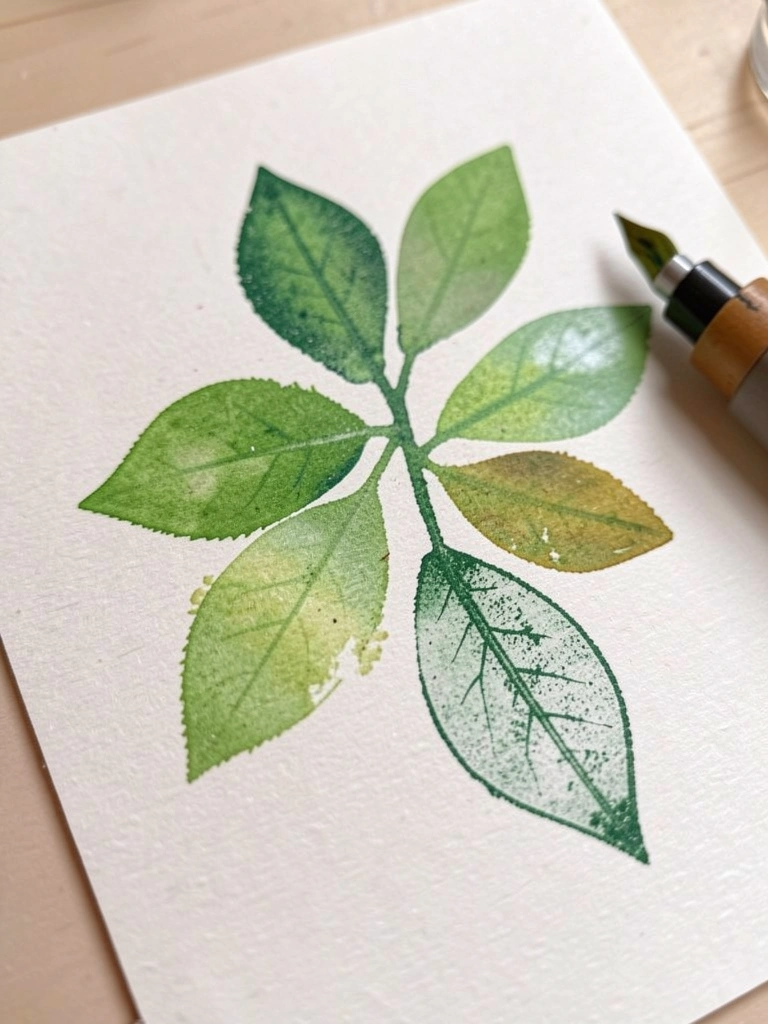
I started stamping leaves to build quick foliage. My first stamp was too precise and looked fake. I adjusted pressure and rotated the stamp, and it loosened up.
Sponging adds mottled color and veins without meticulous strokes. It’s perfect for backgrounds or impressionistic shrubs of leaves.
Use a coarse sponge or a hand-cut stamp. Vary pressure and color mixes. Keep a scrap piece to wipe off excess paint before stamping.
What You'll Need for This
- Natural sponge or homemade stamp
- Acrylic or gouache
- Palette and scrap paper
- Paper or primed canvas
11. Metallic Paint Accents for Veins and Edge Highlights
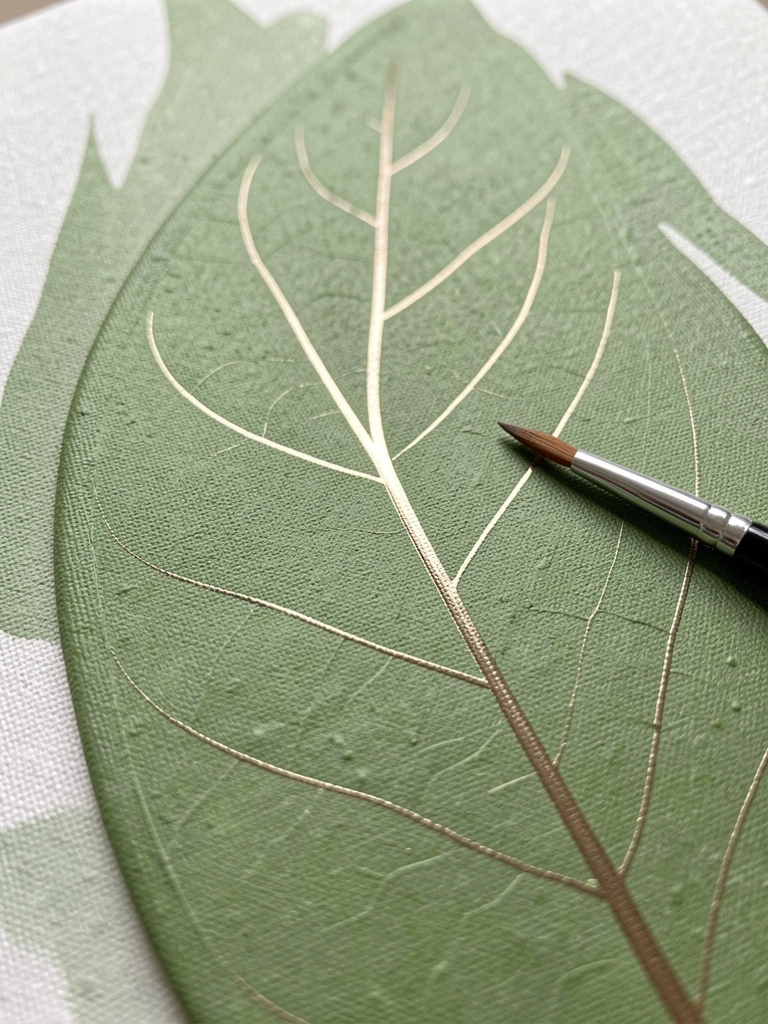
I hesitated to use metallics until I saw how small strokes catch light. A tiny liner brush with metallic paint for veins made leaves feel lit from within.
I’ve overdone it before—too many metallics read gimmicky. Now I place them sparingly on the uppermost veins or edge tips for a believable shimmer.
Apply metallics on dry paint. Thin slightly if they drag. Step back and check in daylight to see if a little gleam does the job.
What You'll Need for This
- Metallic acrylic or iridescent paint
- Liner or rigger brush
- Dry leaf area on canvas or panel
- Palette for small mixes
12. Gouache on Dark Paper for Bold, Graphic Leaves
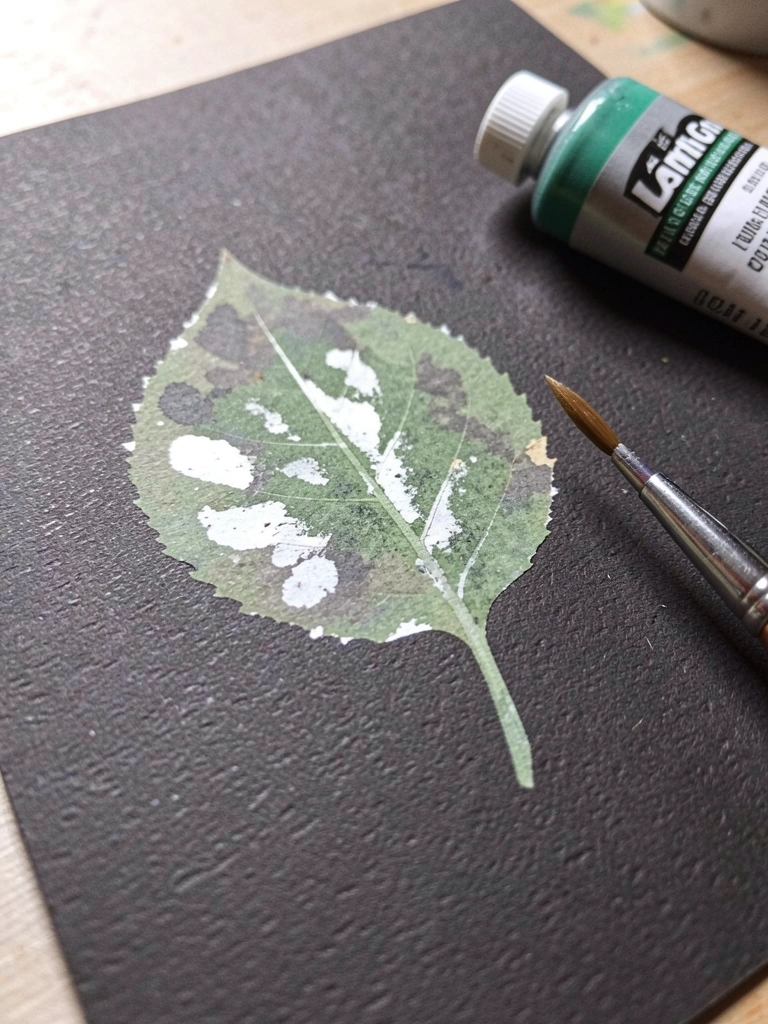
I switched to gouache on dark paper when I wanted bold, graphic leaves quickly. The opacity lets highlights sit on top without fuss. My early layers got muddy when I mixed too many colors on the brush.
Working on toned paper saved time. I could sketch light and dark values and push highlights directly. This is fast and forgiving for studies or finished pieces.
Use a stiffish brush for opaque strokes. Let layers dry fully before adding bright highlights.
What You'll Need for This
- Gouache paints
- Dark-toned paper (mixed-media or watercolor)
- Round brushes (small to medium)
- Pencil for light sketching
13. Loose, Drippy Gesture Leaves for Energetic Compositions
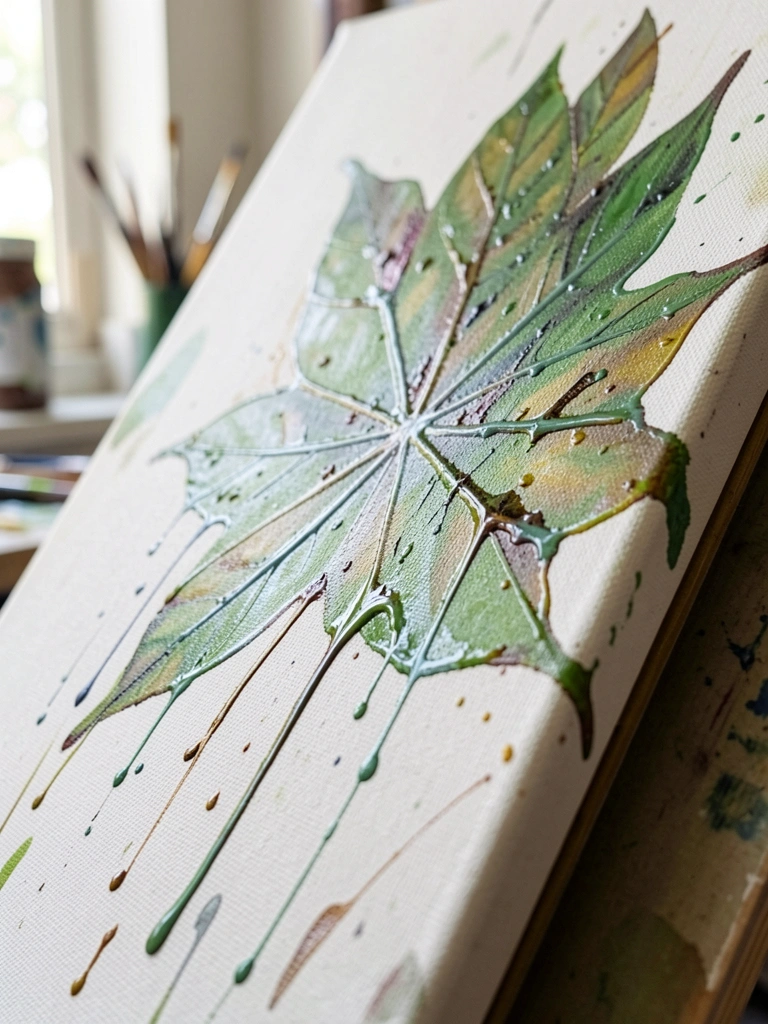
I learned to loosen up after I stopped polishing every edge. Quick gesture leaves with drips and splatters added life. My first drips ran into the wrong area—now I control tilt and volume.
This approach is about rhythm, not precision. It’s great for backgrounds or contemporary pieces where energy matters more than detail.
Thin paint and allow gravity to do some work. Protect areas you want clean or embrace the accidental marks.
What You'll Need for This
- Thinned acrylic or ink
- Large round or mop brush
- Canvas or heavy paper
- Spray bottle or water cup
14. Mixed-Media Collage Leaves for Layered Interest and Shape Control
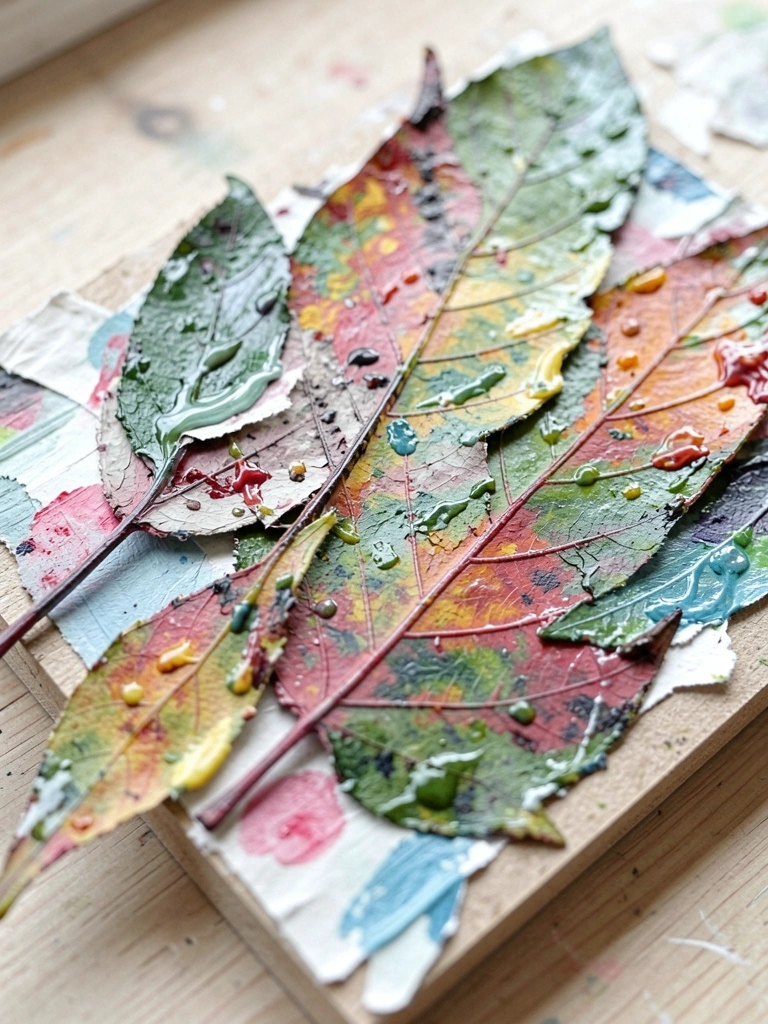
I glued paper cutouts into my leaf studies when I wanted crisp shapes and texture. At first the glue wrinkled light paper. I switched to heavier paper and thin layers of adhesive, and it stayed flat.
Collage lets you combine patterned papers, paint, and pencil. It’s forgiving; you can remove or paint over pieces. It also speeds up composing complex leaf clusters.
Trim shapes roughly and refine with paint. Work from big shapes to small details for balanced layers.
What You'll Need for This
- Assorted papers or magazine scraps
- Glue or medium
- Acrylic paint and brushes
- Scissors or craft knife
Final Thoughts
You don’t need to master them all. Pick one idea and repeat it three times.
I still go back to the simple techniques when a canvas feels off. Most fixes are small: load the brush, slow down, test on scrap.
Trust that practice plus honest mistakes gets you to the next useful result.