16 Romantic Painting Ideas on Canvas for Boyfriend
I used to panic about ruining a canvas. I still do sometimes.
Slow work fixed that panic. Small wins added up.
This list is what I actually tried. It’s honest. Try one. Stop worrying about perfect.
16 Romantic Painting Ideas on Canvas for Boyfriend
These 16 techniques are practical and hands-on. I tested each one on canvas so you can pick one and start right away.
1. Two Silhouettes on a Soft Blended Background
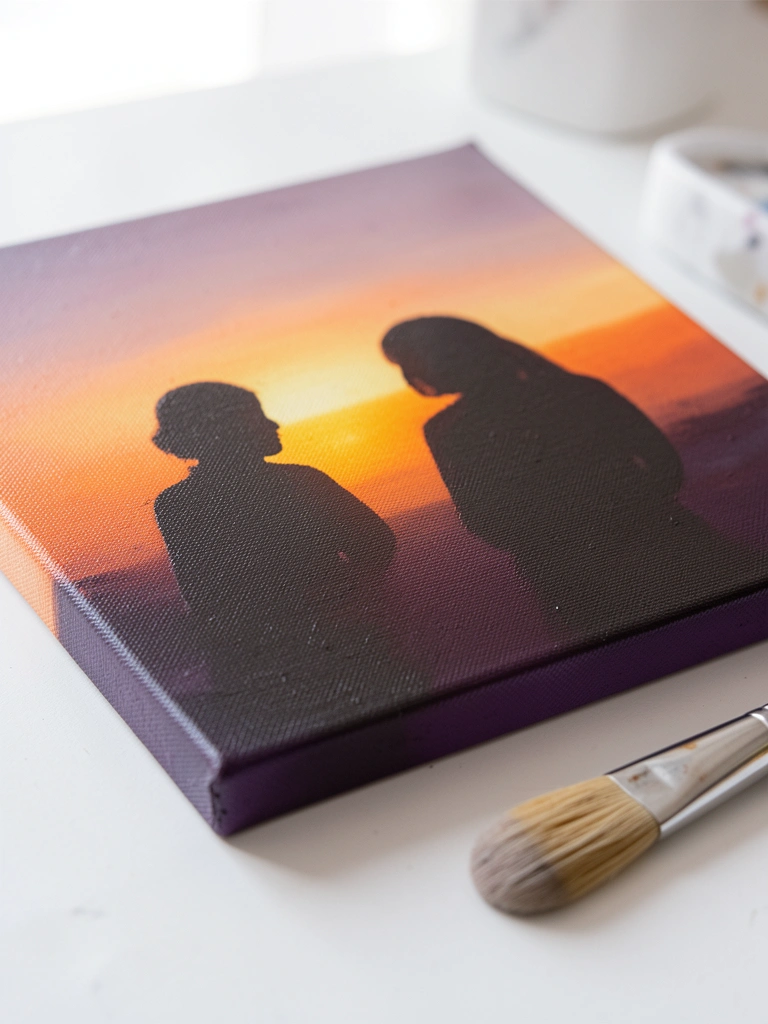
I sketched two simple head shapes and treated the background like the main subject.
I wet the canvas slightly and blended three colors with a big, soft brush to avoid harsh edges.
The silhouettes were blocked in last with a small round brush. That contrast sells the romance.
Watch for muddy edges—clean your brush between colors and work quickly while the paint is tacky.
What You'll Need for This
- stretched canvas
- soft flat brush and small round brush
- acrylic or quick-drying oil paint
- palette and cup for water or solvent
2. Favorite Date Map in Layered Washes
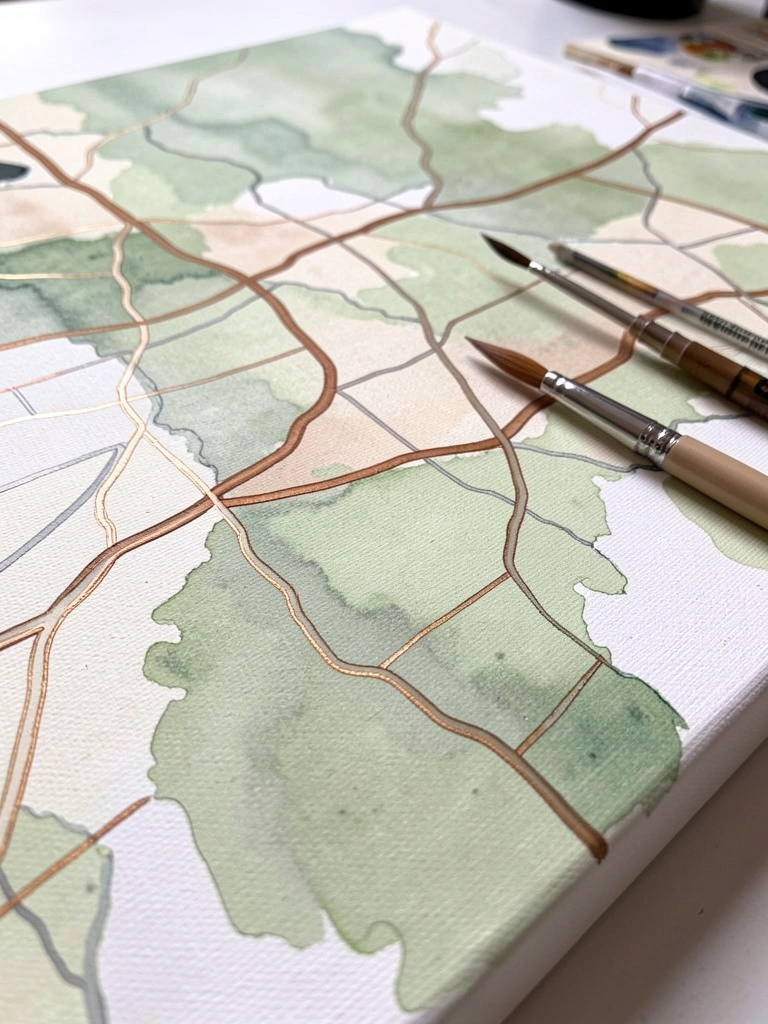
I painted a loose map of a special place using thin, transparent layers.
I started with pale washes to mark streets, then added inked lines on top for clarity.
The layers kept the map readable but soft and personal.
Make sure each wash dries; otherwise lines will bleed. A hairdryer helps but don’t overheat the canvas.
What You'll Need for This
- primed canvas (any size)
- thinned acrylics or gouache
- fine liner brush or waterproof ink pen
- light pencil for sketching
3. Palette-Knife Textured Heart (and how I wrecked one)
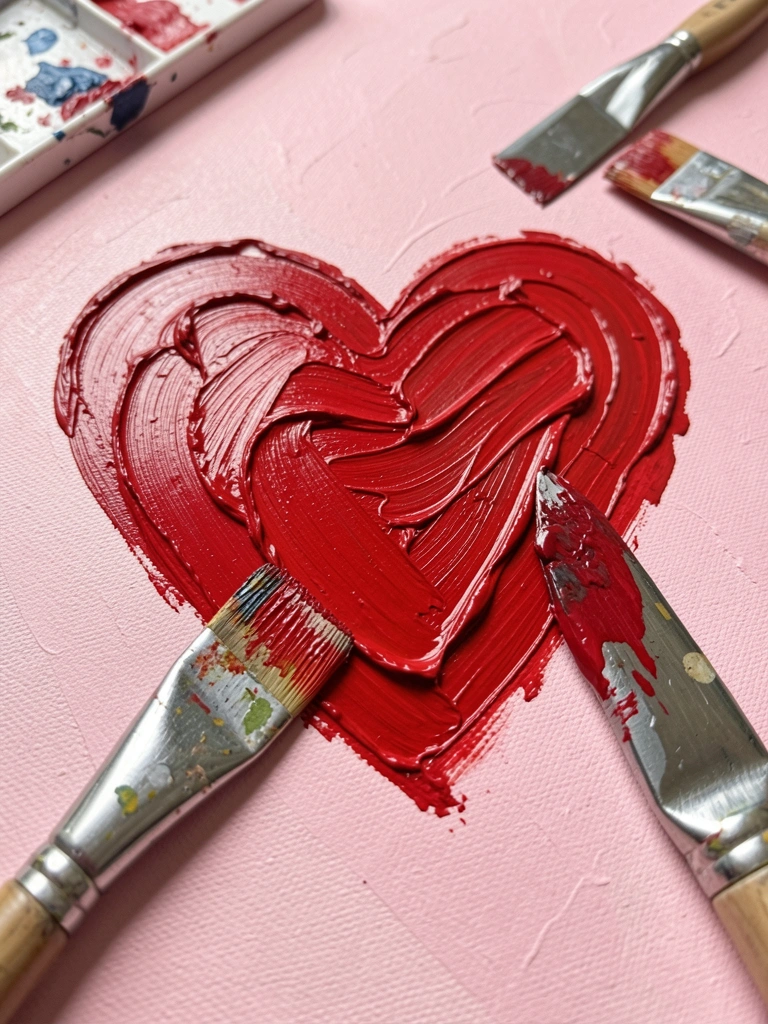
I once spread paint too thin and the heart looked flat. Then I used a palette knife.
Thicker paint marks catch light and feel tactile. I pushed two tones together so the heart isn’t one flat red.
A small mistake: I left the knife marks in one direction; I learned to vary angles for a livelier surface.
Work fast and scrape layers on—not smear forever. The texture reads as intentional intimacy.
What You'll Need for This
- primed canvas
- heavy-body acrylic or oil paint
- palette knife
- paper palette or mixing surface
4. Date Night Skyline in Muted Tones
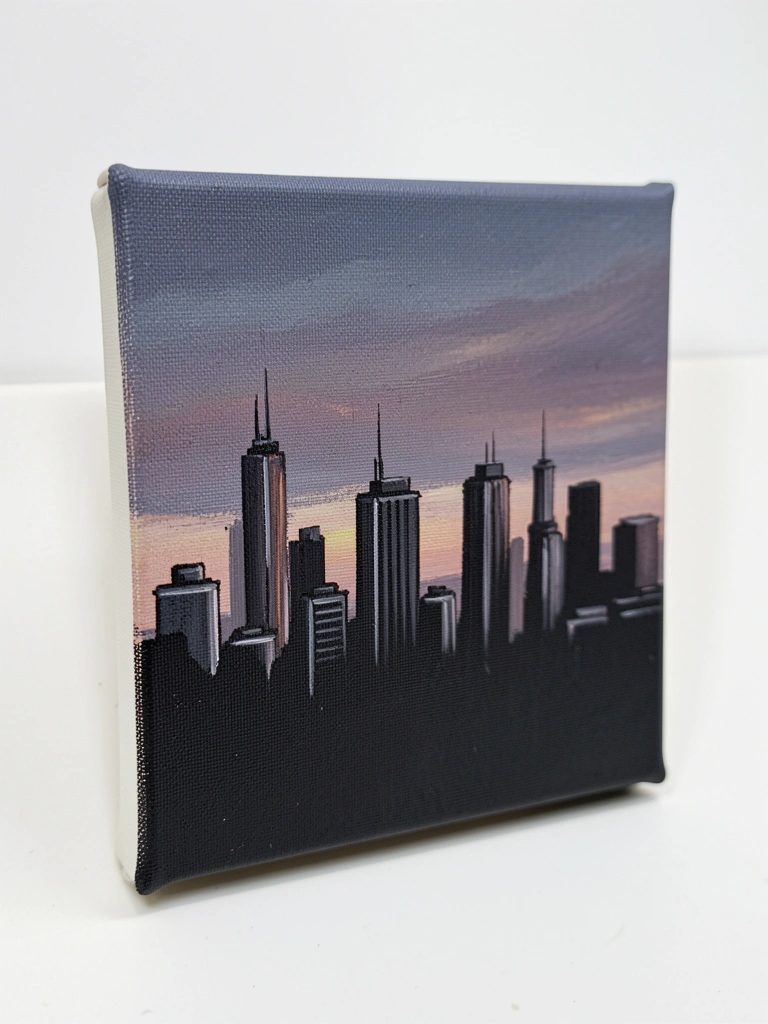
I painted a skyline from memory using muted blues and dusty pinks.
I built the sky in thin layers for a soft gradient, then blocked the skyline in one flat value.
Keeping the skyline simple avoids overworking details that read like noise from a distance.
I check from six feet away often. If it reads like a skyline there, you’re done.
What You'll Need for This
- stretched canvas
- soft flat brushes for blending
- small liner brush for building edges
- acrylic or thinned oil paints
5. Hands Holding — Looser, Not Photo-Real
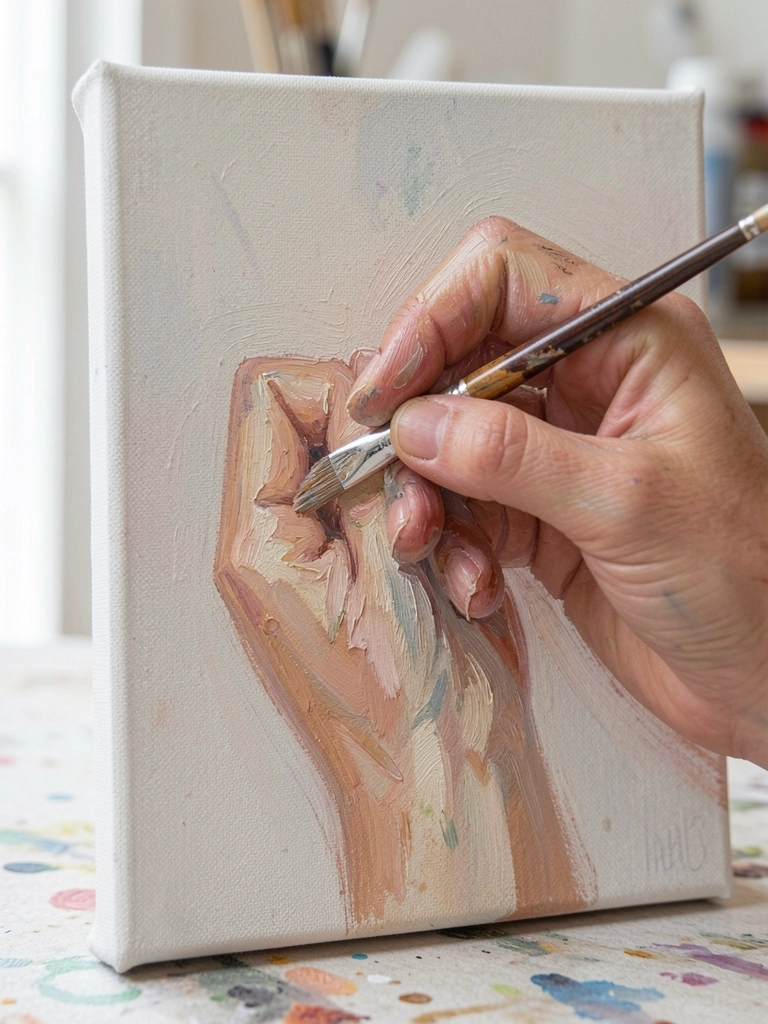
I tried photoreal hands and stalled. Then I loosened my edges.
I blocked in overall warm and cool shapes first, then suggested knuckles and shadows without exact lines.
That felt more honest and less scary. The suggestion reads as intimacy without needing every detail.
Before you start, map big shapes and resist the urge to overwork small creases.
What You'll Need for This
- primed canvas
- medium-round and small detail brushes
- a palette knife for mixing tones
- acrylics or oils
6. Constellation Night — Personal Star Map
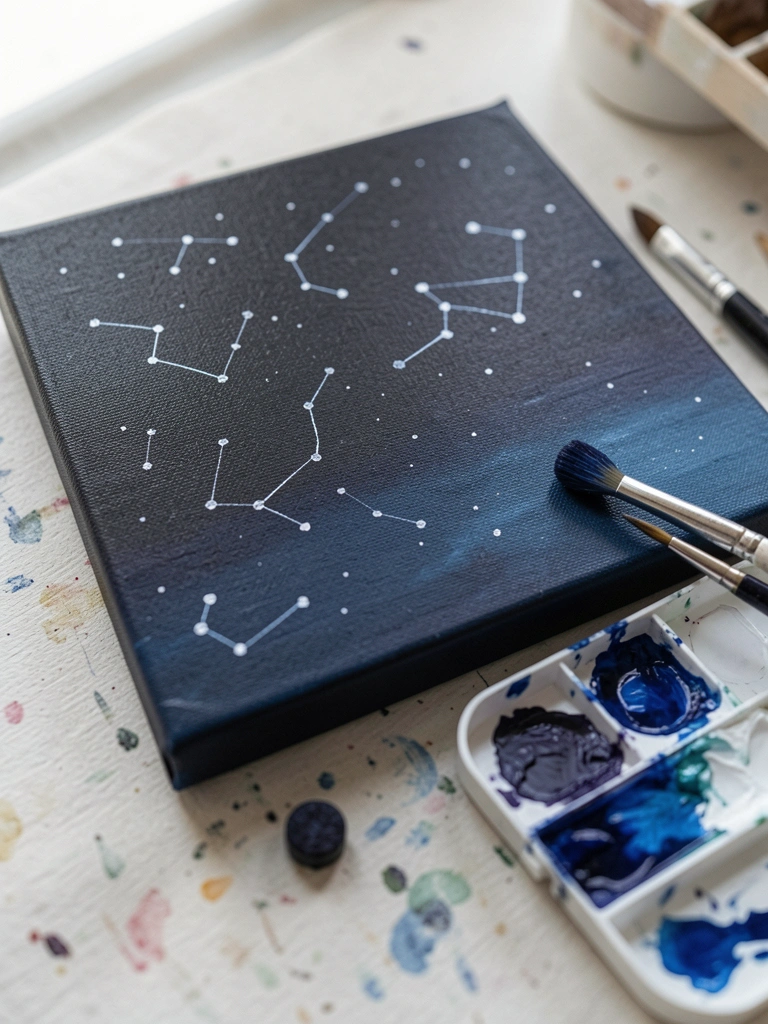
I painted the night sky above the date we met and added tiny hand-painted stars.
A few thin glazes softened the sky and made the stars pop. I used a toothpick for precise tiny dots.
This felt sentimental without needing perfect realism. It also hides small mistakes.
Keep paint thickness in mind—tiny stars with too-thick paint look raised and can chip later.
What You'll Need for This
- primed canvas
- small round brush or toothpick
- deep blues, black, white paint
- glazing medium (optional)
7. Hidden Message Under a Glaze (and my first failed attempt)
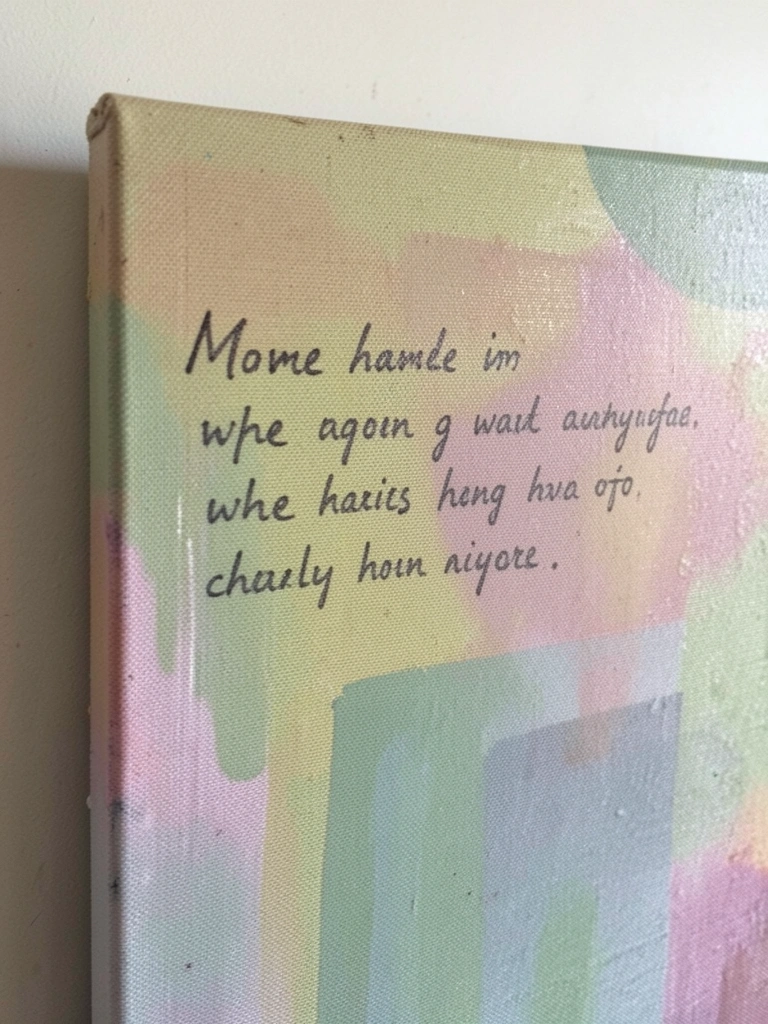
I tried a hidden note under a thick paint layer once and it vanished. I switched to a thin glaze.
I painted the short message in a contrasting color, sealed it with a clear glaze, then added layers so it peeks through.
From close up you can read it; from afar it’s part of the composition.
Mistake to avoid: use too-opaque paint and the message disappears. Thin your layers and test on scrap first.
What You'll Need for This
- primed canvas
- small script brush or fine marker (paint-based)
- glazing medium and thin acrylics
- soft flat brush
8. Photo-Reference Transfer with Soft Pastels
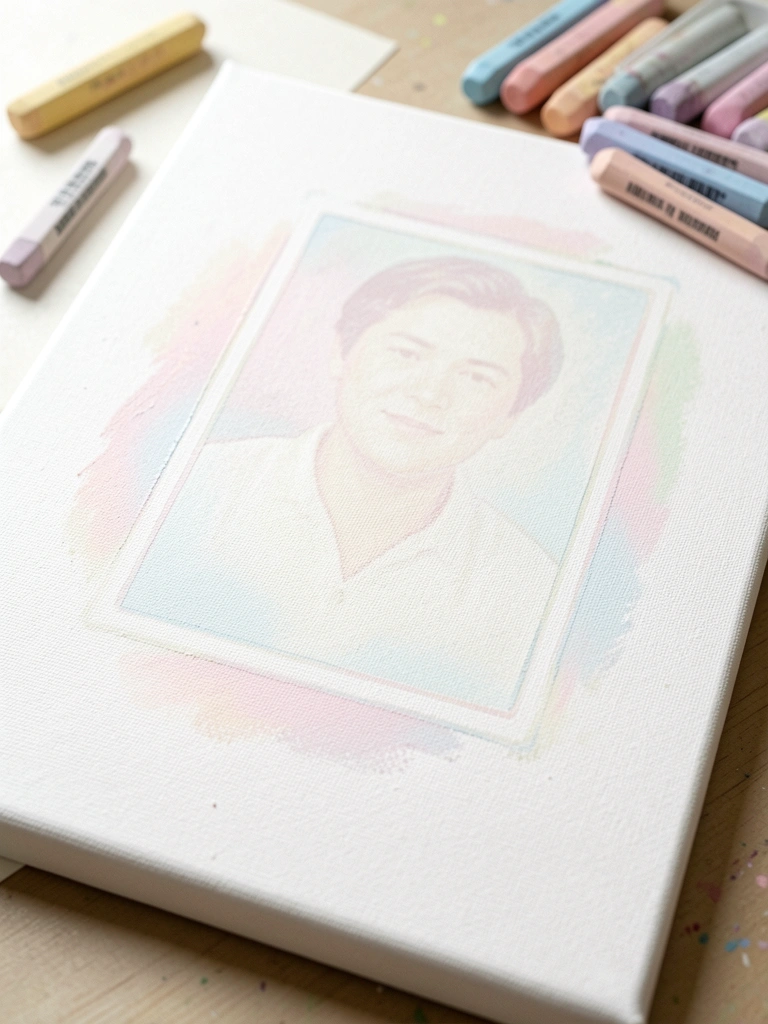
I traced a photo lightly, then softened edges with diluted paint and pastels.
This approach keeps likeness but reads painterly and warm. Pastels helped me nudge tones in small areas.
I often stop when it still looks hand-painted rather than airbrushed.
Important: seal any pastel layers with a workable fixative before adding wet paint.
What You'll Need for This
- primed canvas
- transfer method (lightbox or graphite transfer)
- soft pastels and blending stumps
- fixative spray (workable)
9. Monochrome Portrait with a Single Color Accent
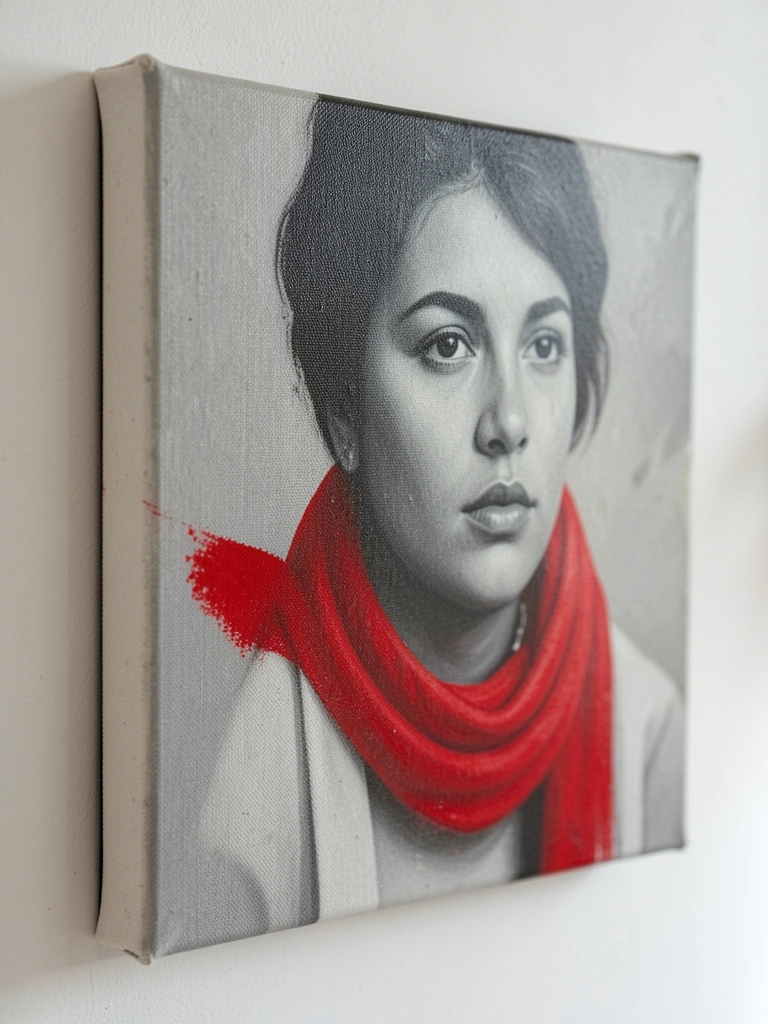
I painted a portrait in greys and left one spot of color—a tie or scarf—as the focal point.
Limiting the palette simplified decisions and reduced muddy mixtures.
The color accent reads like a quiet shout of affection.
Watch contrast. If the greys are too flat, the accent looks accidental. Build three values at least.
What You'll Need for This
- primed canvas
- limited paint set (black, white, one color)
- small round and flat brushes
- palette for mixing tones
10. Textured Love Letter Background with Dry Brushing
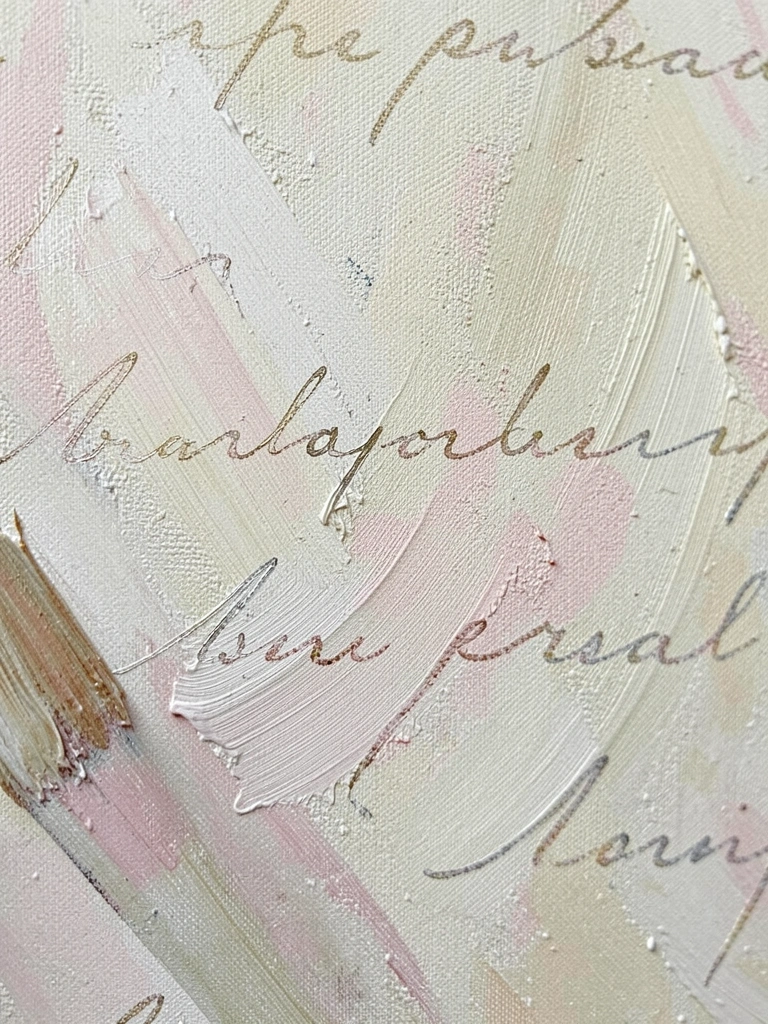
I built a textured ground with dry brushing and then painted faint script over it.
Dry brushing left whispery marks that read as paper texture. The script sat on top and felt intimate.
This one forgives shaky handwriting; smudges help the look.
Test dry brushing on scrap—too much pressure gives streaks. Use a nearly-dry brush for soft marks.
What You'll Need for This
- stretched canvas or canvas panel
- flat stiff brush for dry brushing
- thinned acrylic or acrylic wash
- small script brush or marker
11. Shared Hobby Icon in Loose Graphic Style
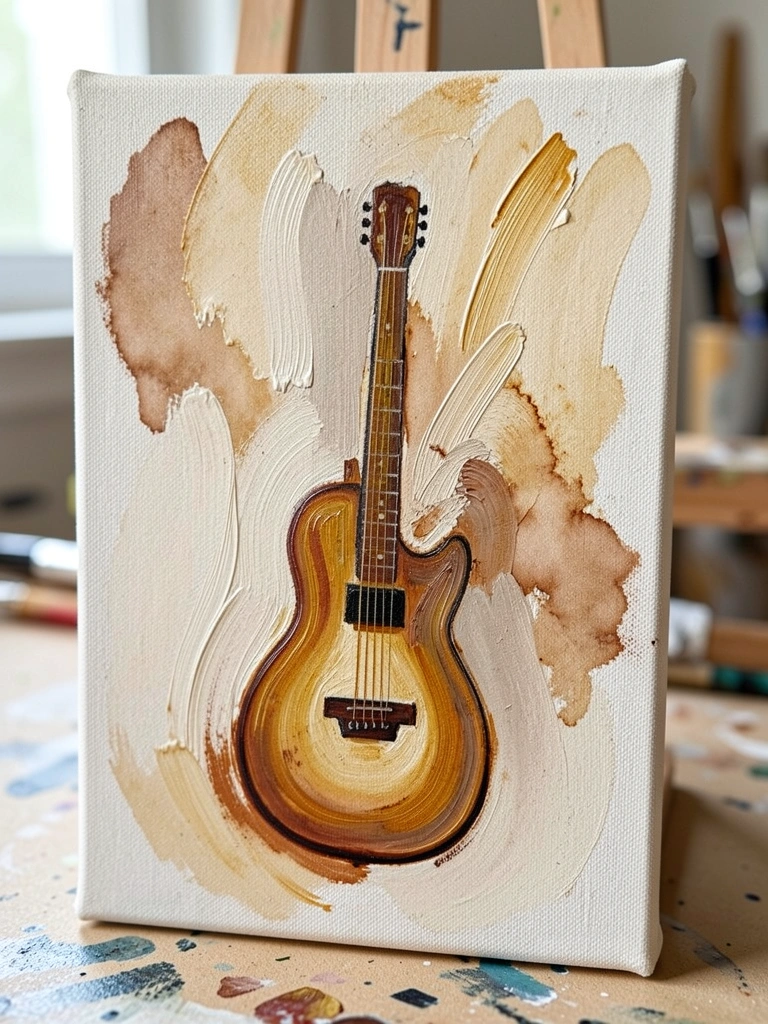
I painted his favorite hobby as a bold icon and kept everything else loose.
The icon was blocked in flat, then I added rough brushwork around it to suggest energy and memory.
This kept the painting readable from any distance without fussing over detail.
Before you start, simplify the shape into basic parts. Complexity steals time and clarity.
What You'll Need for This
- primed canvas
- flat brush for blocking
- medium round for rough marks
- acrylics or oils
12. Layered Floral Frame (I learned blending the hard way)
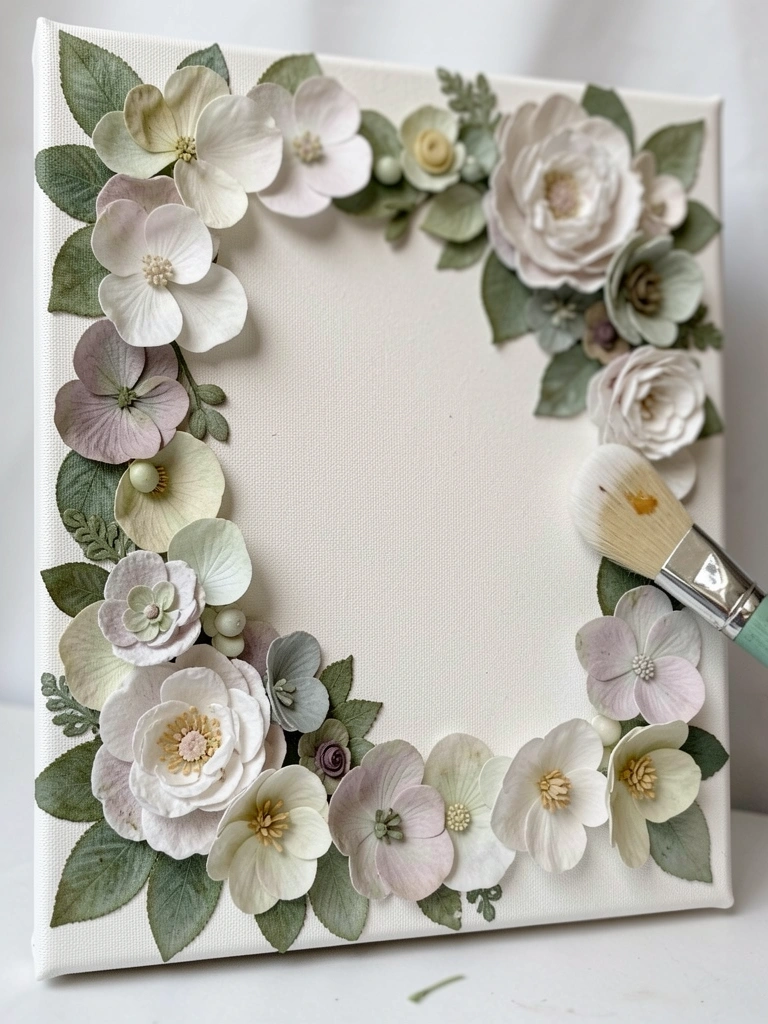
My first floral frame looked like a sticker—too sharp edges. Then I layered petals.
I blocked large petal shapes, then glazed and softened overlaps. That gave depth without fuss.
I once mixed too many colors and got muddy greens; limiting combinations fixed that.
Start with two petal tones and one leaf tone. Build depth with thin glazes, not thick blobs.
What You'll Need for This
- primed canvas
- small round brushes
- thinned acrylics or gouache
- palette for mixing limited colors
13. Cozy Sweater Texture with Repeated Strokes
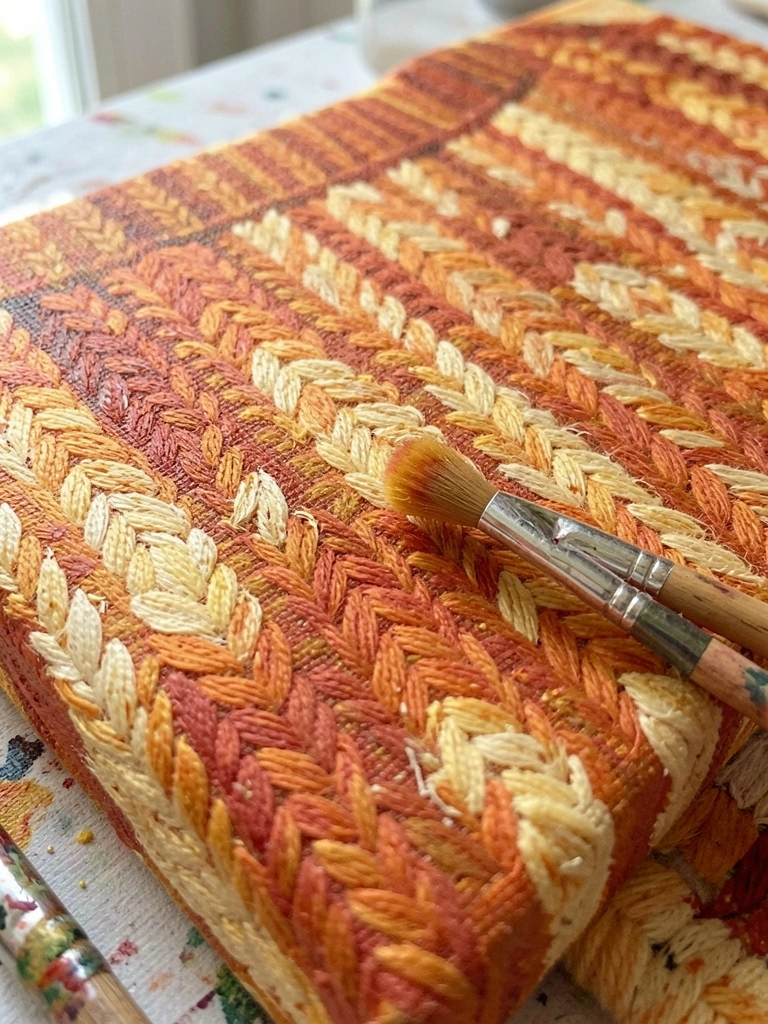
I painted the texture of his favorite sweater using short, directional strokes.
It’s a slow build but forgiving—small errors vanish in the pattern.
I mixed a few close values and kept brush size consistent for believable knit.
This takes time. If you rush, the texture reads scrambled. Work one small area at a time.
What You'll Need for This
- primed canvas
- small round and short-bristled brushes
- a limited range of close tonal paints
- palette for mixing
14. Record-Cover Portrait with Bold Flat Blocks
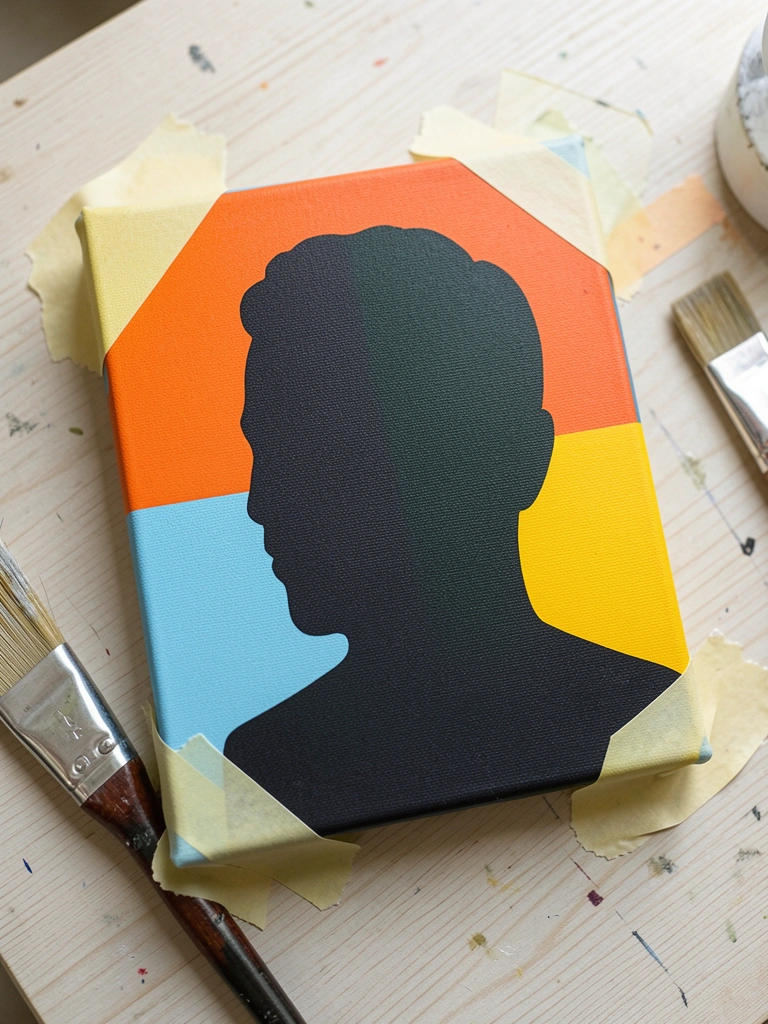
I simplified his face into color blocks and used crisp edges for a graphic look.
Masking tape kept shapes clean. Flat brushes helped lay down even color.
This feels modern and personal—like a shared song turned visual.
Beware of overblending here; the charm is the flatness. Keep edges deliberate.
What You'll Need for This
- primed canvas
- masking tape
- flat brushes
- acrylics for opaque colors
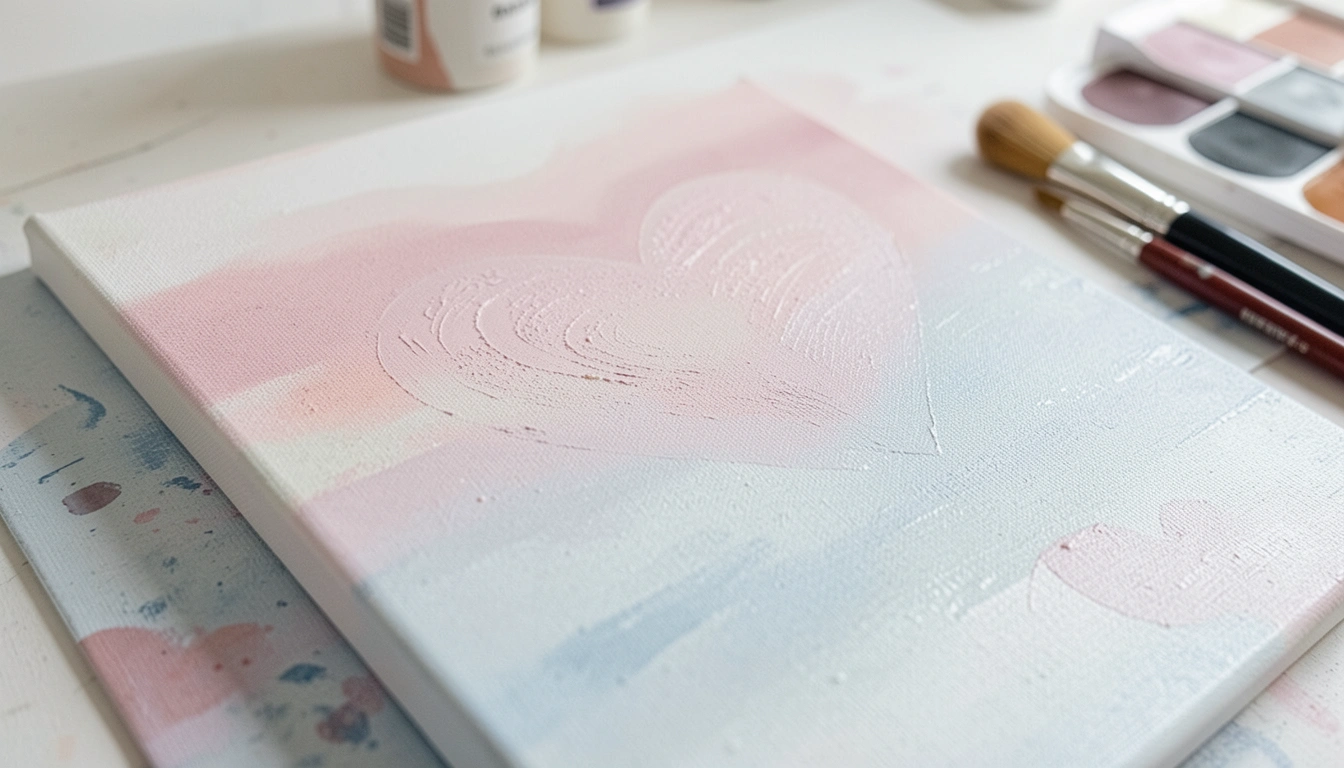
15. Fingerprint Heart Collage (and a messy first try)
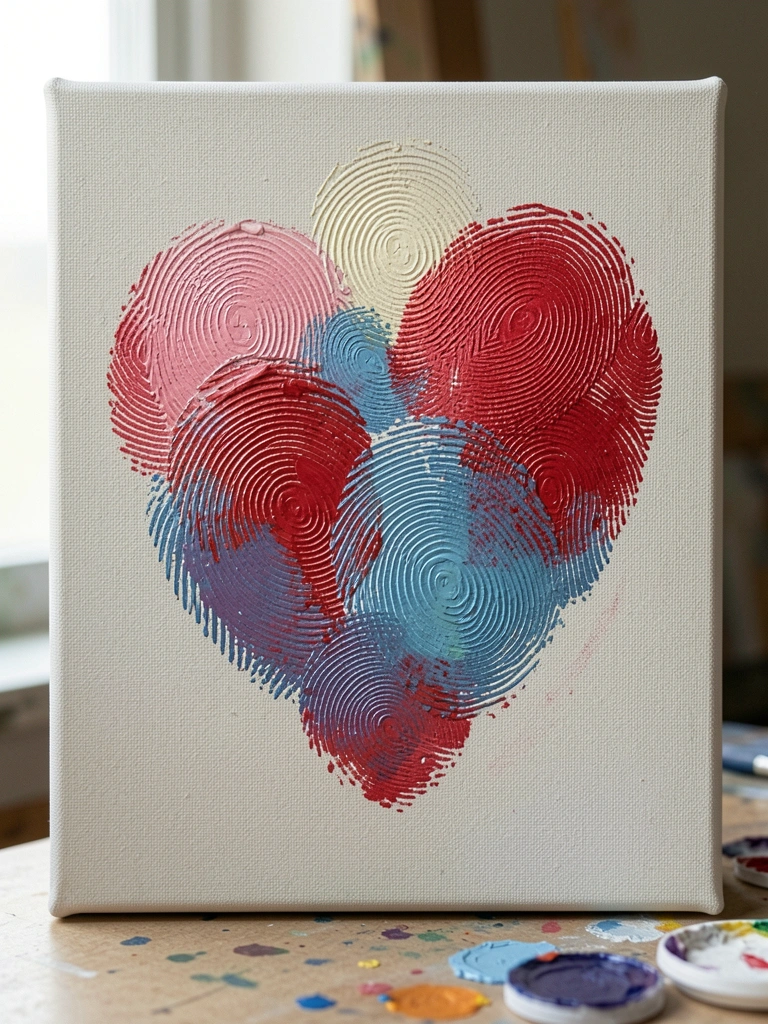
I tried this with too-wet paint once and it ran. Learned to use thicker paint.
We pressed fingertips into paint and dabbed them onto the canvas to form a heart.
It’s tactile and personal; it also hides shaky drawing skills completely.
Use a thick-bodied paint so prints stay defined. Keep a scrap to test pressure before working on the final canvas.
What You'll Need for This
- primed canvas
- heavy-body acrylics
- paper towel for cleaning fingers
- palette for mixing colors
16. Minimal Script Portrait with a Soft Wash Background
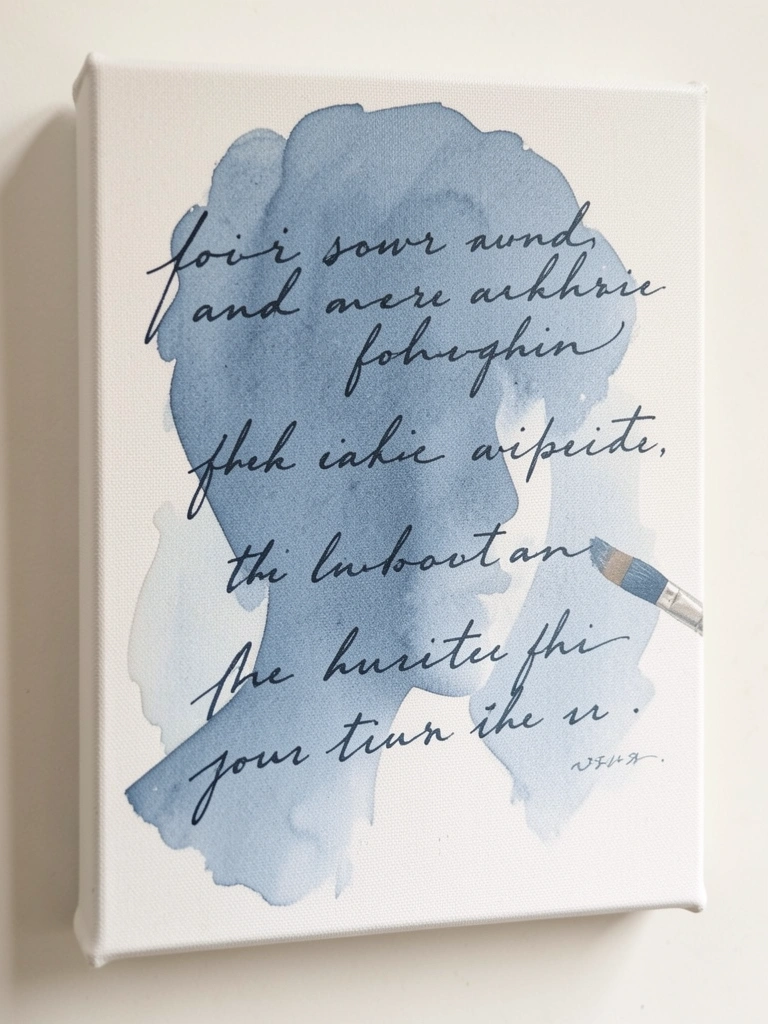
I painted a soft wash background, sketched a simple profile, then added a short handwritten phrase over it.
The wash keeps the look airy and the script reads like a private note.
I keep the portrait suggestion light—just a few marks. It reads as intention rather than illustration.
Practice the phrase on paper until the rhythm feels natural. A steady hand makes a small difference.
What You'll Need for This
- primed canvas
- soft flat brush for washes
- small script brush or liner
- thinned acrylics or gouache
Final Thoughts
You don’t need to do all of these. Pick one that feels doable.
Work in layers. Expect mistakes; they teach more than a clean first try.
Paint for the person, not an idea of perfect. You’ll enjoy the making more that way.