How to Paint a Tree Step by Step
I remember my first tree: a skinny trunk and a lumpy green blob for leaves. I kept redoing the background three times before the branches looked right.
I ruined a canvas learning how shading and leaf shape work together. This is a full walkthrough from sketch to finish, with the mistakes I actually made.
You won't need miracles. You will need patience and a simple order to follow.
How to Paint a Tree Step by Step
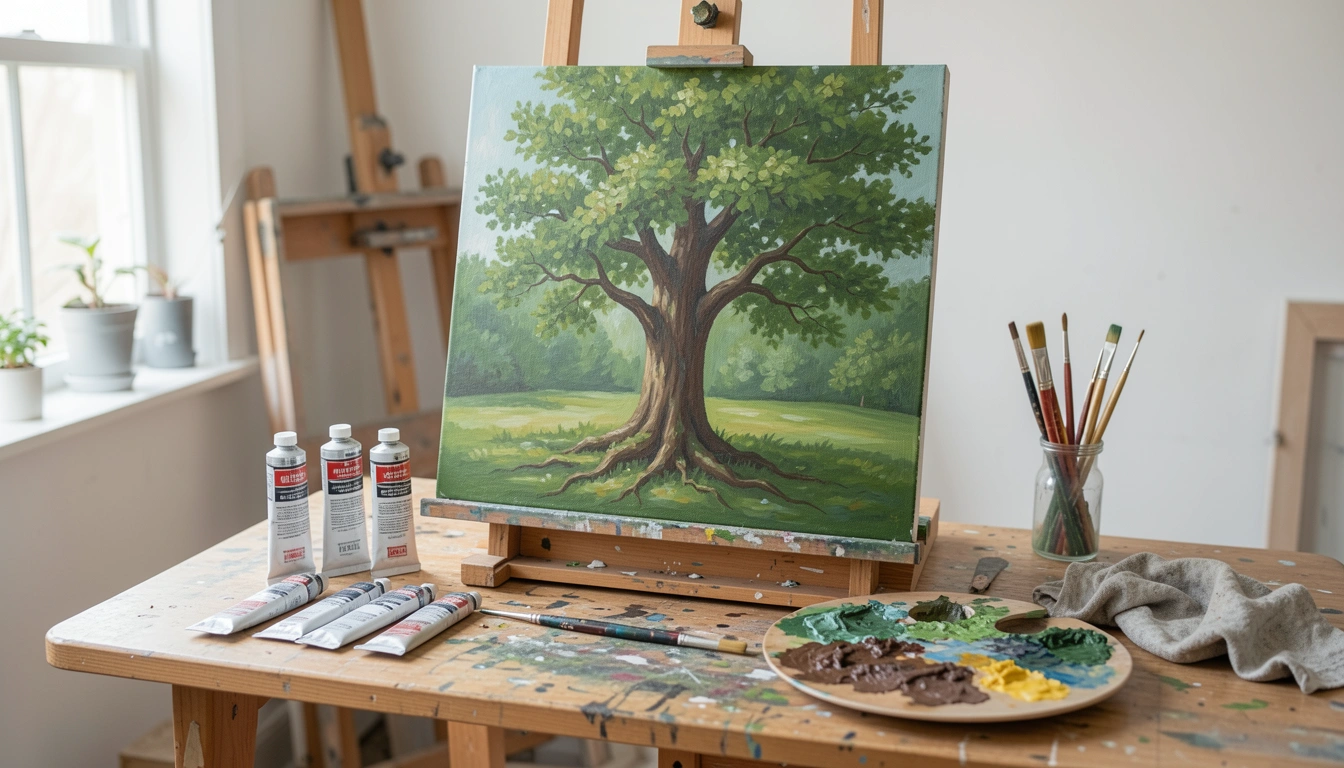
By the end you'll have a believable tree with defined trunk, layered foliage, and a grounded shadow. It's doable even if you haven't painted many trees before. Here's how I do it, broken into 6 simple steps.
What You'll Need
- Acrylic paints: titanium white, ultramarine blue, sap green, yellow ochre, burnt umber
- One stretched canvas or canvas panel (any size)
- Pencil (HB) for light sketching
- A medium filbert brush (~8)
- A small round brush (~4)
- A fan or stiff round brush for foliage
- A palette or mixing surface
- Water jar and rag
- Palette knife for mixing
- Optional: acrylic retarder or slow-drying medium
Step 1: Lightly Sketch the Tree and Plan Composition
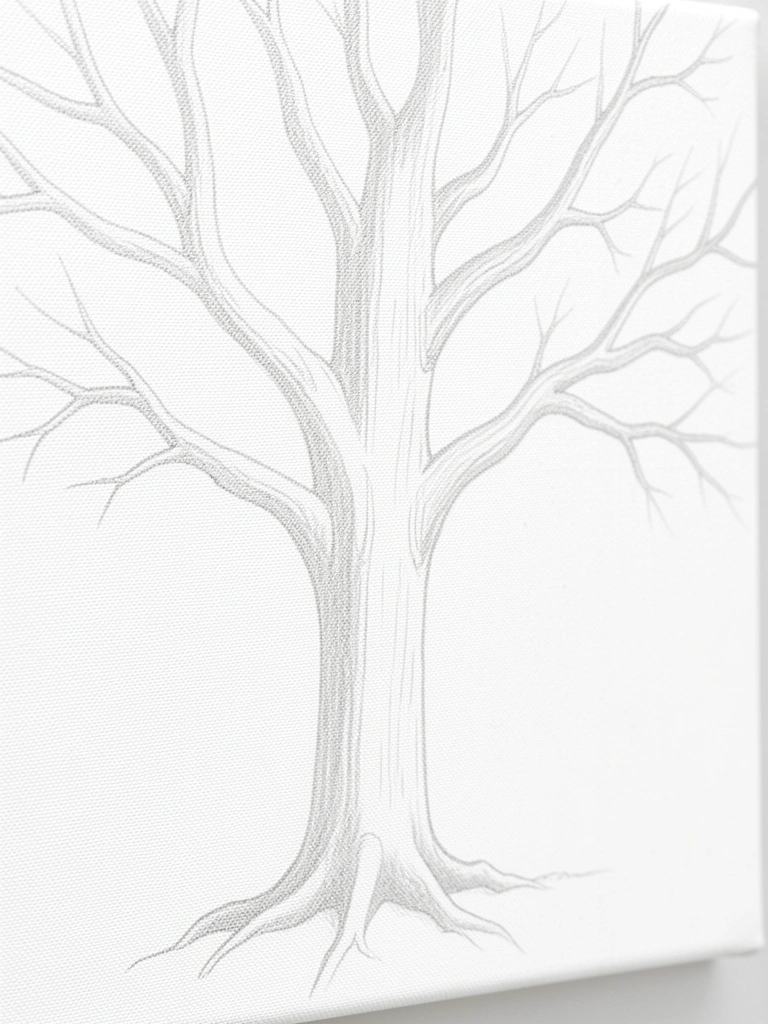
Start by sketching the trunk, main branches, and horizon lightly. Place the tree off-center or on a third line; I sketch the biggest branch angles first. Keep marks soft so paint covers them.
When it’s right, the silhouette should read clearly from a distance. Mine looked a bit cramped at first, which made the foliage feel heavy.
The usual problem here is a busy, overworked sketch. If lines pile up, erase the extras. Simpler shapes are easier to paint than precise outlines.
Tip: think of the tree as three masses — trunk, large branches, leaf clumps. That keeps proportions steady as you paint.
Step 2: Block In the Background and Major Values
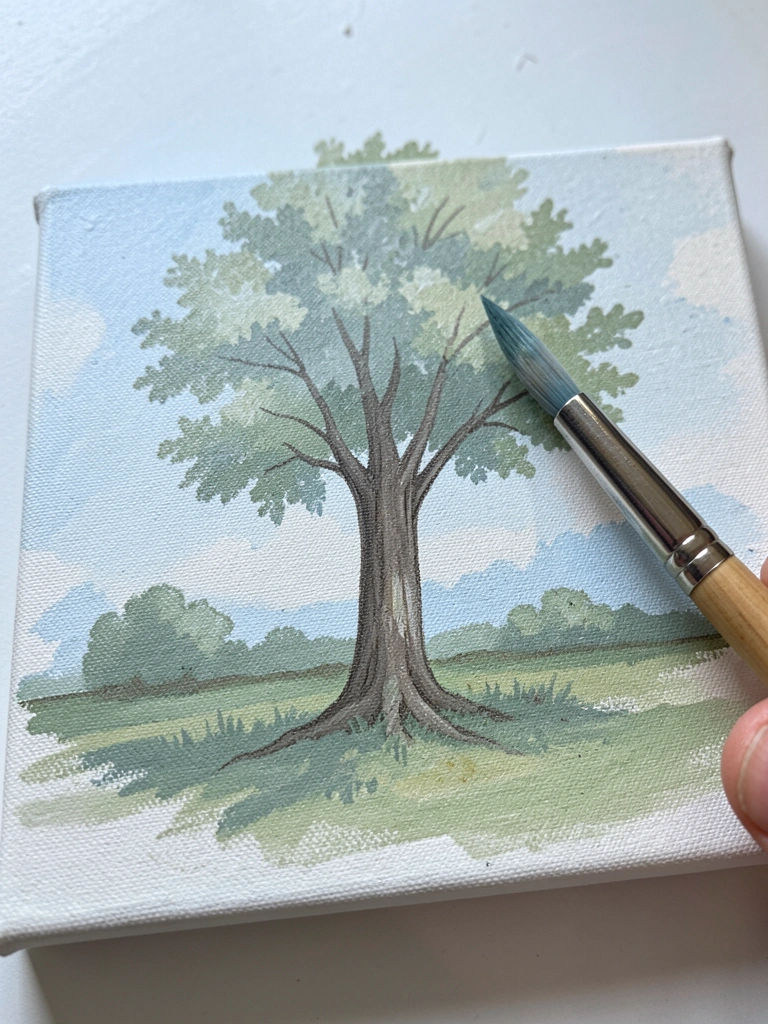
Start with the background first. Use a filbert to lay in sky, distant trees, and ground as broad shapes. Work with mid-values and a slightly muted palette so the tree can sit forward.
When this is right, the space behind the tree reads as atmosphere. My backgrounds sometimes looked flat; adding a lighter band near the horizon fixed that.
What goes wrong: painting too dark too soon, which loses depth. Keep at least one lighter tone for the distance and don’t overwork wet-on-wet—acrylics dry fast.
Tip: rinse your brush between colors and keep edges soft where the tree will overlap the background.
Step 3: Block In the Trunk and Major Branches
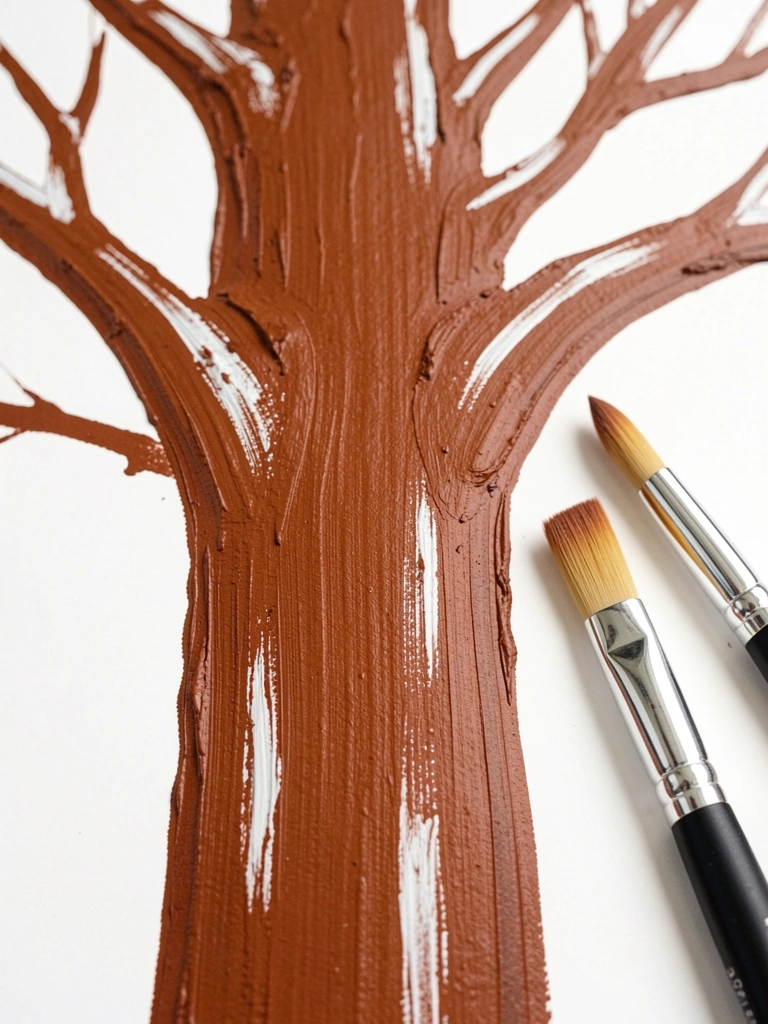
Mix a base trunk color (burnt umber + a touch of ultramarine + white). Paint the trunk and the big branches with confident, slightly tapered strokes. Blocking gives you the structure before texture.
When it's working, the trunk will feel solid and have clear direction. Mine often read too flat at first, lacking a lighter side.
Common mistake: making the trunk a uniform color. Add one lighter edge and one darker shadow side to sell form. Watch where branches meet the trunk; messy joins look fake.
Tip: use the round brush for tapering branch ends and the filbert for broader trunk strokes.
Step 4: Establish Foliage Masses with Layered Dabbing
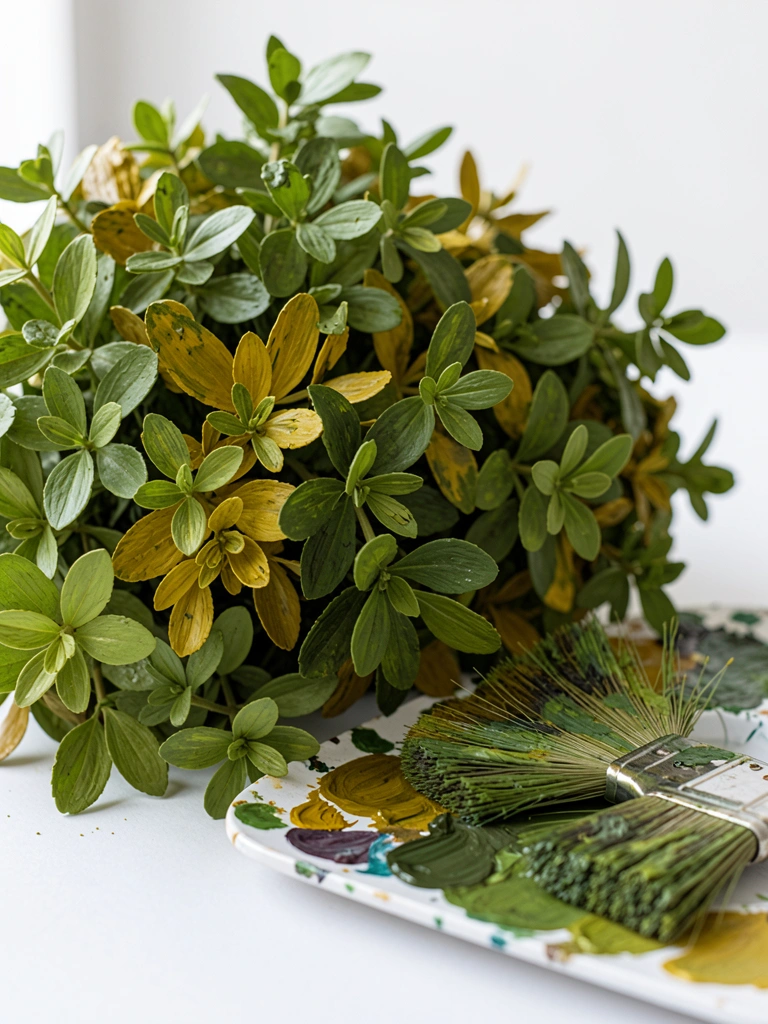
Mix three foliage values: dark, mid, and light. Use a fan or stiff round to dab in leaf clumps, starting with the darkest mass behind and building mid-tones on top. Work in layers while edges are still soft.
If you did this right, the foliage will read as separate clumps, not a single blob. My first attempts were patchy because I used only one green.
What fails here: muddy color from overmixing. Keep colors distinct and layer one on top of another rather than mixing everything together.
Tip: leave small gaps of background showing to imply air and depth. That negative space keeps the tree breathable.
Step 5: Add Leaf Details, Small Branches, and Highlights
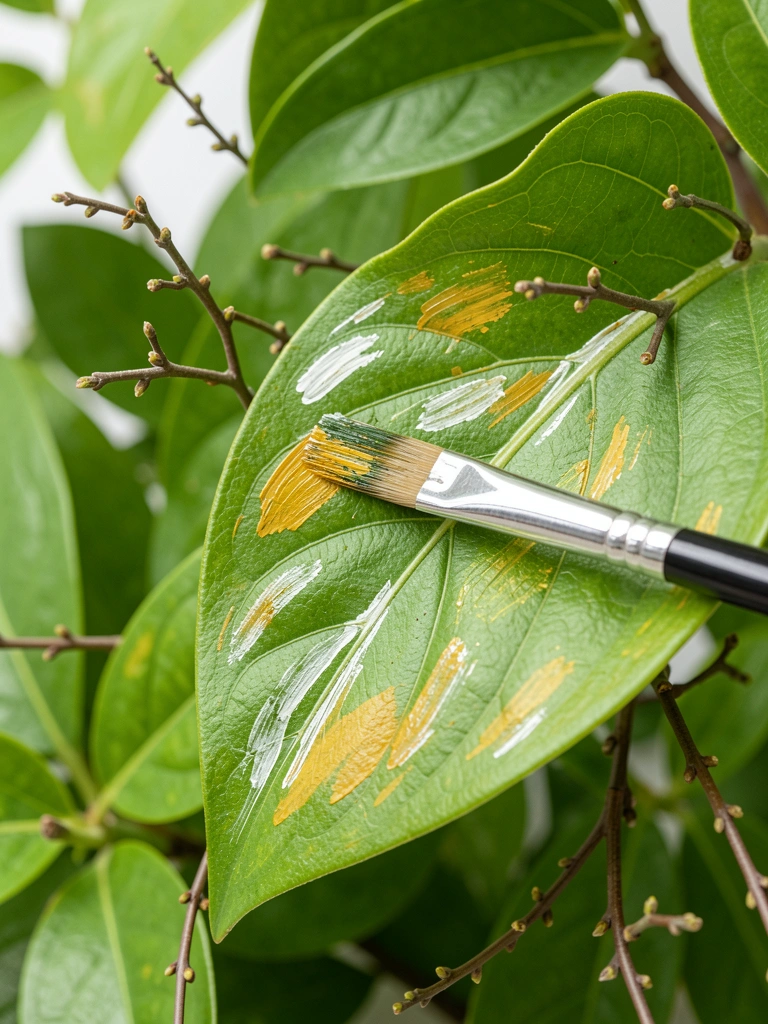
Use the small round brush to add leaf edges, highlights, and thin twig branches. Apply sparing, varied marks—avoid identical shapes. Add warm yellow-ochre highlights on the sun-facing clumps.
When it's right, the tree will have sparkle and suggestion without being literal. My leaves once looked like confetti; varying size and pressure fixed that.
Likely slip-up: overworking tiny marks and making the foliage busy. Step back often; if detail reads noisy, mute it with a thin glaze.
Tip: connect some small branches into the foliage mass so the eye reads branches through the leaves.
Step 6: Refine Edges, Ground the Tree, and Final Unifying Glaze
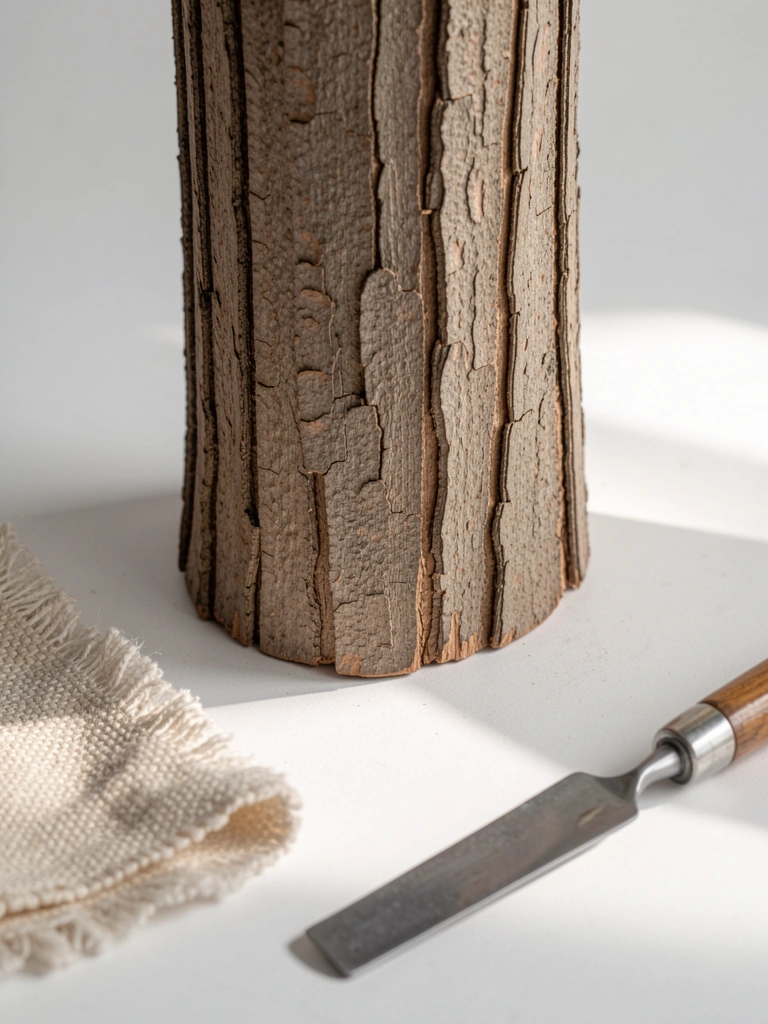
Clean the silhouette where it meets the background. Paint a cast shadow on the ground consistent with your light source. If needed, apply a thin glaze (mixed with retarder or medium) to unify cool and warm areas.
If done well, the tree will feel anchored and coherent. My last pass once flattened contrast; a lighter rim on one side rescued it.
What trips people up: over-darkening the shadow and losing form. Keep shadows soft-edged and slightly warmer or cooler depending on light.
Tip: finish with a very small highlight on a few leaves and a refined thin branch to sell depth.
Common Mistakes to Avoid
- Painting leaves all one color — Mix at least three values; layer, don’t overmix.
- Overworking the trunk texture — Add two well-placed highlights/shadows instead of many small strokes.
- Letting acrylic dry too fast while blending — Use a retarder or work in smaller areas.
- Losing the background depth — Always reserve a lighter mid-distance tone behind the tree.
- Painting every branch in detail — Suggest twigs; the eye fills in the rest.
Final Thoughts
You won't nail every proportion on the first try. That’s normal. I still have canvases where the trunk ended up too thick, and I learned from each one.
Keep the steps simple: sketch, background, structure, foliage, detail, finish. Follow that order and you'll end with a tree that reads believable and grounded.
You can refine from there. Paint another—it's the only way to get comfortable with the feel of branches and leaves.