How to Paint Water with Acrylic Like a Pro
I remember the first time I tried to paint water — I thought it would be all highlights and a few strokes. It was muddy, streaky, and I wasted a small canvas.
I kept going because there’s a rhythm to it. I mixed, ruined, and fixed things until the water read like water.
This is a full walkthrough. I’ll show you the order I actually use, what trips you up, and how to pull a believable surface together.
How to Paint Water with Acrylic Like a Pro
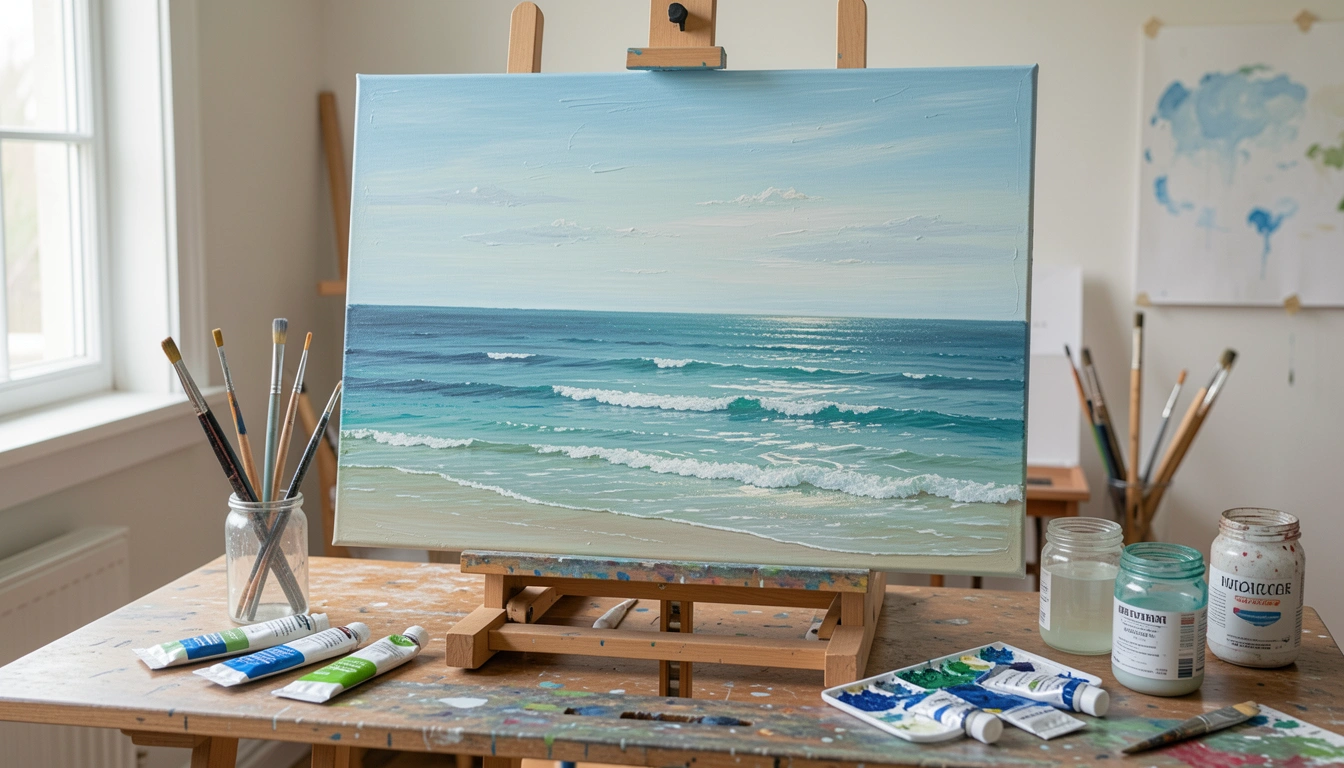
By the end you’ll have a convincing body of water with reflections, ripples, and believable highlights. It’s doable even if you’re still learning brush control. Here’s how I do it, broken into 6 simple steps.
What You'll Need
- Acrylic paints: titanium white, ultramarine blue, phthalo blue or cerulean, phthalo green, burnt sienna or burnt umber
- Mediums: glazing medium or acrylic retarder
- Brushes: large flat (1" or 2"), medium filbert or flat, small round/liner
- Palette (paper or plastic), palette knife for mixing
- Canvas or gessoed panel (any smooth surface)
- Two jars of water, paper towels or cloth
- Spray bottle for misting
- Small scrap paper or board for testing mixes
Step 1: Prepare Your Surface and Mix a Simple Palette
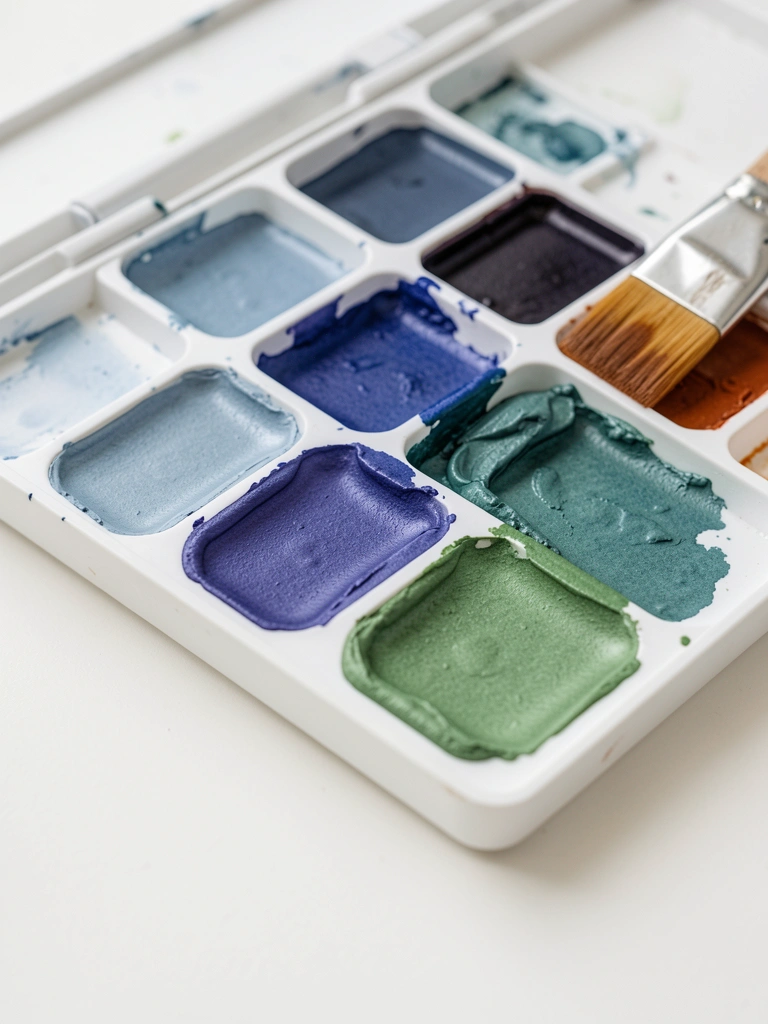
First, stretch or prime your canvas and set it on the easel. Mix a small range of colors: a light sky blue, a mid-tone blue-green, a darker deep water mix, and a cool gray for reflected shadow. Add a bit of burnt sienna to mute mixes.
When you lay down these mixes on scrap, they should show a clear difference in value and temperature. If everything looks similar, rematch values — water depends on contrast.
The biggest slip here is over-mixing toward a muddy gray. Keep separate jars of each mix and test on a scrap before committing.
Tip: mix a slightly larger batch of mid-tone; you’ll use it most and it’s annoying to rematch later.
Step 2: Block In Sky, Horizon, and the Underpainting for Reflections
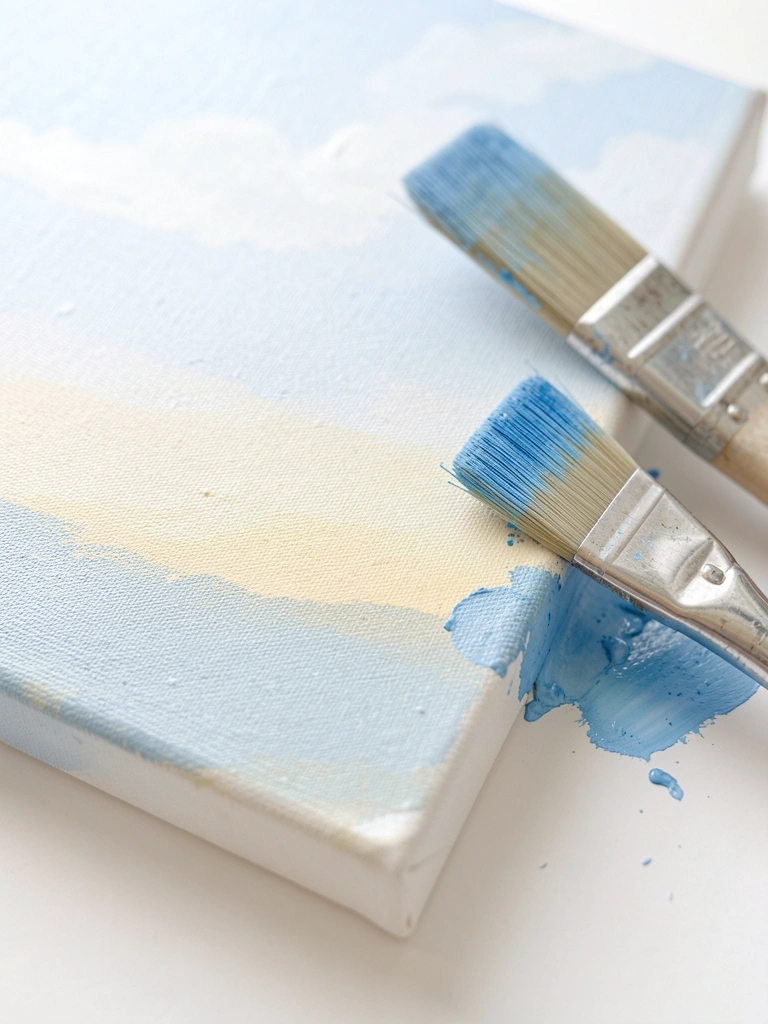
Start by blocking the sky and horizon first. Use horizontal strokes and keep the sky slightly lighter near the horizon. Drop a thin wash of the sky color where the water will reflect it — this is your underpainting for reflections.
This should look like a smooth horizontal gradient across sky and a matching, slightly darker band on the water area. It will read patchy at this point, and that’s normal.
The common failure is working too slowly; acrylic skins over and you end up with hard edges. Work in larger sections and use a spray bottle or glazing medium to extend open time.
Tip: keep the horizon level by stepping back and sighting it with your brush.
Step 3: Lay a Smooth Base for the Water with Horizontal Strokes
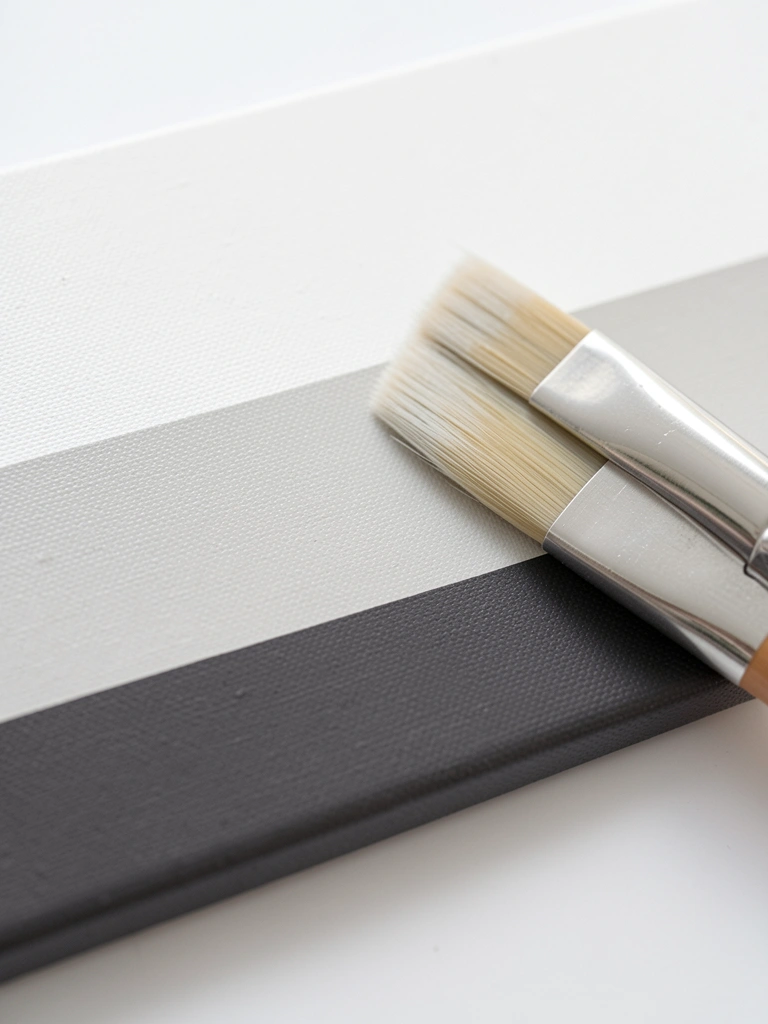
Load a large flat brush with your mid-tone and work across the water area in long, horizontal strokes. Pull the paint left-to-right (or vice versa) to create a calm banded base: light nearest the horizon, mid-tone center, darker near foreground. Thin paint slightly with glazing medium for smoother blends.
It should read as continuous horizontal motion, not streaks. If you see brush hairs or clumps, you either had too-dry paint or your brush needed more medium.
What usually goes wrong here is vertical or circular brushwork — that kills the illusion. Keep strokes long and deliberate.
Tip: clean your brush often. A muddy brush will make the whole band look dirty fast.
Step 4: Block in Reflections and Soften Edges with Glazes
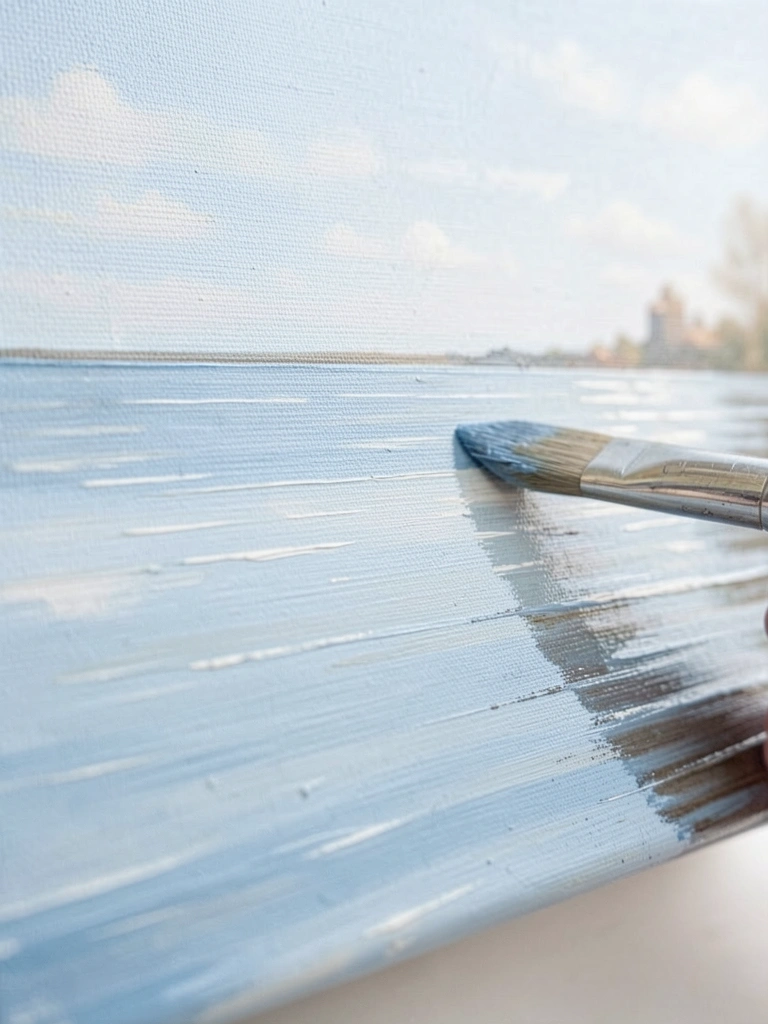
Take the darker and cooler mixes to paint the reflected shapes — sky patches, tree silhouettes, or clouds — as horizontal shapes on the water. Keep them slightly darker and more diffuse than the actual objects. Work in thin glazes so you can layer without losing luminosity.
This should look like soft horizontal echoes of the sky/shore, not crisp duplicates. My early attempts were too literal and made the water feel like a mirror.
Risk here is painting reflections too bright or misaligned with the source. Squint to judge values and use a soft dry brush or a dampened clean brush to pull edges horizontally for a believable blur.
Tip: add a touch of glazing medium to each mix to keep edges blendable.
Step 5: Paint Ripples, Small Waves, and Highlights
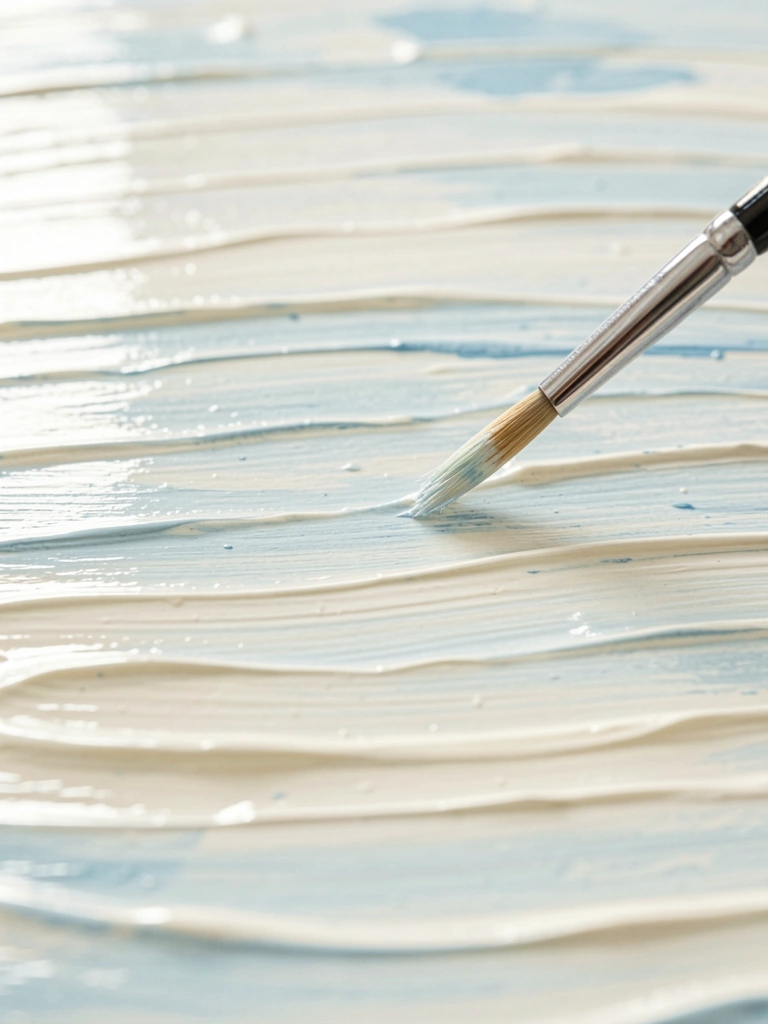
Now introduce rhythm with short, horizontal marks for ripples and small wave crests. Use a small round or liner with a thin mix — white warmed slightly with blue or a tiny bit of ochre — and lay quick, confident strokes where the light hits.
It should read as a series of soft, horizontal highlights that follow the water’s planes. My first highlights were blobs of pure white and looked fake.
What trips people up is thickness: heavy paint makes highlights look pasted on and flattens the surface. Keep the paint thin and don’t overwork the same stroke.
Tip: vary stroke length and opacity; a few sharper highlights near the focal area and softer ones elsewhere sell depth.
Step 6: Final Balancing, Edge Work, and Letting It Cure
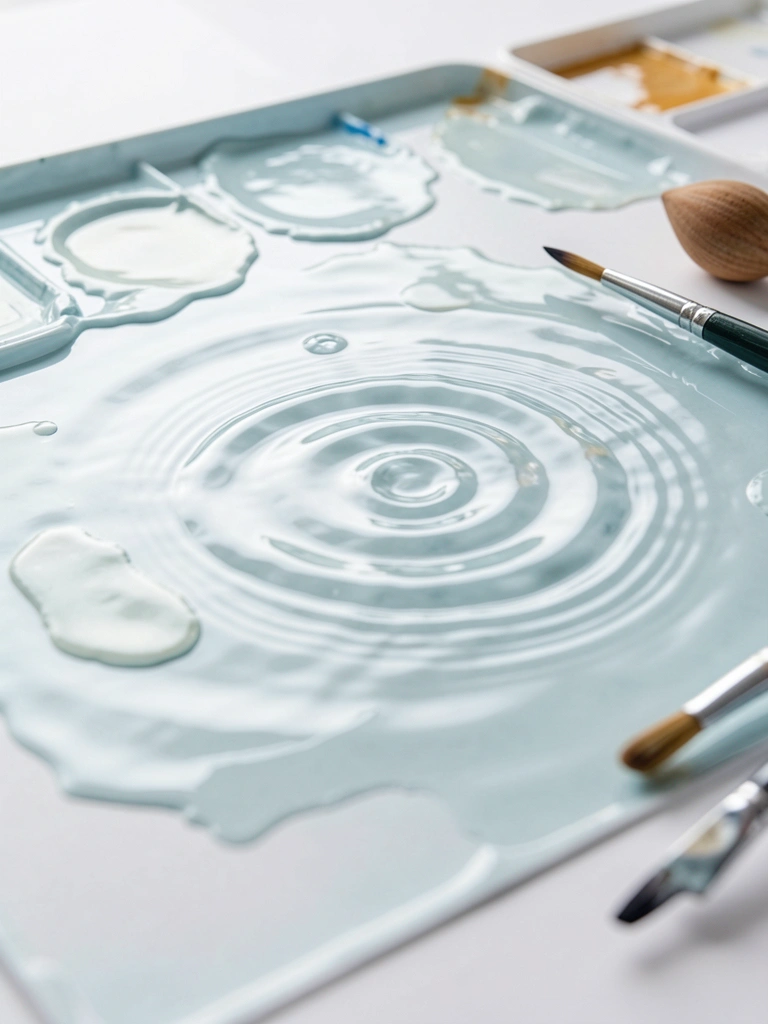
Step back and balance: soften some edges, sharpen a few focal ripples, and deepen one or two shadow bands if needed. Use a dry, clean brush to feather transitions and a tiny bit of darker glaze to unify the foreground. Fix any stray hard lines by dragging them horizontally into the water.
My usual mistake here is overworking — the colors go muddy. Stop when the surface reads as a whole.
Let the painting cure thoroughly before varnishing. Acrylic can feel dry but needs time to fully harden; varnish only after a week or two to avoid trapping tacky layers.
Tip: take photos under neutral light before varnish so you can compare and decide final tweaks.
Common Mistakes to Avoid
- Painting water with vertical or random strokes — fix: force long horizontal strokes and step back often.
- Using pure white for every highlight — fix: mix whites with a touch of blue or warm tone for believable light.
- Overworking layers until colors go muddy — fix: plan thin layers and stop when the surface reads as a whole.
- Letting paint dry with hard edges in early layers — fix: use glazing medium or mist to keep paint workable.
- Ignoring value relationships between sky and water — fix: always test values on scrap before placing them on canvas.
Final Thoughts
Painting water is mostly about observation, simple repeats, and patience. It rarely looks perfect first time, and that’s fine — each layer teaches you what to change.
Keep mixes limited, work horizontally, and resist overworking. If you follow these steps, you’ll finish with water that reads like water and a lot more confidence for the next canvas.