12 Artistic Guitar Painting Ideas
I ruined the first five backgrounds I tried on a guitar painting.
I learned to stop following thumbnails and start watching how paint sits.
Now I lean into simple fixes that actually work.
These ideas are the ones that got me painting more and wasting fewer canvases.
12 Artistic Guitar Painting Ideas
These 12 techniques come from real messes and real wins. I’ll show what I tried, what failed, and what you can pick up right away.
1. Silhouette Guitar on a Textured Background
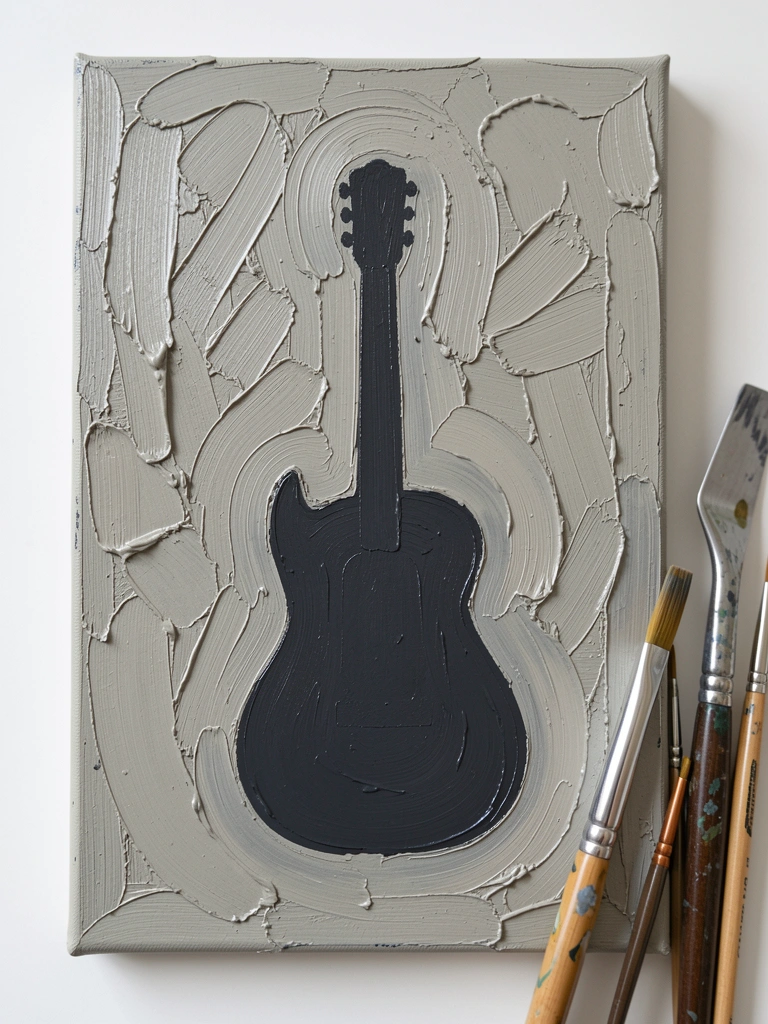
I started by blocking a simple guitar silhouette. It let me focus on edges and composition without obsessing over details.
A textured background (gesso with a rag or palette knife) gives the guitar a stage. It hides small mistakes and adds depth.
My first attempt looked flat until I layered thin washes of color over the texture.
Tip: resist the urge to refine the silhouette too soon. Let texture and light do the work.
What You'll Need for This
- Canvas or rigid panel
- Heavy body acrylic or acrylic gel
- Palette knife or old credit card
- Flat brush for blocking
2. Realistic Wood Grain Study on the Guitar Body
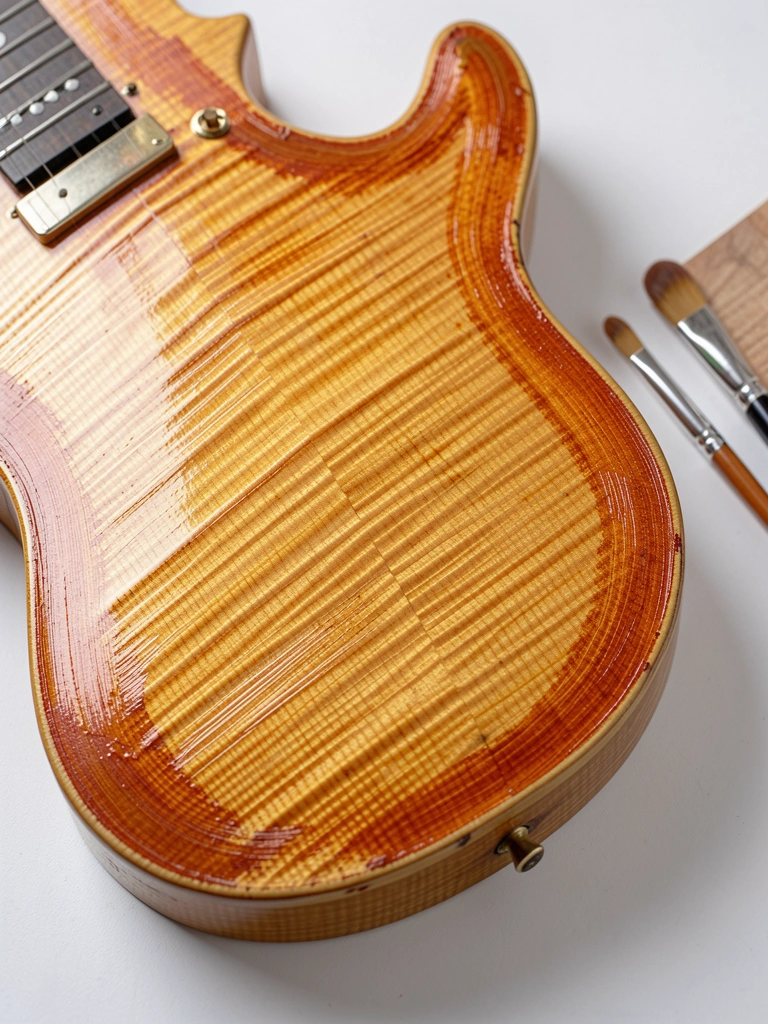
I practiced small swatches of wood grain before committing to a guitar. That practice paid off.
Layered glazes let the grain show through. I used thin washes and lifted paint to create knots.
Mistake: the first layer was too dark and stayed muddy. I had to sand and start again.
Tip: map your grain lines lightly with pencil, then build thin translucent layers to keep it alive.
What You'll Need for This
- Acrylic or oil paints
- Small round brushes (size 0–4)
- Glazing medium or slow medium
- Sandpaper or sanding block (for fixes)
3. Loose, Expressive Brushwork for Strings and Frets
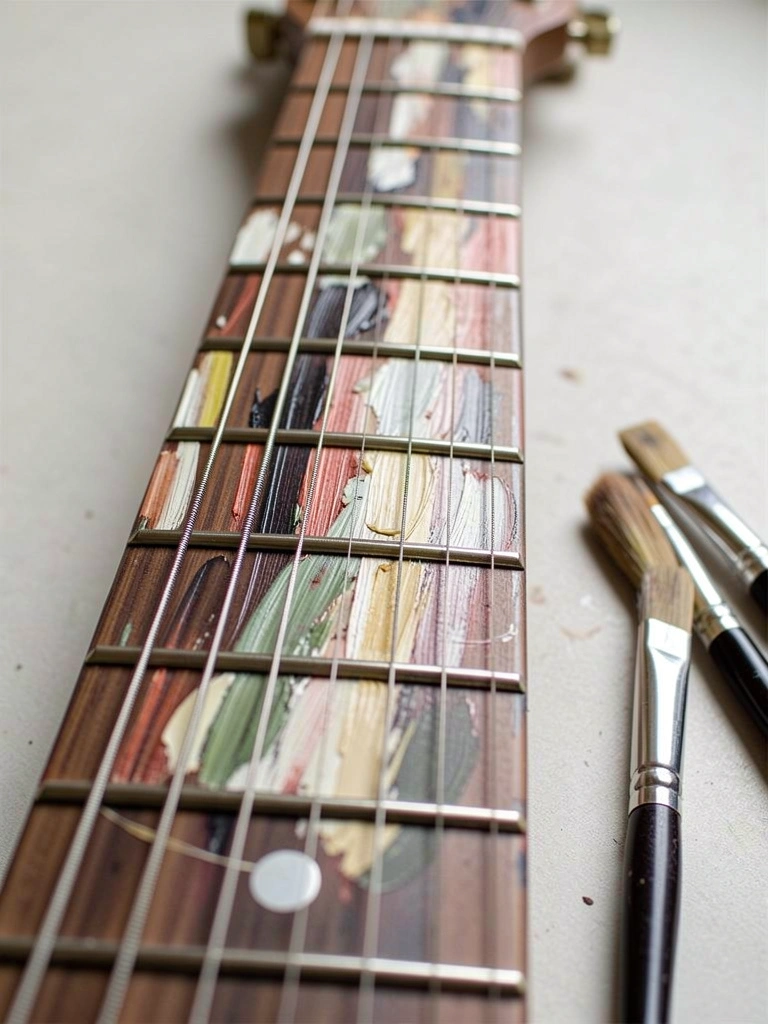
I stopped trying to paint every string perfectly. Instead I used loose strokes to suggest them.
A rigger or small liner brush makes quick rhythmic marks that read as strings from a distance.
At first my lines were shaky and uneven. Practicing on scrap wood helped my wrist steadiness.
Tip: paint strings in one confident pass. If they’re hesitant, sand lightly and repaint rather than overworking.
What You'll Need for This
- Rigger or liner brushes
- Small flat brushes
- Palette with diluted paint
- Scrap wood or paper for practice
4. Monochrome Underpainting, Then Color Glazes
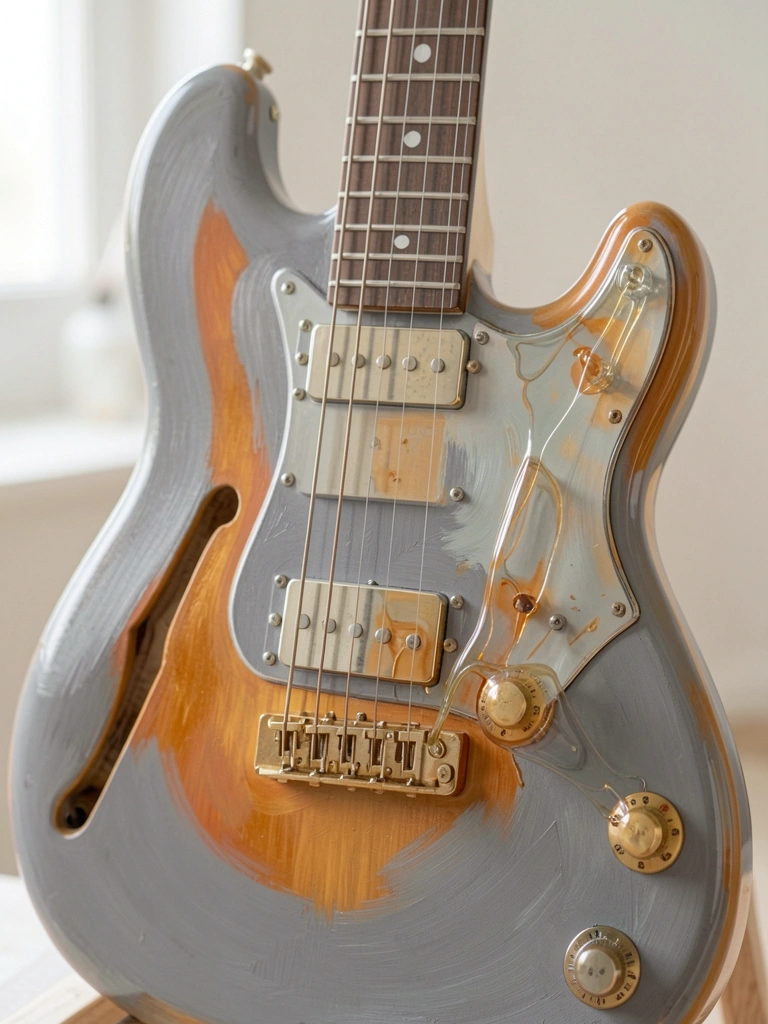
I learned to do a gray or umber underpainting to lock in values first.
Once values felt right, I applied thin color glazes. The result looked cohesive and less muddy.
I used to mix opaque colors straight away and lost the light. The underpainting saved me from that.
Tip: thin your first color layers a lot. They’re there to tint, not cover.
What You'll Need for This
- Titanium white, black or burnt umber
- Transparent acrylic or oil colors
- Glazing medium
- Soft filbert or mop brush
5. Masking for Crisp Fretboard and Hardware Edges
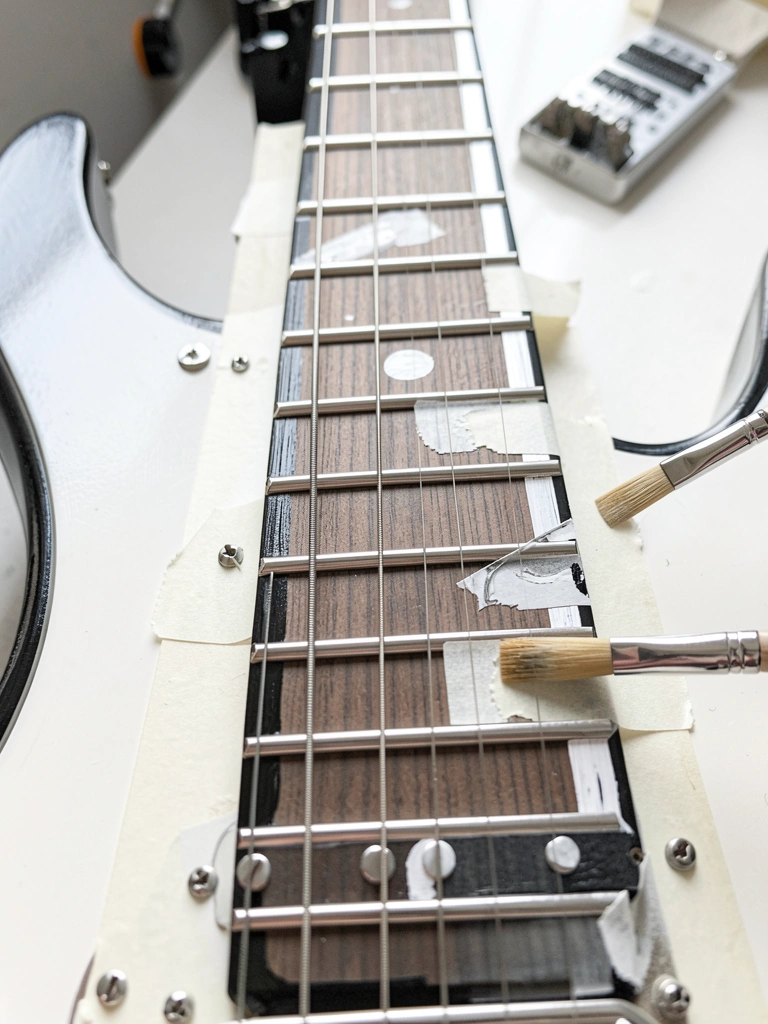
I started using low-tack masking tape on fretboard edges. The results were cleaner.
Masking protects areas while I work loose on the body. It saved me from endless touch-ups.
My first tape choice peeled paint off. I switched to gentler tape and tested on a scrap first.
Tip: press the tape down firmly and remove it while paint is tacky, not fully dry, to avoid lifting.
What You'll Need for This
- Low-tack masking tape
- Small angled brush
- Palette with mixed thin paint
- Cutting mat or scrap for testing tape
6. Palette Knife for Hardware and Hard Reflections
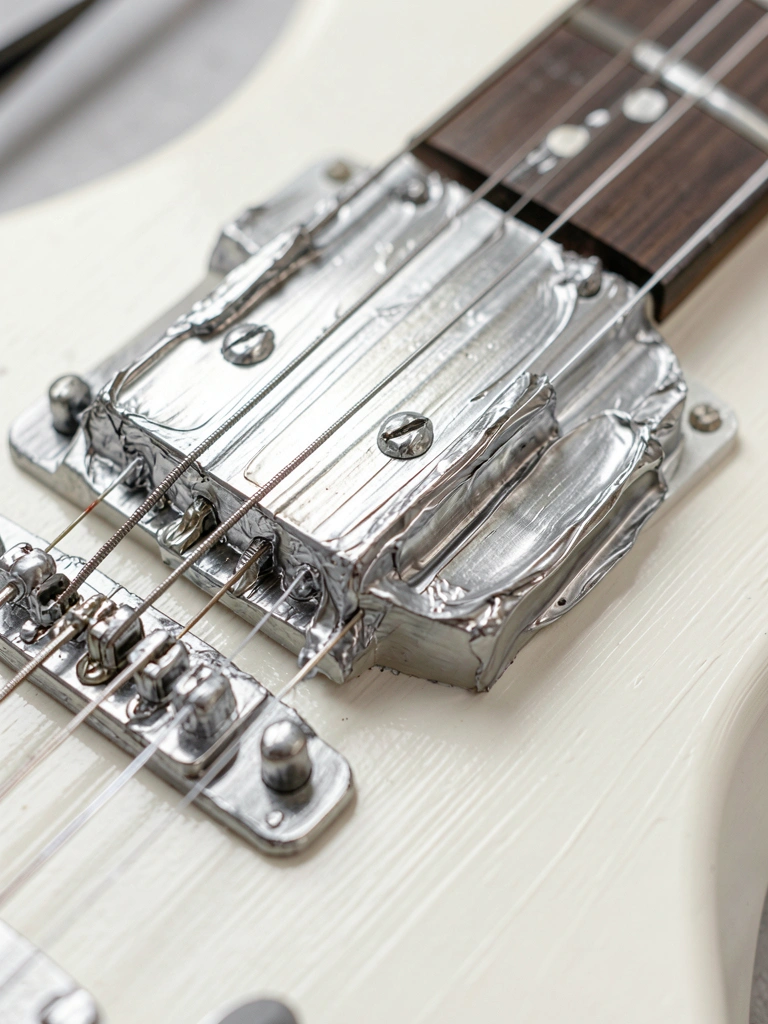
Using a palette knife for the bridge and tuning pegs gave me crisp, reflective edges.
I scraped thin metallic paint and then softened with a tiny brush for realism.
I once tried to paint hardware with a large brush and it looked smeared. The knife fixed that.
Tip: keep metallics thin. Too thick and they look like foil instead of reflective metal.
What You'll Need for This
- Palette knife (small)
- Metallic acrylic or oil paint
- Small detail brushes
- Paper towel for wiping knife
7. Soft Blended Gloss on a Guitar Body (Wet-on-Wet Glaze)
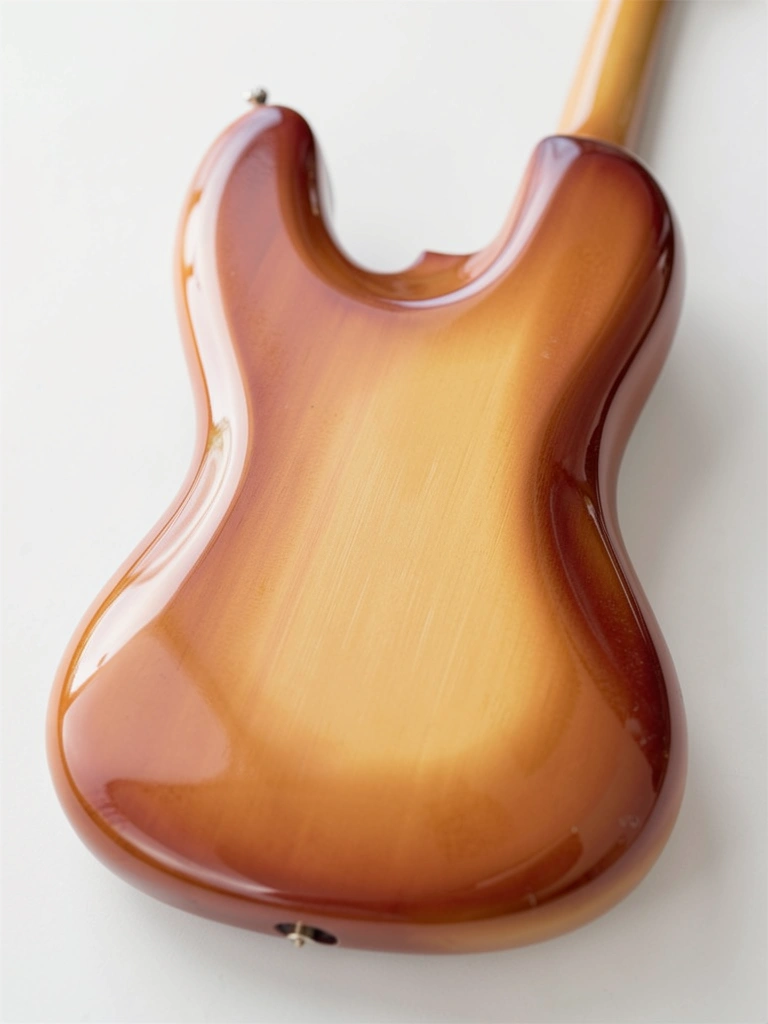
I chased a glossy finish with wet-on-wet glazing. It’s forgiving if you work fast.
I blended edges with a soft brush while the glaze was open. It gave believable reflections.
I burned one canvas by letting a heavy layer pool and wrinkle. Thin layers avoid that.
Tip: work in sections and keep a spray bottle to revive drying acrylics if needed.
What You'll Need for This
- Soft round or mop brushes
- Glazing medium
- Slow-drying acrylic or oil (your preference)
- Spray mister for acrylics
8. Drip and Splatter for an Energetic, Modern Look
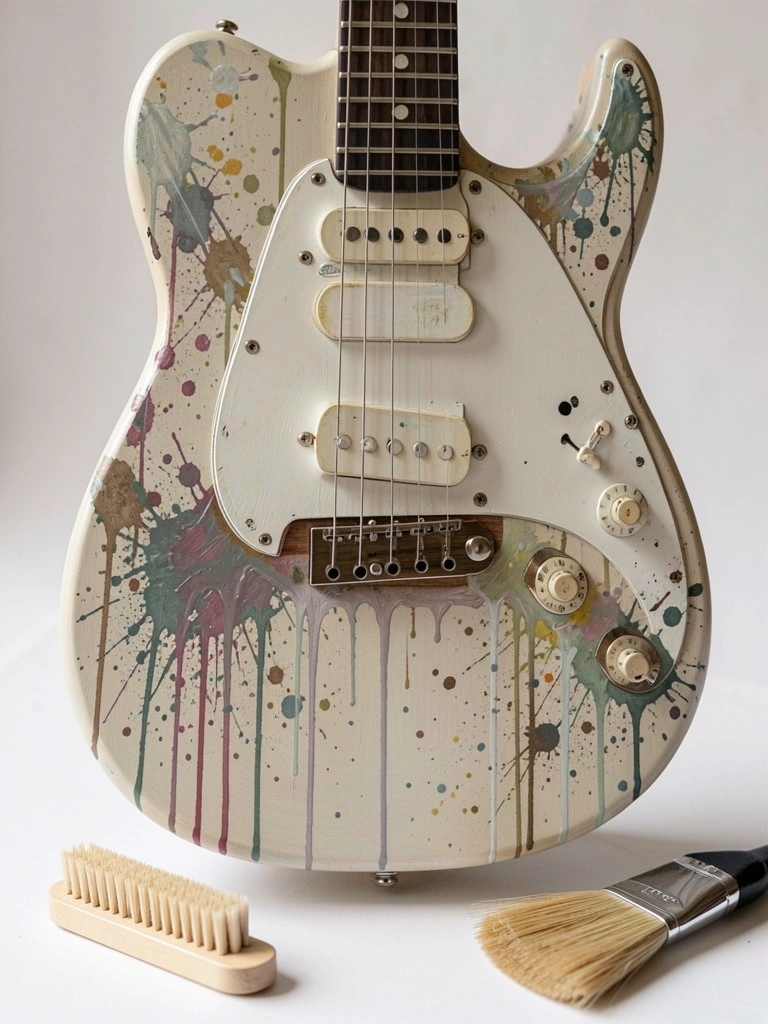
I added controlled drips to a guitar silhouette and it loosened the image.
Splatter gives motion without detail. I used old brushes and a discarded toothbrush.
I once over-splattered and lost the guitar shape. I had to block the silhouette again.
Tip: practice splatter distance and angle on scrap first. Mask the guitar if you want precise edges.
What You'll Need for This
- Old brush or toothbrush
- Thin acrylic or ink
- Masking materials if needed
- Scrap paper for testing
9. Gouache Study on Toned Paper for Quick Color Ideas
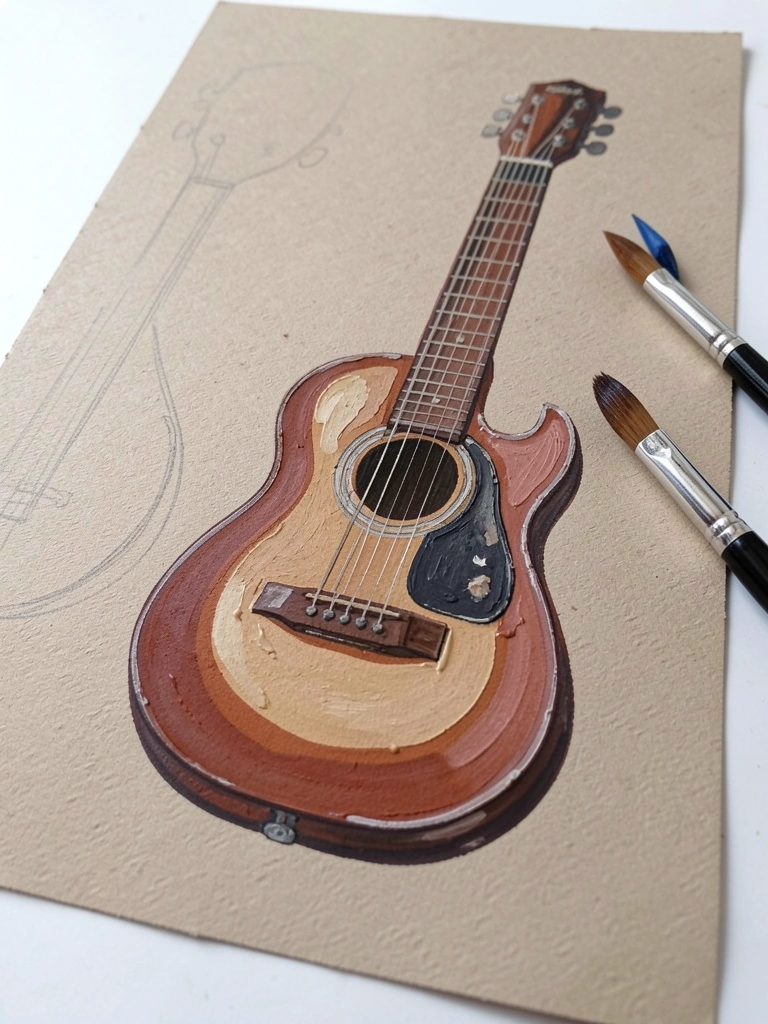
I switch to gouache for quick color studies before tackling a panel.
Gouache dries matte and lets me test color relationships fast. It keeps decisions small and cheap.
I used to waste canvases on experiments. Sketching in gouache saved time and money.
Tip: work from mid-toned paper so both highlights and darks read well with minimal layers.
What You'll Need for This
- Gouache set
- Toned sketch paper (mid-value)
- Small round brushes
- Pencil for initial layout
10. Collage with Sheet Music for Texture and Story
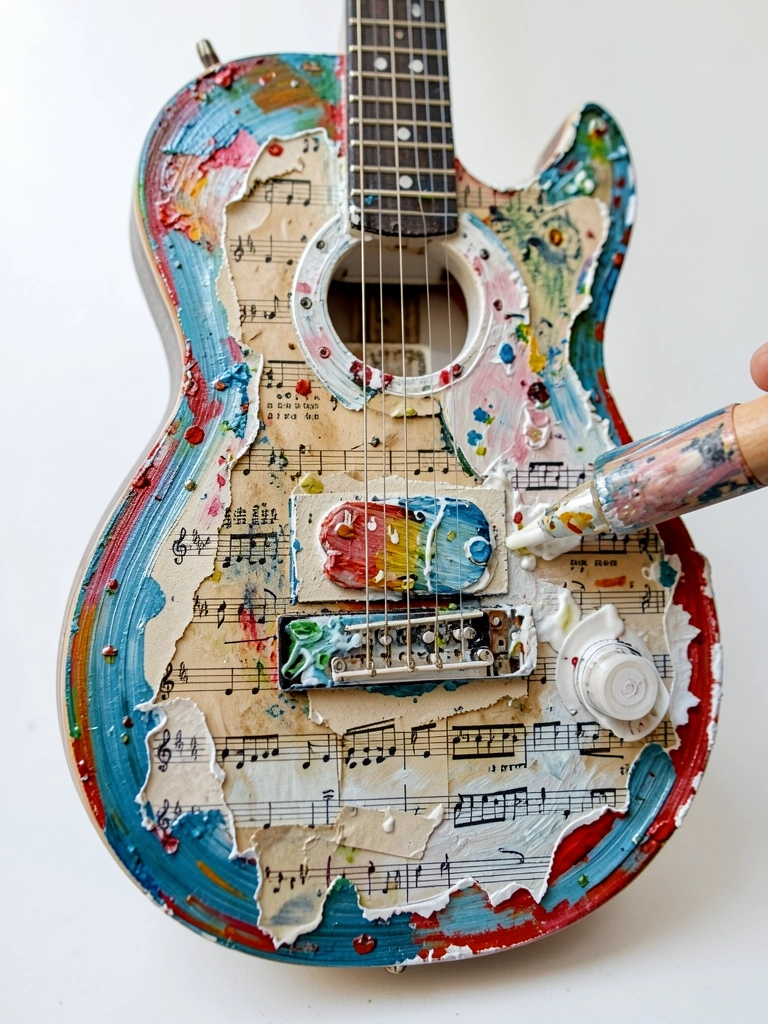
I glued torn sheet music onto a guitar body to add history and texture.
Paint over the paper layers thinly so the print peeks through. It creates subtle patterning.
My first glue job bubbled. I now press with a brayer and let it dry fully before painting.
Tip: seal the paper with a diluted medium before heavy paint to prevent lifting.
What You'll Need for This
- Sheet music or printed paper
- Glue or acrylic medium
- Brayer or bone folder
- Thin paint and soft brushes
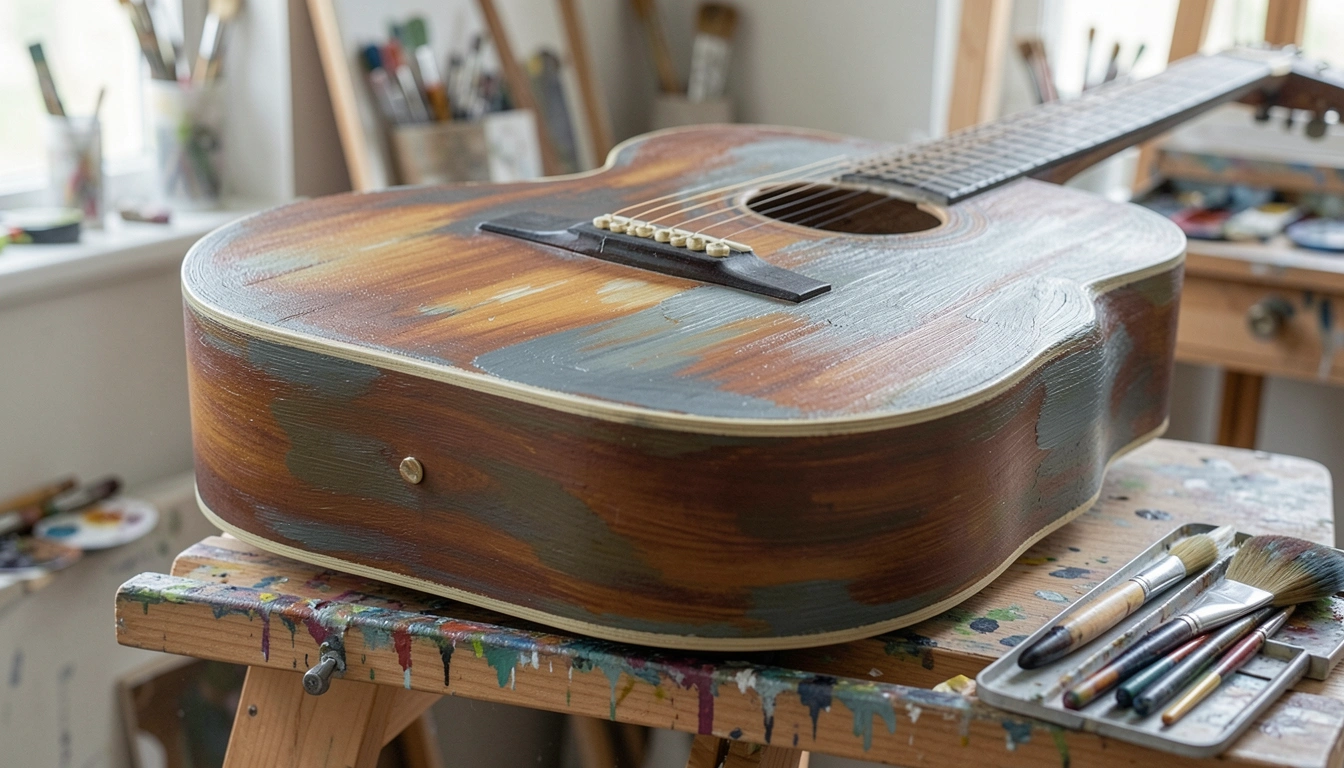
11. Dry Brushing for Worn, Vintage Guitars
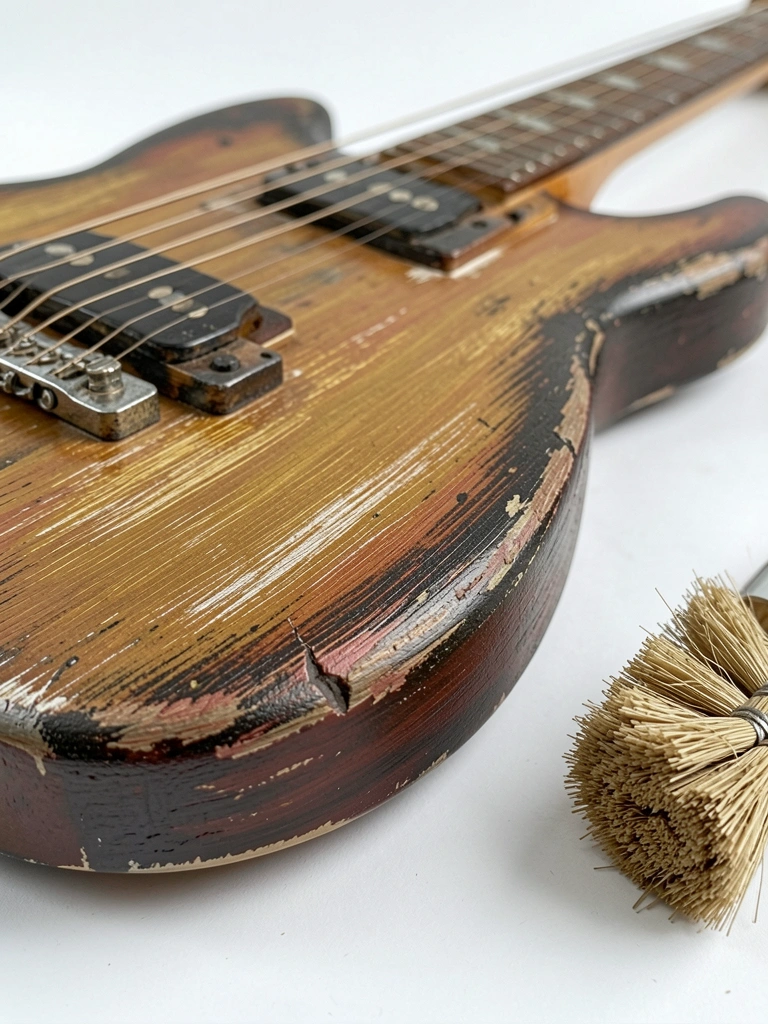
I used dry brushing to simulate worn lacquer and scuffed edges.
A stiff brush with almost-dry paint drags across raised texture and picks up the top layer.
I once used too much paint and got streaks. Wipe most paint off the brush first.
Tip: build up light scuffs slowly. Less is more with this weathered look.
What You'll Need for This
- Stiff-bristle brush
- Base paint and contrasting top color
- Rag for wiping brush
- Light sandpaper for final scuffing
12. Metallic Washes for Pickups and Shiny Accents
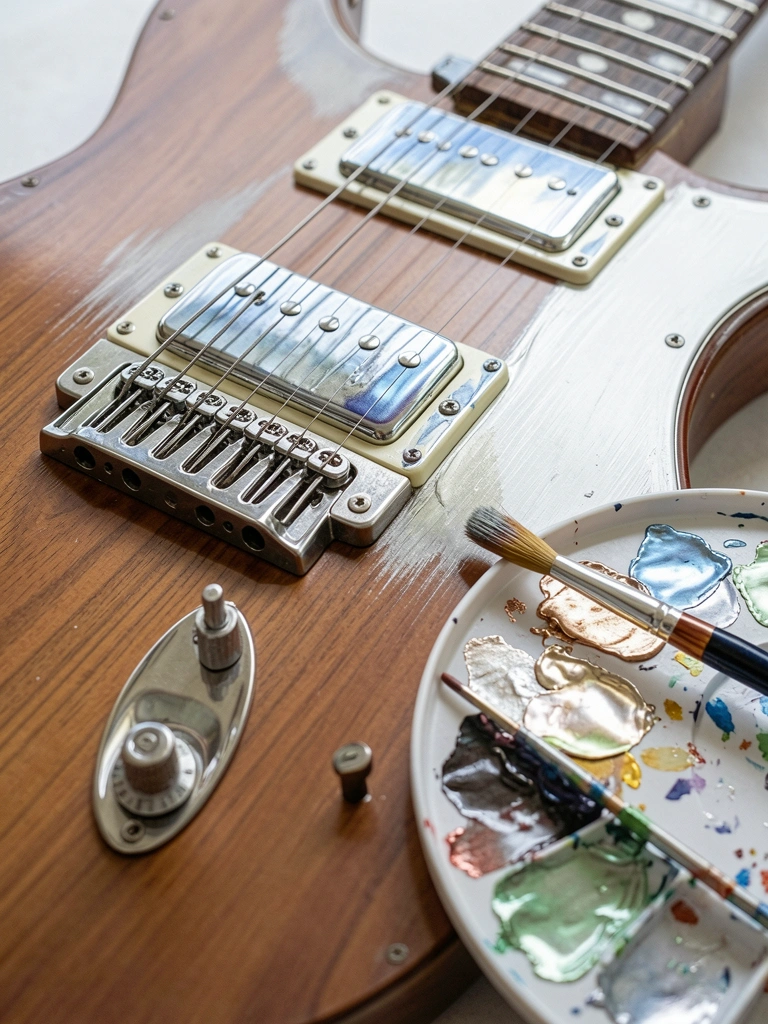
I mixed metallic paints with a glazing medium to keep them transparent and believable.
Thin metallic washes read like reflected light rather than flat glitter.
I used pure metallic straight from the tube once and it read fake. Dilution made it look like metal.
Tip: combine a small amount of metallic with a tinted glaze (blue or brown) to anchor the shine.
What You'll Need for This
- Metallic paint (acrylic or oil)
- Glazing medium
- Small soft brush
- Mixing palette
Final Thoughts
I painted wrong more times than right. That’s how I learned what helps.
Start with one idea here. Practice it small. Make a habit of testing on scraps.
You don’t need all twelve at once. Paint, notice what breaks, and try the next.