17 Trendy Tshirt Painting Ideas
I ruined the first shirt I tried to paint. The colors bled. The design drooped with the first wash.
I learned to prep fabric, thin paint just right, and stop overworking edges. I still mess up, but I fix things faster now.
These ideas are things I actually tried. They’re practical and forgiving enough to get you started.
17 Trendy Tshirt Painting Ideas
These 17 techniques are all hands-on things I’ve painted and reworked. You’ll get basics, shortcuts, and things I wish I’d known earlier.
1. Masked Geometric Blocks with Fabric Paint
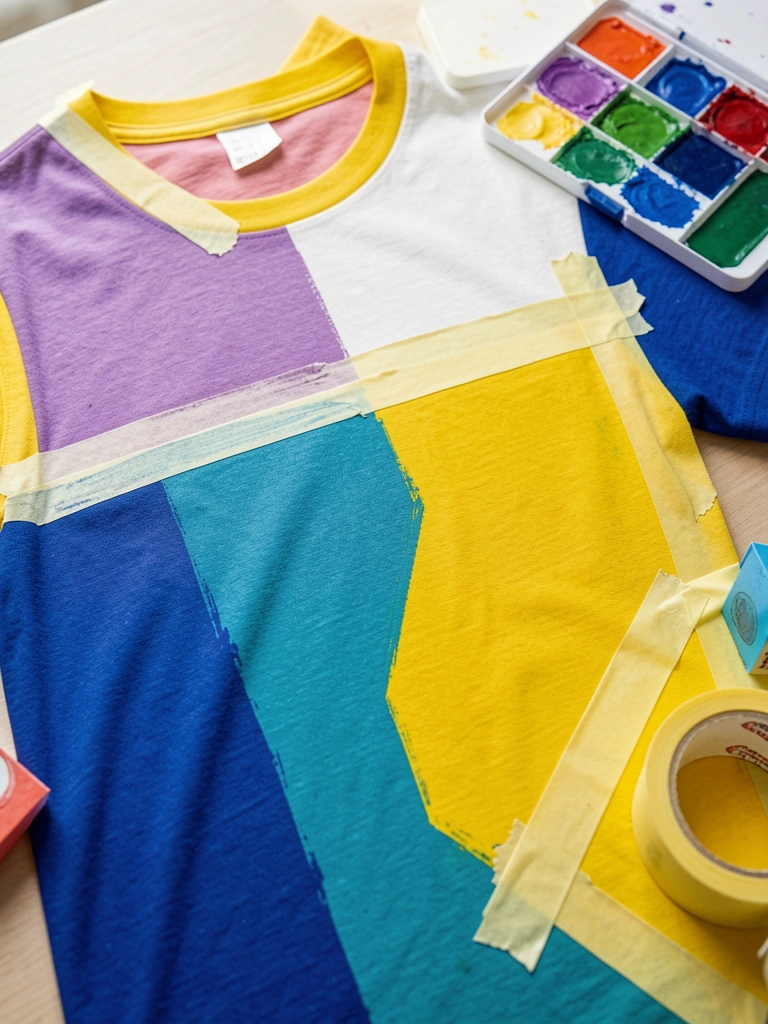
I started using masking tape to get crisp shapes when my freehand edges looked amateur. The tape keeps shapes clean and gives a modern look fast.
My shirts looked like I planned them. I blocked colors, let them dry, removed tape, and the lines stayed sharp. It’s satisfying and forgiving.
Watch for paint seep under tape. Press tape down firmly and remove slowly when paint is tacky, not fully cured.
What You'll Need for This
- Pre-washed cotton t-shirt
- Fabric paint or acrylic with textile medium
- Low-tack masking tape
- Flat synthetic brush
- Palette or plate
2. Soft Ombre Dip-Dye with Thinned Textile Paint
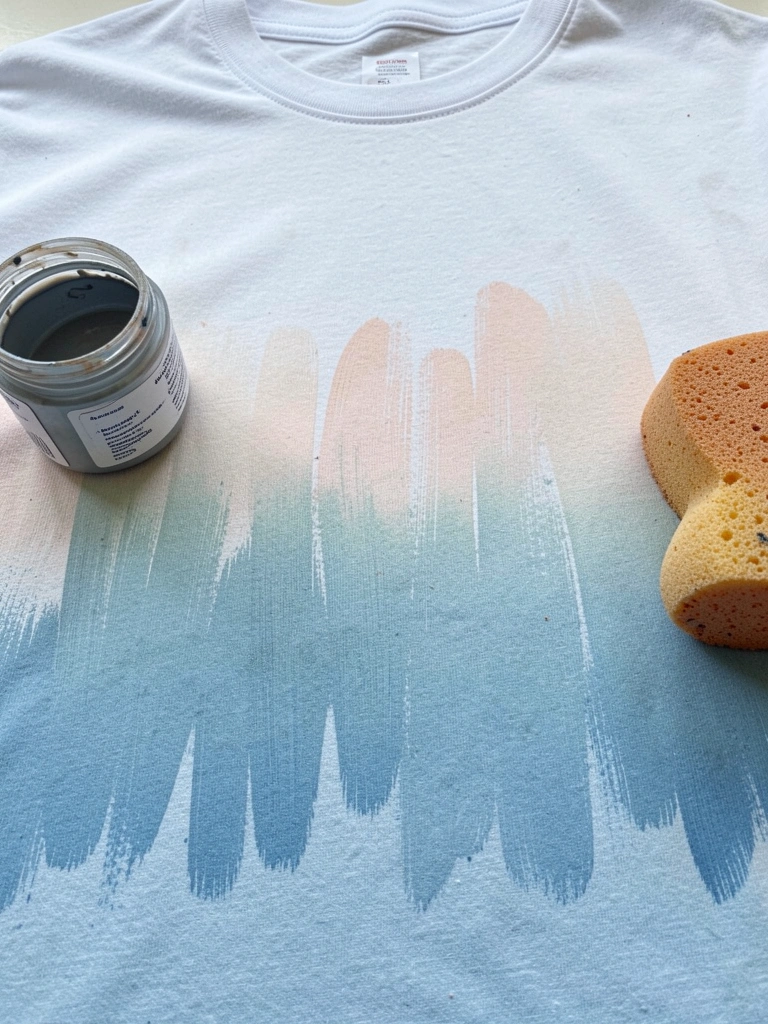
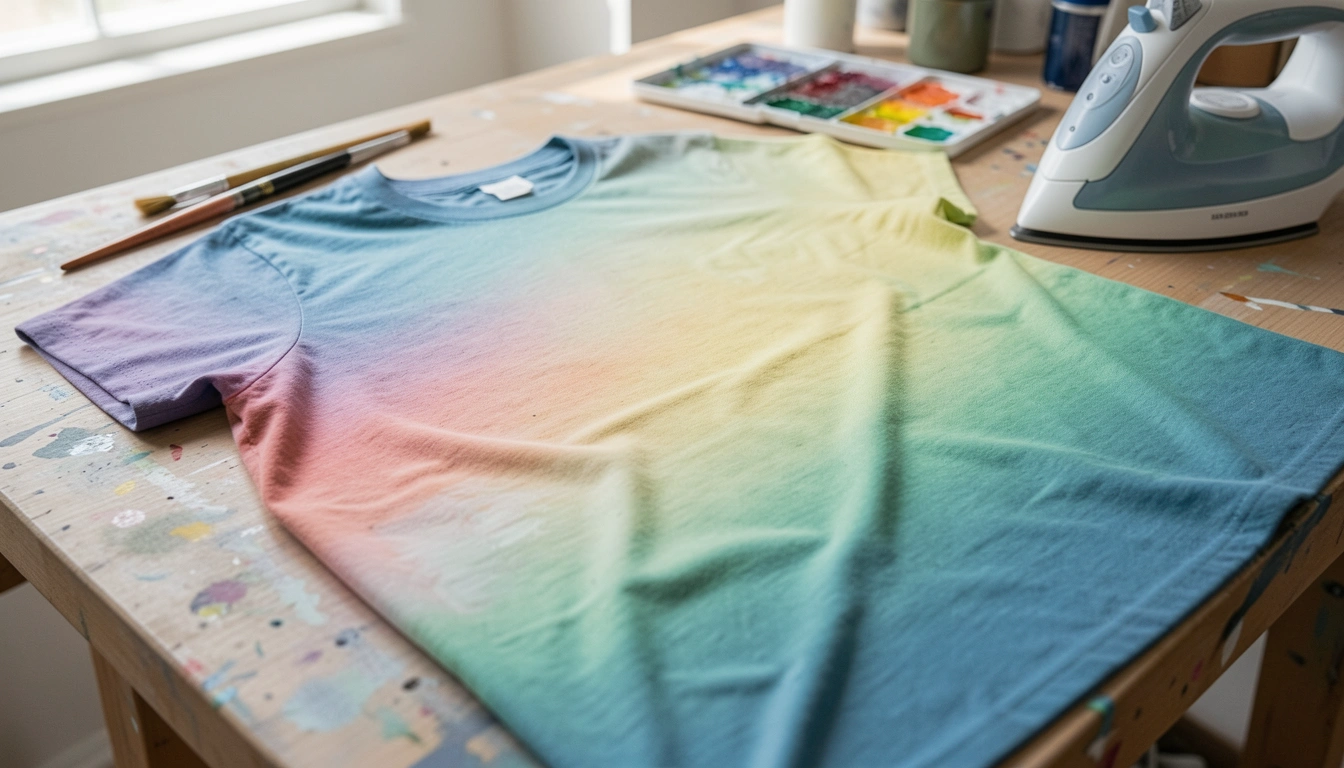
I liked the dip-dye look but my first attempts had hard bands. Thinning fabric paint and brushing transitions fixed it.
Working wet-on-wet made the transitions blend. I pulled paint up and let gravity help for a natural fade. It felt effortless after a few tries.
Don’t dilute too much or the paint will seep through layers. Test on scrap fabric. Heat-set after full cure.
What You'll Need for This
- Cotton t-shirt
- Fabric paint or acrylic mixed with textile medium
- Water spray bottle
- Wide brush or sponge
- Iron for heat-setting
3. DIY Block Printing with Eraser or Linoleum Stamps
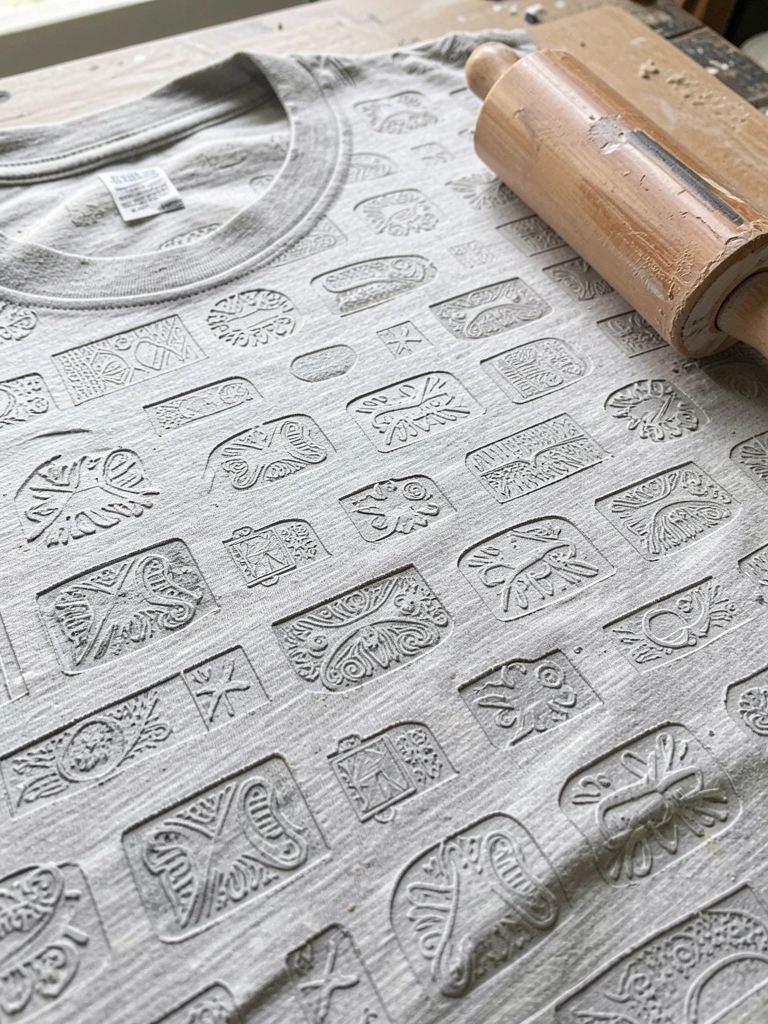
I carved a simple leaf into soft linoleum and stamped a row down the side of a tee. The repeat made a design look intentional.
Using a brayer gave even coverage. I learned to re-ink between impressions and align by eye. Imperfections gave character, not trouble.
Avoid overloading the stamp—too much paint blurs the edges. Practice alignment on scrap, then go slow on the shirt.
What You'll Need for This
- Cotton or linen t-shirt
- Soft linoleum or rubber stamp material
- Brayer or roller
- Fabric paint
- Scrap paper for test prints
4. Bleach-Resist Florals on Dark Shirts
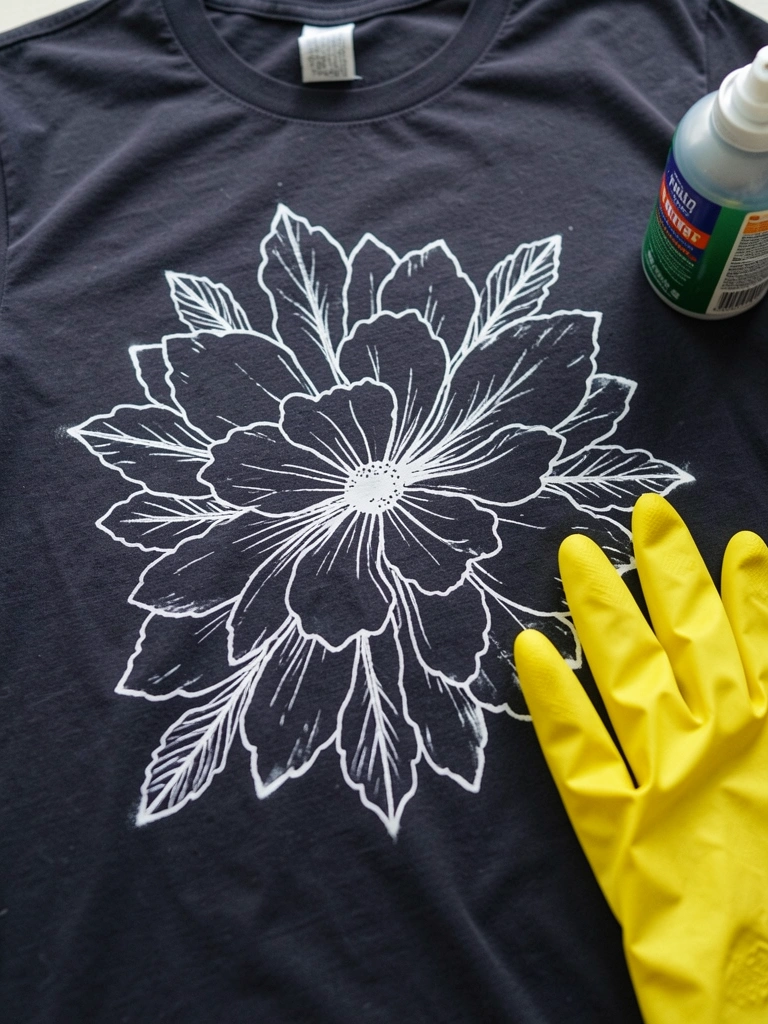
I sprayed bleach through a paper stencil and was surprised how sharp some edges came out. It’s dramatic on black tees.
Timing matters. I left bleach on briefly and rinsed, so the color lifted but fabric didn’t thin out. The contrast reads well from a distance.
Wear gloves. Test the bleach strength on a scrap. Over-bleaching makes fibers weak and gives a crusty feel.
What You'll Need for This
- Dark cotton t-shirt
- Chlorine bleach diluted in spray bottle
- Paper stencil or frisket
- Rubber gloves
- Access to sink for rinsing
5. Hand-Lettering with a Round Brush and Textile Medium
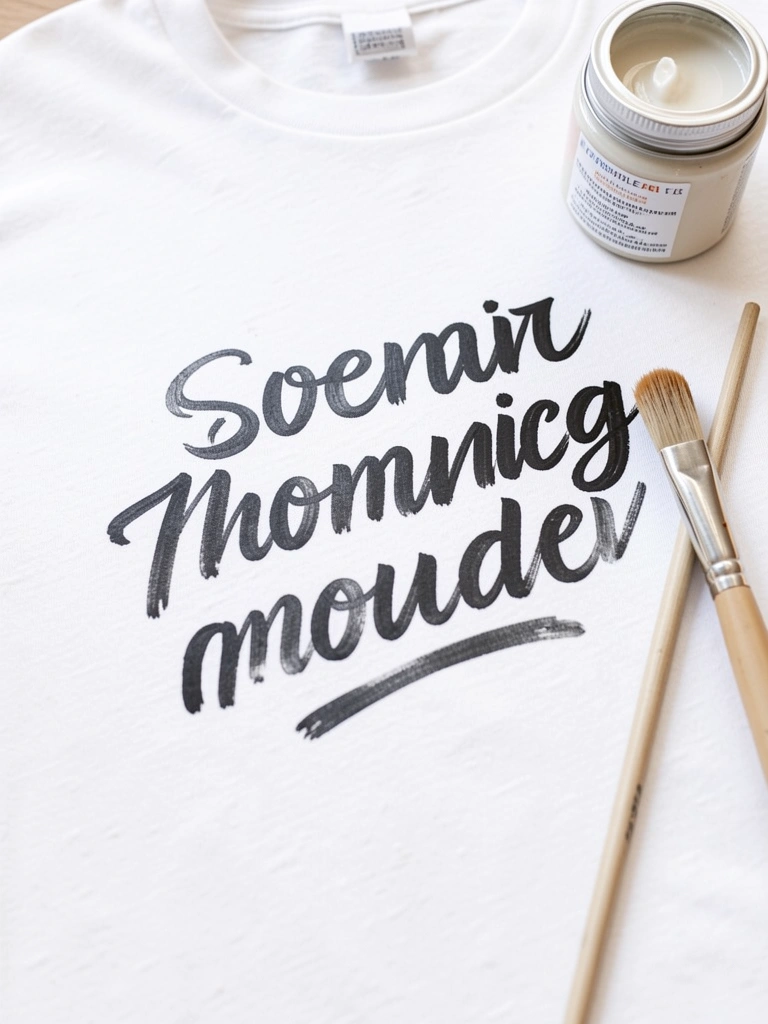
I used a small round brush and slowed down my wrist. My first letters looked shaky; practicing strokes on paper helped.
Mixing acrylic with textile medium kept the paint flexible. My letters stayed crisp after washes and didn’t crack where the shirt stretched.
Don’t load the brush too much. Thin strokes need a controlled, almost calligraphic motion. Practice strokes and plan your spacing lightly with pencil.
What You'll Need for This
- Pre-washed t-shirt
- Round synthetic brush (size 2–6)
- Acrylic paint + textile medium
- Pencil or washable fabric marker for layout
6. Photo Transfer for a Vintage Photo Look
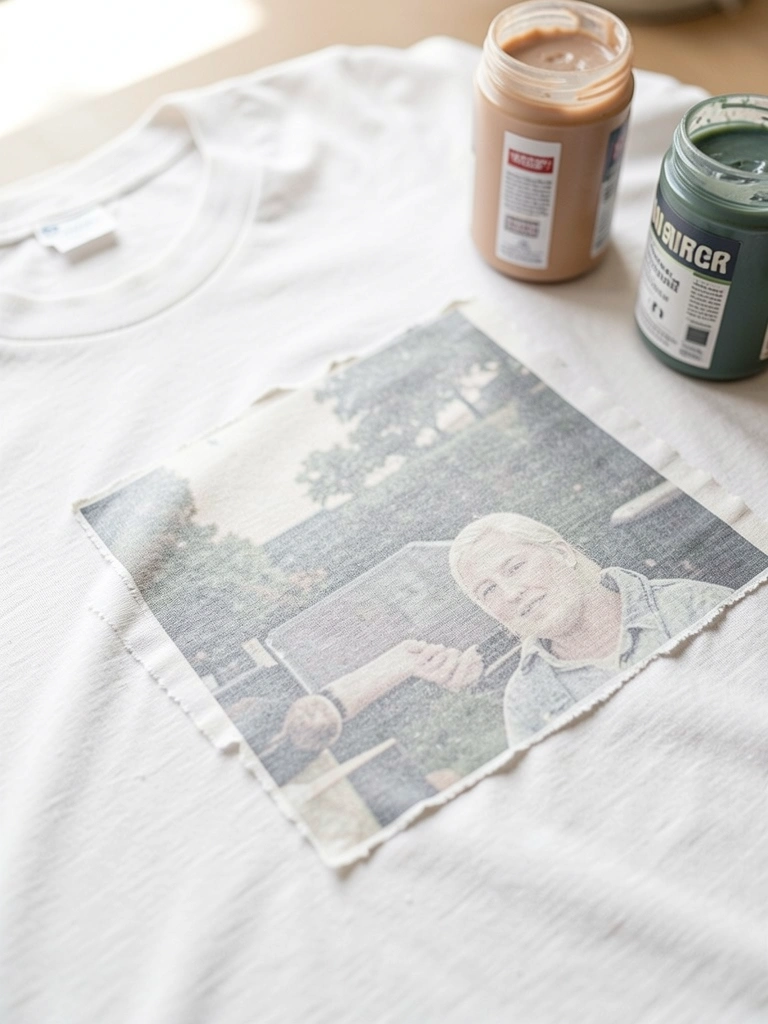
I transferred a black-and-white photo and liked the slightly ghosted look. The trick was using the right transfer medium and patience.
I printed on laser or photocopy, applied medium, and rubbed the paper off after it dried. Imperfect edges gave it a lived-in quality I like.
If you scrub too hard the image fades. Peel gently and stop once the image is visible. Heat-set to lock the image.
What You'll Need for This
- Cotton t-shirt
- Transfer medium or gel medium
- Laser print or photocopy
- Sponge for burnishing
- Water and soft cloth
7. Watercolor-Look with Fabric Medium for Soft Washes
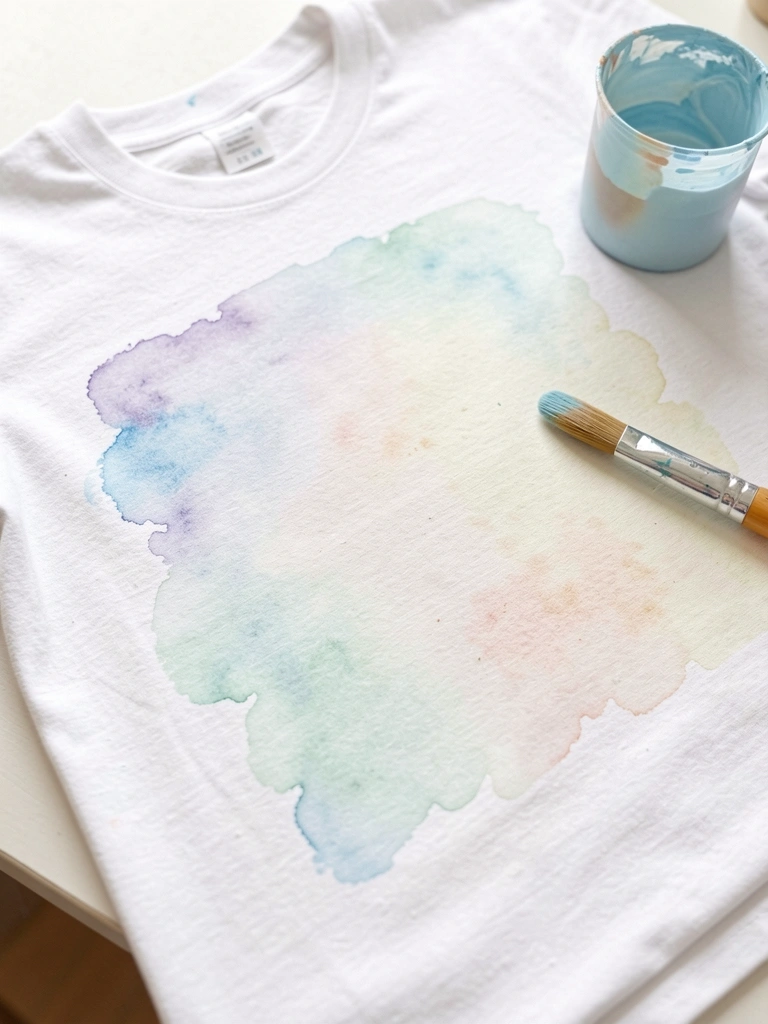
I wanted a watercolor look on fabric. Mixing fabric medium with watery paint gave soft pigment that soaked in rather than surface-skinned.
I layered thin washes and built depth slowly. The fabric absorbed the pigments in a forgiving way, so early mistakes could be softened by another wash.
Don’t expect sharp edges. If you need crisp, avoid this. Also test color intensity—washes dry lighter than they look wet.
What You'll Need for This
- Lightweight cotton or rayon t-shirt
- Fabric medium and acrylic paints
- Soft round brush
- Small spray bottle of water
8. Puff Texture Accents for Playful Dimension
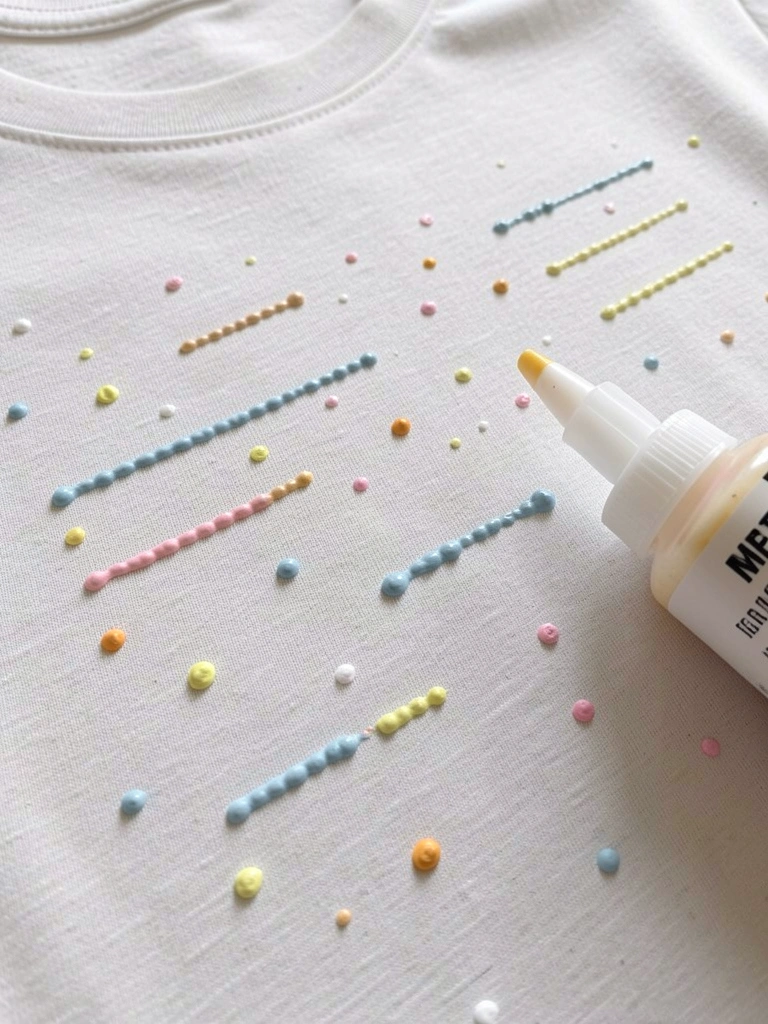
I added puff paint dots to a painted design and loved the tactile boost. The raised bits catch light and don’t need perfection to read well.
Squeeze slowly and keep steady pressure. Heat makes the puff expand—follow the product instructions. The 3D bits survived machines when heat-set right.
I once squeezed too much and got blobs. Use short bursts and practice on scrap to control output.
What You'll Need for This
- Pre-washed t-shirt
- Puff fabric paint (squeeze bottle)
- Heat source (iron or dryer per product)
- Scrap fabric for testing
9. Reverse Painting Inside-Out for Subtle Lines
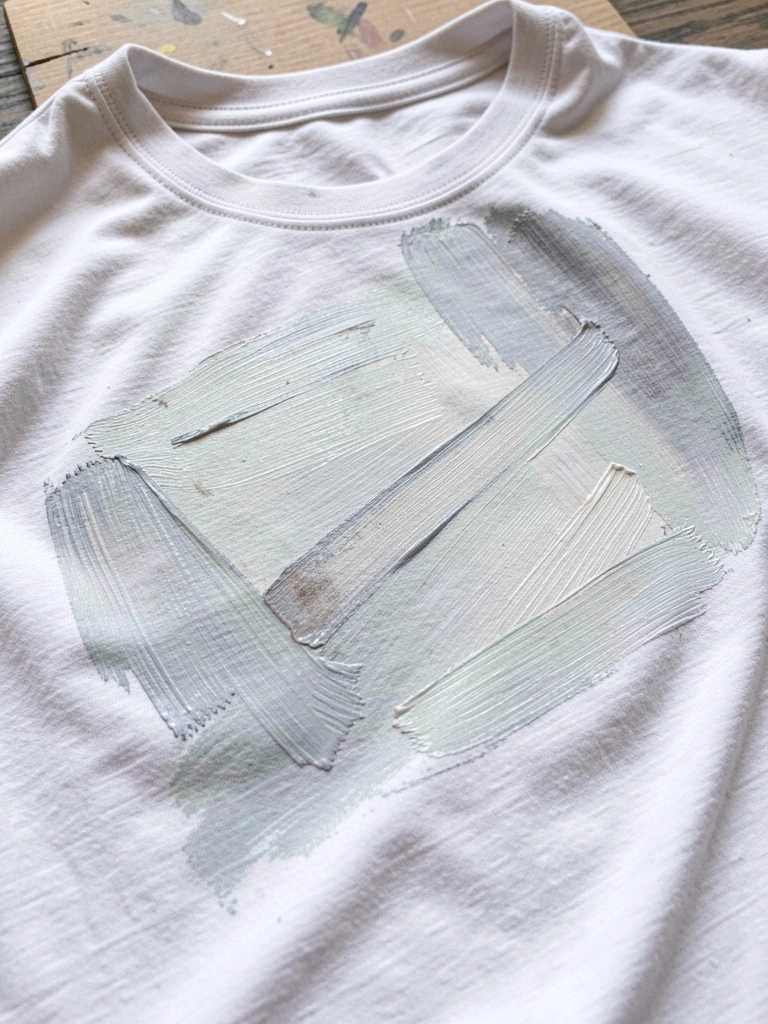
I flipped the shirt inside-out to paint thin linework. The paint pushed through less, and lines looked softer from the outside.
This method gives a muted, stitched-look without bulk. I pressed the fabric tight over a board and painted shallow strokes for light marks.
Pay attention to how fabric stretches. Use thin paint and less pressure to avoid push-through blobs. Test one line first.
What You'll Need for This
- T-shirt and a flat painting board
- Thinned fabric paint
- Small round brush
- Tape to secure fabric to board
10. Sponged Abstract Layers for Painterly Texture
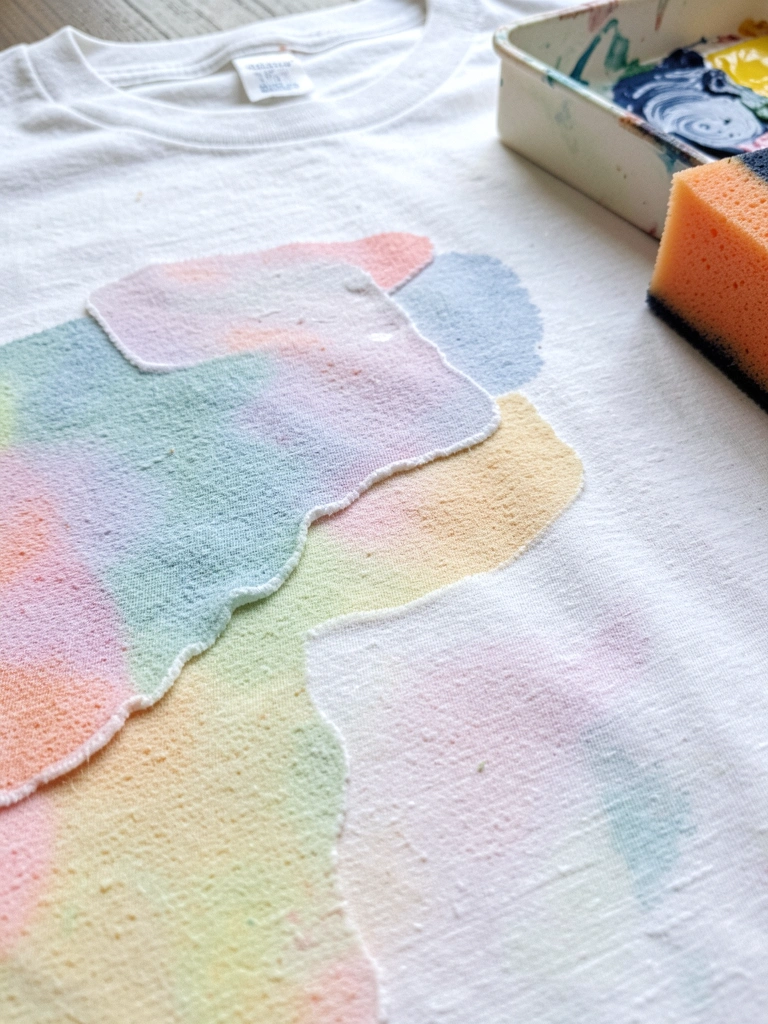
I abandoned brushes and started sponging for an abstract piece. It masked mistakes and built texture quickly.
I dabbed multiple colors in layers, letting parts dry between passes. The randomness read as deliberate when balanced with a focal area.
Avoid smearing wet layers. Let each layer dry or you’ll get muddy mixes. Use different sponge edges for variety.
What You'll Need for This
- Pre-washed t-shirt
- Natural sponges or foam
- Fabric paint
- Paper plate palette
11. Low-Tech Screen Printing with Cut Stencils
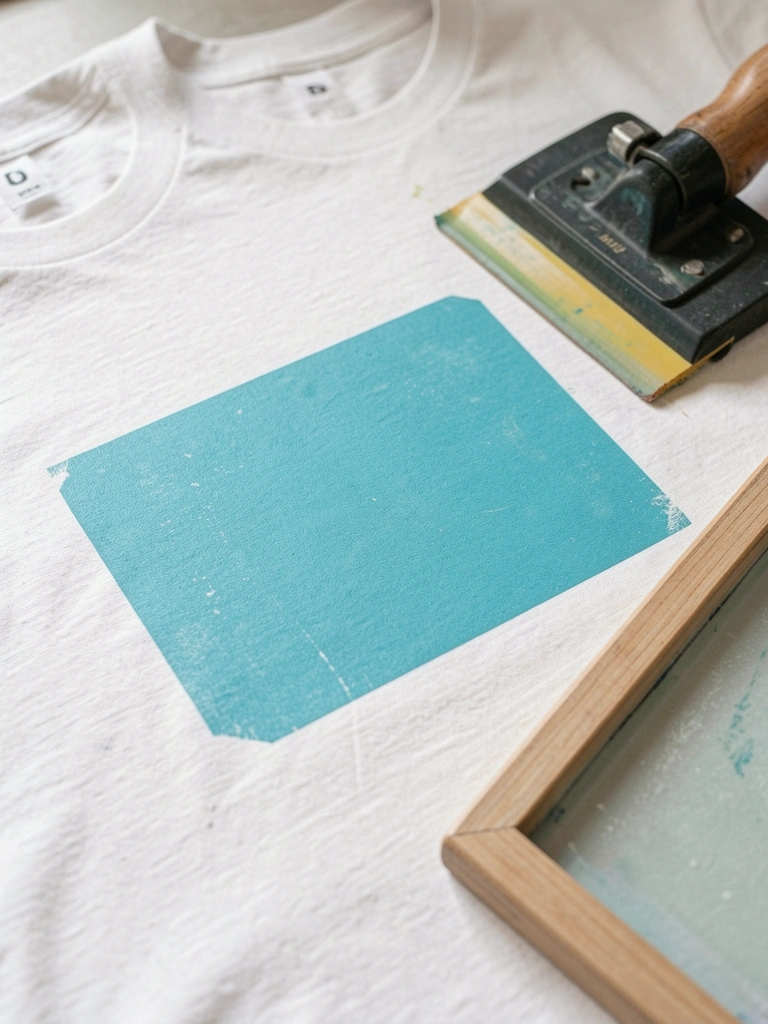
I rigged a stretcher frame and used a cut stencil for multiple shirts. The repeatability made DIY prints look pro.
I pulled paint with a squeegee in one steady pass. Alignment took practice but got faster. The prints were crisp and consistent after a few tries.
Use slightly thicker fabric paint to avoid bleeding. Clean the screen right away—clogged mesh ruins prints.
What You'll Need for This
- T-shirt
- DIY screen frame and mesh
- Cut plastic stencil or vinyl
- Fabric ink and squeegee
12. Metallic Accents with Adhesive Foil
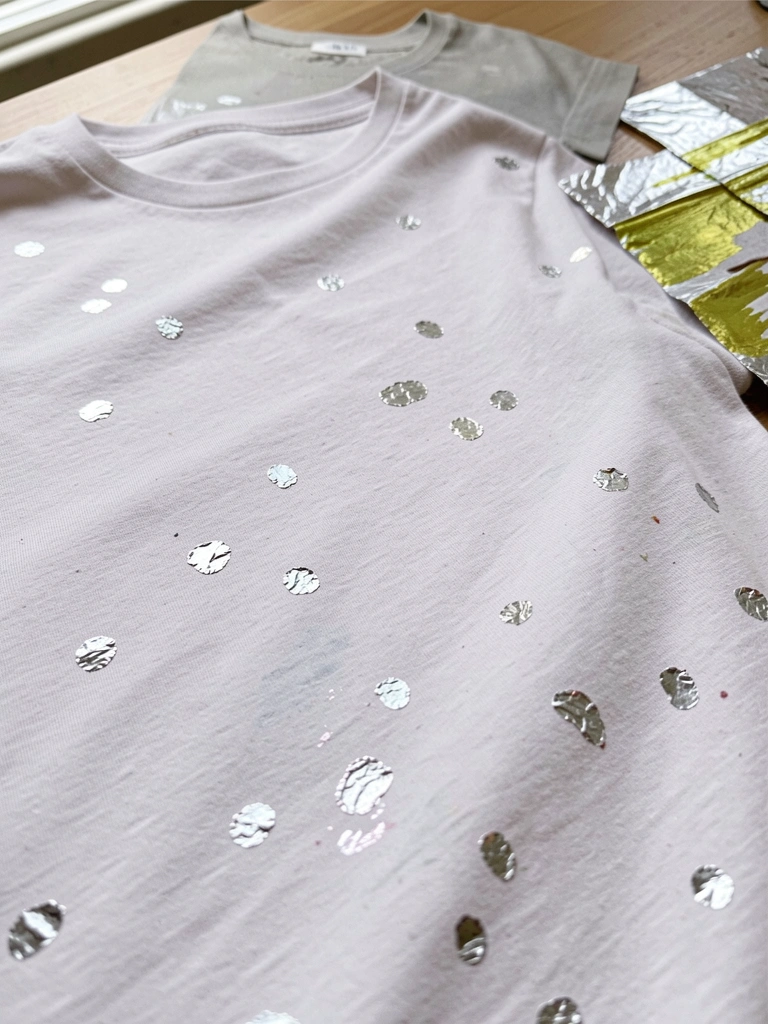
I added foil over adhesive for tiny shine spots. It made a plain print feel finished without heavy metallic paint.
Applying foil after paint dried created crisp highlights. I kept accents small; big foil areas felt stiff otherwise.
Foil shows every error. Keep application precise and avoid overdoing it. Press firmly for best transfer.
What You'll Need for This
- Cotton t-shirt
- Foil adhesive (fabric-safe)
- Metallic foil sheets
- Small roller or bone folder for burnishing
13. Layered Stencil Gradients for Depth
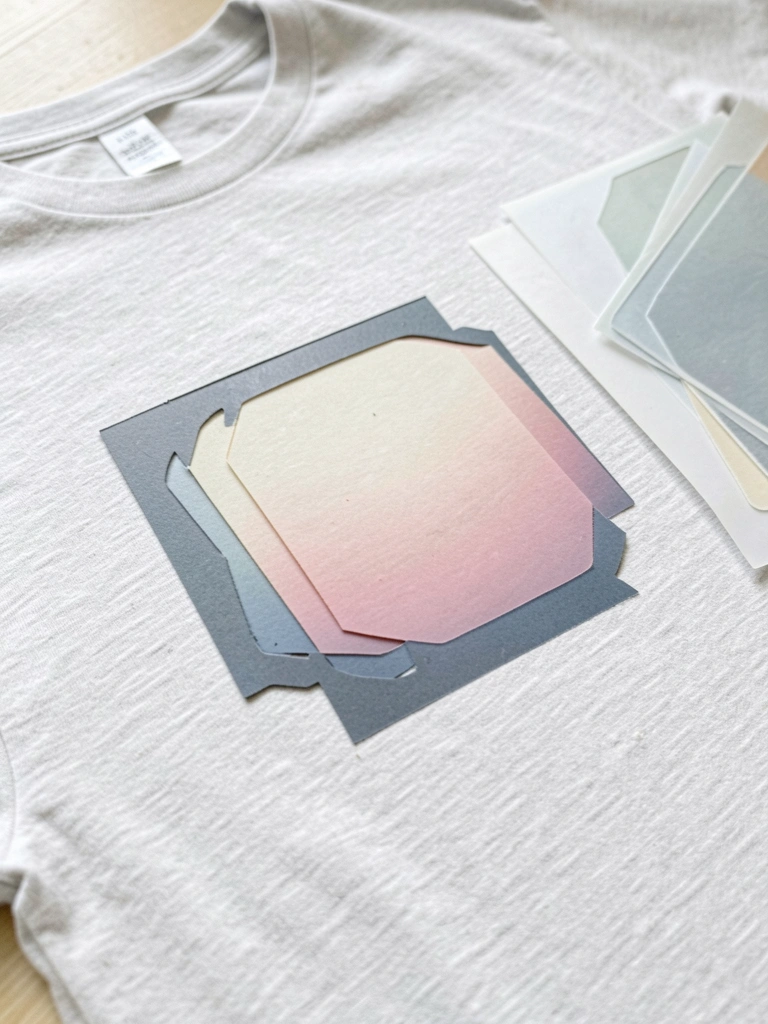
I layered the same stencil with slightly different shades to get depth. The result looked complicated but was simple stacking.
I sprayed or sponged each color lightly and let edges overlap. The layers read as shadow and light without much detail work.
Aligning layers is finicky. Mark registration points on the shirt to keep repeats lined up. Work light and build up.
What You'll Need for This
- T-shirt
- Multiple cut stencils (same shape)
- Fabric paints in gradient shades
- Light sponge or small spray bottle
14. Fine Botanical Linework with Fabric Markers
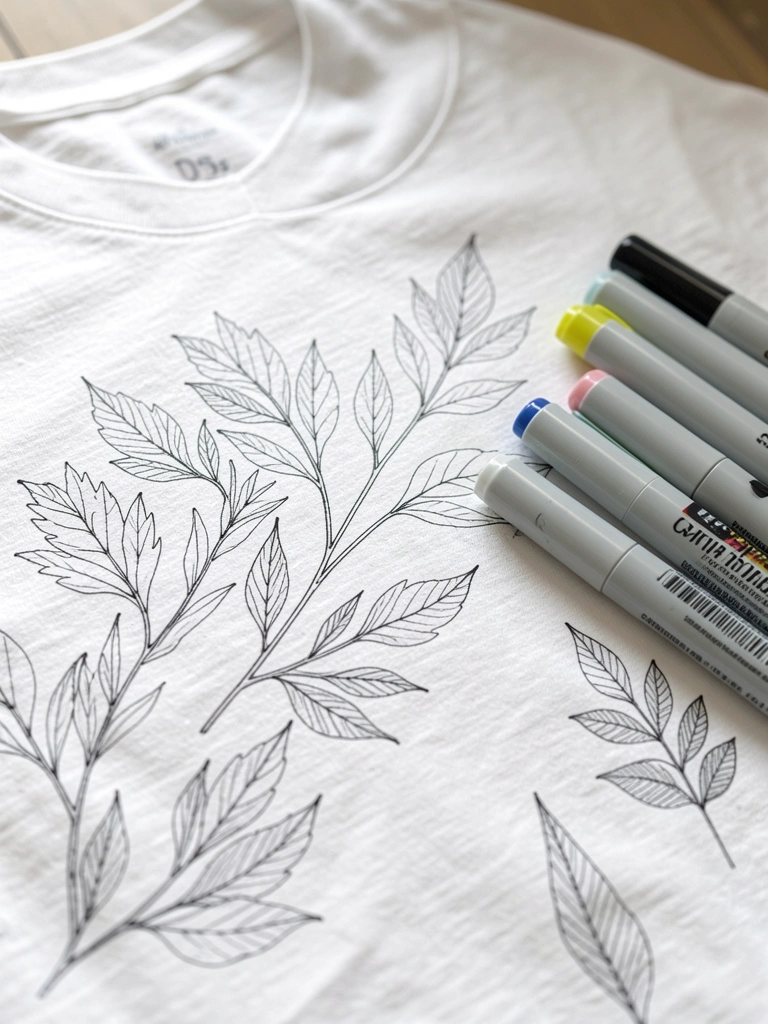
I switched to fabric markers for tiny, controlled lines. My hand felt steadier and the ink didn’t bleed like thin paint.
Markers are great for outlines and details over painted backgrounds. I layered ink over dry paint and it sat nicely.
Markers can fade if not heat-set. Scribble on scrap to check flow. Don’t press too hard—fine tips can squirt if you squeeze.
What You'll Need for This
- Pre-washed t-shirt
- Fine-tip fabric markers
- Pencil for light sketching
- Cardboard insert to protect back
15. Tonal Shading with Dry Brush for Soft Shadows
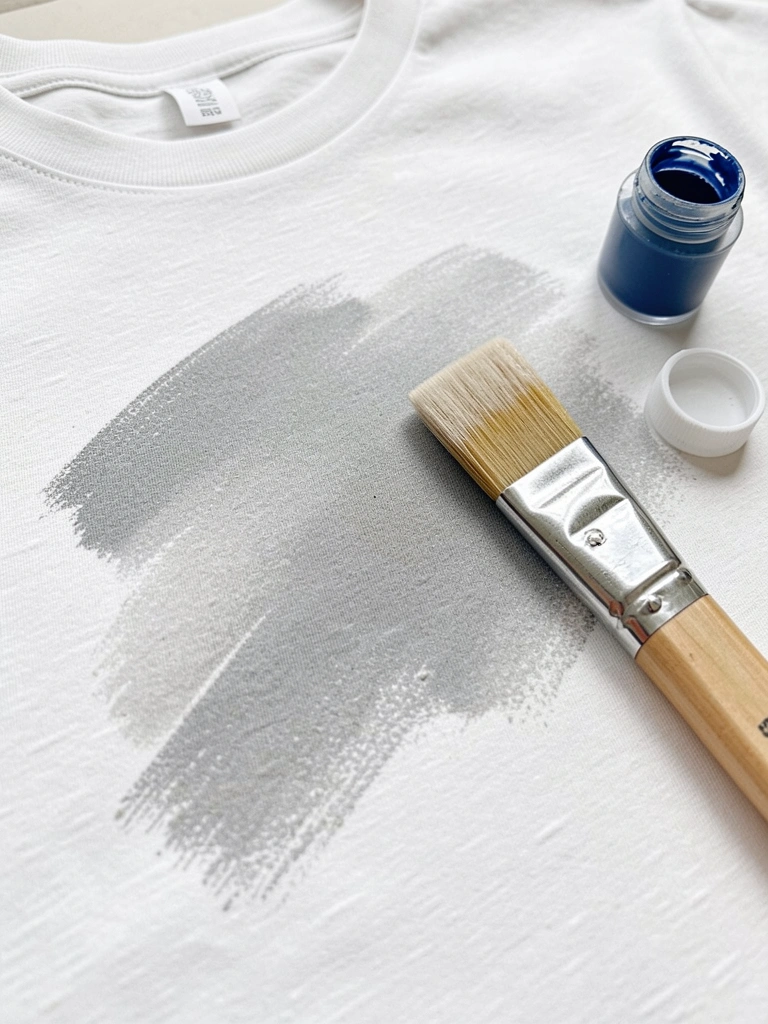
I used a dry brush to add soft shadows around a printed motif. It made the image sit on the shirt instead of float.
Loading the brush sparsely and dragging it lightly built gentle tone. It’s forgiving—if you go too dark, blend with a clean dry brush.
Avoid heavy pressure. Work in small motions and step back to check tone. A light hand wins here.
What You'll Need for This
- Cotton t-shirt
- Flat, stiff dry brush
- Thinned fabric paint or diluted acrylic + textile medium
- Paper towel for blotting
16. Sgraffito Scratches into Semi-Wet Paint for Line Texture
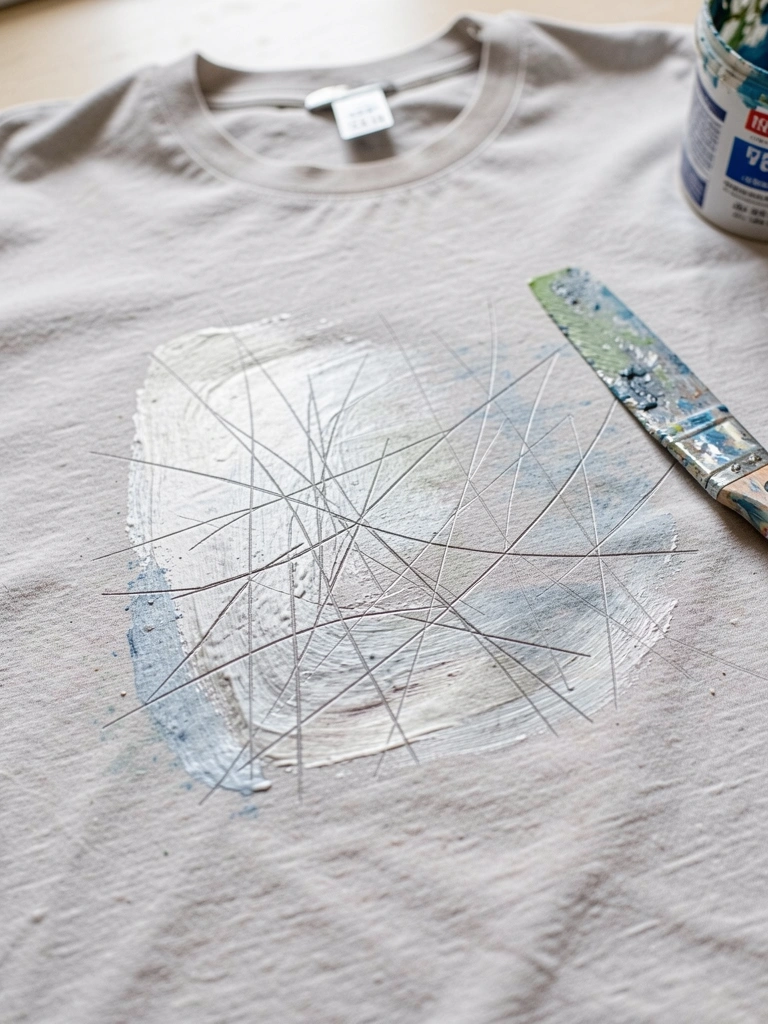
I scratched into semi-wet layers to reveal the base shirt color. The fine lines read like embroidered detail without stitching.
I applied a thin top layer, waited until tacky, then scraped with a toothpick or needle. The result looked deliberate and textured.
Don’t wait too long or the paint skins and won’t scratch cleanly. Practice pressure on scrap to avoid tearing fabric.
What You'll Need for This
- Pre-washed t-shirt
- Fabric paint layers
- Toothpick, needle, or thin palette knife
- Flat board to support fabric
17. Faux Patch Painting Then Stitching for Mixed Media
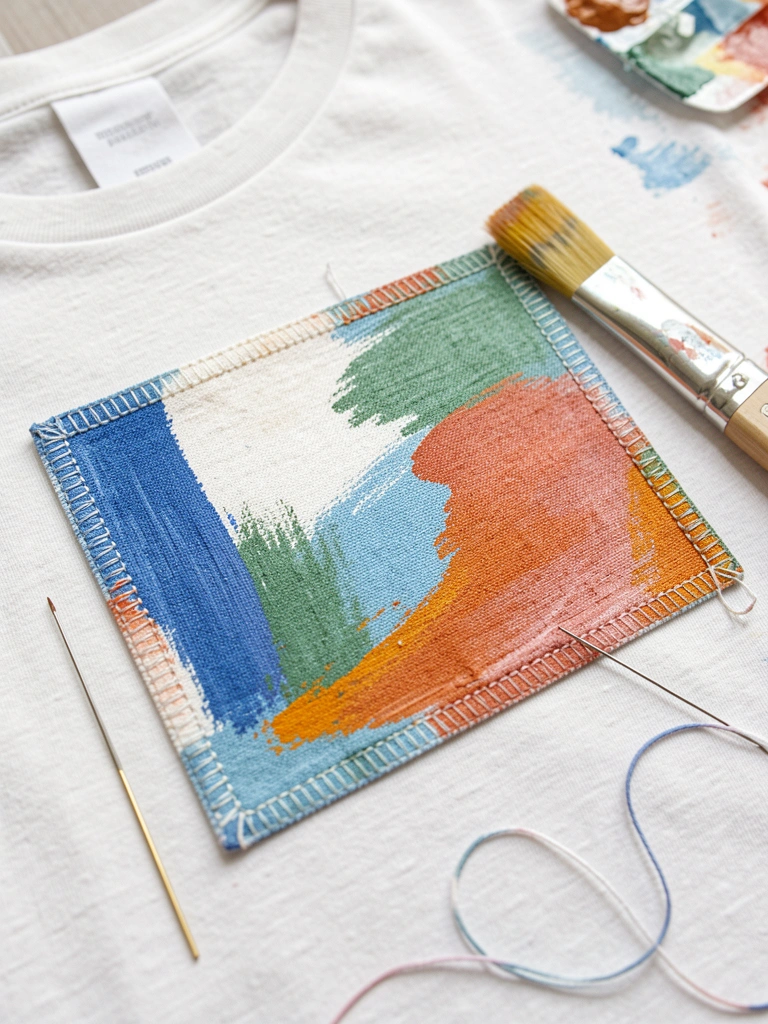
I painted rectangle patches, then stitched around them. The painted patch looks like fabric and stitching gives real depth.
Painting faux patches let me test placement before any needle touched the shirt. Once happy, I used small running stitches to secure and add texture.
If you skip pre-washing, paint can lift with stitches. Make sure the paint is fully cured and patch edges are thin so stitching sits correctly.
What You'll Need for This
- T-shirt
- Fabric paint
- Needle and thread (or sewing machine)
- Pencil for layout and small scissors
Final Thoughts
I don’t expect you to master every idea. I learned by repeating a few techniques until they stuck.
Pick one or two, practice on scrap shirts, and keep heat-setting in mind. Messes teach you what to avoid next time.