11 Adorable Teddy Bear Painting Ideas
I always start with a bad bear sketch.
I ruined canvases until my fur technique clicked. These ideas are what helped when colors went muddy or eyes read flat.
They're simple, practical, and ready for the easel. I learned by redoing backgrounds and wasting paint.
I kept going, honestly, always.
11 Adorable Teddy Bear Painting Ideas
These 11 techniques are short, hands-on ways I used to paint teddy bears without getting muddy colors or stiff fur. Practical steps for any skill level.
1. Soft Layered Fur with Dry Brush
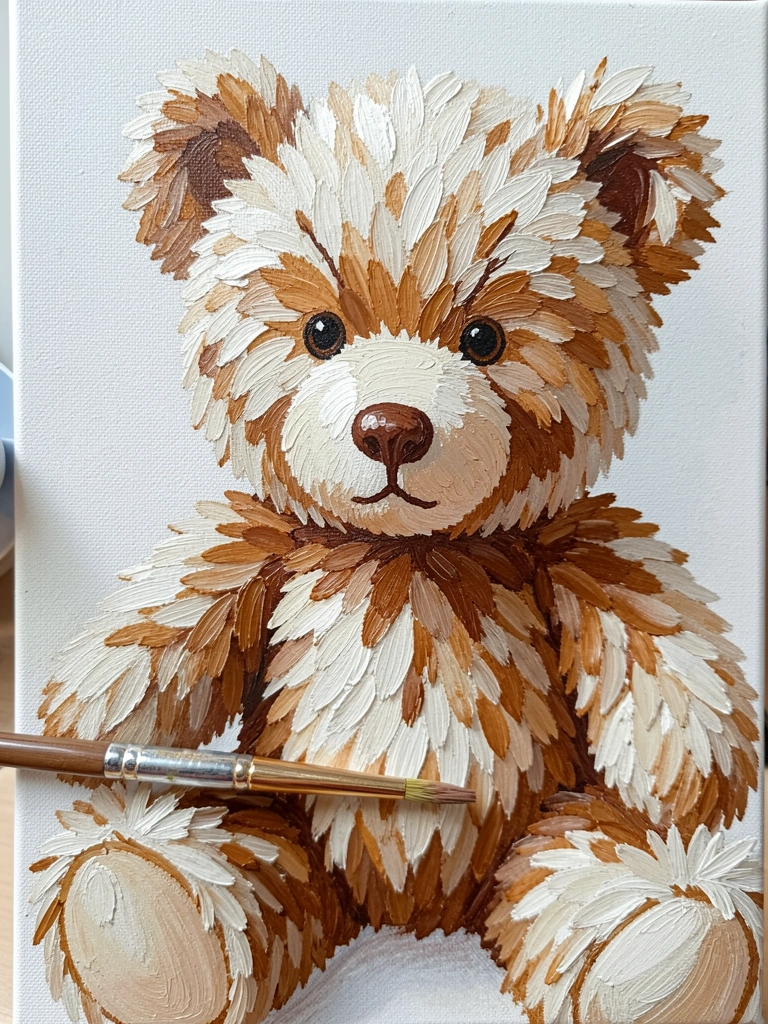
I learned dry brushing the hard way by overloading the brush. Once I thinned paint and wiped most off the bristles, the fur became soft and believable. I work from dark underlayers to lighter highlights, using quick, short strokes that follow the curve of the bear.
The paint builds slowly. That keeps colors from turning muddy. My early attempts looked streaky; thinning the paint fixed that.
Watch brush load and wrist angle. Less paint equals texture. Paint with a nearly-dry flat or bright brush and let the canvas tooth show.
What You'll Need for This
- Acrylic paint (thinned slightly)
- Flat or bright stiff-bristle brush
- Primed canvas or canvas board
- Paper towel for wiping brush
2. Warm Glazed Wash for Plush Shadows
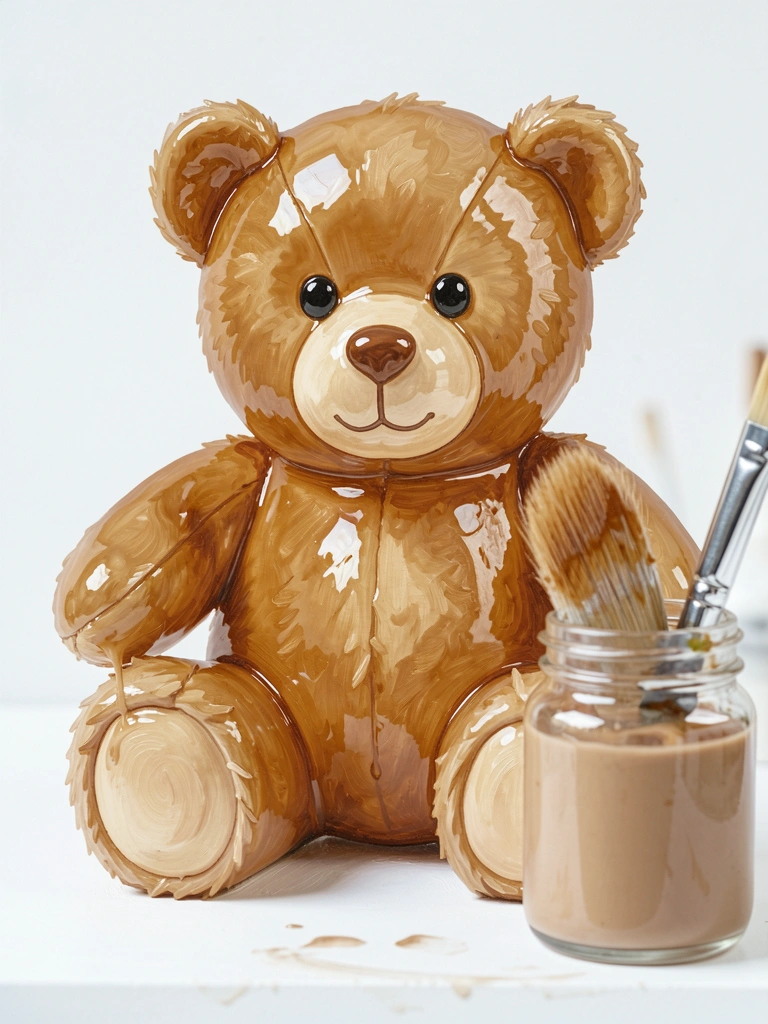
I used to slap on dark paint and get flat, heavy bears. Switching to thin glazes fixed that. I mix paint with glazing medium or lots of water for gouache/watercolor. I lay down a warm shadow wash over midtones to suggest plush depth without heavy strokes.
Glazing keeps edges soft and avoids muddy mixes. I let each layer dry and build up warmth slowly. Once I over-glazed and lost the midtone—lesson learned.
Pay attention to translucency. If a glaze looks chalky, thin it more and try another light pass.
What You'll Need for This
- Acrylic glazing medium or thinned gouache/watercolor
- Round mop or soft flat brush
- Palette for mixing thin washes
- Clean water and cloth
3. Loose Brushwork for Cartoon Teddy
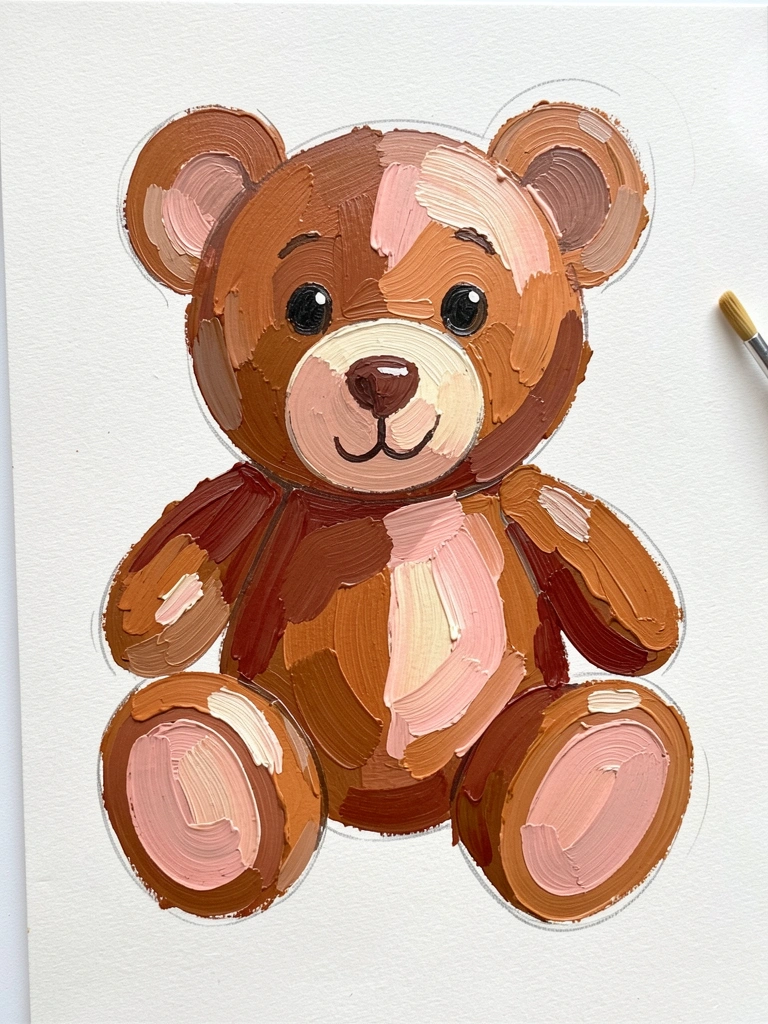
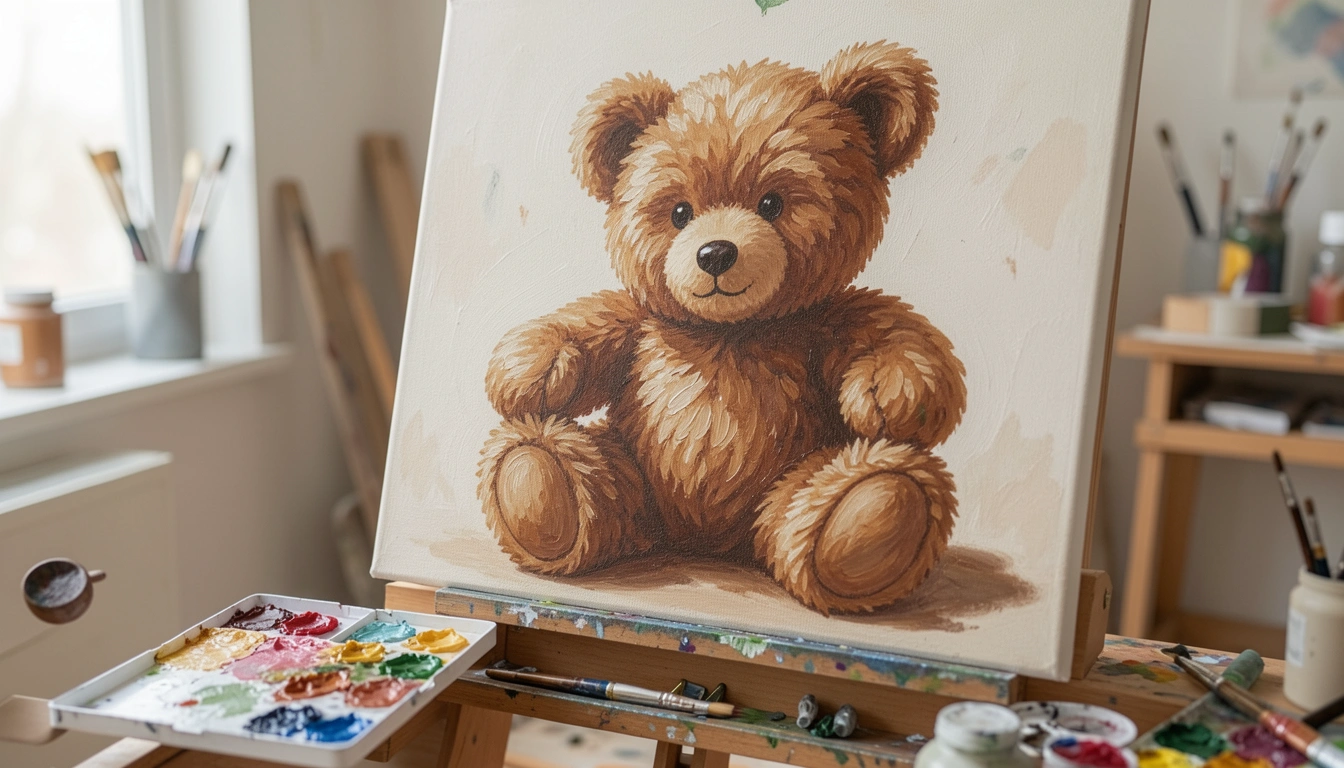
I love doing quick, cartoon-style bears when I need a fresh start. I sketch simple shapes, then block in values with a large round or filbert. I let strokes stay visible to suggest fur without detail. This keeps the painting lively and forgiving of small mistakes.
My early cartoon bears were stiff because I overworked edges. Now I stop while edges are still fresh and confident. Limited colors help too.
Trust big shapes first. The charm comes from loose marks and confident edges, not tiny hairs.
What You'll Need for This
- Acrylic or gouache
- Large round or filbert brush
- Paper or canvas board
- Pencil for simple sketch
4. Palette Knife Texture for Chunky Fur
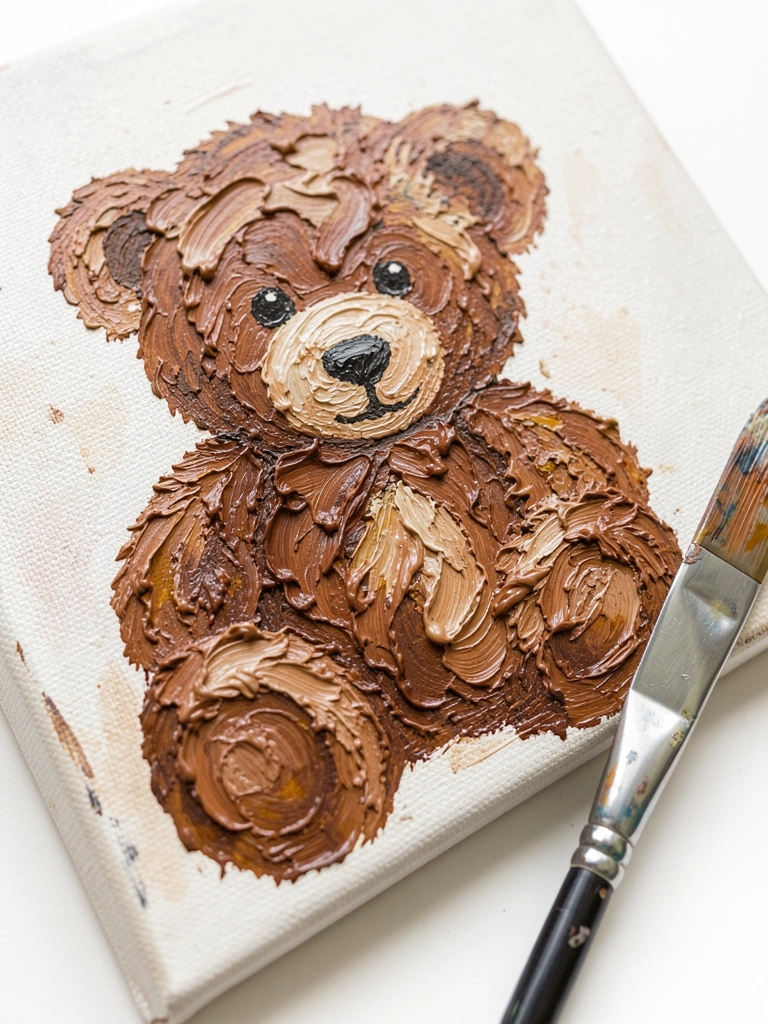
I tried a palette knife once and smeared my whole bear. After that mess, I practiced on scraps. Using a knife gives chunky, plush fur quickly. I load a small amount of paint and drag or dab to build raised tufts along the bear’s form.
The trick is to keep strokes directional and consistent with light. If I press too hard, the paint globs and the shape gets lost—I've wrecked a few faces this way.
Work in small areas and step back. Knife texture reads great in photos and handles light nicely.
What You'll Need for This
- Heavy body acrylic or oil paint
- Small to medium palette knife
- Sturdy canvas or wood panel
- Rags for cleanup
5. Wet-on-Wet Watercolor Teddy
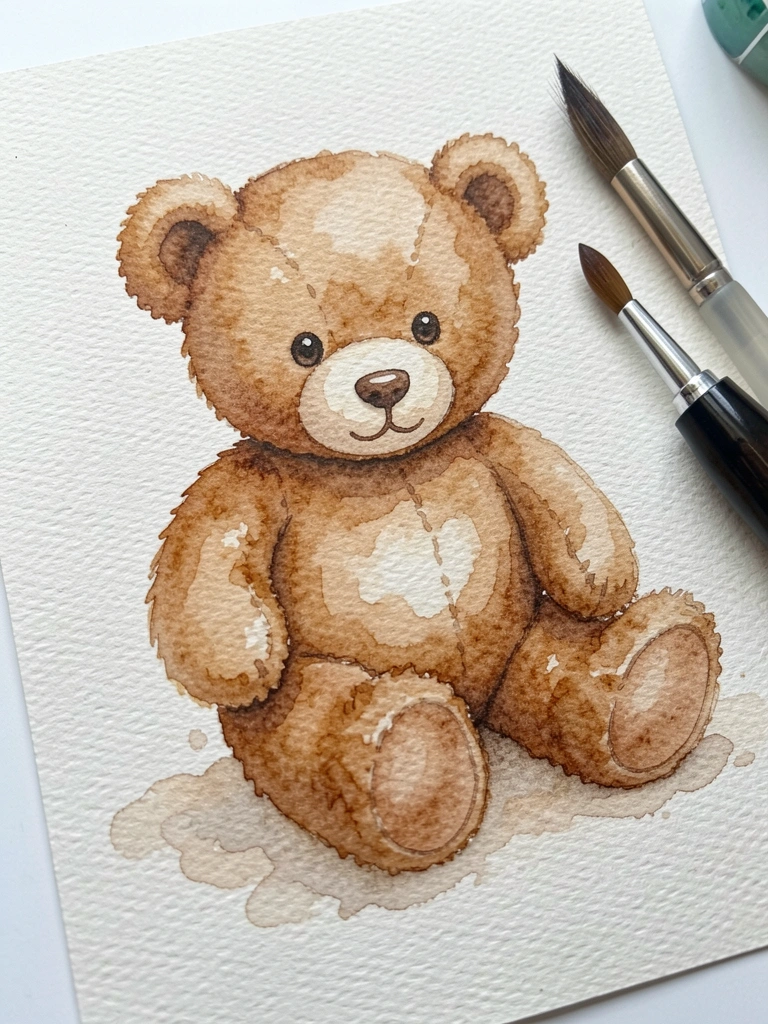
I learned wet-on-wet by spilling too much water at first. After practicing control, the technique became my favorite for soft, blended bears. I wet the paper first, then lay in light washes of brown. Pigments bloom gently into one another, making seamless fur transitions.
Timing matters. If the paper becomes dry, hard edges appear. If too wet, colors run everywhere—my early paintings had blobs for eyes.
Start with light values and build gradually. Embrace the soft edges; they make the bear cuddly.
What You'll Need for This
- Watercolor paints
- Cold-press watercolor paper
- Round water brush or mop brush
- Clean water and paper towel
6. Stippled Fur with a Round Brush
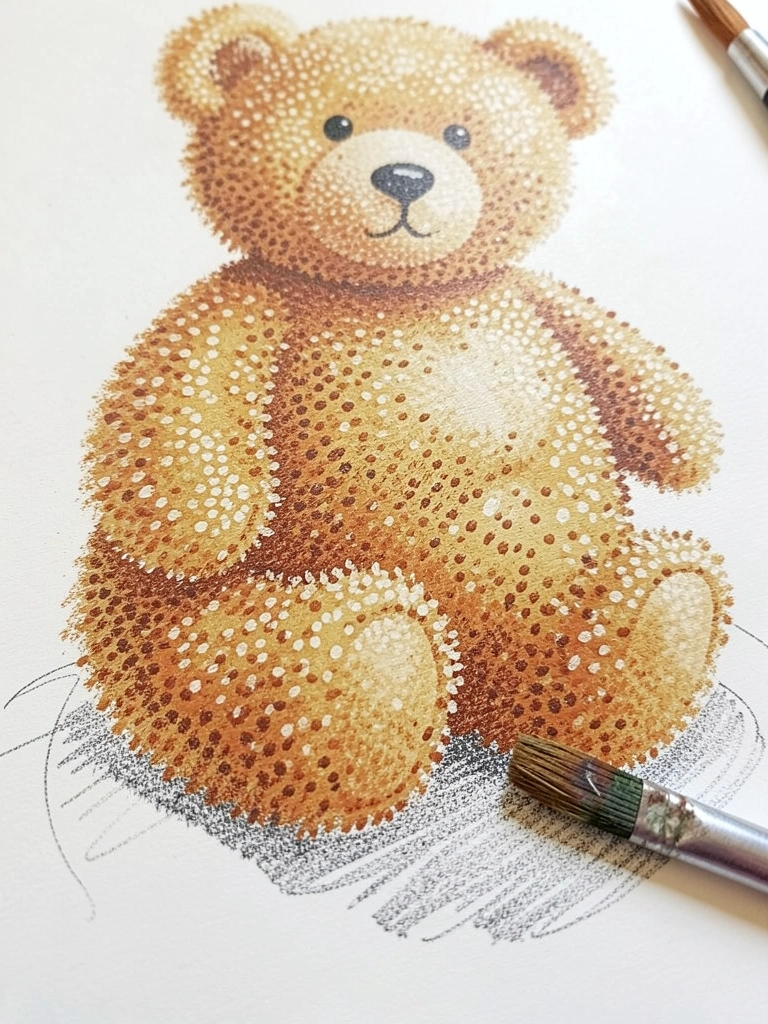
I used stippling the day my brushes frayed. It turned out better than expected. Small, repeated dabs with a round brush create a gentle textured look that reads like short, plush fur from a distance.
This method is forgiving. I once covered a botched highlight by stippling similar tones over it. It blended the mistake in without smearing.
Keep strokes small and follow the form. Patience kills the streaky look. It’s meditative and great for small studies.
What You'll Need for This
- Acrylic or gouache
- Small round brush (stiff or worn)
- Prepared panel or paper
- Palette for color mixes
7. Midtone-Composed Value Blocking
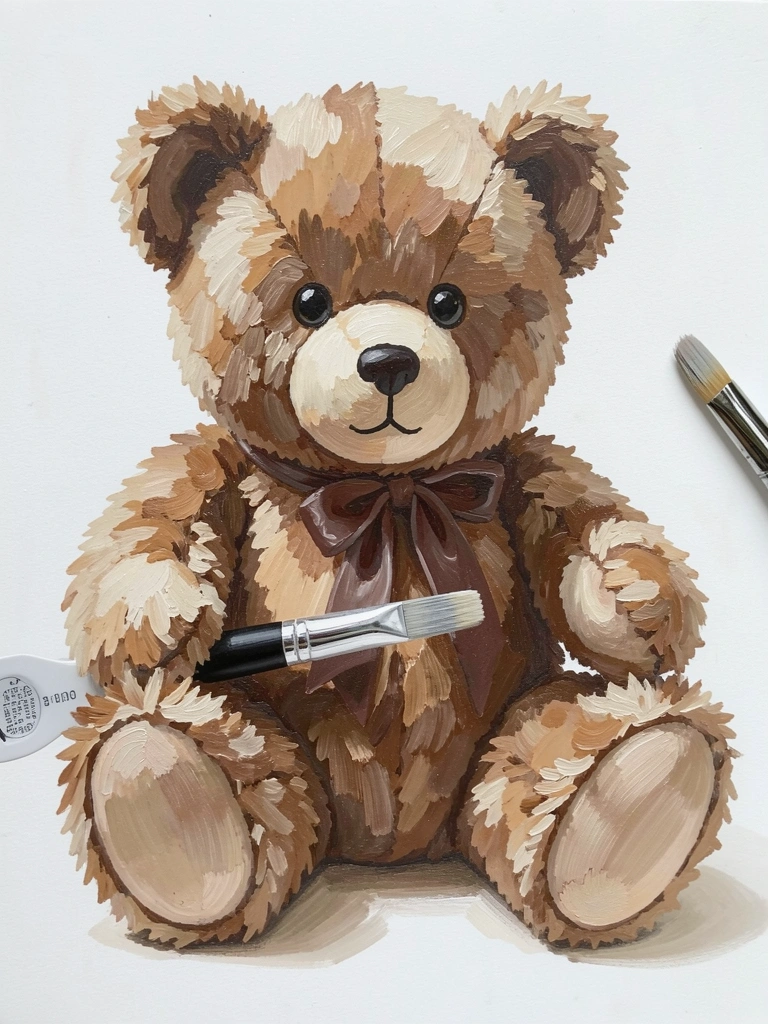
I used to start with darks and get stuck trying to correct them. Switching to a midtone-first block changed things. I paint a midtone base across the bear, then map shadows and highlights. This keeps colors balanced and avoids muddy mixes.
A mistake I made was blending too soon and turning the midtone into a mess. Now I let layers dry between shifts. The bear's form becomes clearer faster and corrections are easier.
Think of midtones as the map. Shadows and lights add the personality.
What You'll Need for This
- Acrylic or oil paint
- Large flat brush for blocking
- Canvas or panel
- Palette knife for mixing
8. Subtle Edge Control to Separate Bear from Background
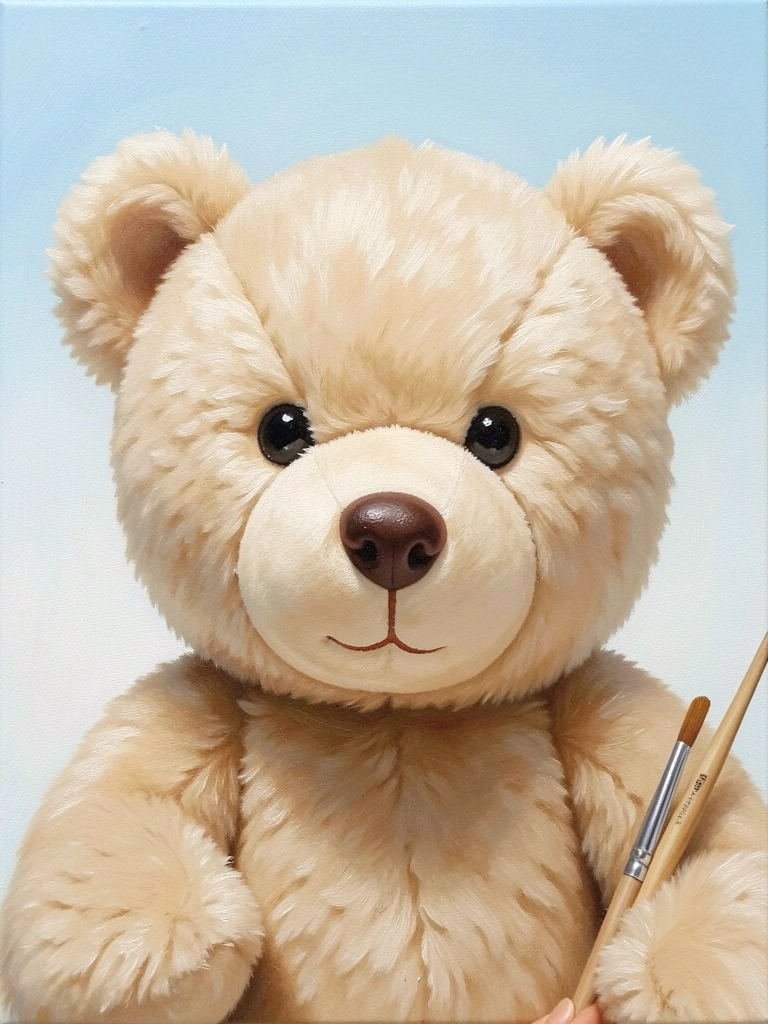
I learned the hard way that hard edges make flat work. I started softening edges where fur meets background, leaving a few crisp spots around the nose or eye. That small contrast lifts the bear forward without an outline.
My earlier paintings had everything too sharp. They looked pasted on. Softening edges with a damp brush or a soft glaze made the bear sit naturally.
Decide where to keep detail before painting. Keep most edges soft and let a few areas remain crisp.
What You'll Need for This
- Soft round brush
- Small detail brush
- Thinned paint for glazing
- Sponge or soft cloth for blends
9. Painted Cloth and Accessories for Character
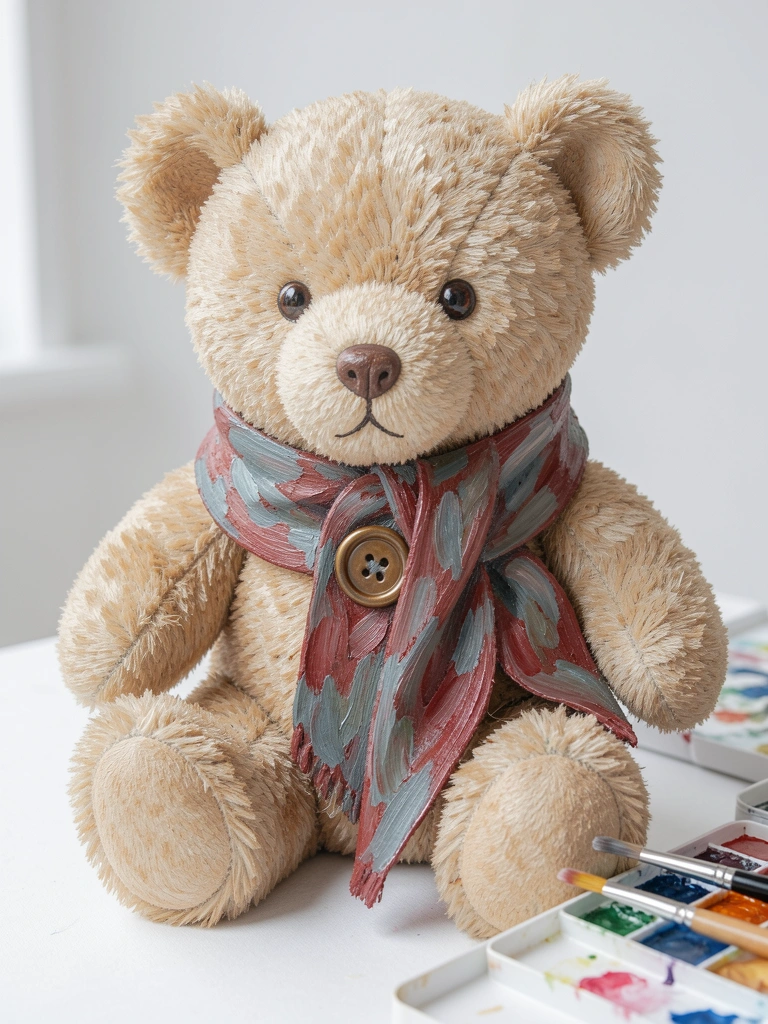
I used accessories to hide awkward proportions early on. A painted scarf, patch, or button snaps personality into place. I treat cloth as flat planes first, then add folds with a darker glaze and highlight edges with a thin dry brush.
My first scarf looked like a strip of cardboard. After loosening my strokes and softening folds, it read fabric. Small, confident highlights sell the material.
Accessories also help with composition. They guide the eye and can rescue a stubborn area.
What You'll Need for This
- Small round and liner brushes
- Acrylic or gouache
- Palette for mixing muted colors
- Thin glaze medium
10. Repainting Backgrounds Without Losing the Bear
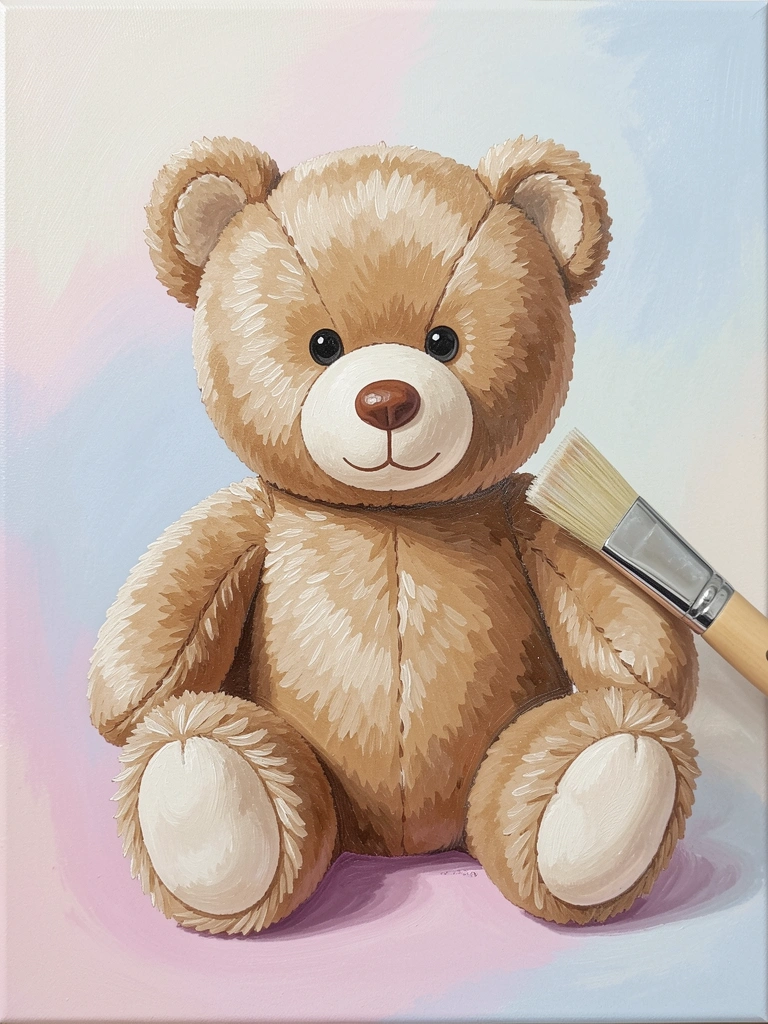
I ruined a bear by repainting the background over fresh edges. After that, I started isolating the bear. I either let the bear fully dry or use low-tack masking to protect edges. Then I repaint the background in smooth passes and rework any softened edges afterward.
A mistake I made was reworking eyes after a wet background pass—they blurred. Now I keep key details until the end and retouch edges gently.
Take the time to protect what’s done. Backgrounds should support, not hide, the bear.
What You'll Need for This
- Low-tack masking tape or frisket
- Large flat brush for backgrounds
- Thinned paint for smooth washes
- Small detail brush for edge touch-ups
11. Expressive Eyes with a Tiny Brush and Glazing
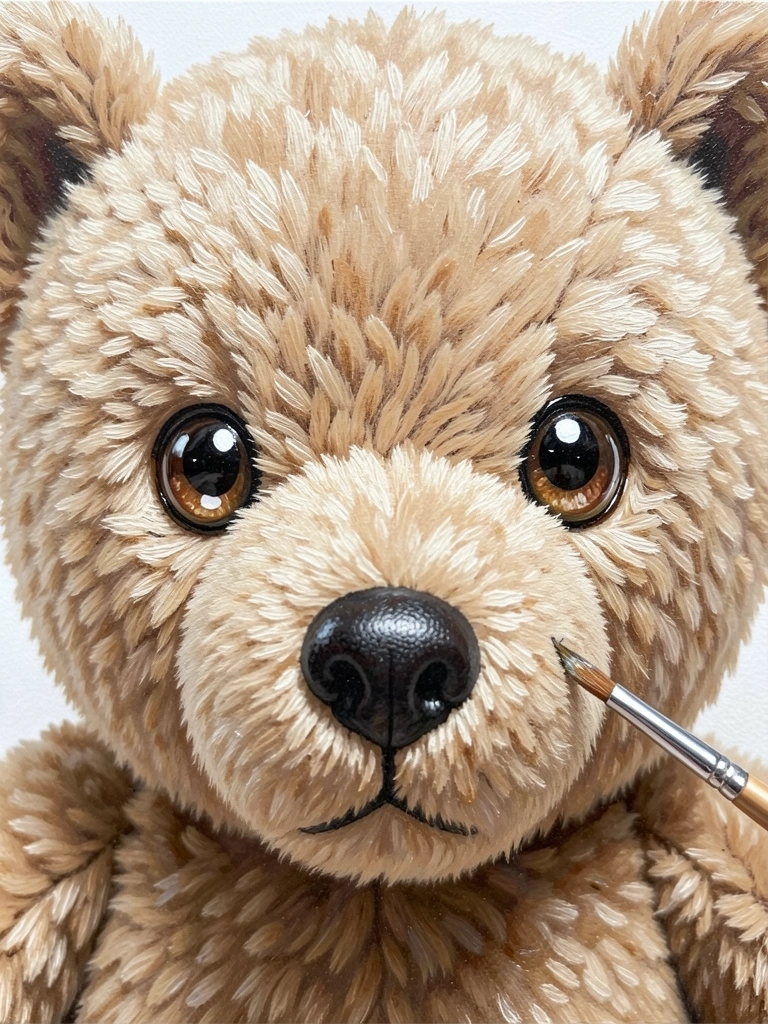
My bears looked blank until I learned to build eyes slowly. I paint a dark pupil, add a soft iris glaze, then finish with tiny reflected highlights. A single small white dot can change a flat face to alive. I thin layers when glazing the iris so the pupil reads deep instead of chalky.
Once I pressed the highlight too early and smeared it. Now I wait and use a small liner for the final catchlight.
Eyes are small but take patience. Work in thin layers and stop while it still feels fresh.
What You'll Need for This
- Very small detail or liner brush
- Thin glazing medium or thinned paint
- Dark paint for pupil and light paint for highlight
- Magnifier or close reference photo (optional)
Final Thoughts
I didn't learn these overnight. I ruined more than a few canvases.
These ideas are the ones I returned to again and again. They are practical and forgiving.
Keep it simple. A small experiment at the easel often teaches more than a long tutorial.