8 Unique Bedsheet Painting Designs
I used to panic over painting a full bedsheet. I ruined two before I learned scale and paint behavior.
Large cloth changes how color sits.
Tutorials skipped the messy parts; I redid backgrounds three times. It made me bolder. I'll show simple designs that actually work on fabric. No fancy gear.
8 Unique Bedsheet Painting Designs
These 8 designs are practical, tested, and sized for full sheets. I focus on simple tools, fabric paint behavior, and where beginners trip up.
1. Large-Scale Ombré Wash for Bedsheets
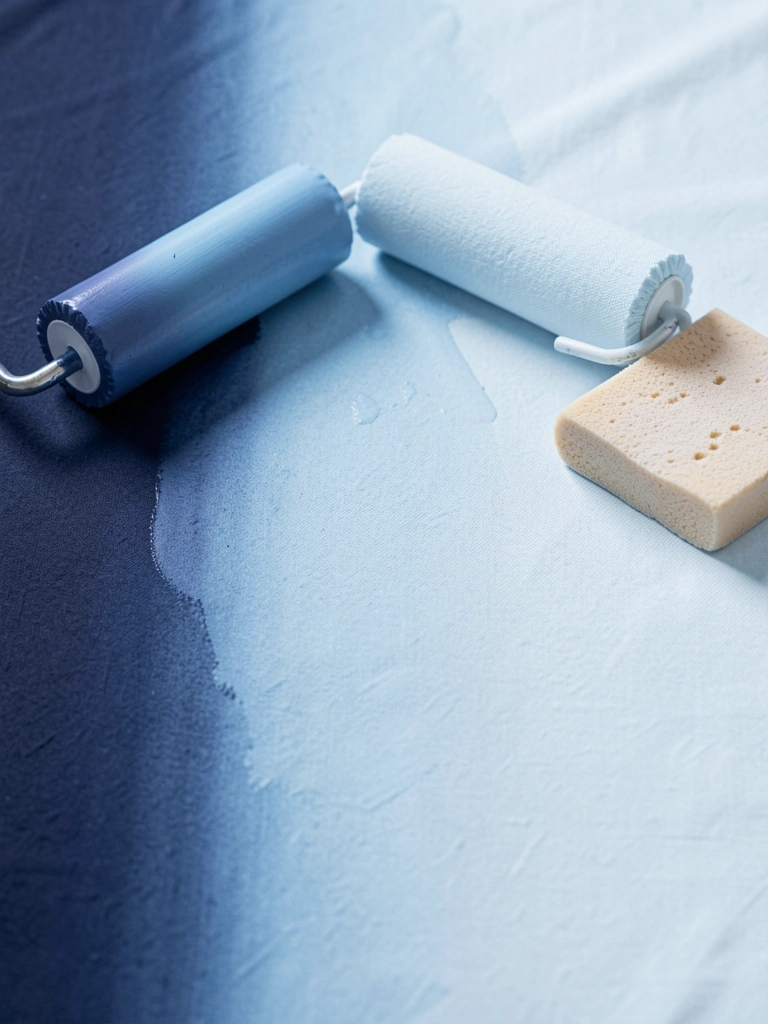
I started by treating the whole sheet like a mural. I learned that thinning acrylic with textile medium and water gives a wash that soaks into fabric instead of sitting on top.
I lay the sheet flat, block sections, and work wet-to-wet horizontally so blends meet naturally. That stopped the streaky bands I used to get.
Before you try it, test dilution on a scrap. Drying changes value more than you expect.
Tip: work in long, even passes and tilt the sheet slightly if pooling starts.
What You'll Need for This
- Acrylic paint + textile medium
- Large foam roller
- Wide flat brush or sponge
- Plastic sheeting and clips
- Scrap fabric for testing
2. Repeated Stencil Motif for a Clean, Modern Repeat
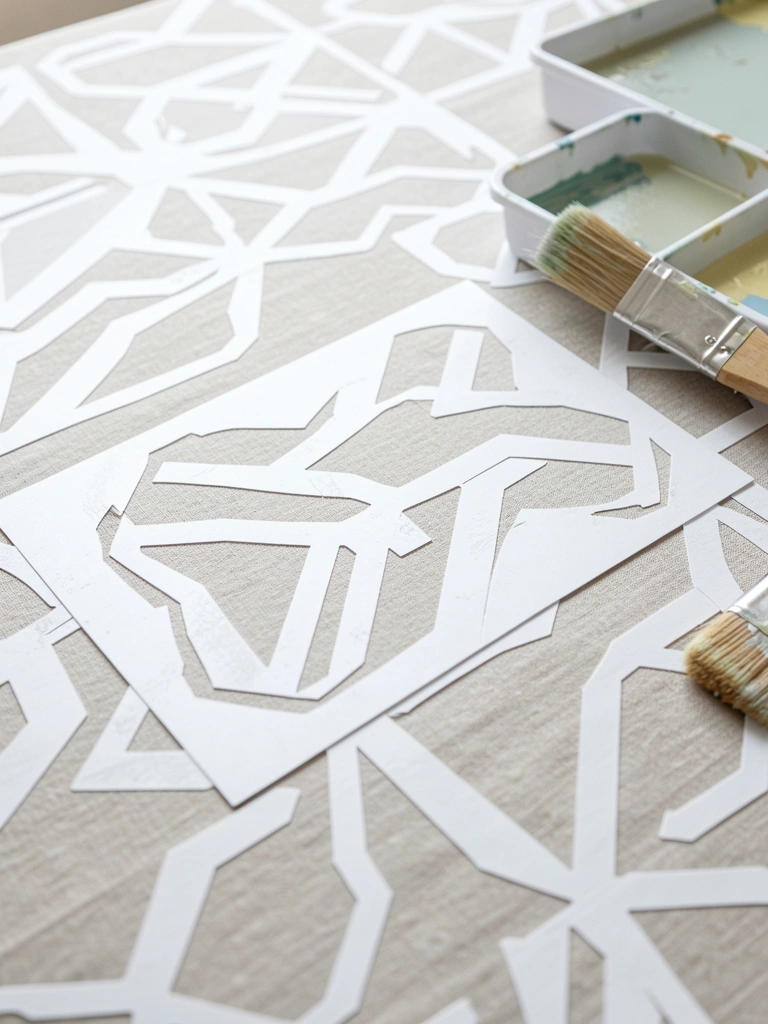
I cut a simple motif and repeated it across the sheet. The trick was locking the stencil and dabbing, not brushing, to avoid smudges.
My first run smeared because I held the stencil too loosely. I now weight it with clips and use a small foam pouncer. That gave crisp edges and consistent repeats.
Plan the layout in a grid; mark light registration dots so repeats line up. Don’t rush—stencil drying time matters if you overlap colors.
Tip: rotate the stencil occasionally for a hand-printed feel without chaos.
What You'll Need for This
- Mylar or cardboard stencil
- Textile paint
- Foam pouncer or stiff round brush
- Clips or low-tack tape
- Measuring tape or ruler
3. Bleach-Resist Pattern on Dark Sheets
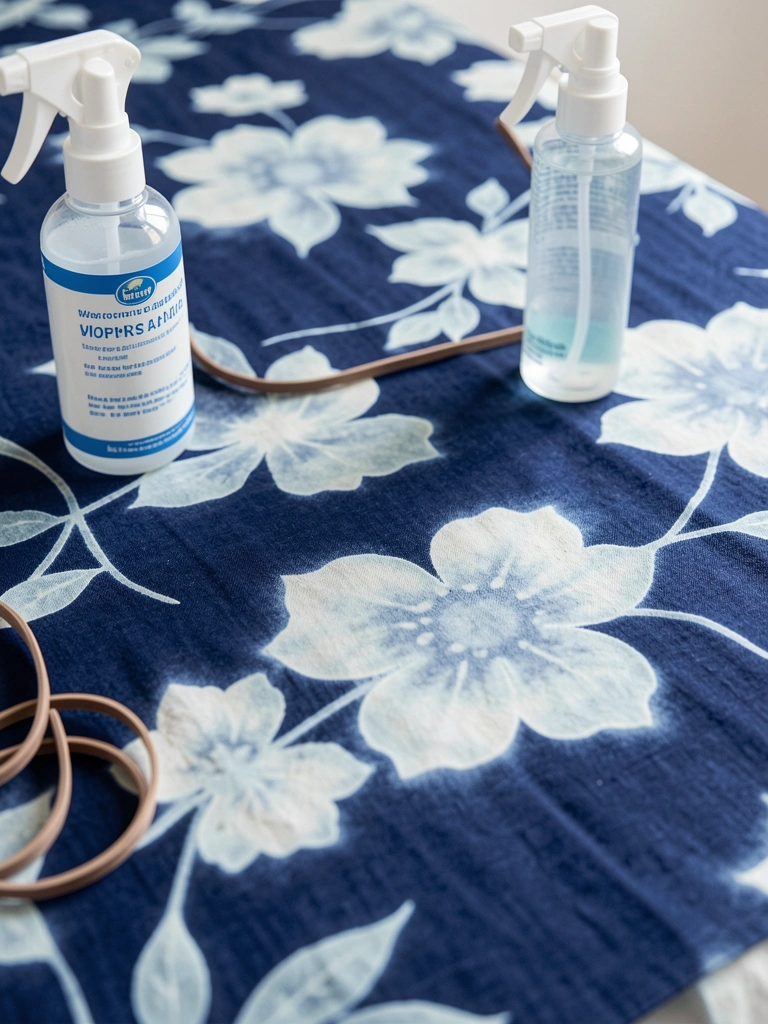
I used bleach on a dark cotton sheet to pull out warm neutrals. I sketch a simple composition, mask areas with tape or wax, then spray diluted bleach with a fine mist.
I watched the bleach slowly open the fibers. Timing is everything: too quick and you get hole-prone fabric; too long and you over-bleach. I learned to rinse as soon as the value felt right.
Test on a scrap to see the final color. Work outdoors or with strong ventilation.
Tip: neutralize with water and a mild detergent when you stop the lift.
What You'll Need for This
- Dark cotton sheet
- Household bleach (diluted)
- Spray bottle
- Gloves and protective eyewear
- Scrap fabric for testing
4. Botanical Silhouette Monoprint
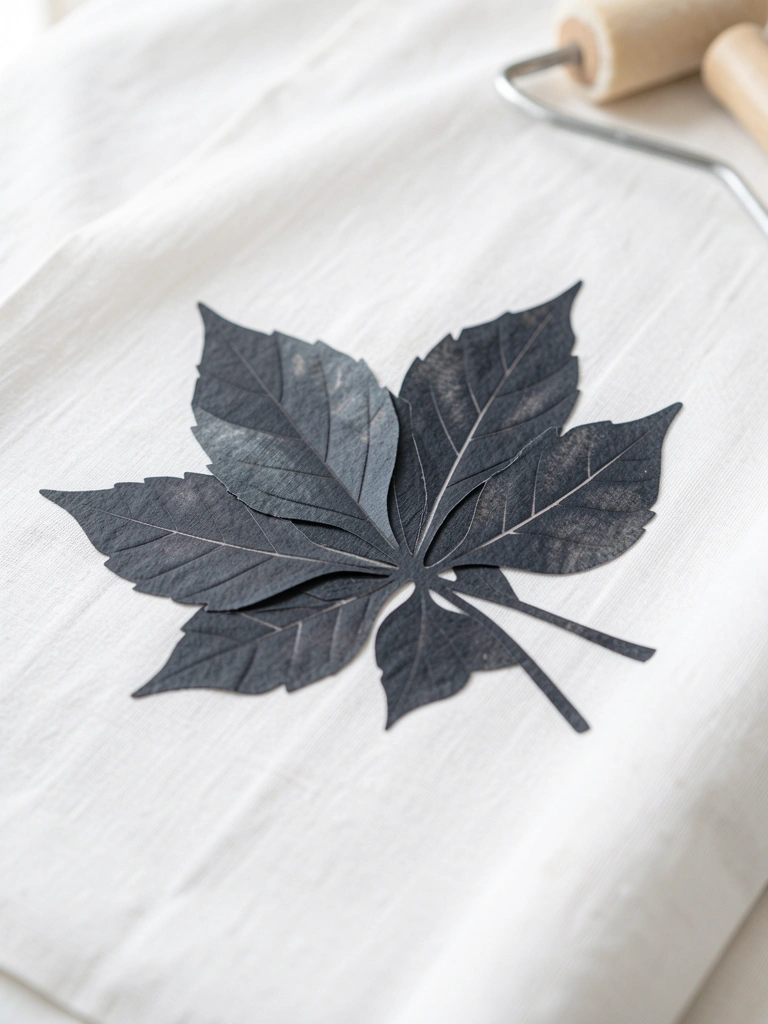
I pressed real leaves into thin, watered-down textile paint and rolled them onto the sheet. The prints read crisp but also slightly unpredictable — which I like.
My first prints were too wet and smeared. I switched to thicker paint for the leaf side and blotted every impression. That kept the veins visible without smudges.
Varying leaf sizes and spacing gives rhythm. I arranged compositions on the floor first, then transferred them one at a time.
Tip: keep a soft brush handy to tidy tiny smears before the paint sets.
What You'll Need for This
- Textile paint (thicker body)
- Real leaves or plants
- Small brayer or roller
- Scrap paper and cloth for blotting
5. Painted Tie-Dye Wash with Brush and Spray
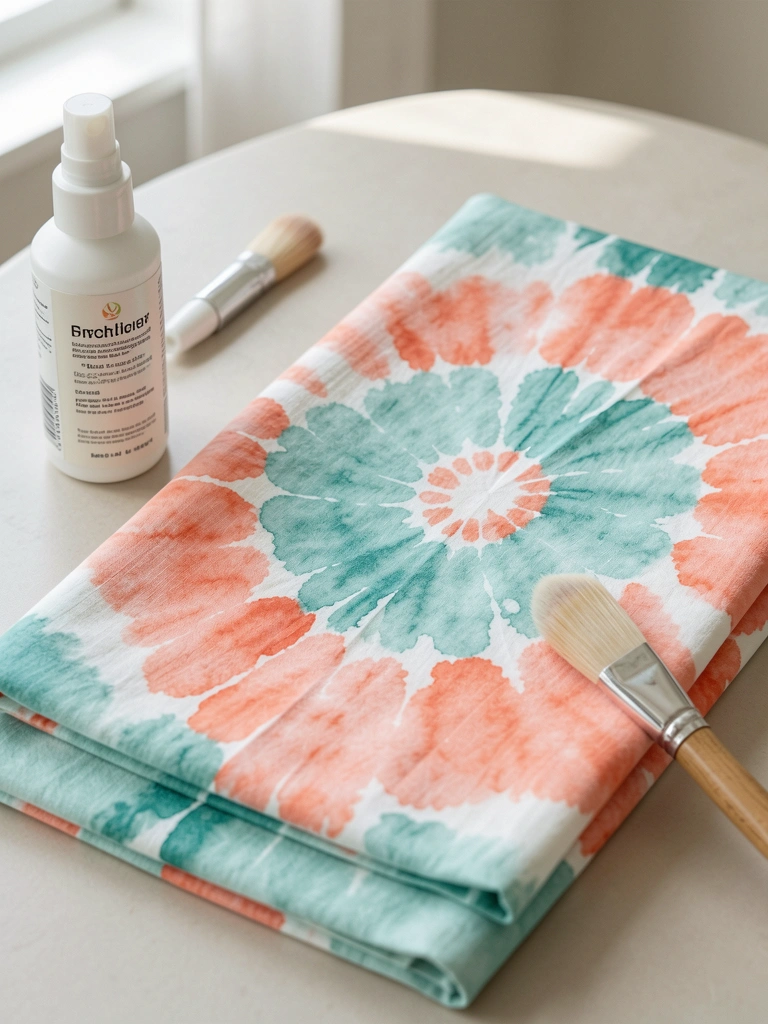
I mimic tie-dye without rubber bands by painting concentric rings and misting to blur edges. Using diluted textile dye or acrylic + medium gives soft blooms that read like dye.
I used to overwork the rings and ended with muddy centers. I learned to lay one ring, mist, then move to the next. Let each ring settle slightly before adding another.
Think like a colorist—keep center contrast subtle, and avoid too many overlapping hues.
Tip: lift excess moisture with a sponge if a halo gets too dark.
What You'll Need for This
- Textile dye or diluted acrylic + textile medium
- Spray bottle with water
- Soft-round brush
- Sponge for lifting
6. Geometric Tape Grid with Masking for Crisp Lines
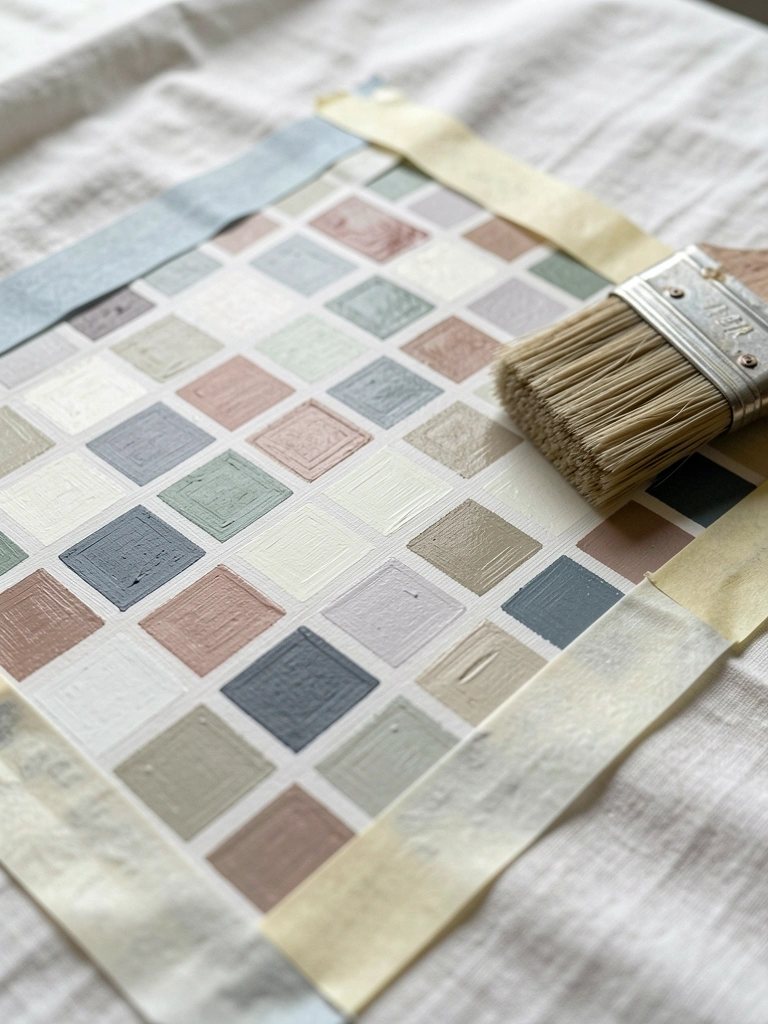
I map a grid with low-tack masking tape and paint in blocks. This gives a modern, graphic look on big fabric. I learned to press tape edges firmly to prevent seepage.
At first I pulled tape too early and paint feathered. Now I wait until the paint is dry to the touch, then remove slowly at an angle. That keeps edges clean.
Vary block sizes to avoid monotony. Use a softer palette for bedding so contrast stays restful.
Tip: test tape pull on a scrap to see adhesion effects.
What You'll Need for This
- Low-tack masking tape
- Textile paint
- Stiff-bristle brush or foam roller
- Ruler and pencil for layout
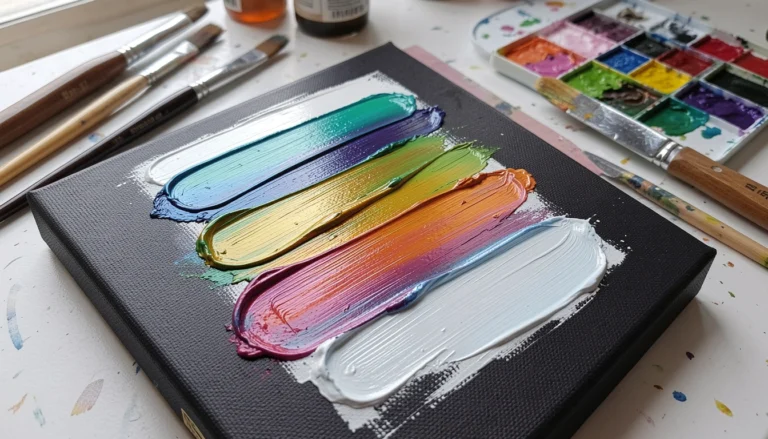
7. Palette Knife Texture Stripes for Tactile Bedding
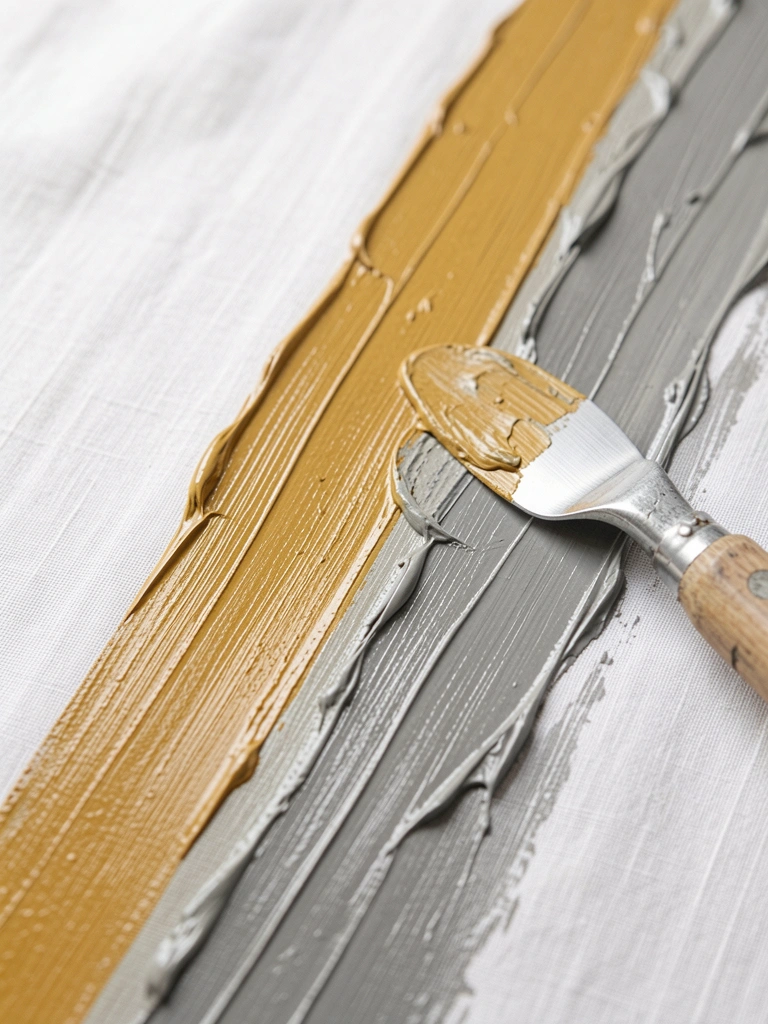
I started using a palette knife on heavy cotton to create soft raised stripes. Thickened textile paint holds texture and reads like woven detail from a distance.
I made the mistake of loading too much paint; it flaked after drying. I switched to a medium-thick consistency and applied in one-direction passes. That gave forgiving ridges that soften with washing.
Keep texture low-profile for bedding so it stays comfortable. Test with one pillowcase before committing to the whole sheet.
Tip: smooth edges with a dry knife for a softer look.
What You'll Need for This
- Textile paint thickened (or heavy body fabric paint)
- Palette knife
- Plate or palette for mixing
- Pillowcase for a test
8. Starry Splatter and Fade for a Subtle Galaxy
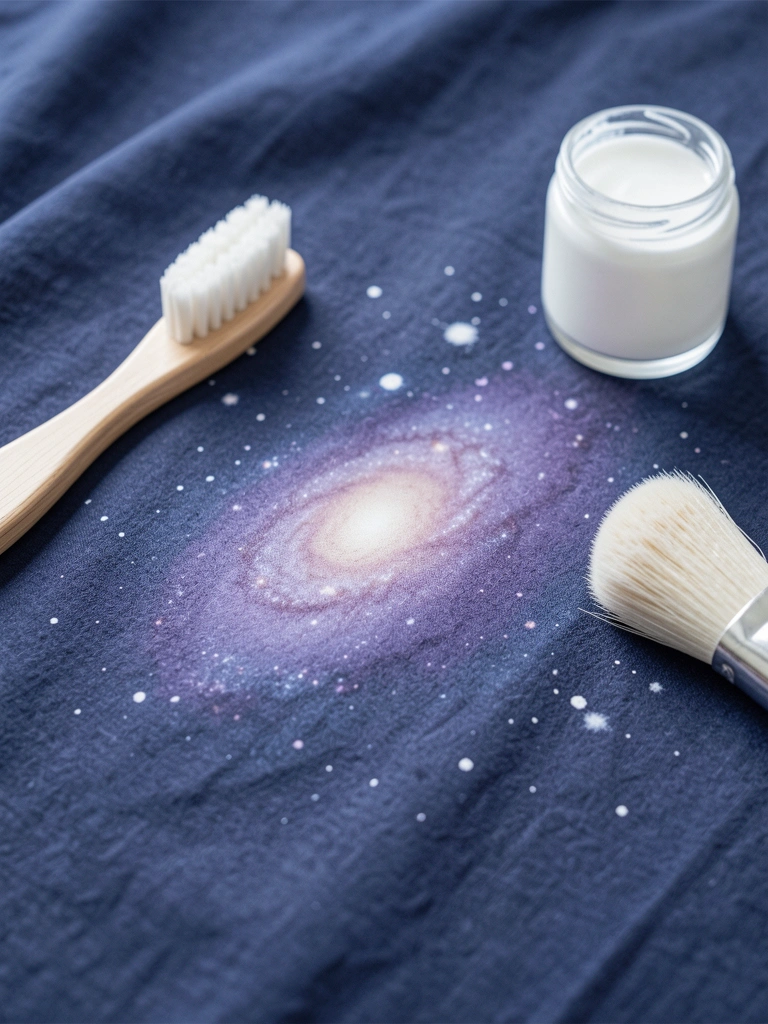
I mixed a soft night wash and then splattered tiny stars with a toothbrush. My first splatter was too dense and read chaotic. I learned to thin the paint more and practice flick pressure on scrap.
I also feathered edges of the dark wash so the field fades naturally across the sheet. That balance keeps the design dreamy, not noisy.
Work from center outward and step back often to judge density.
Tip: protect areas you want spotless with scrap paper or tape.
What You'll Need for This
- Acrylic + textile medium for the wash
- White textile paint for splatter
- Old toothbrush or splatter brush
- Scrap paper and gloves
Final Thoughts
I don't expect you to nail all these at once. I still mess up and repaint sometimes.
Pick one idea, test on a pillowcase, and learn how your paint behaves. You’ll gain confidence faster than you think.